


About XO Gallery Element
What Is XO Gallery Element
The XO Gallery element allows you to add unlimited images in unlimited galleries by use of a simple upload process. XO Gallery also offers a ton of great features to customize your gallery until you’re satisfied.
It supports modern Grid and Masonry layouts and provides the following three options: lightbox, link and caption on image. Not only that, but you can even customize each photo in the gallery and even modify them for desktop, laptop, mobile and tablet to suit your liking.
Install XO Gallery Element
In order to use this element, you will need to install the XO Gallery element from Shopify Store and go to PageFly to use the element.
How To Access XO Gallery Element
In the page editor, follow these steps to access the XO Gallery element:
- Step 1: In the PageFly editor, click “Add third-party element” on the left menu
- Step 2: Click “Manage integrations” or the gear icon on top
- Step 3: Search for “XO Gallery” and enable it
- Step 4: Click “Close” and the element will appear in the “Add third-party element” menu

How To Configure XO Gallery Element
From PageFly
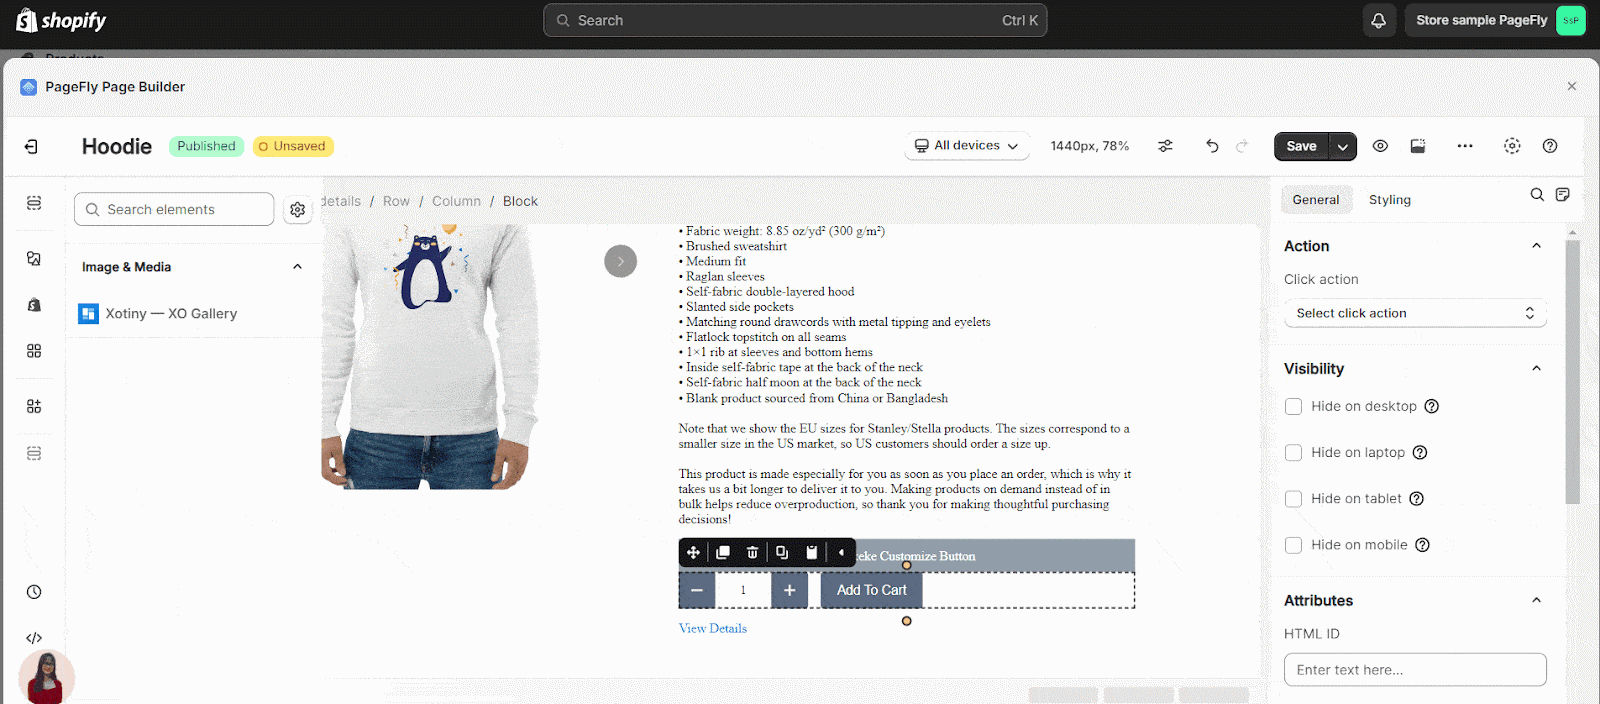
Step 1: Add XO Gallery Element
Before starting to set up the XO Gallery element, you will need to add this element to your page canvas:
- Step 1: Click “Add third party element” on the left menu bar
- Step 2: Look for the “Xotiny – XO Gallery” element
- Step 3: Click on the element to see its variant
- Step 4: Drag and drop the variant onto the page canvas
Step 2: Configure XO Gallery Element
Once you finish configuring options in the XO Gallery, you can go to a PageFly page and use this element.
- In the General tab, there is a widget configuration giving you a short explanation of the XO Gallery and its link to app listing, and you can edit the Content, Visibility, Tracking, Attributes, and Animation of the product.
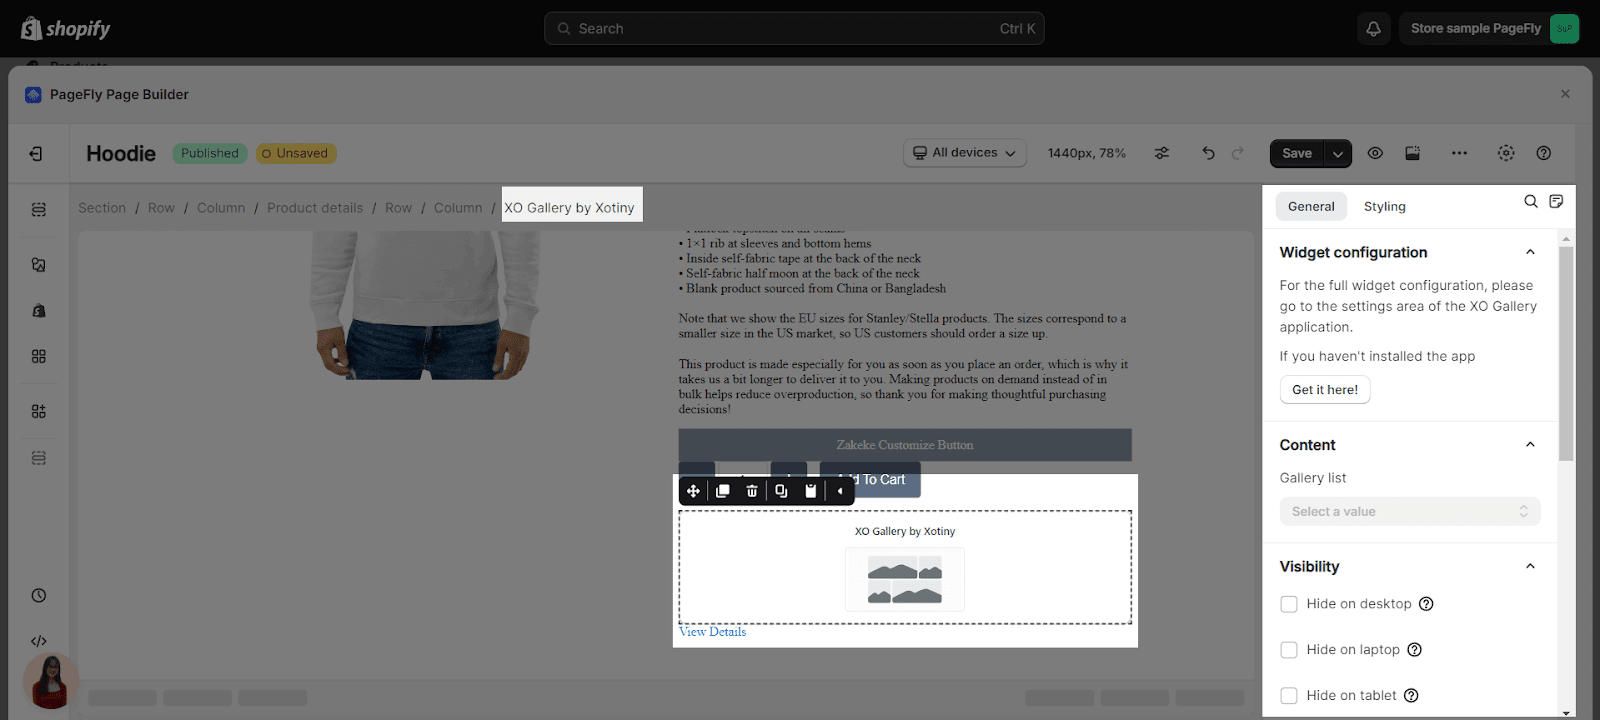
You can check more information about the General tab here.
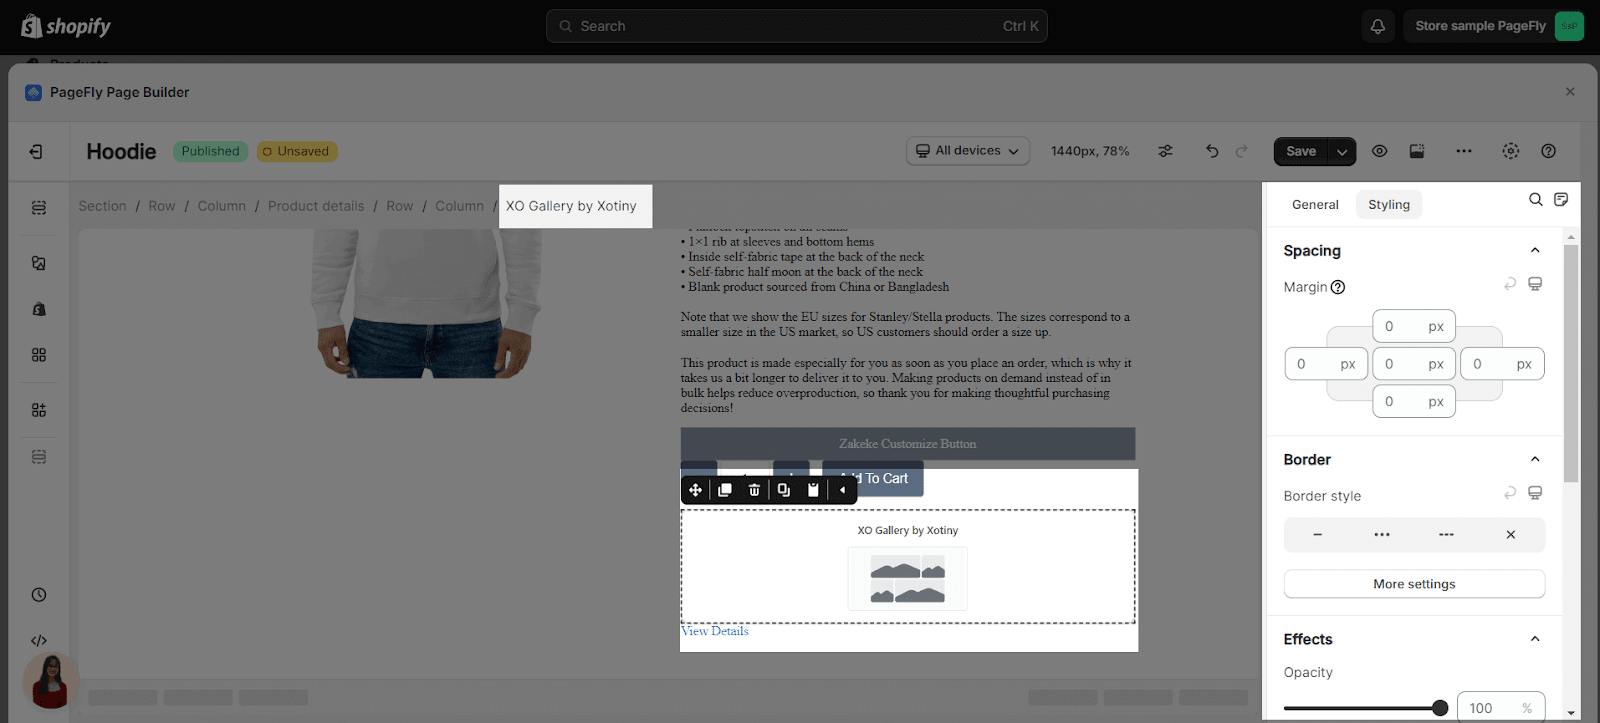
- You can customize the styling of the Xotiny – XO Gallery element in the Styling tab.
From XO Gallery
Before using the XO Gallery by Globo element in PageFly, you’ll need to create and configure your element in the XO Gallery app. Here’s how:
Step 1: Activate “XO Gallery Element”
Go to your Shopify admin, then navigate to Online Store > Theme > Current theme > Customize > App embeds. Search for “XO Gallery” and activate all two of them.

Step 2: Go to XO Gallery settings
Step 1: Set up XO Gallery app with your Shopify Account.
Go to your Shopify Admin > Apps > Choose XO Gallery to set it up.
Step 2: Set up the XO Gallery app
1. In the Dashboard of XO Gallery, head to Add new gallery section.
2. Add a Title for the gallery, then choose Images from your device.
You can configure your gallery based on your liking, by heading to the tabs: Settings, Design, Build, Custom code.
Here you can choose Effect for your Gallery, or configure the display on other devices, etc…
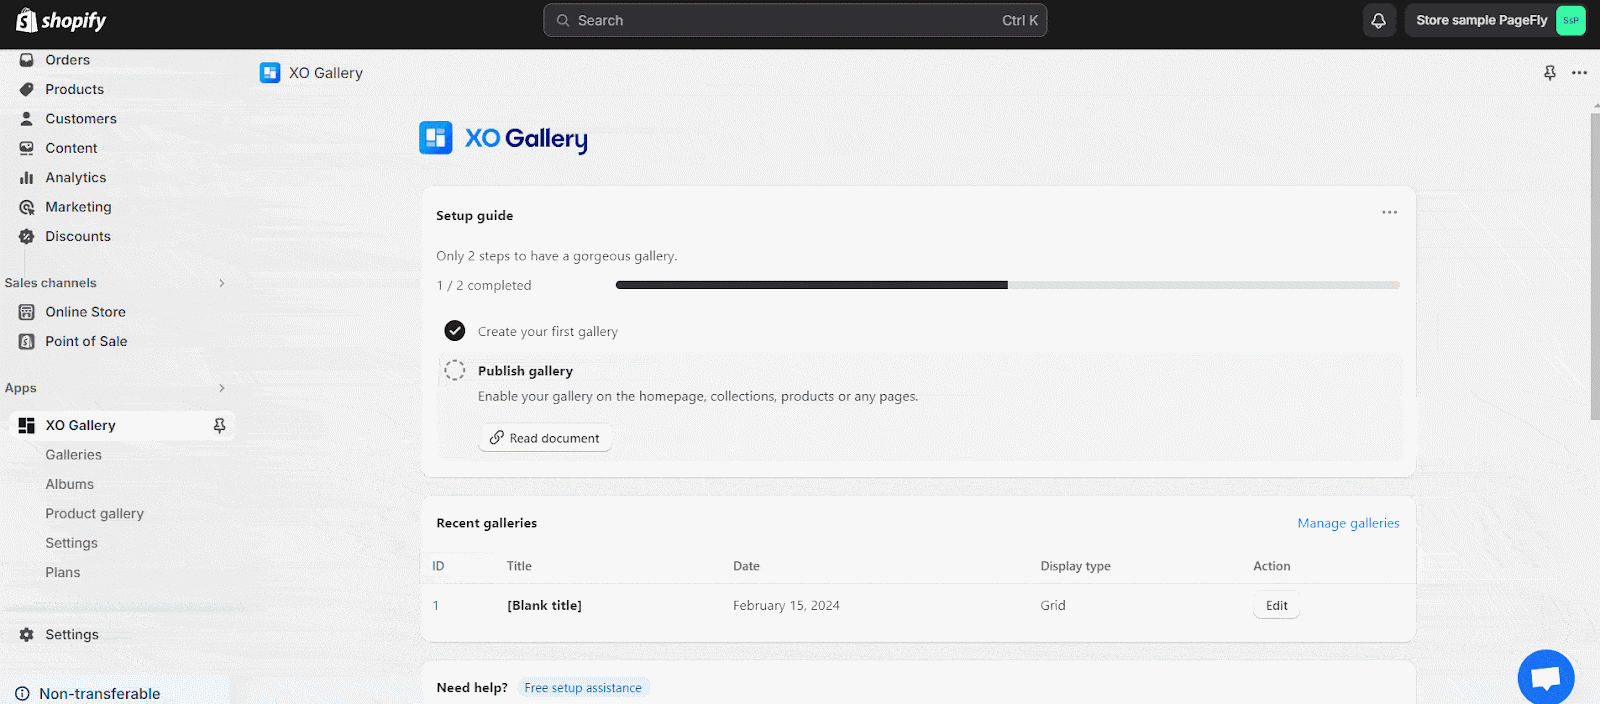
3. Click Save.
4. Back to your PageFly editor, choose the page that you want to display the gallery.
Drag and drop the XO Gallery element into the page editor, then choose the Gallery on the right side of the page editor.
That’s it! Don’t forget to Save and Publish your product page to see the element on your PageFly page.
Key Takeaways
XO Gallery Shopify is here so sellers can embed their photo gallery into their Shopify store, as it’s incredibly easy to edit and manage.
Frequently Asked Questions
Overview
| When was XO Gallery Created? | 2018 |
| How much is XO Gallery Shopify? | From $5.95/month |
| Can I use XO Gallery on PageFly Editor? | Yes |
What is XO Gallery Shopify?
XO Gallery is a photo gallery, specifically optimized for Shopify Online Store.
What’s Included In The XO Gallery Plan?
A Free XO Gallery Shopify Plan includes 12 images, with a few gallery types, including Grid, Masonry, Justified, and Stack.
Why Using XO Gallery?
With XO Gallery Shopify, you’re allowed to create any number of galleries with unlimited photos. It’s very easy to upload and organize, as you can tag products into images. You also can transform product images into a gallery, and edit smoothly on every screen-size, so that you would never miss a potential customer.