About Shop Events Calendar
The Shop Events Calendar provides a user-friendly widget for displaying events, promotions, announcements, and product releases.
Users can create multiple customizable calendars for different locations or event types, choosing from three designs.
Before using this element in PageFly, you’ll need to install the “Shop Events Calendars” app to your store and configure all its options.
- Install Shop Events Calendar
- Install PageFly
How To Access Shop Events Calendar
In page editor, follow these steps to access “Shop Events Calendar” element in PageFly:
- Step 1: In the PageFly editor, click Third-party element on the left menu.
- Step 2: Click the Manage integrations icon on top
- Step 3: Search for Shop Events Calendar and active it.
- Step 4: Click Done and the element will appear in the Third-party element menu.
How To Configure Shop Events Calendar The Element
From PageFly
Add Shop Events Calendar
Before starting to set up for the “Shop Events Calendar” element, you will need to add this element onto your page canvas:
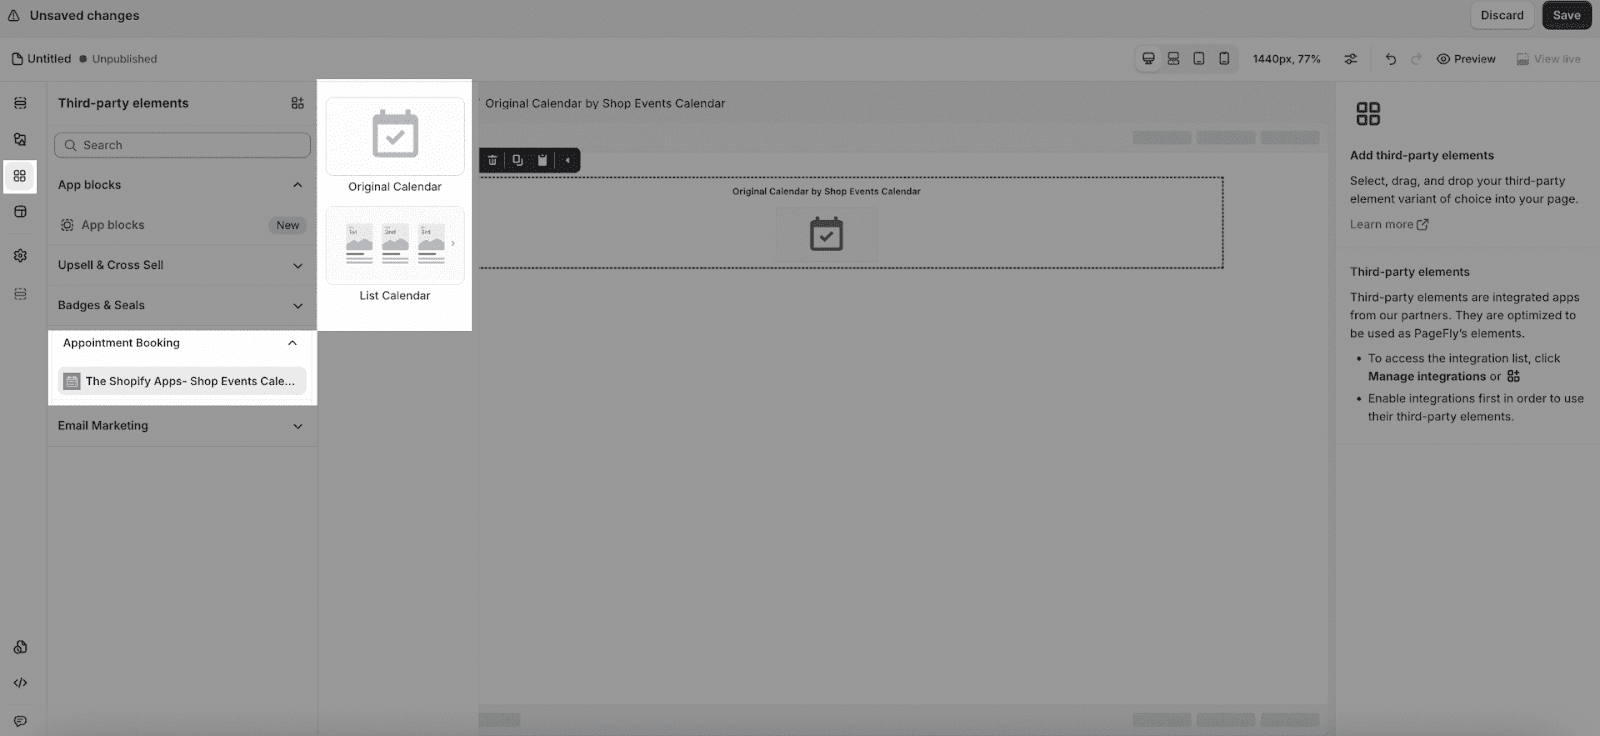
- Step 1: Click Third party element on the left menu bar.
- Step 2: Look for Shop Events Calendar element.
- Step 3: Click on the element to see its variant.
- Step 4: Drag and drop the variant onto the page canvas.
The Shop Events Calendar item has 2 element variants:
- Original Calendar
- List Calendar
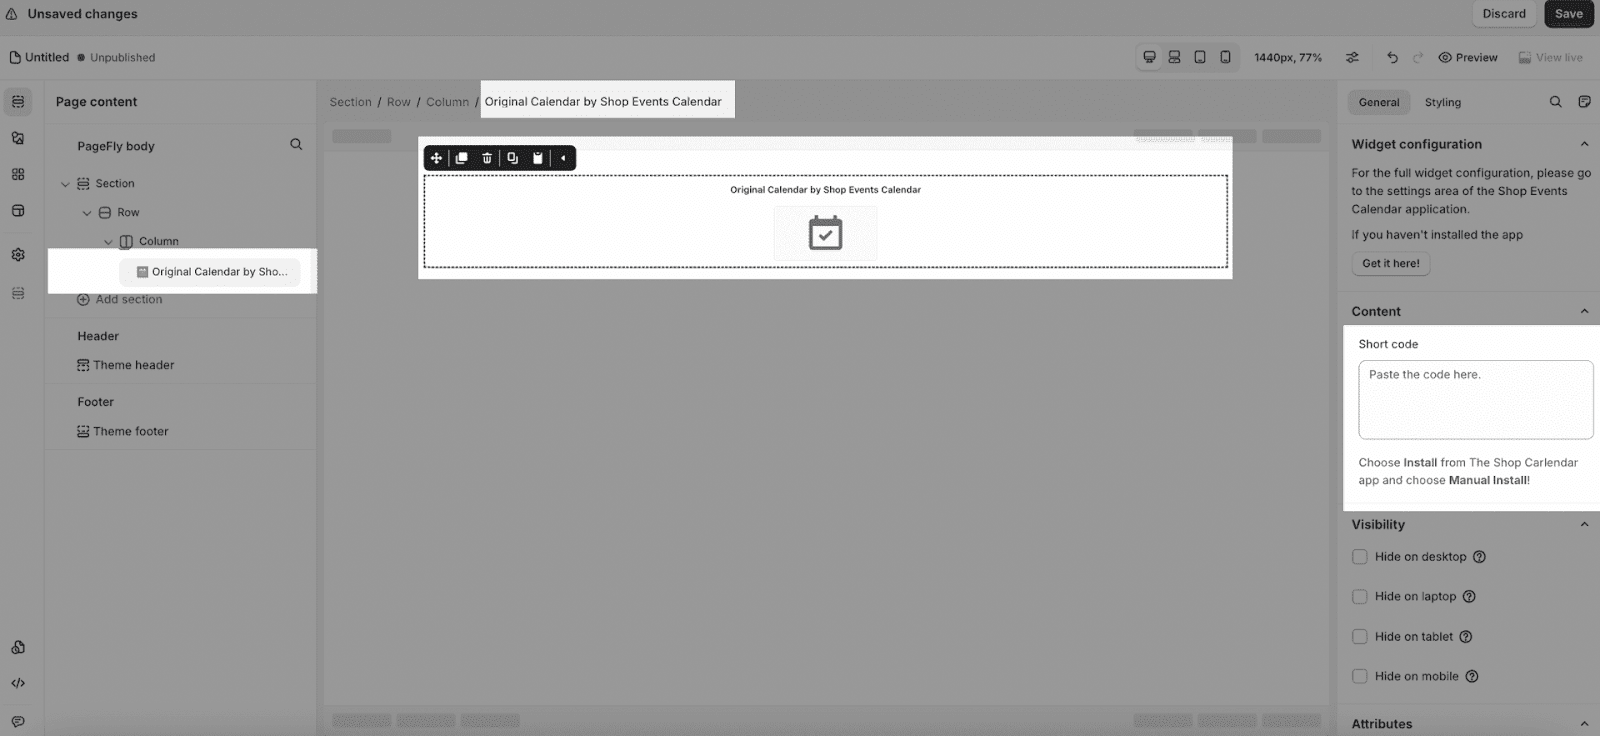
Configure Shop Events Calendar
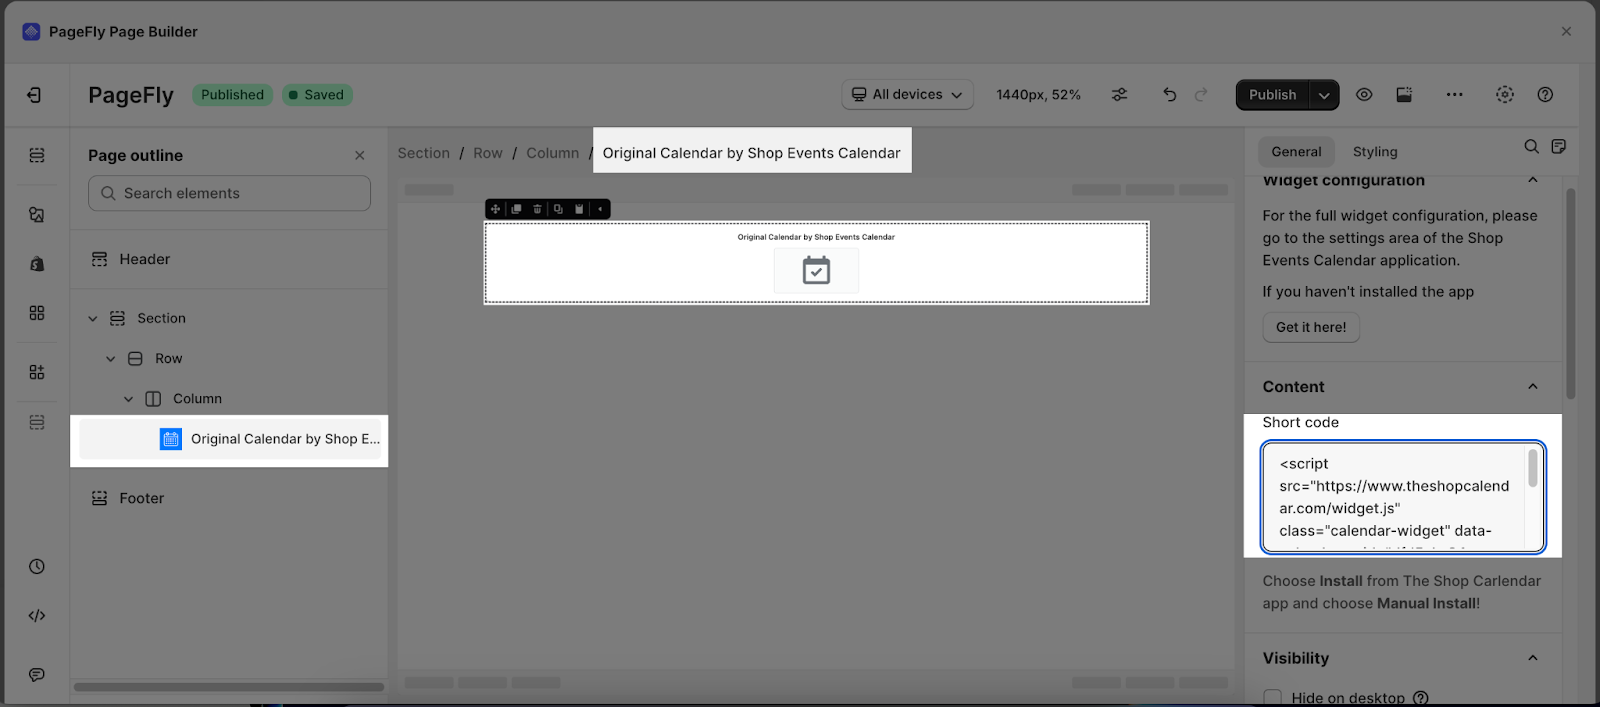
- Short code
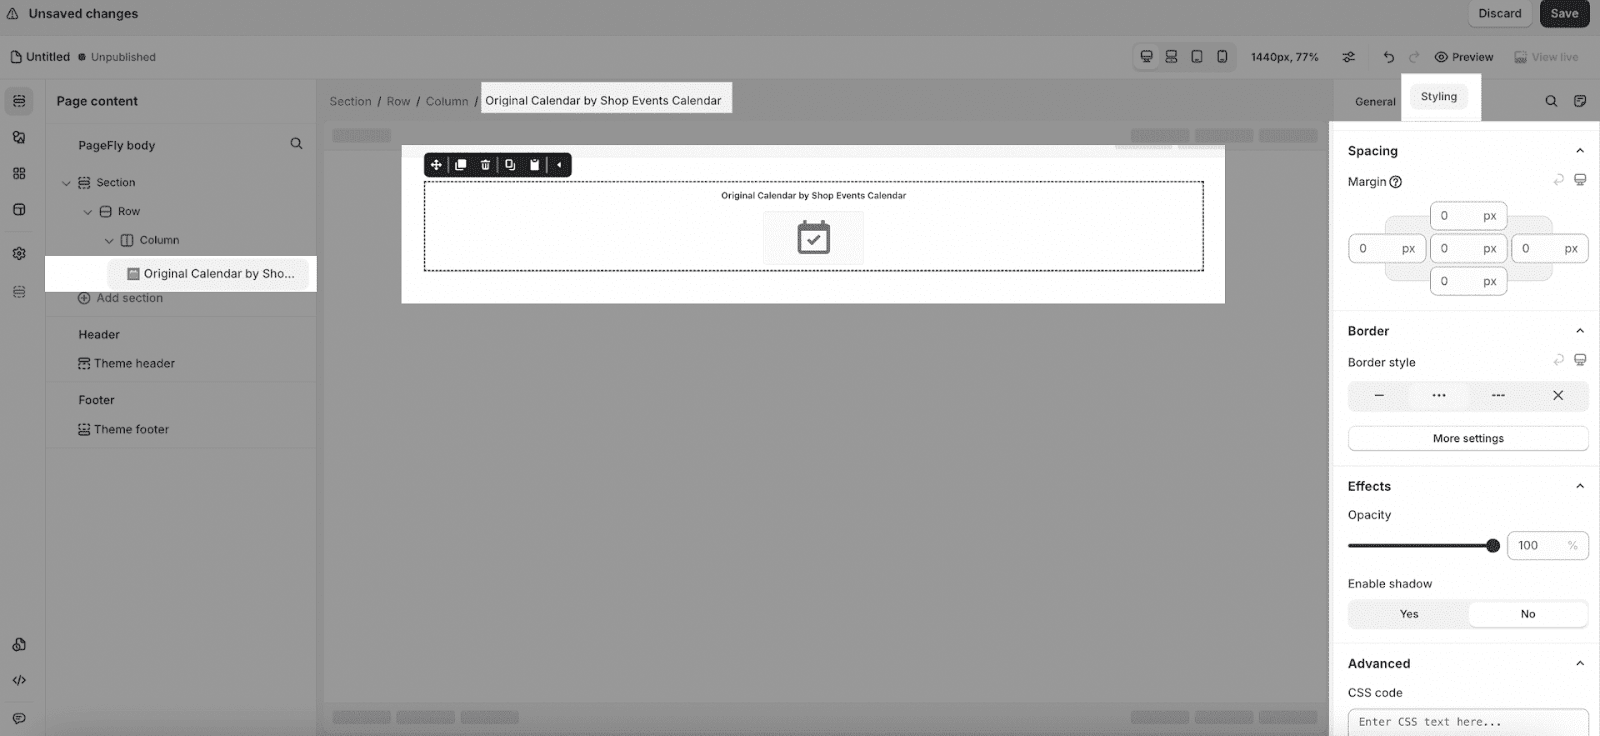
- After adding the element, click on it to see different ways to change how it looks, like adjusting the space around it, changing its border, or adding special effects. Use the “Styling” tab in PageFly to explore your options.
From Shop Events Calendar
Before using the “Shop Events Calendar” elements in PageFly, you’ll need to create and configure your product in the “Shop Events Calendar” app. Here’s how:
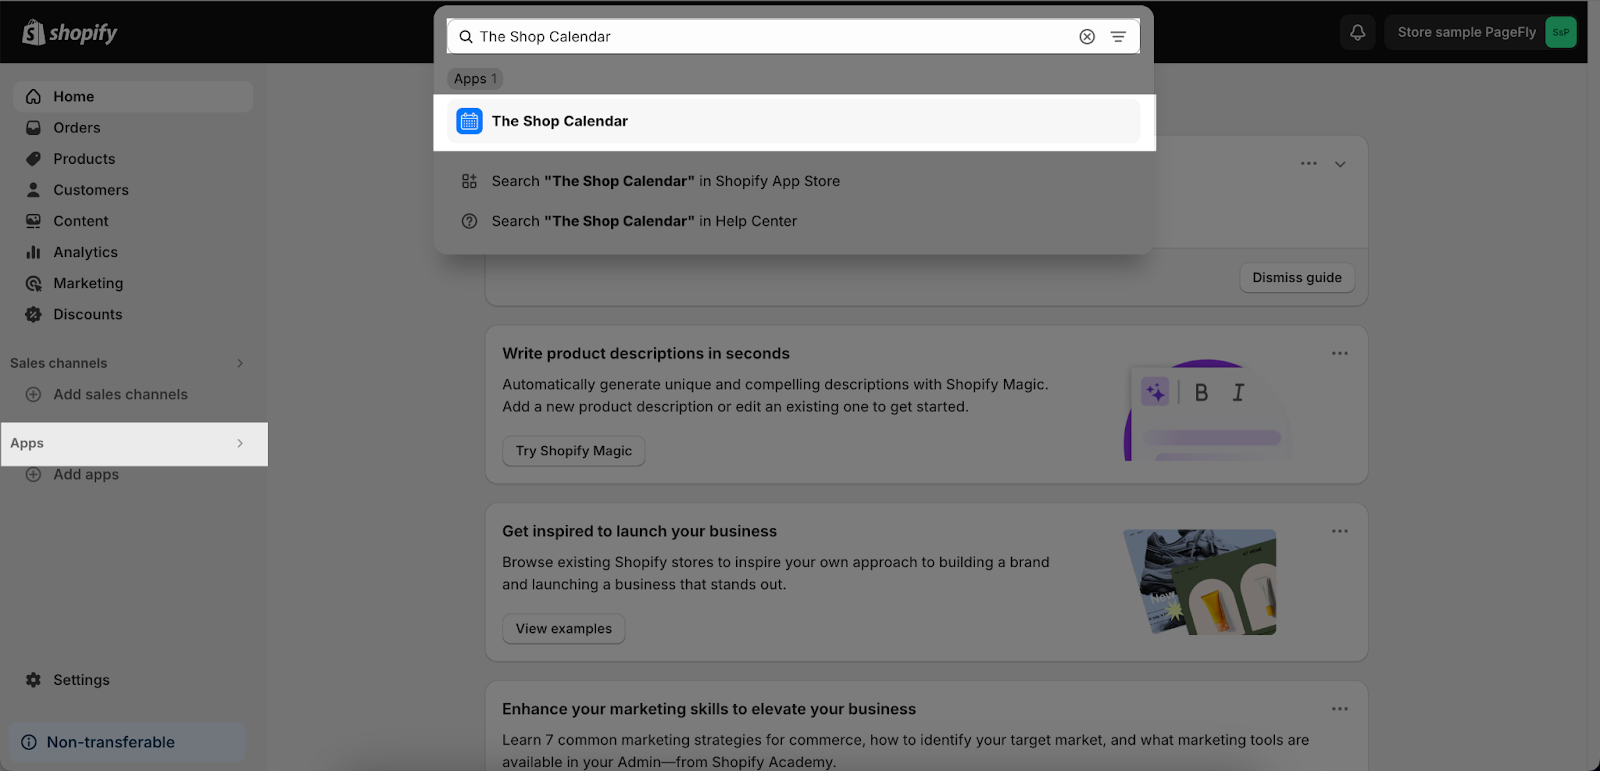
Step 1: Go To Your Shopify Admin > Apps > Choose The Shop Calendar.
Step 2: Click On Create New Event > Customize All The Settings > Hit Save.
- In the Navigate menu, please click on the ‘Create New Event‘ button.
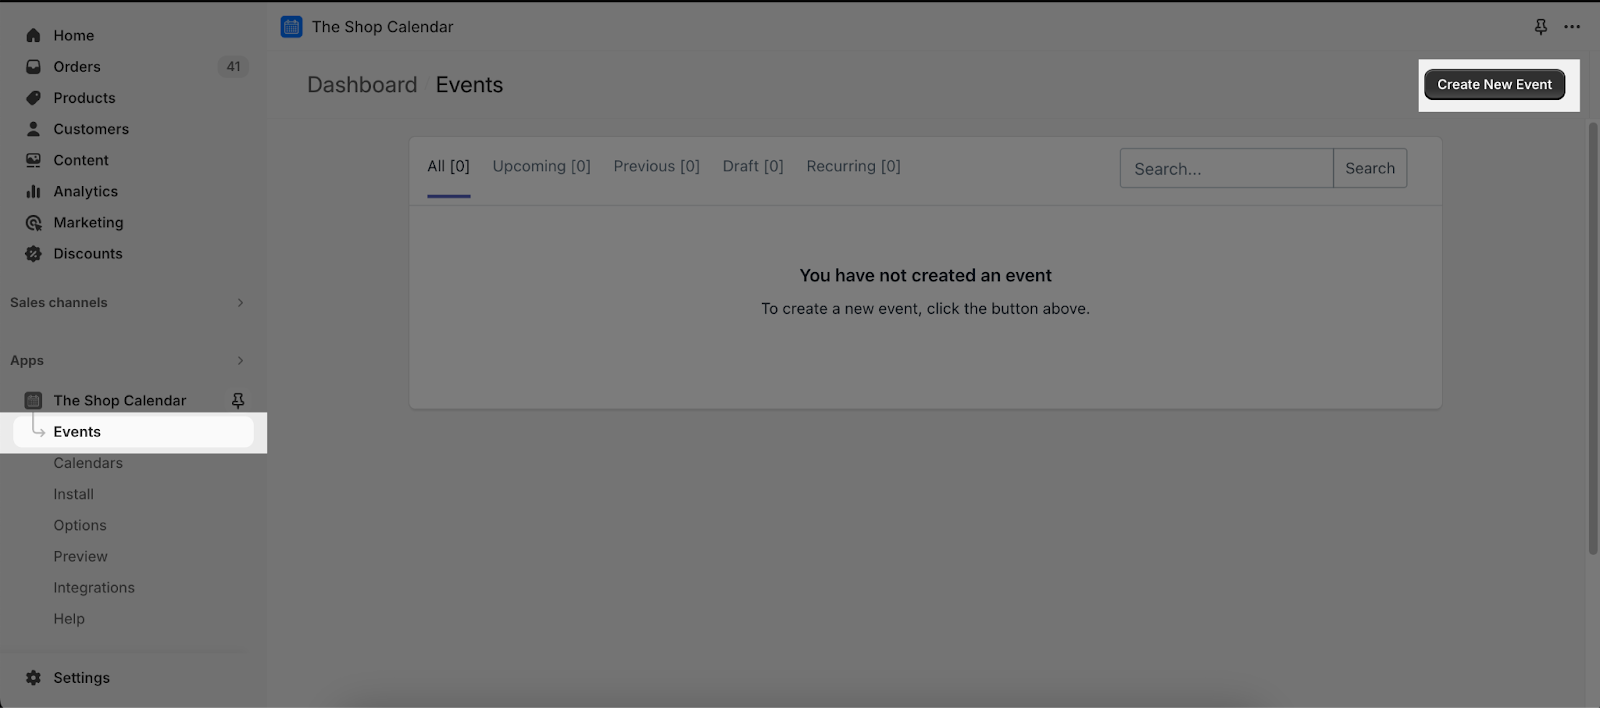
- Next, please adjust the parameters such as ‘Event Title‘ and ‘Event Duration‘ to fit your plan.
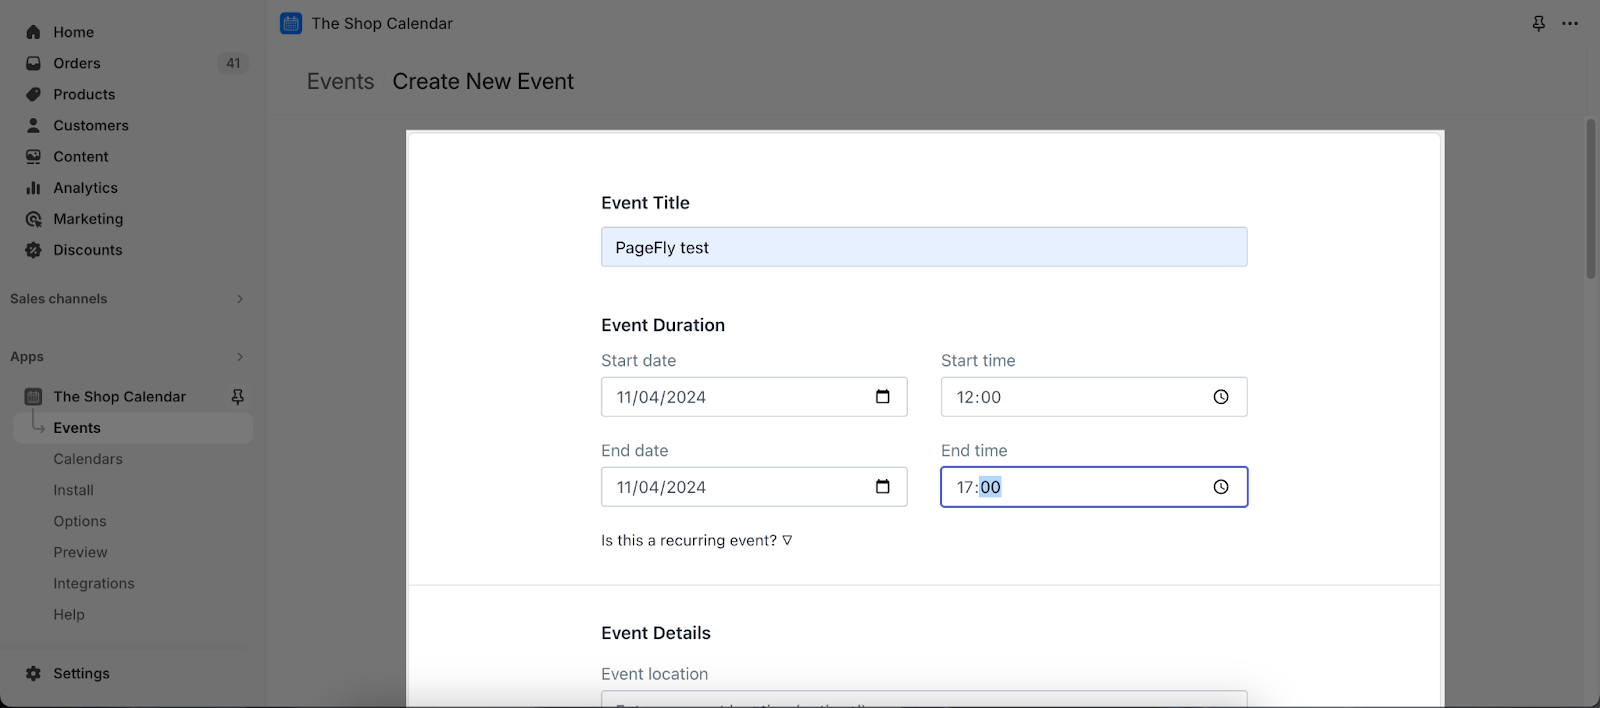
- Finally, you need to click on the ‘Save‘ button to save your changes.

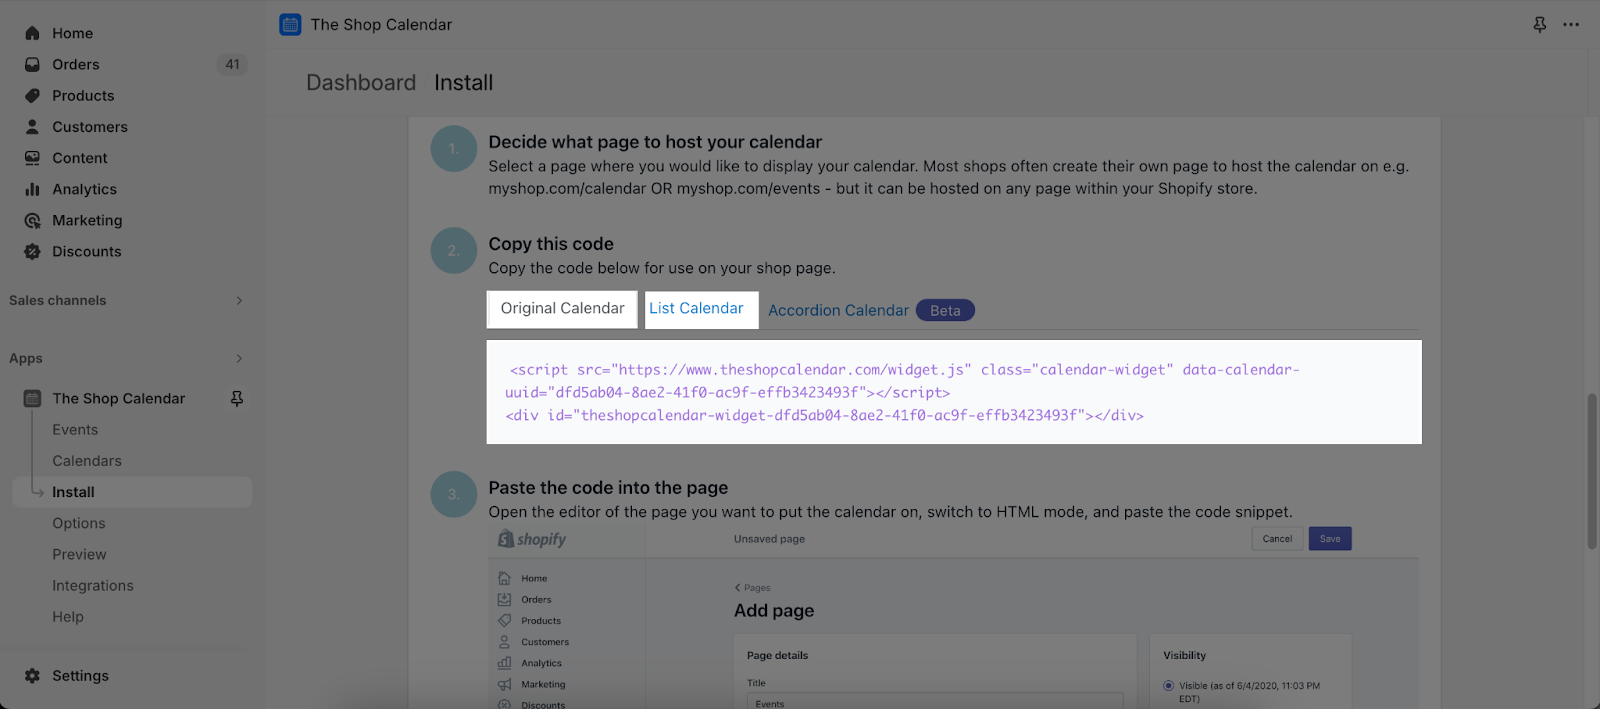
Step 3: Go To Install Section > Manual Install.

Step 4: Scroll Down To The Copy This Code Section > Original Calendar > Copy The Code.
Step 5: Back To The Editor > Head To Short Code Section > Paste The Code.
Tips & Best Practices
We strongly recommend using the Shopify App Block Element for Shop Events Calendar integration. Available for Shopify theme OS 2.0, this feature simplifies adding Shop Events Calendar functionality to your PageFly pages or sections. It offers greater flexibility, easier updates, and an improved user experience. While limited to one per page, the App Block is a valuable tool to enhance your store’s capabilities.
For detailed setup guidance, refer to our App Block article. This simple change can substantially improve your Shop Events Calendar integration and overall store performance.
Frequently Asked Questions
1. What is the pricing of the Shop Events Calendar?
From $9/month. 7-day free trial.
2. Are calendar widgets of Shop Events Calendar mobile-friendly?
Yes
3. Why should I use Shopify calendar – shop events calendar by the shop apps?
There are many benefits to using Shop Events Calendar, including:
- Increase visibility: Your calendar will be displayed on your store’s homepage, making it easy for customers to find your events and promotions.
- Improve engagement: Customers can easily click on events to learn more about them, which can help to increase engagement and sales.
- Enhanced brand image: A well-designed calendar can help to enhance your brand image and make your store look more professional.