


About Hulk App – Product Options Element
What Is Hulk Product Options App?
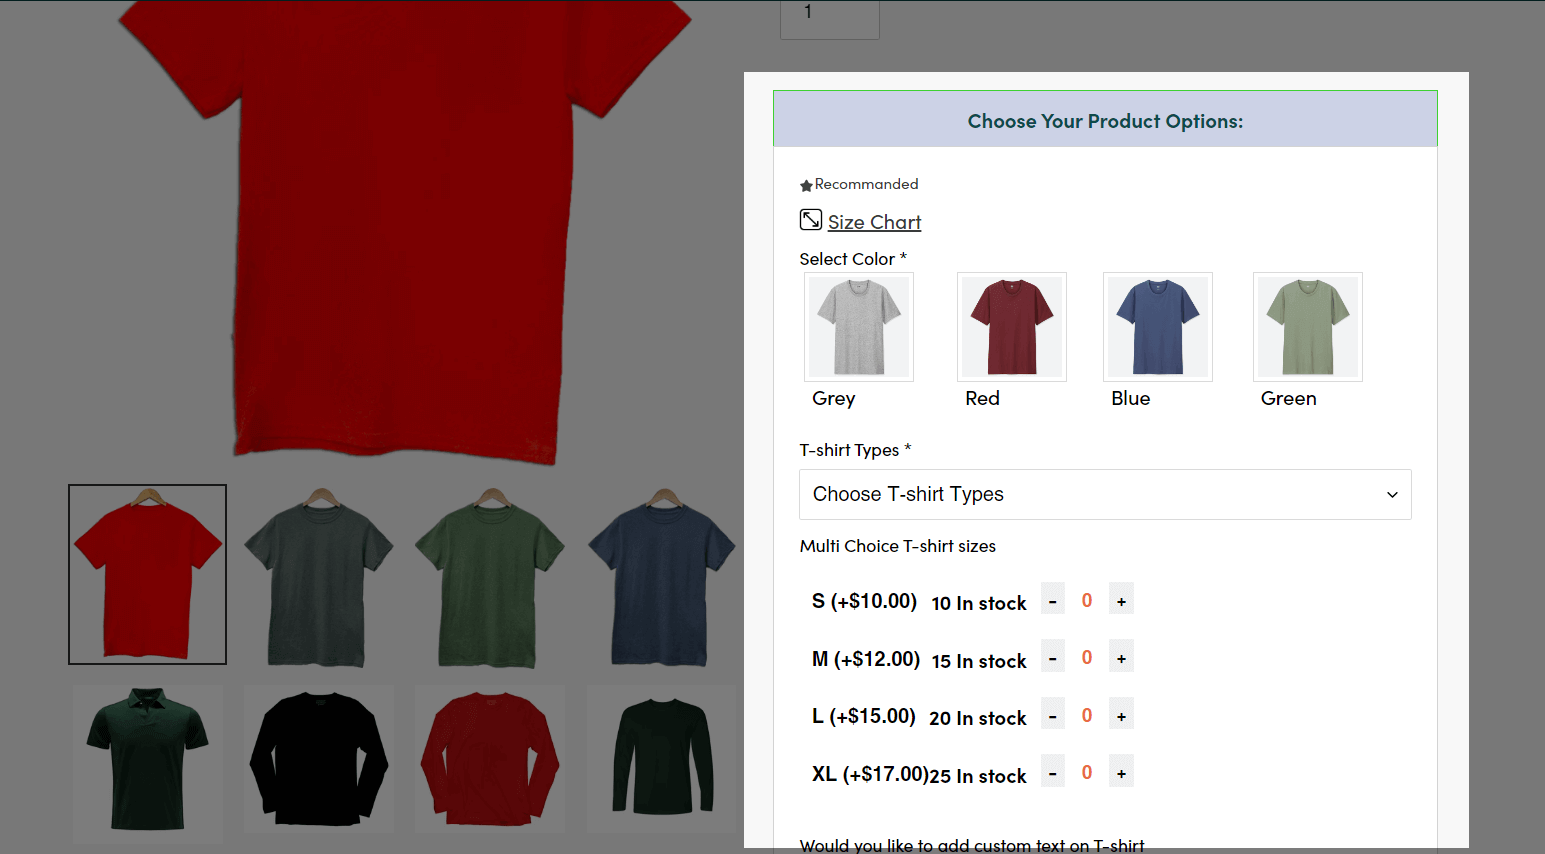
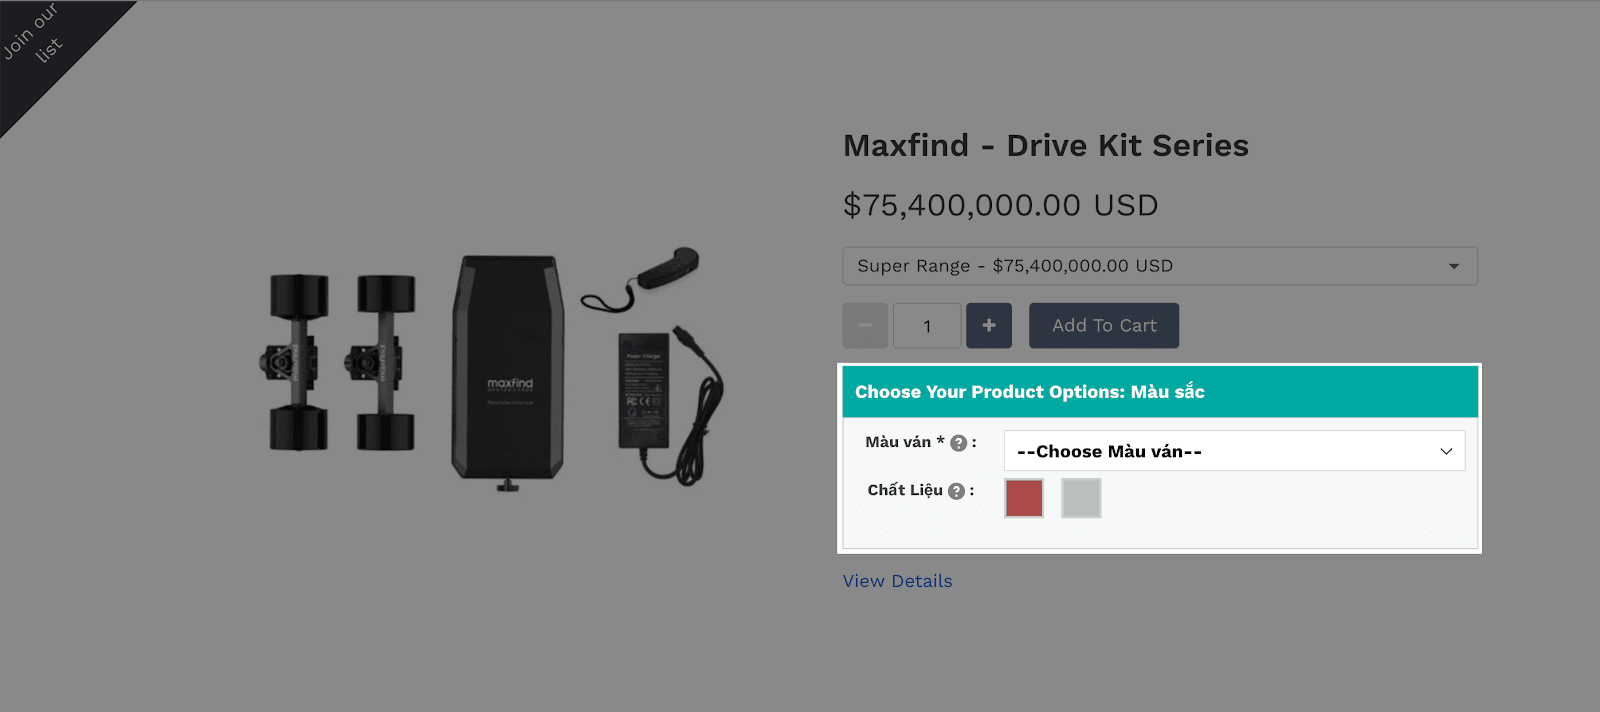
Hulk App – Product Options element is designed to help you personalize products with file uploads and custom text boxes/ text areas. You can also use the Hulk Product Options to add charges for any upgrades, or add-ons on all your product variants with ease.
Install Hulk Product Options App
Before using these elements, you have to install the Infinite Product Options app to your store and configure/enable them inside the app, then come back to PageFly to use the element(s) for the corresponding product(s) you want.
How To Access The Hulk Product Options Element
In page editor, follow these steps to access Hulk Product Options element:
- Step 1: In the PageFly editor, click “Add third-party element” on the left menu
- Step 2: Click “Manage integrations” or the gear icon on top
- Step 3: Search for “Hulk Product Options” and enable it
- Step 4: Click “Close” and the element will appear in the “Add third-party element” menu
How To Configure Hulk Product Options Element
- The Hulk Product Options element only works on the Product pages.
- On the Product page, the Hulk Product Options element must stay inside the Product Details element.
- You must add Product Variant element inside the Product Details to make it work
- For the full widget configuration, please go to the settings area of the Hulk Product Options application.
- If your store uses Shopify Online Store 1.0 Theme, you will need to follow these steps in order to integrate the Hulk Product Options app with your current theme.
From PageFly
Step 1: Add Hulk Product Options Element
Before starting to set up for the Hulk Product Options element, you will need to add this element onto your page canvas:
- Step 1: Click “Add third party element” on the left menu bar
- Step 2: Look for “Hulk Product Options” element
- Step 3: Click on the element to see its variant
- Step 4: Drag and drop the variant onto the page canvas
Step 2: Configure Hulk Product Options Element
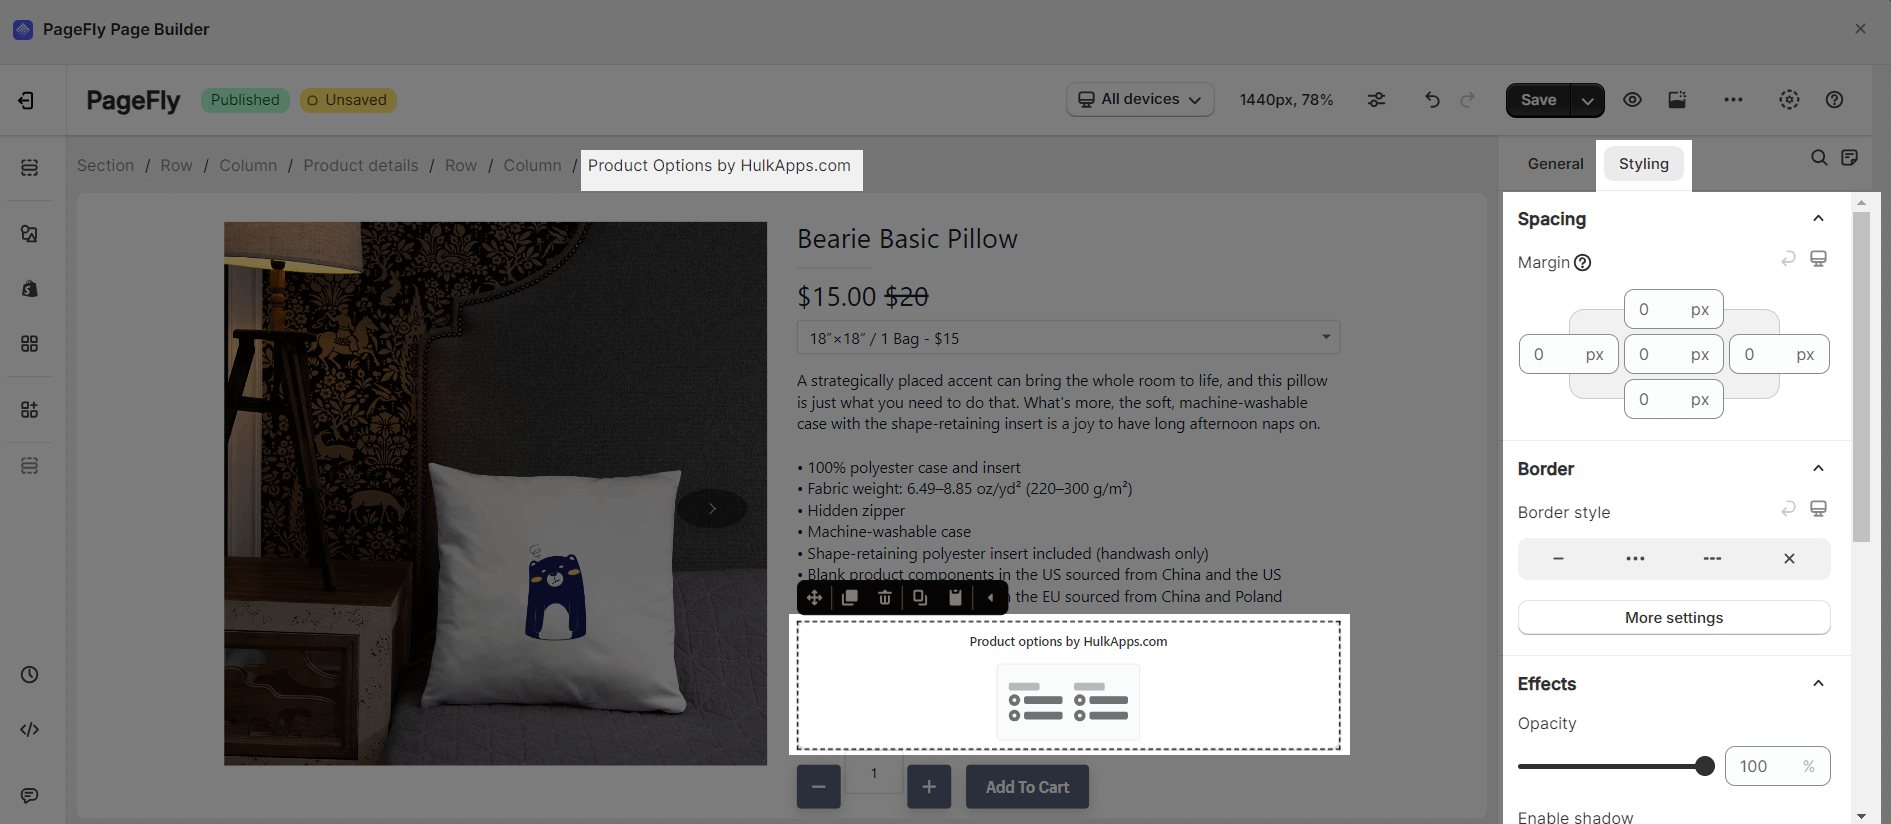
After adding the element, you can adjust for it by clicking on the element.
- From the “General” tab, there is a widget configuration giving you a short explanation of the Hulk Product Options app, its link to the app listing, and the Product Source is Auto by default.
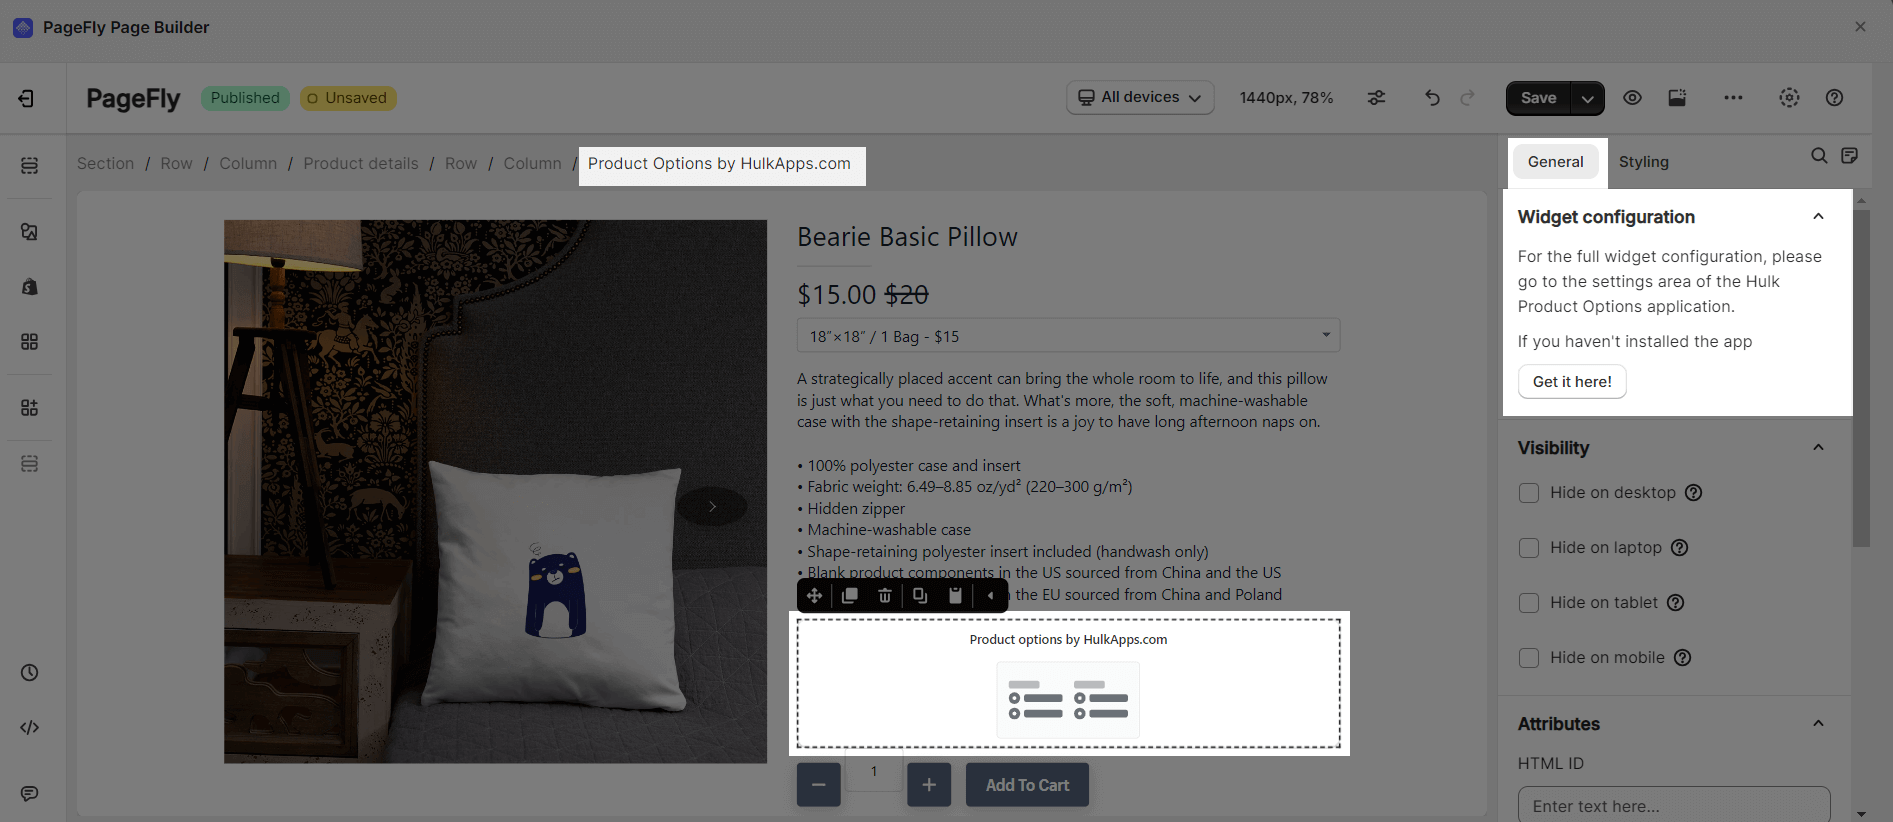
- For styling options like margins, borders, and effects, go to the “Styling” tab. You can find more details about the available options here.
From Hulk Product Options App
Before using the Hulk Product Options element in PageFly, you’ll need to create and configure your widget in the Hulk Product Options app. Here’s how:
-
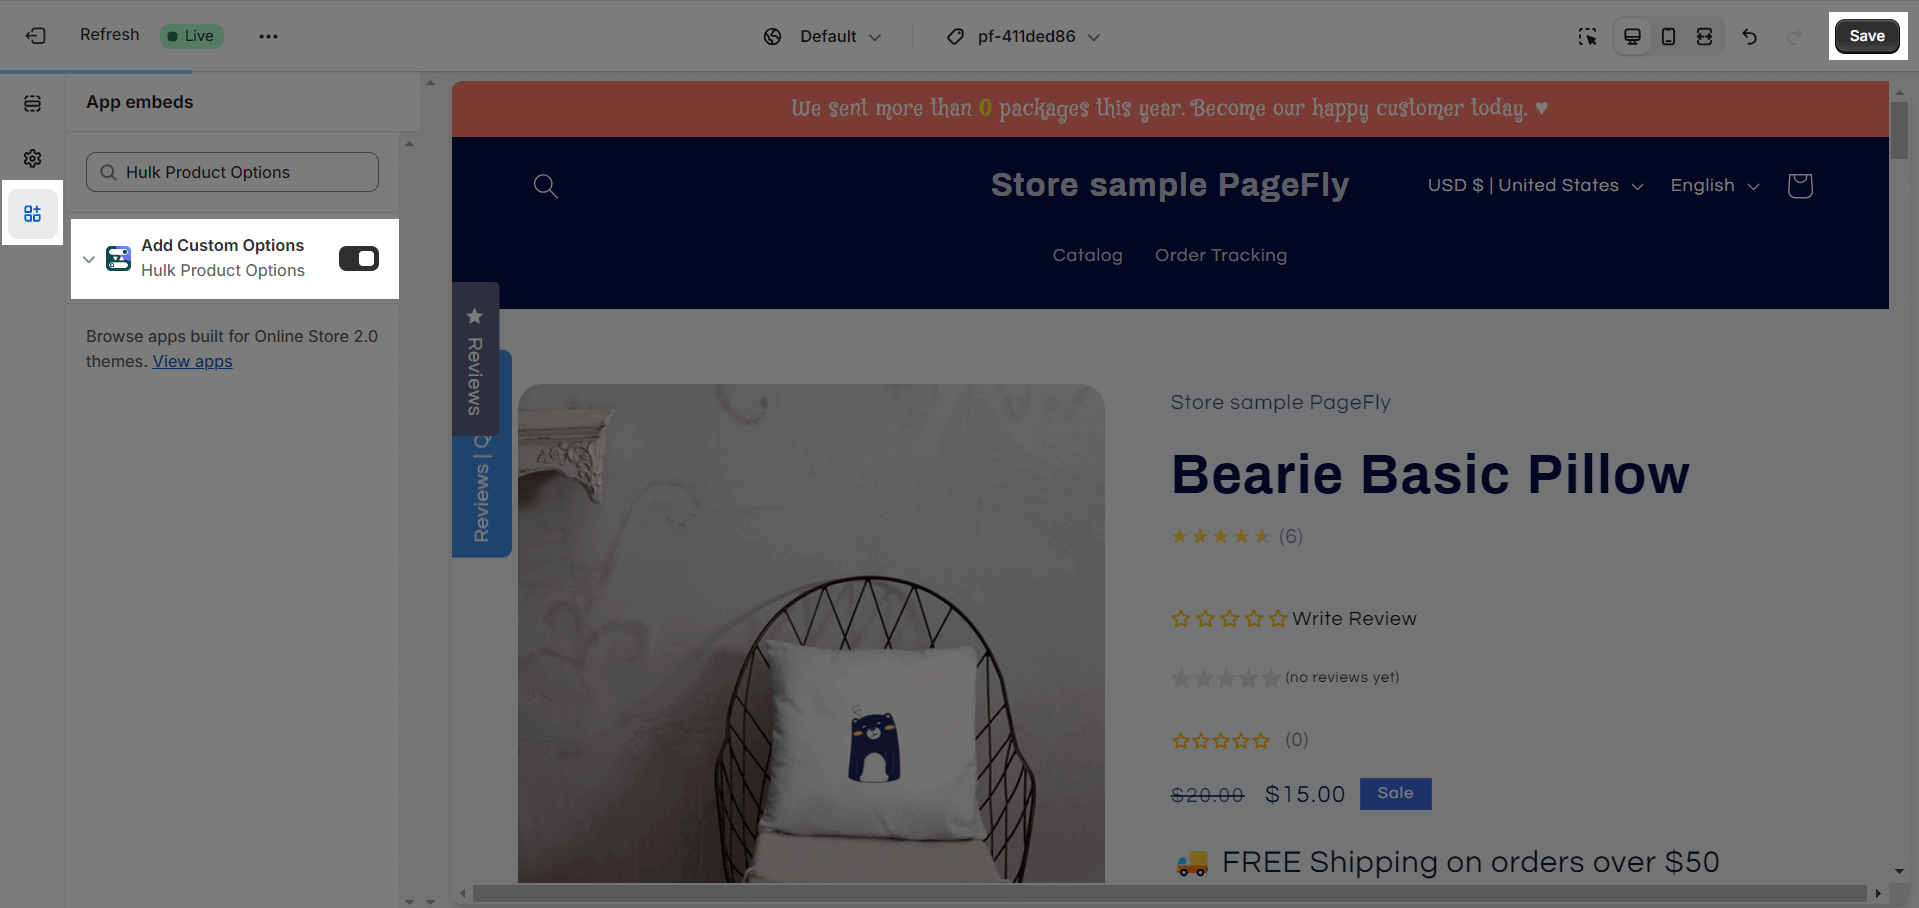
Step 1: Activate “Hulk Product Options” in the Theme Customize
Go to your Shopify admin, then navigate to Online Store > Theme > Current theme > Customize > App embeds. Search for “Hulk Product Options” and activate it.
-
Step 2: Go Hulk Product Options App
Product Options
From the Hulk Product Options Dashboard, head to the “Options” tab > On the “Options” tab, choose the “Add new” button.
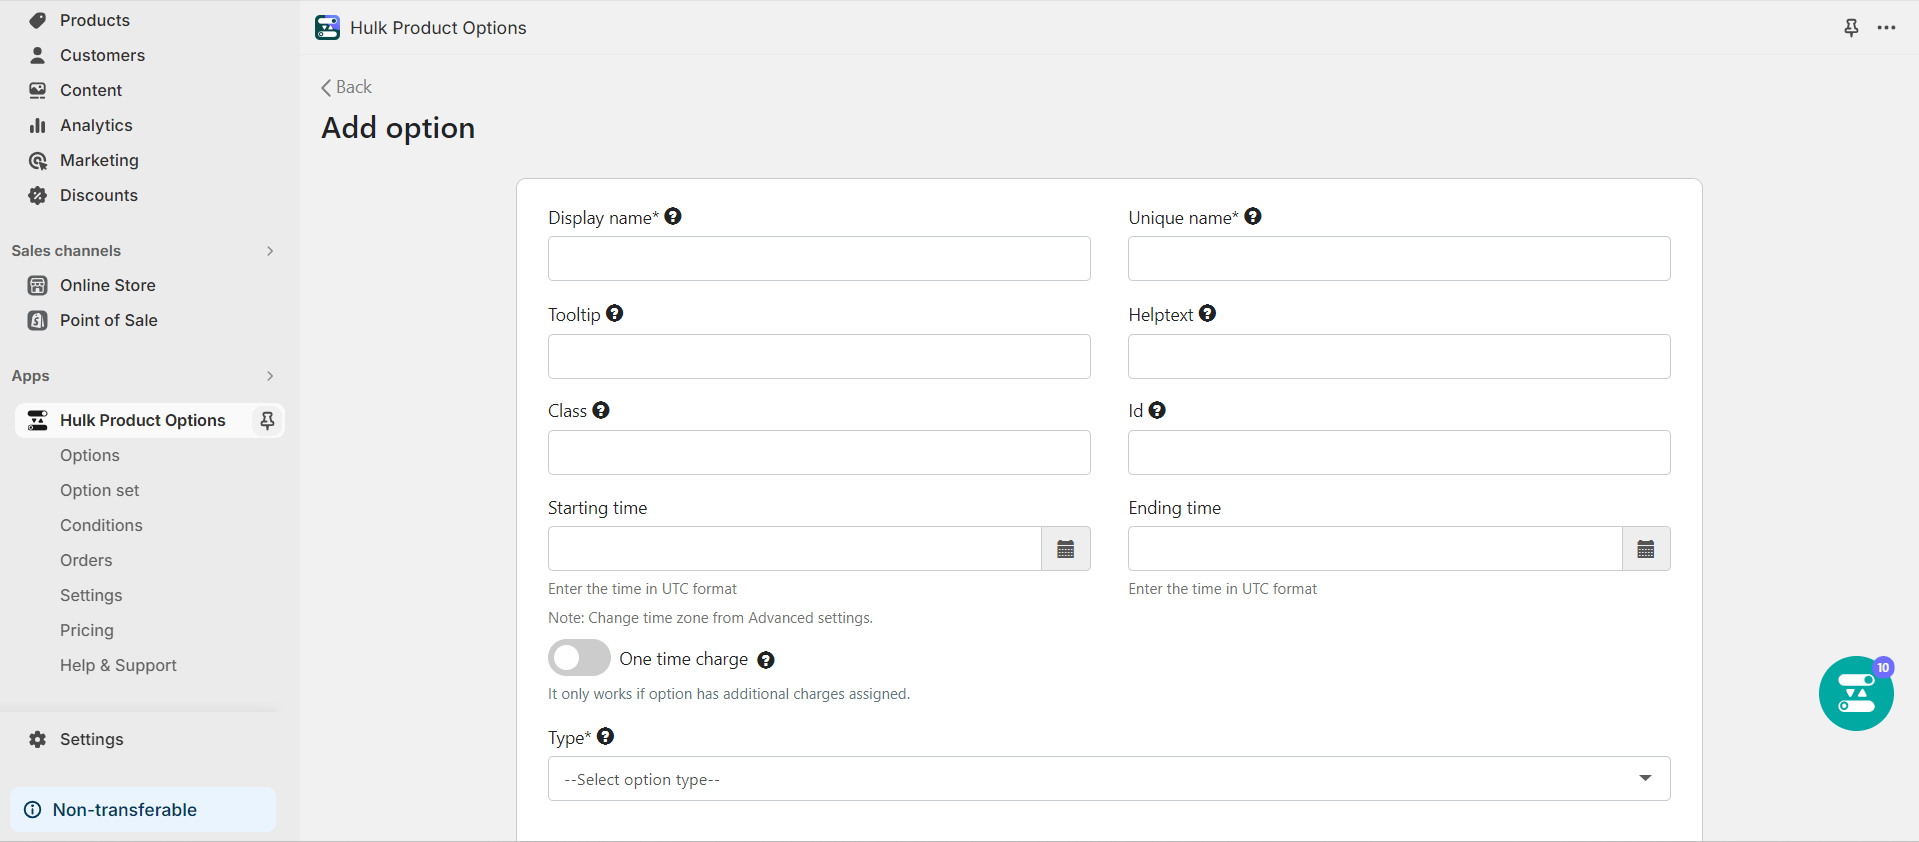
You can create various product options required for your storefront. There are many options to personalize your products, which are:
- Display name
- Unique name
- Tooltip
- Helptext
- Class
- Id
- Starting time
- Ending time
- Types
- Values
Then, hit the Save button.
Option Sets
From the Hulk Product Options Dashboard, head to the “Option set” tab > On the “Option set” tab, choose the “Add new” button.
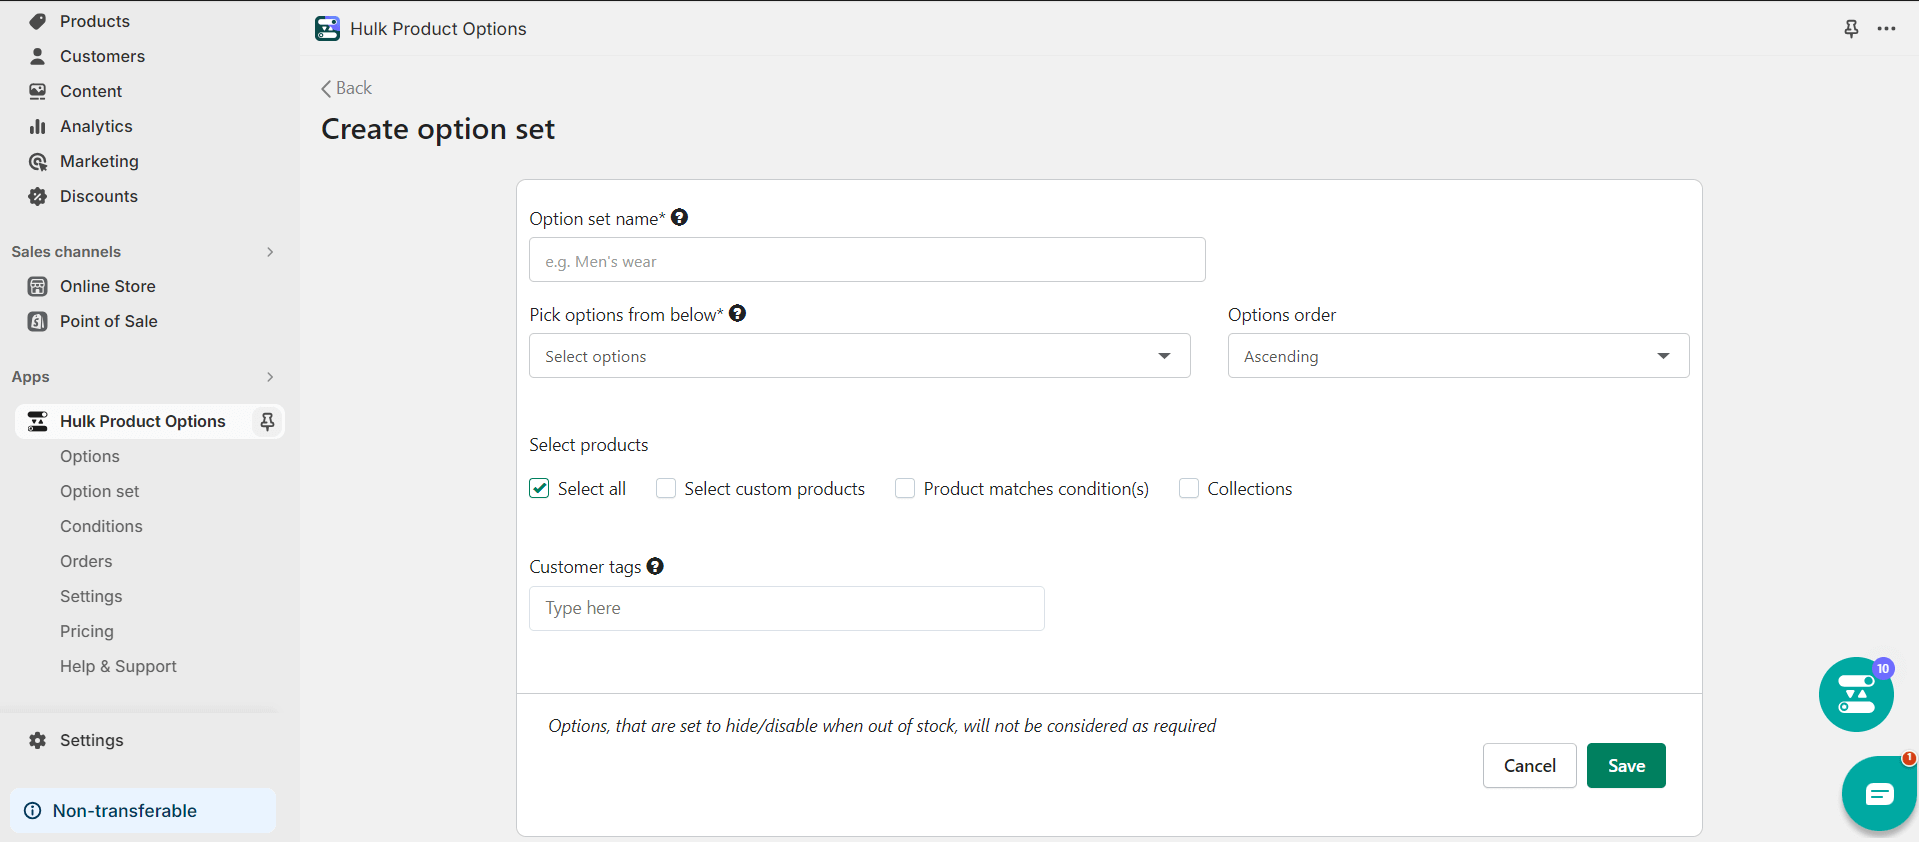
From here, you can customize:
- Option set name
- Pick options from below
- Options Order
- Select products
- Customer tags
After configuring all these options above, hit the Save button.
Conditions
From the Hulk Product Options Dashboard, head to the “Conditions” tab > On the “Conditions” tab, choose the “Add new” button.

To create a new condition, set Rules and Actions > Hit the Save button.
After all configurations are done, please go to the PageFly Editor to drag and drop the element on the canvas.
Finally, hit Publish to see the result on your live page.
Frequently Asked Questions
What Are The Benefits Of Using Hulk App?
Hulk App Plan normally includes allowing customers to personalize their products with a variety of options. Compatible with Shopify “Buy Now” and Shop Pay express checkout buttons. Enable your customers to upload an image of how the custom product should look. Bulk apply custom options to thousands of products at a time and also Provide photos or color swatches to shoppers during their product selection.
What’s Included In Hulk App Plan?
For a minimal plan, it allows: 12 Option Types, Unlimited Options, Image & Color Swatches, File Upload Management, Price Add-ons, Custom JS/CSS, Pagination style and Option Cost per Item.
Who Is Currently In Partnership With Hulk App?
PageFly, HulkApps Mobile App Builder, HulkApps VolumeBoost, EComposer, iDentixweb, LogBase.