About Lookbookify
What Is Lookbookify?
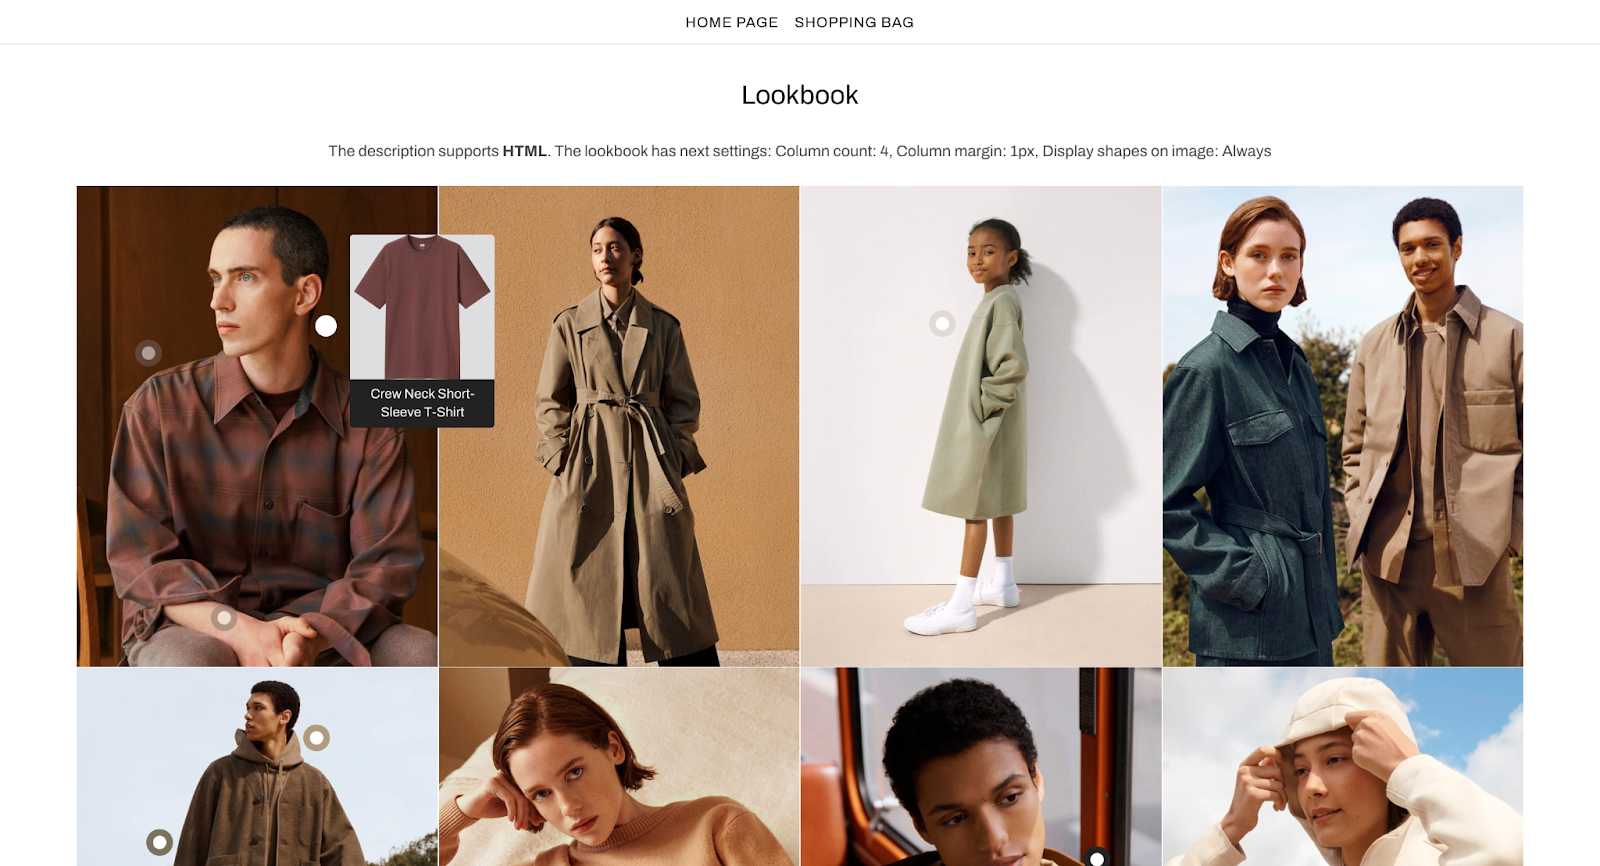
Lookbookify is used to create clean and stunning galleries. Allow users to add products to cart from images you upload.
Lookbookify allows you to label items in every photo you upload, connect numerous images into a cohesive lookbook, and encourage your audience to make multiple purchases on a single page. Our default lookbook designs are clean, uncomplicated, and visually appealing. We provide a variety of layout options, such as grid or slider formats. Our galleries adapt seamlessly to different screen sizes and are fully compatible with all mobile devices. Your images are distributed worldwide via a Content Delivery Network (CDN) for optimal accessibility and speed. Take advantage of the Customer Lookbook or Shop the Look features as potent promotional tools.
Install Lookbookify
Before using this element in PageFly, you’ll need to install the Lookbookify app to your store and configure all its options.
- Install Lookbookify
- Install PageFly
How To Access Lookbookify
In page editor, follow these steps to access Lookbookify element in PageFly:
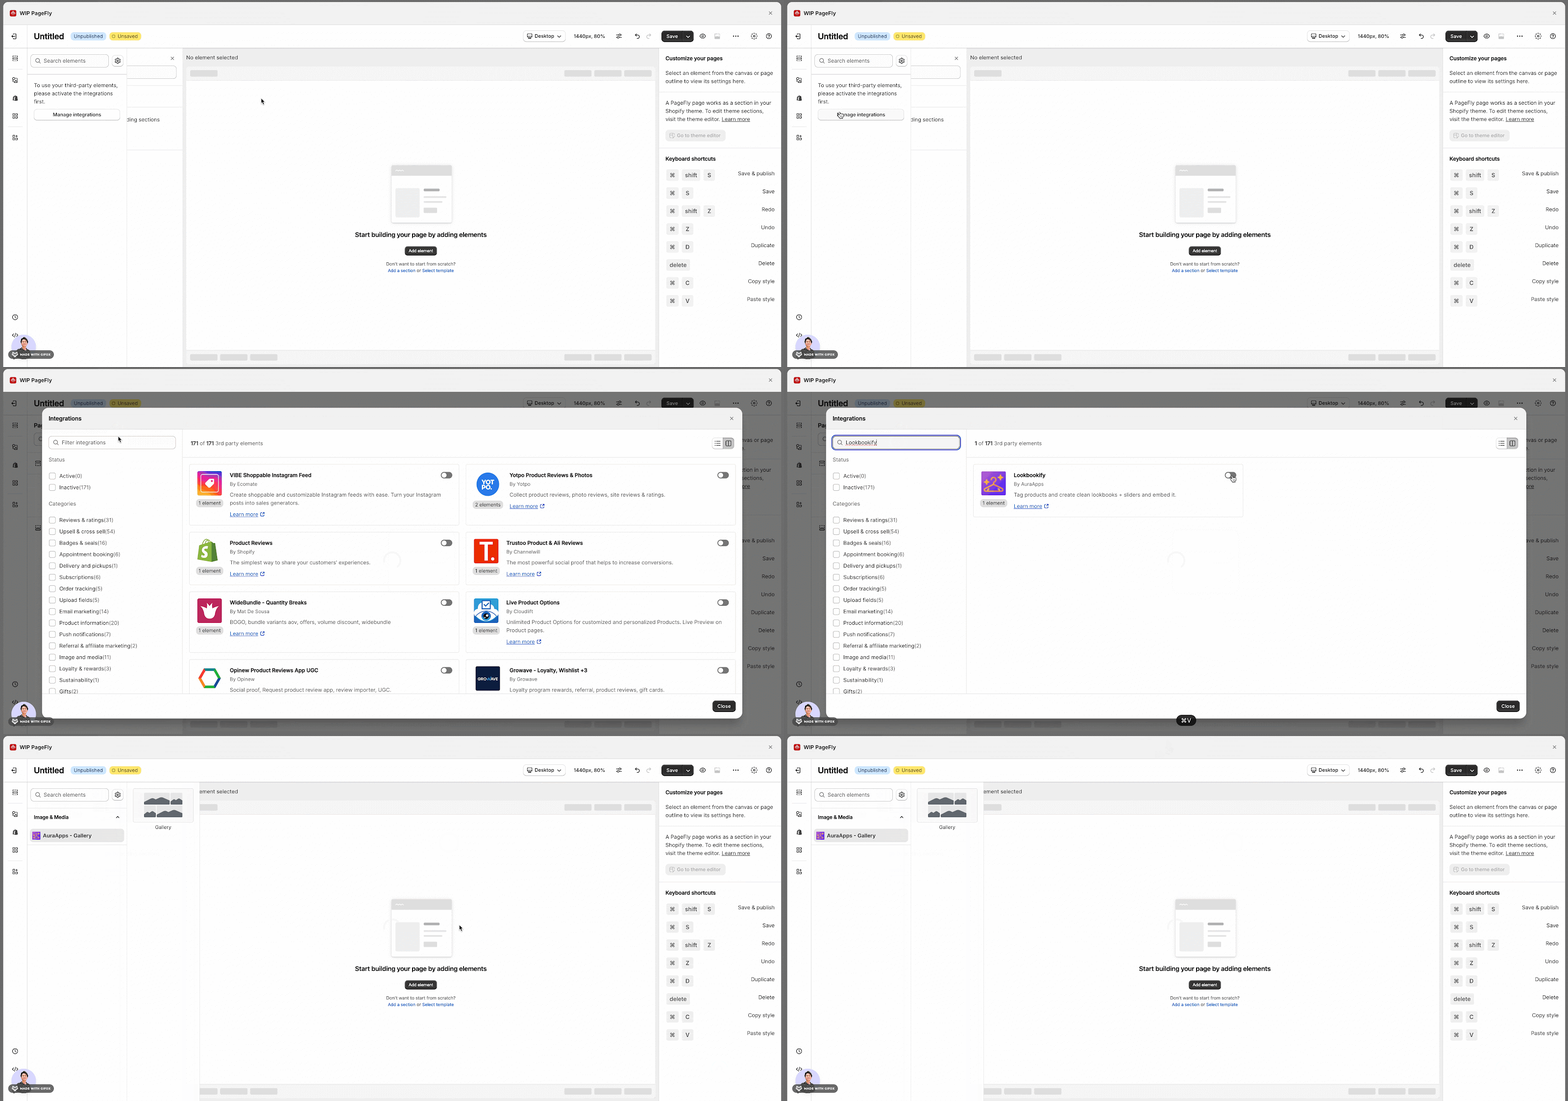
- Step 1: In the PageFly editor, click “Add third-party element” on the left menu
- Step 2: Click “Manage integrations” or the gear icon on top
- Step 3: Search for “Lookbookify” and enable it
- Step 4: Click “Close” and the element will appear in the “Add third-party element” menu
How To Configure Lookbookify
From PageFly
Add Lookbookify Element
Before starting to set up for the Lookbookify element, you will need to add this element onto your page canvas:
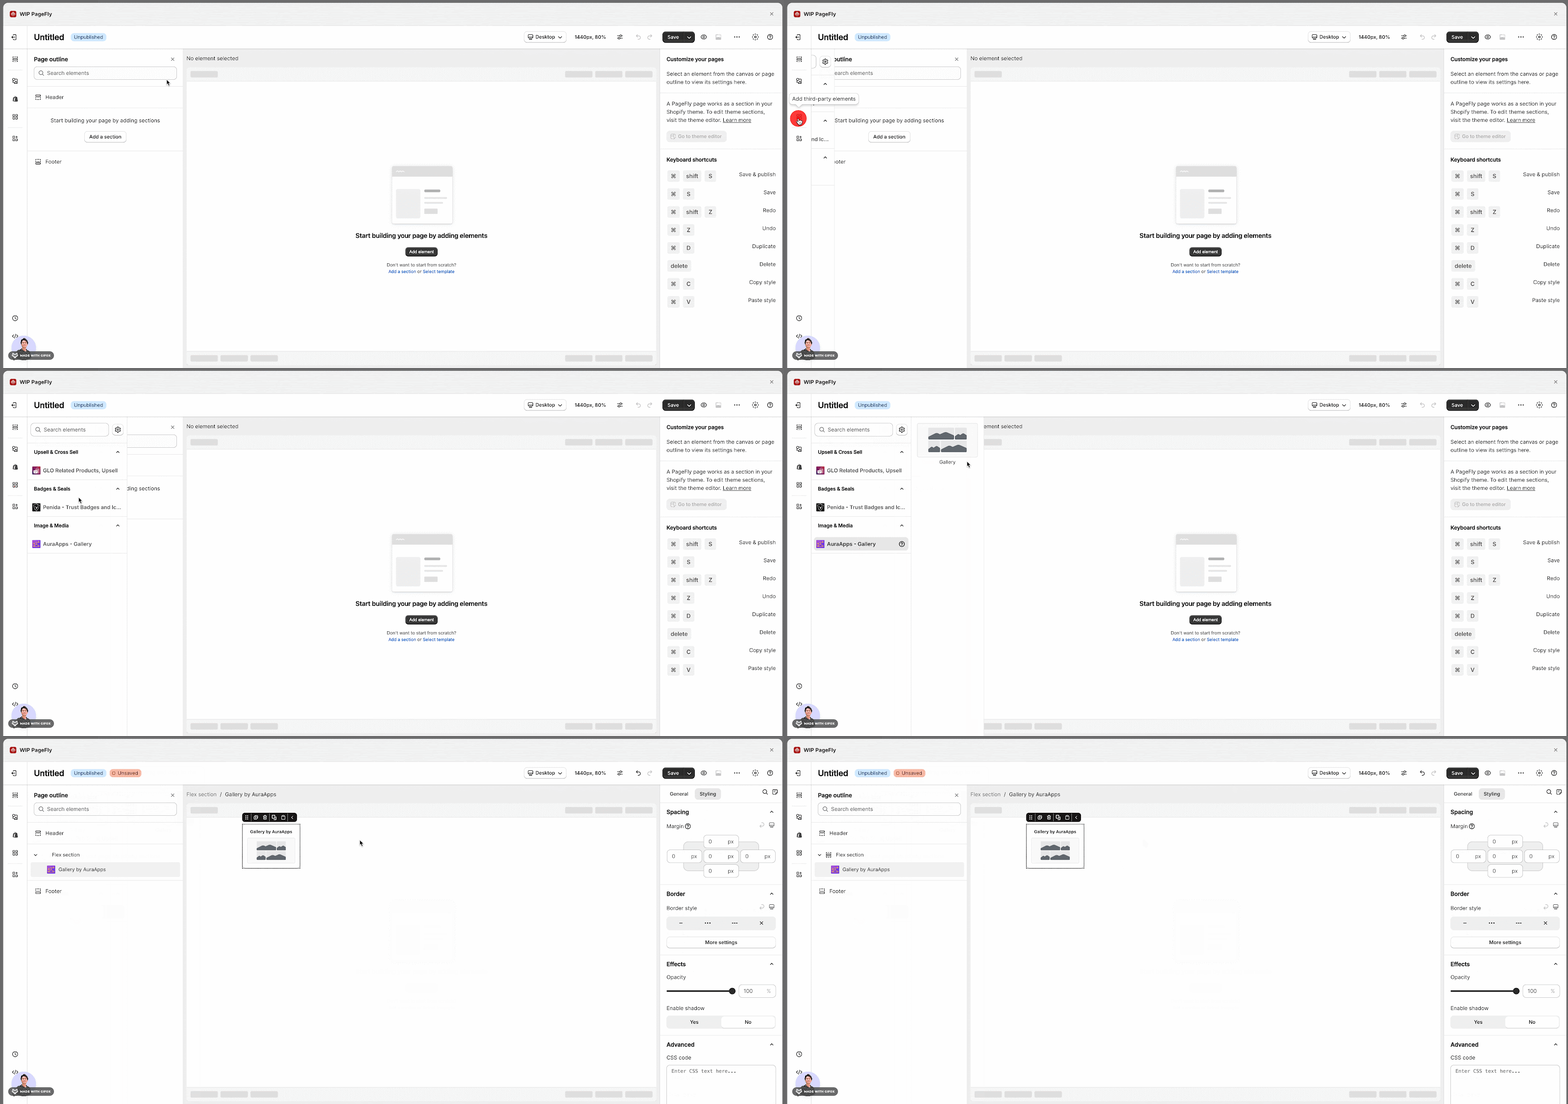
- Step 1: Click “Add third party element” on the left menu bar
- Step 2: Look for “AuraApps – Gallery” element
- Step 3: Click on the element to see its variant
- Step 4: Drag and drop the variant onto the page canvas
The Lookbookify element comes with 1 variant: Gallery
Configure Lookbookify Element
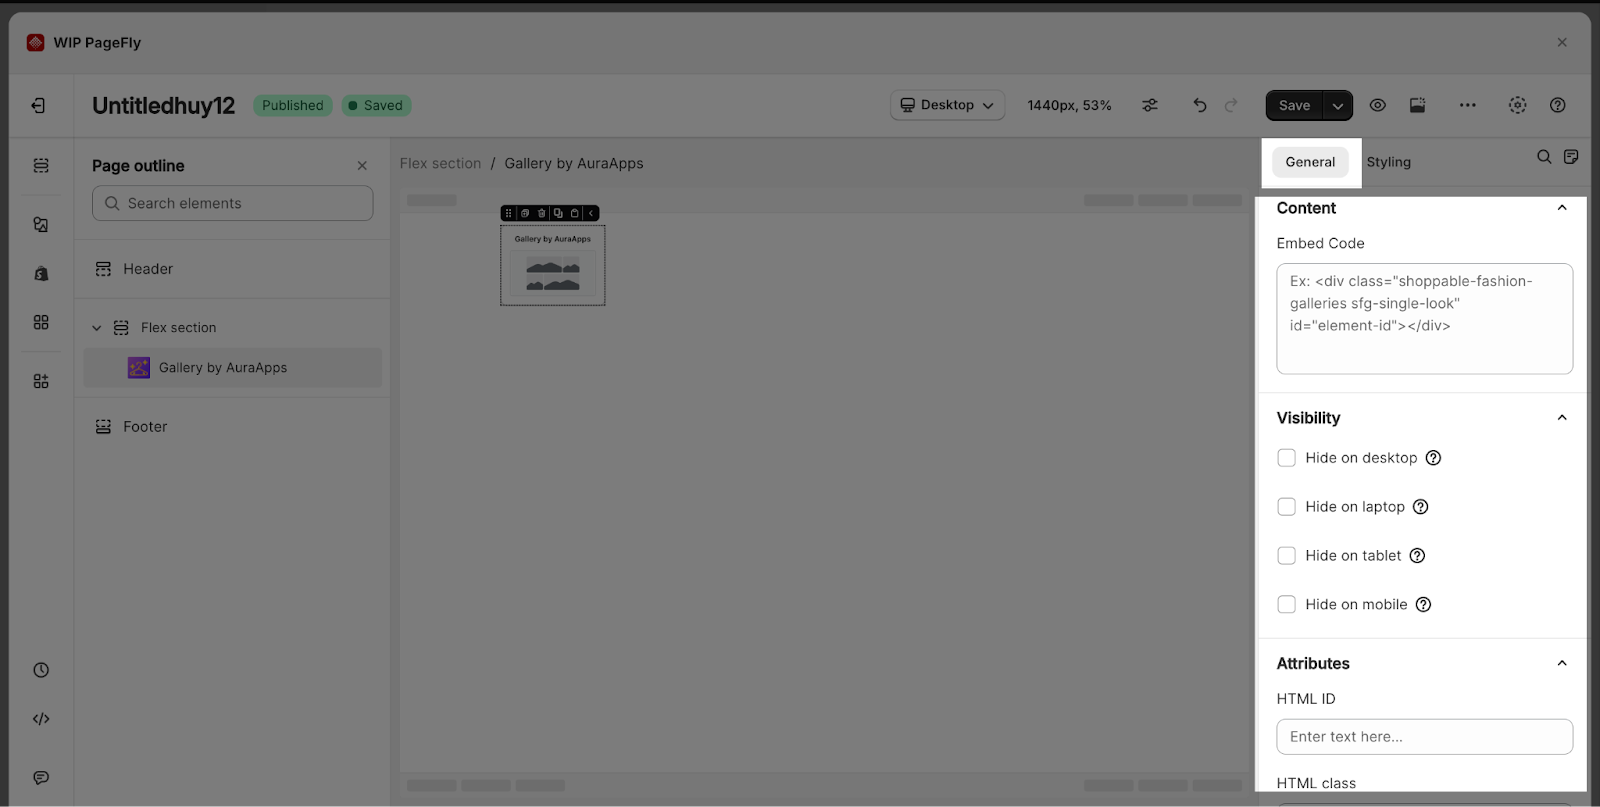
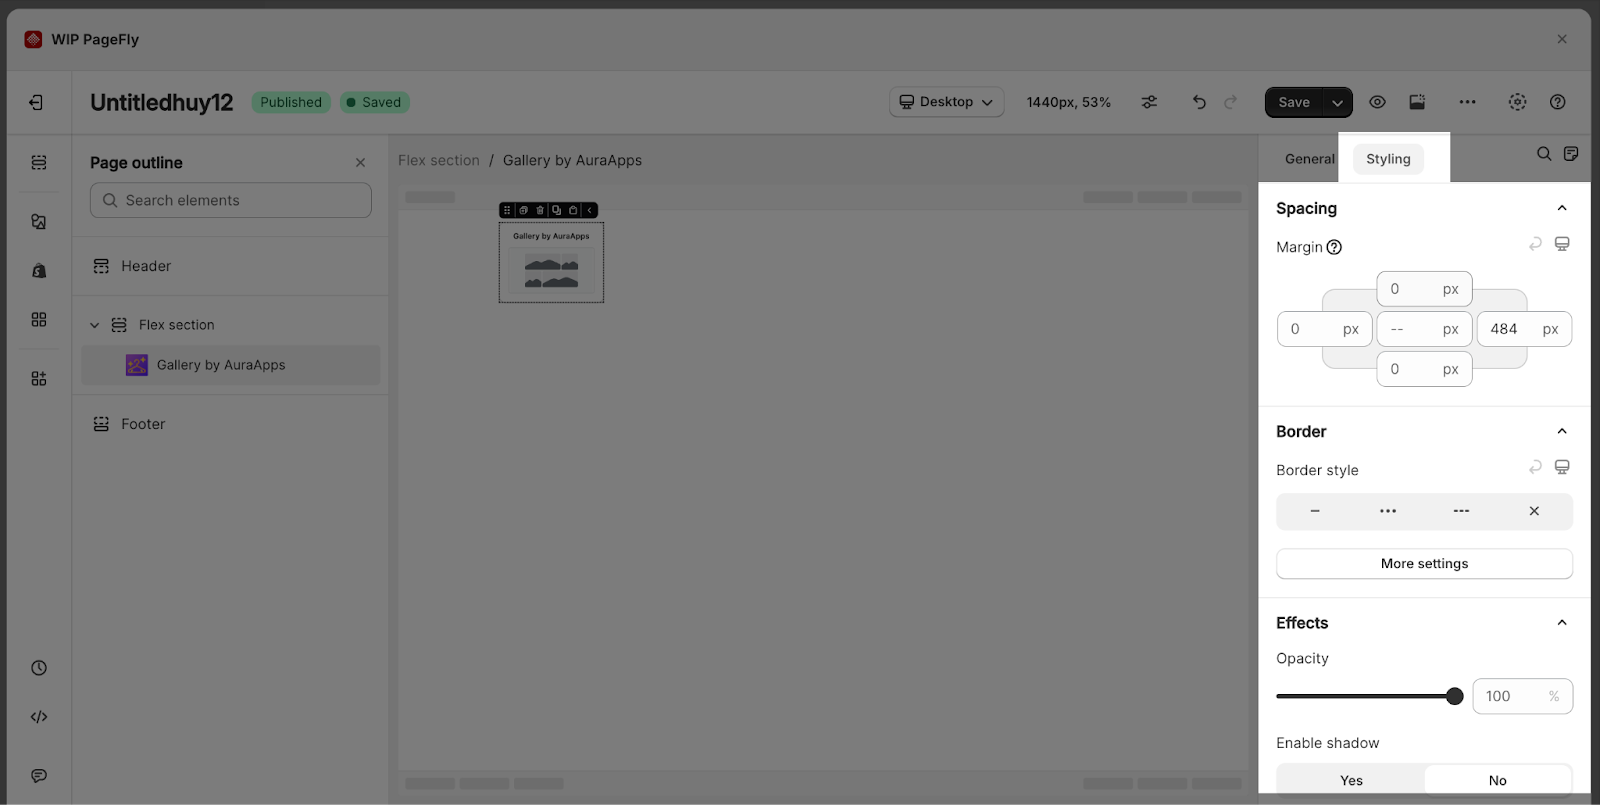
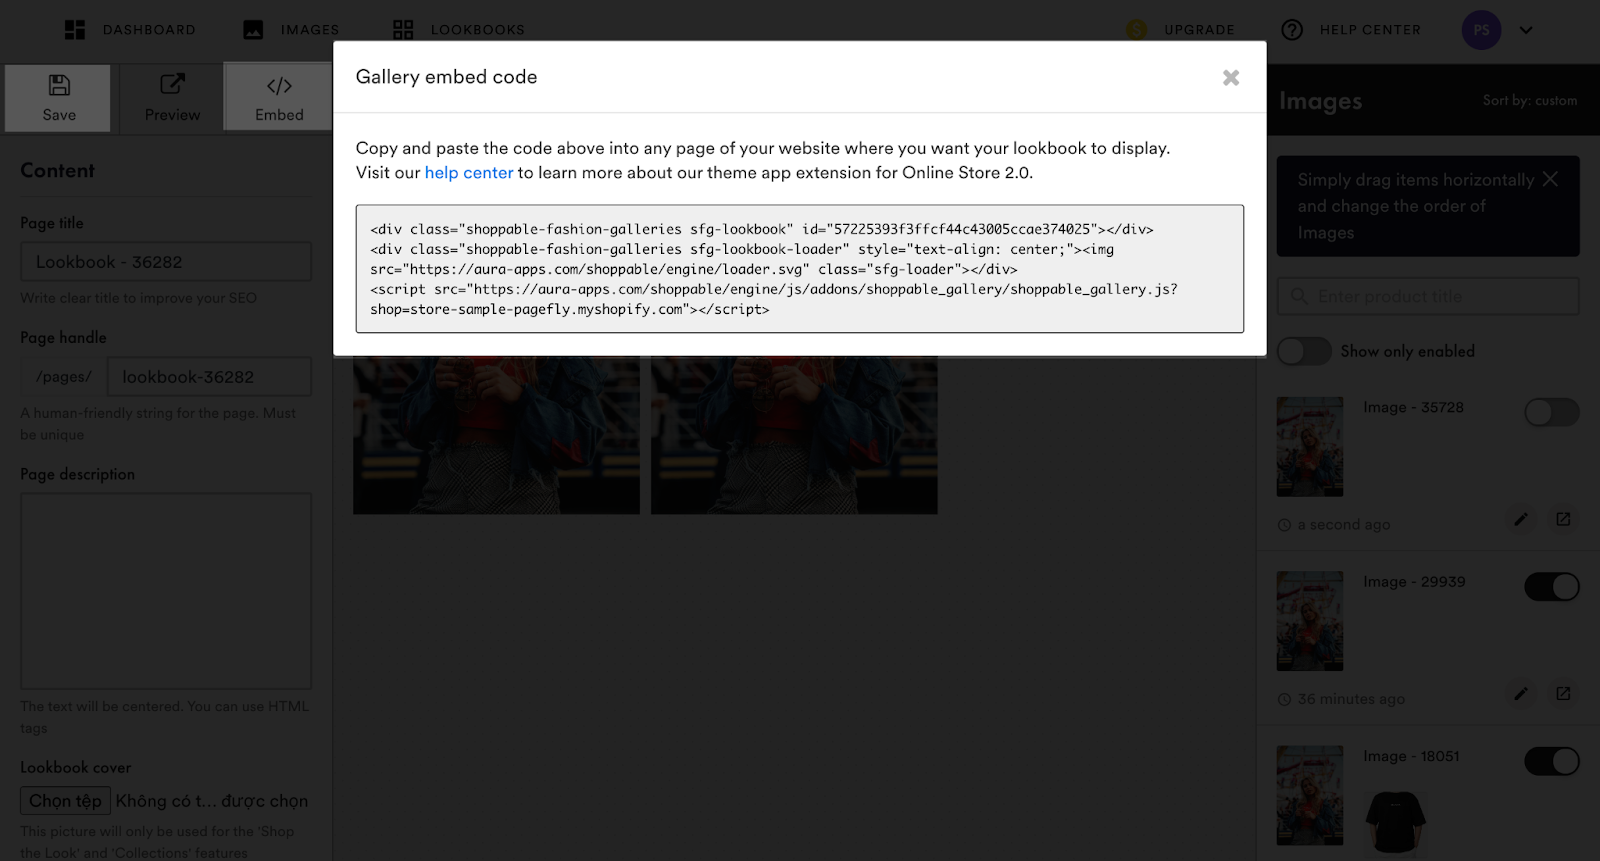
After adding the element, click on it to see different ways to change how it looks. For the General tab, you need to write the code provided by Lookbookify app into the Embed Code field. After that, you can use other common features in PageFly such as Visibility, Attributes and Animation.
Moreover, you can use the “Styling” tab in PageFly to config the style of your element.
From Lookbookify App
Before using the Lookbookify elements in PageFly, you’ll need to create and configure your Lookbook in the Lookbookify app:
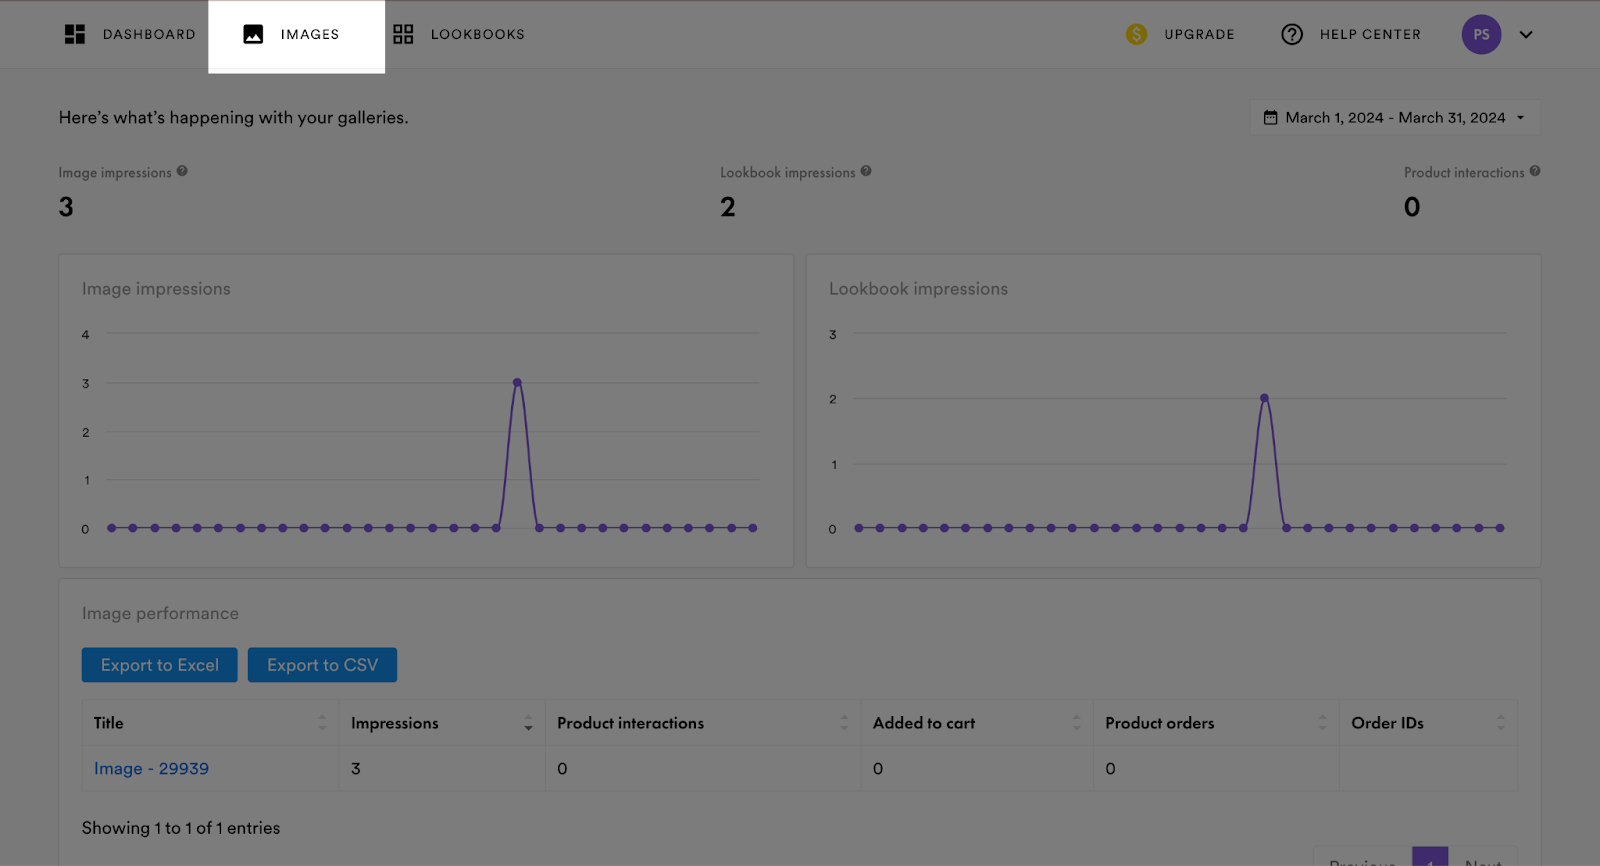
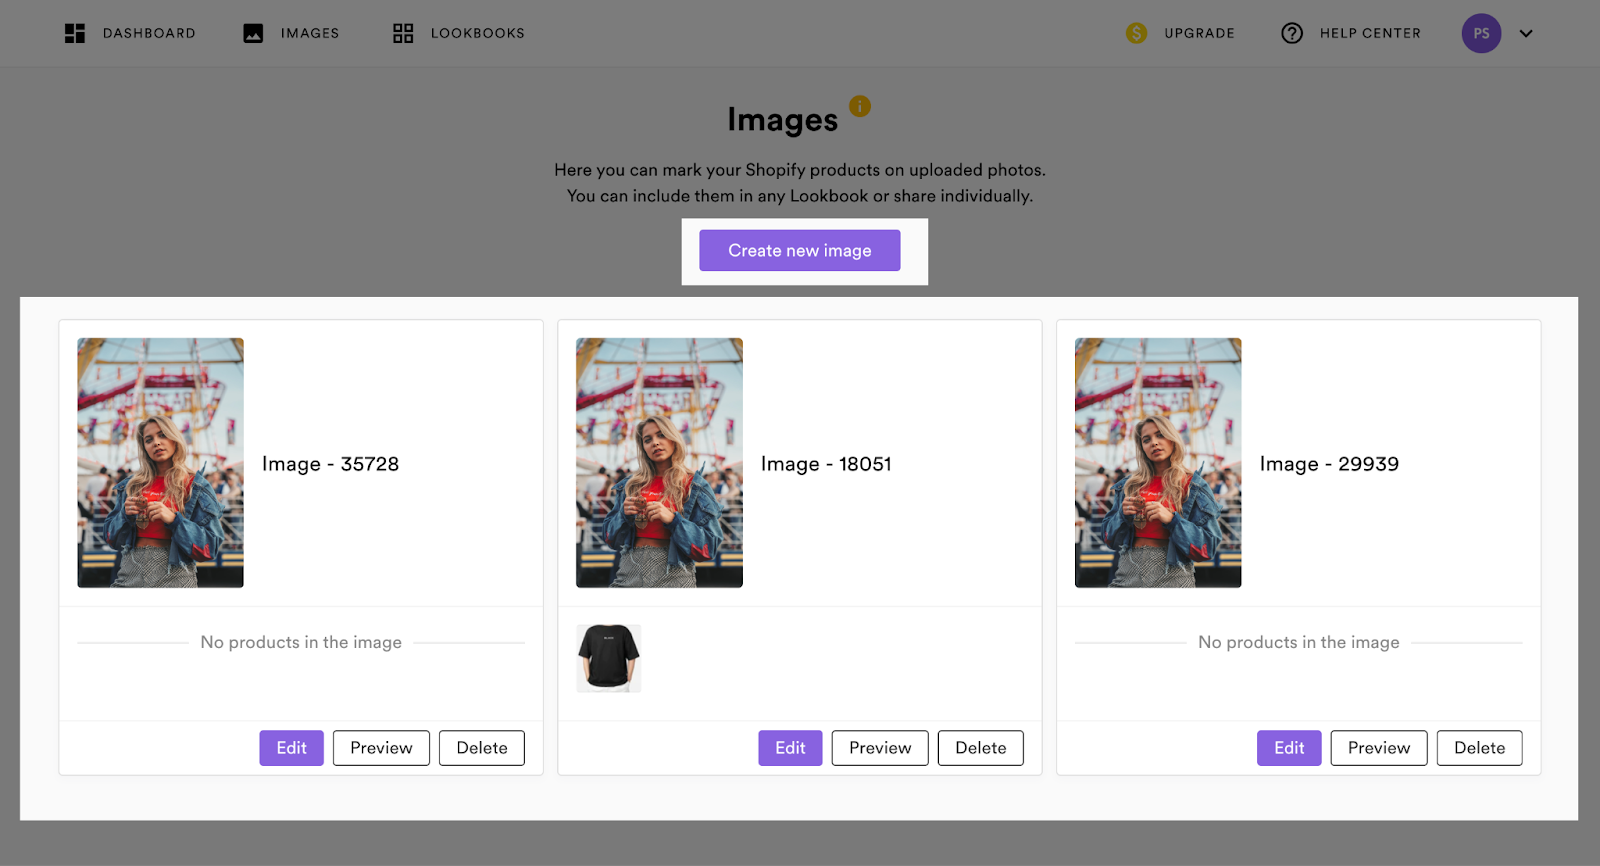
Step 1: Access Lookbookify app and click the Images tab
Step 2: Create and save images in Lookbookify app
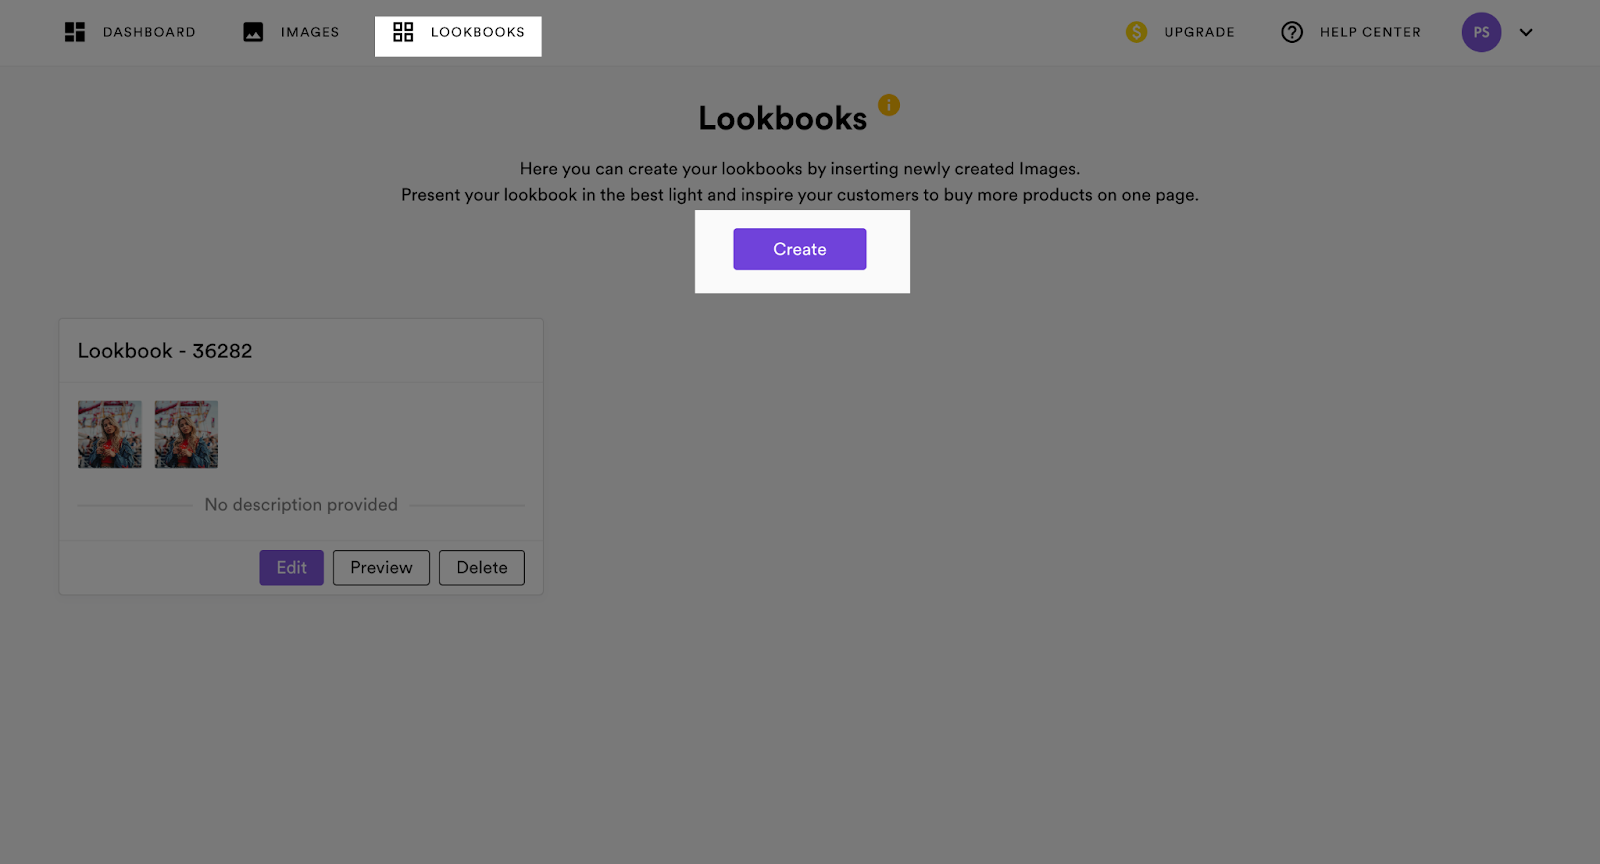
Step 3: Go to Lookbooks tab and create a new lookbook
Step 4: Save the Lookbook and click to the Embed button, after that, a popup with embed code will appear. You need to copy all the embed code shown and then paste it into “Embed code” section in PageFly as mentioned above.
Frequently Asked Questions
Is The Lookbookify App Free?
Yes, there’s a free version.


