About Mini: Customization Fields
What Is Mini: Customization Fields?
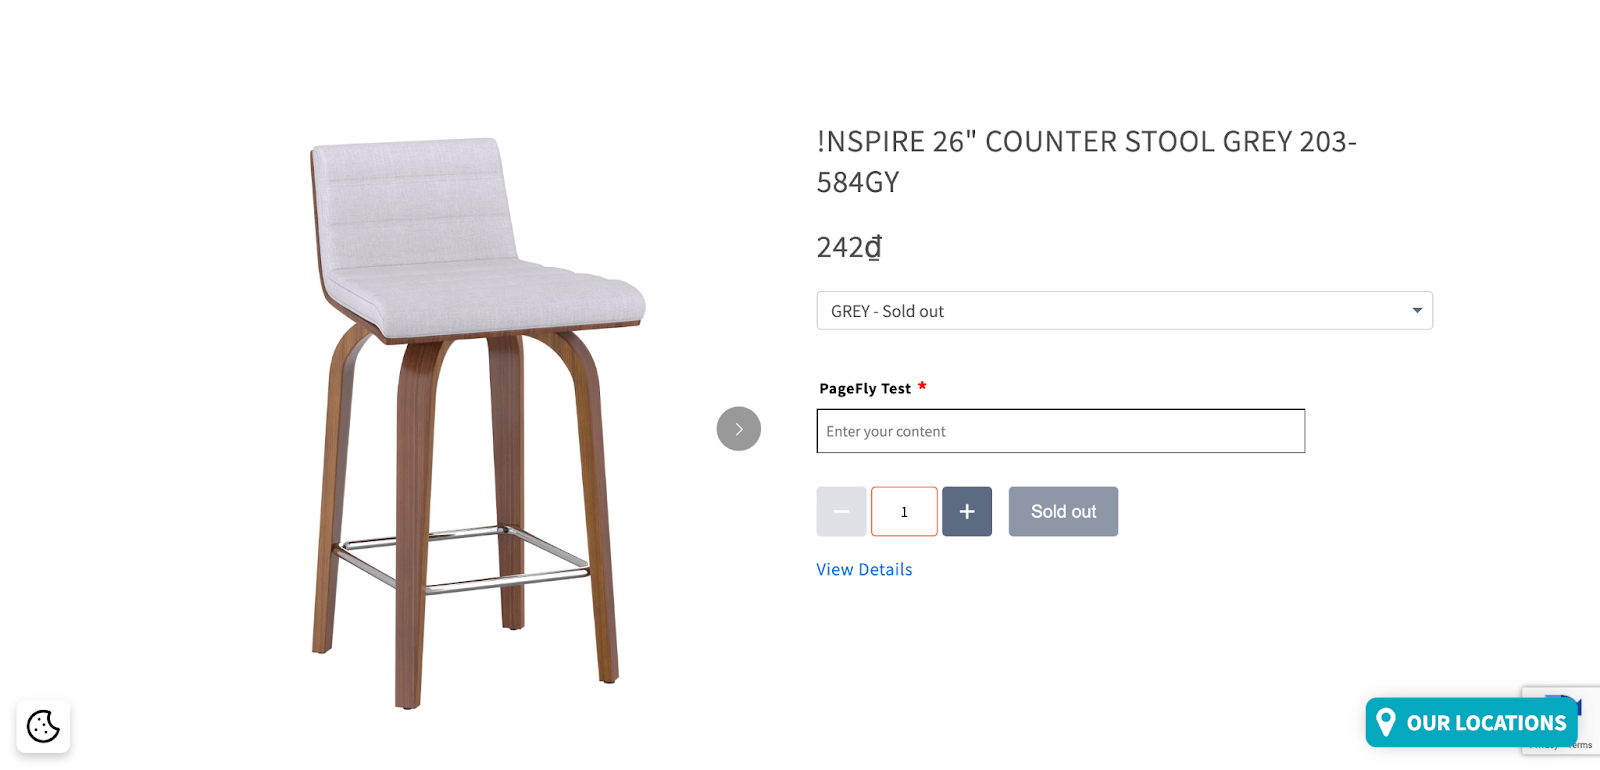
This app allows you to create custom fields within your system to collect specific types of data that are relevant to your business or application. These fields can include text fields, dropdown menus, checkboxes, date fields, etc. You can control the visibility of custom fields based on user roles or other criteria. This allows you to tailor the user experience and display only relevant fields to each user.
Install Mini: Customization Fields
Before using this element in PageFly, you have to install the Mini: Customization Fields app to your store and configure all options in the app.
- Install Mini: Customization Fields
- Install PageFly
How To Access Mini: Customization Fields Element
In page editor, follow these steps to access Mini: Customization Fields element:
- Step 1: In the PageFly editor, click “Add third-party element” on the left menu
- Step 2: Click “Manage integrations” or the gear icon on top
- Step 3: Search for “Mini: Customization Fields” and enable it
- Step 4: Click “Close” and the element will appear in the “Add third-party element” menu
How To Configure Mini: Customization Fields element
- Element ONLY works on Product pages and must be inside Product Details element
- The element can be used one time per page
From PageFly
Step 1: Add Textfield Element
Before starting to set up for the Mini: Customization Fields element, you will need to add this element onto your page canvas:
- Step 1: Click “Add third party element” on the left menu bar
- Step 2: Look for “Textfield” element
- Step 3: Click on the element to see its variant
- Step 4: Drag and drop the variant onto the page canvas

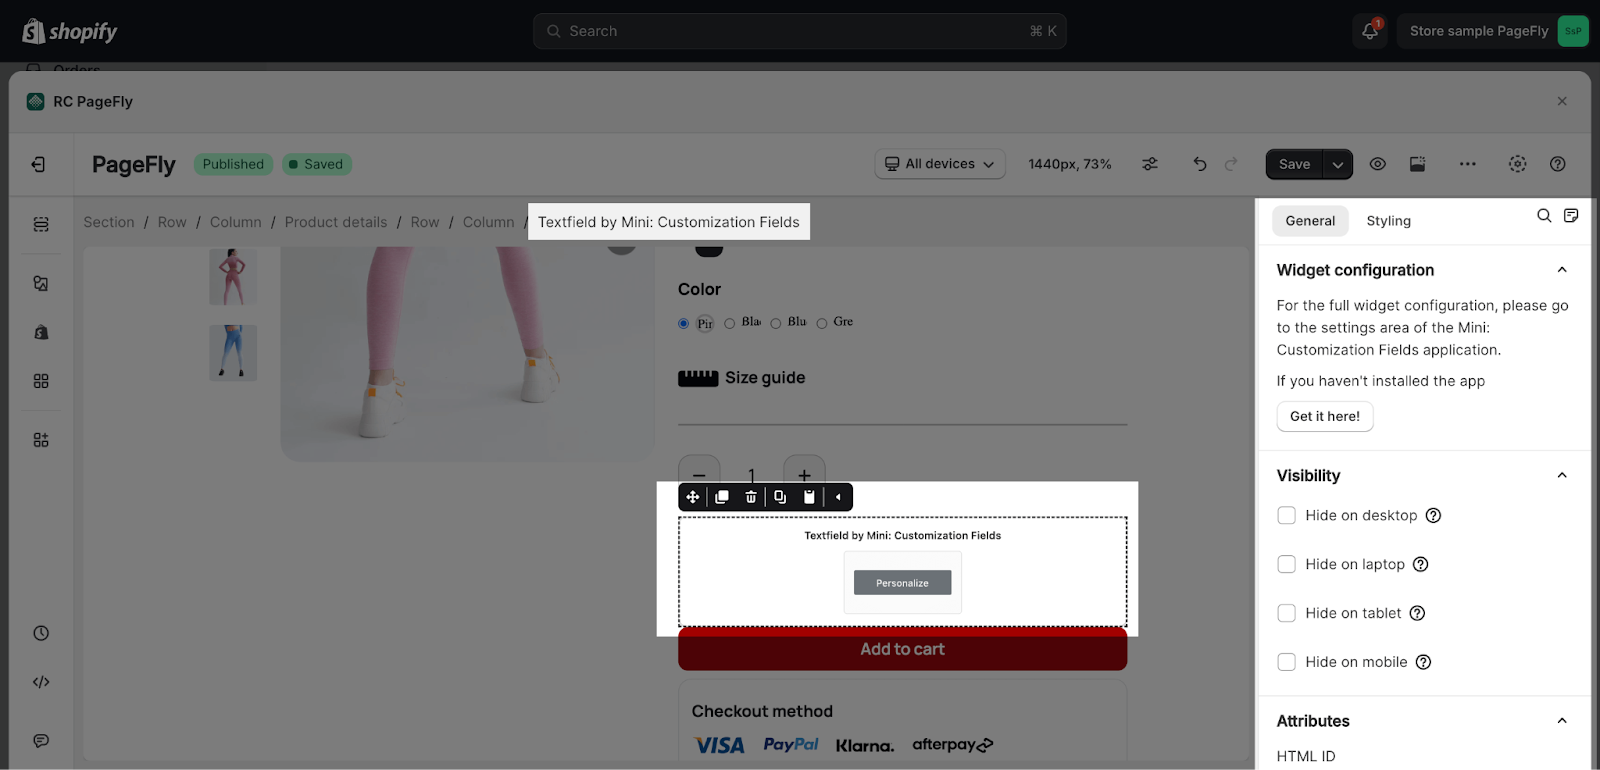
Step 2: Configure Mini: Customization Fields Element
- After adding the Textfield element to the Editor, on the right sidebar, you’ll see the General tab.

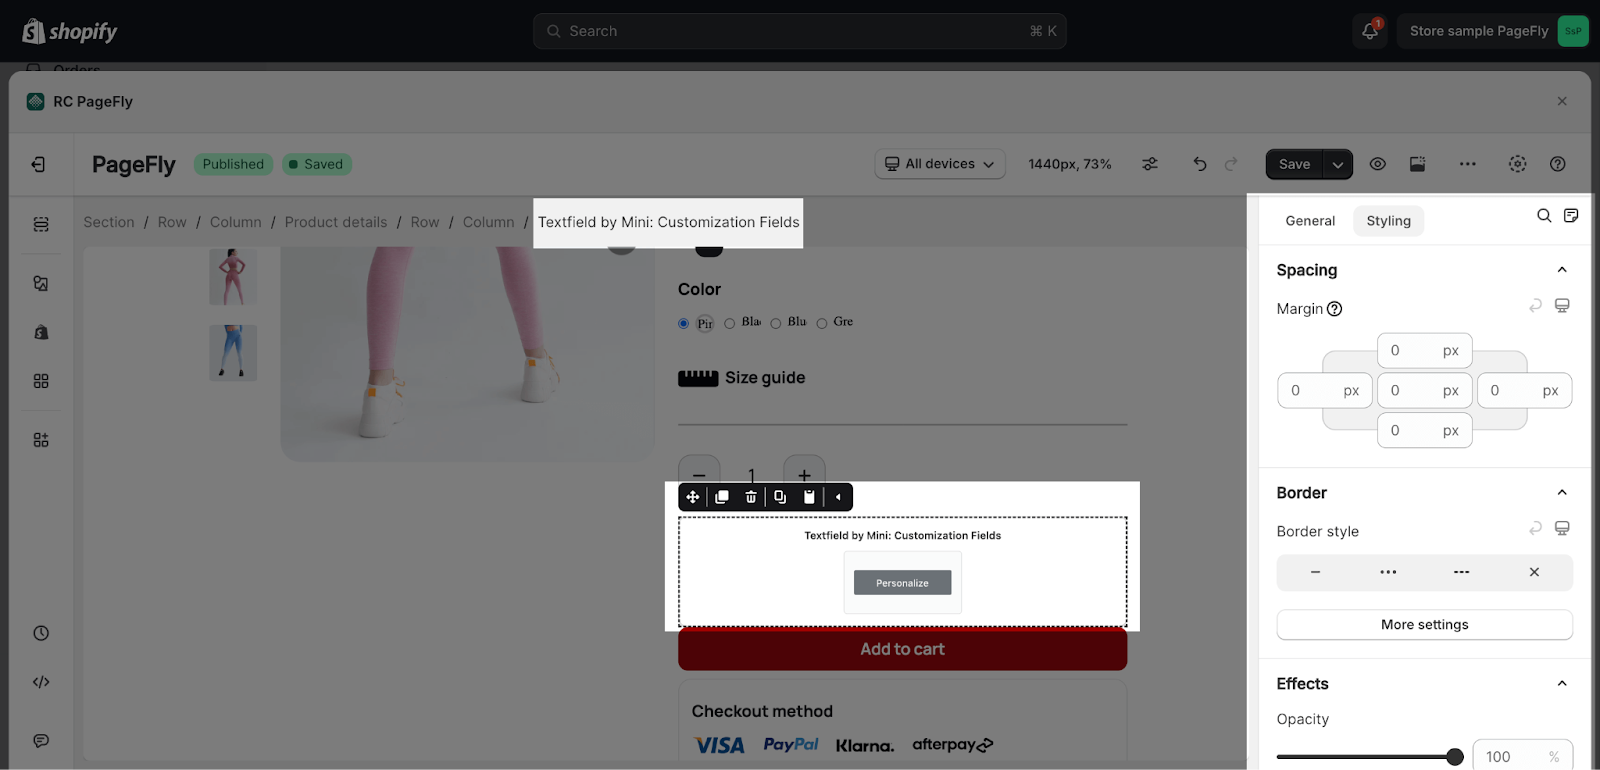
- For styling options like margins, borders, and effects, go to the “Styling” tab. You can find more details about the available options here.
From Mini: Customization Fields App
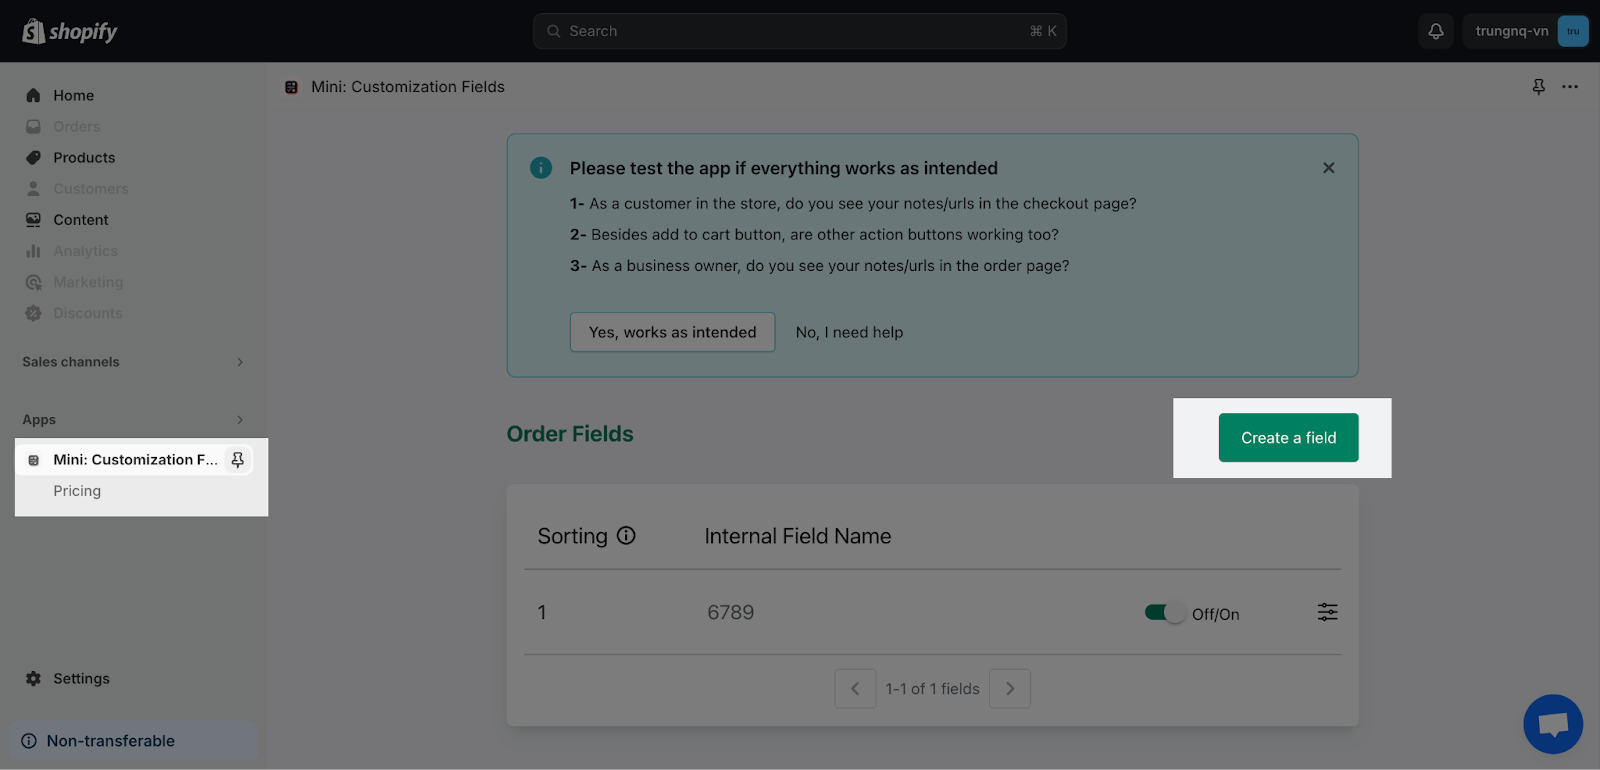
Step 1: Create Field
In the Mini: Customization Fields app dashboard > Access Checkboxes, click the “Create A Field” button
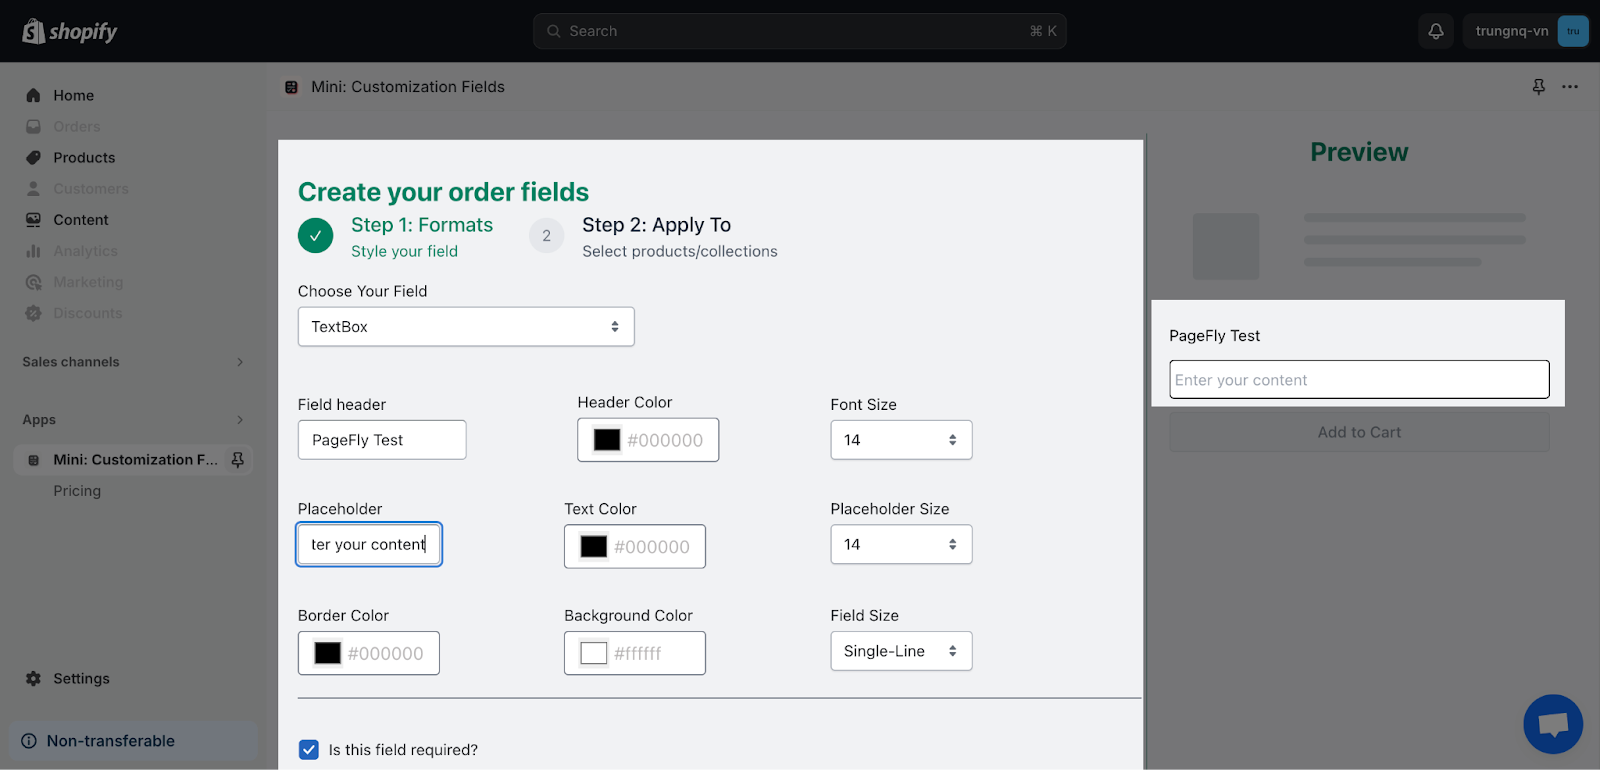
Step 2: Configure Your Field
Finish settings for the checkbox by adjust all the information: Name, Format and Select product to apply to:
Frequently Asked Questions
Is Mini: Customization Fields App Free?
Yes, currently it offers both free plan and paid plan for all users.
Can I Add Mini: Customization Fields Element Anywhere On The Page?
No, the element can only work inside the Product details element on the Product page.