About Live Product Options
What Is Live Product Options?
Live Product Options is a Shopify Product Options, which helps you set up customized product options from a wide range of different option types.
Install Live Product Options
Before using this element, you have to install the Live Product Options app to your store, configure all options in the app, and then return to PageFly to use the element(s) for the corresponding product(s) you want.
- Install Live Product Options
- Install PageFly
How To Access Live Product Options
Following these steps to find the Live Product Options:
- Step 1: Go to “Third party elements” in the left toolbar > Click “Manage integrations” or the icon on top
- Step 2: Search for “Live Product Options” and activate it
- Step 3: Click “Done” and the element will appear in the “Third-party element” menu
How To Configure Live Product Options
- For the full widget configuration, please go to the settings area of the Live Product Options application.
- The element can only work on the product page and one page can have one element.
- This element needs to be in the product detail element
Here’s the setup guide for both the PageFly dashboard and Live Product Options.
From PageFly
After adding the Product Options to the Editor, you can adjust for it by clicking on the element.
- In the General tab
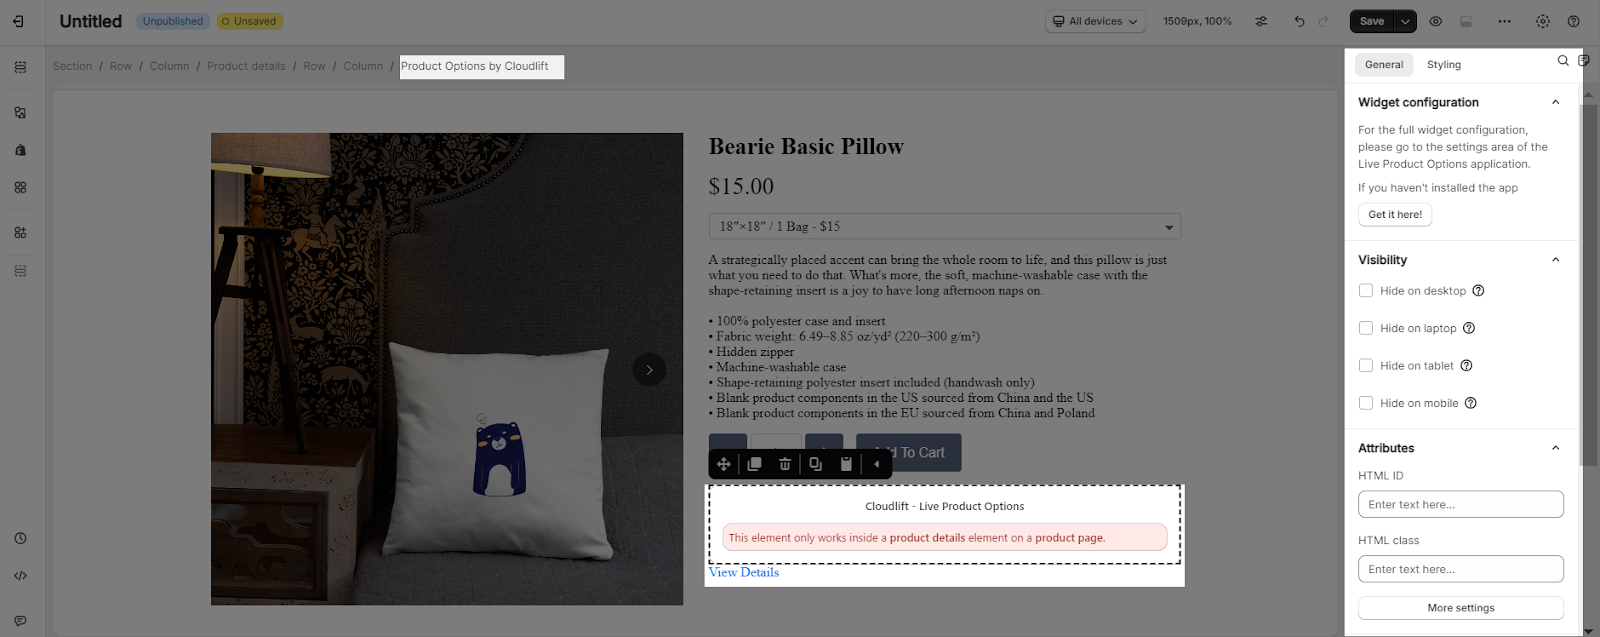
You can get further information about Attributes, Visibility, and Animation parameters here.
- For styling options like margins, borders, and effects, go to the “Styling” tab. You can find more details about the available options here.
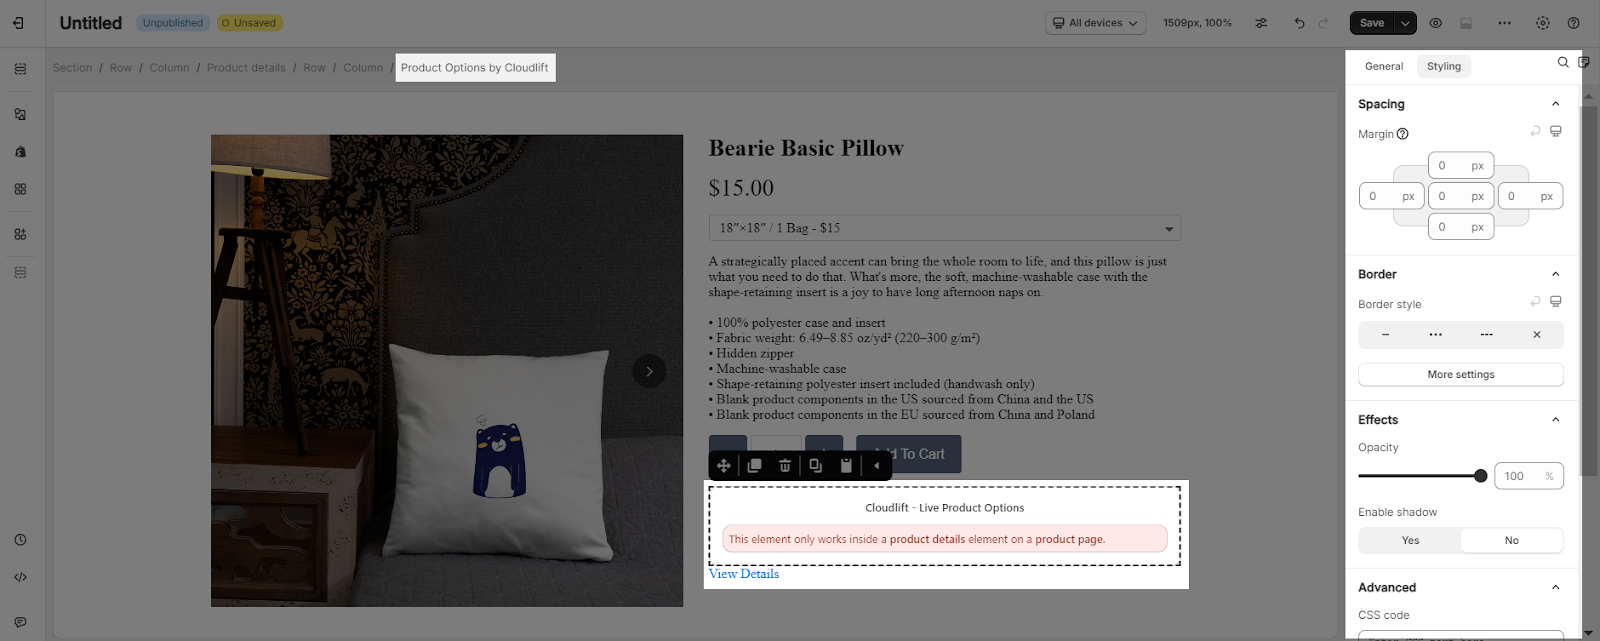
You can get further information about Styling settings here.
From Live Product Options
After configuring PageFly settings, you will need to continue with the Element settings further as below:
- Step 1: Set up Live Product Options by element by your Shopify Account. Go to your Shopify Admin > Apps > Choose Live Product Options to set it up.
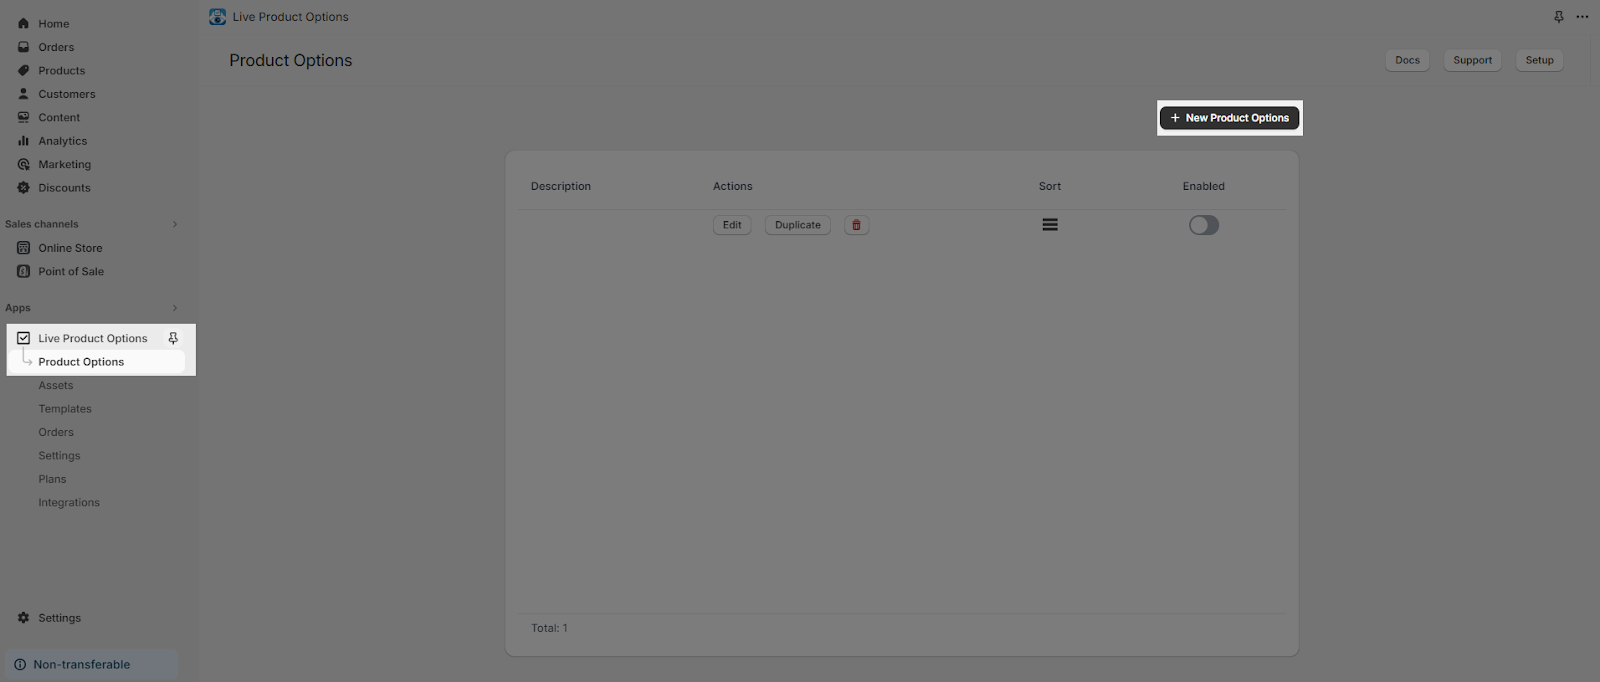
- Step 2: In the Product Options section, choose New Product Options.
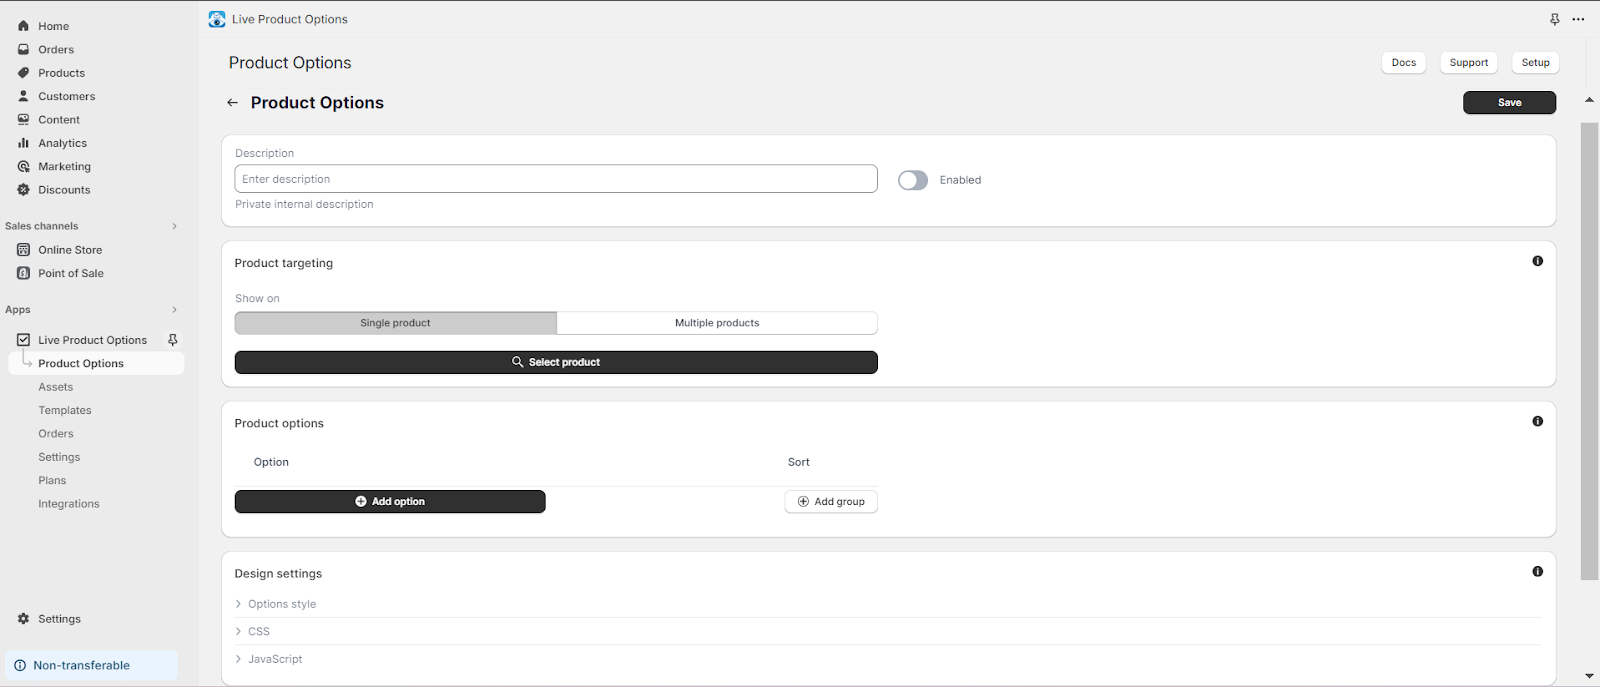
- Step 3: Set up all the settings including Product targeting, Product options, Design settings, and Live view.
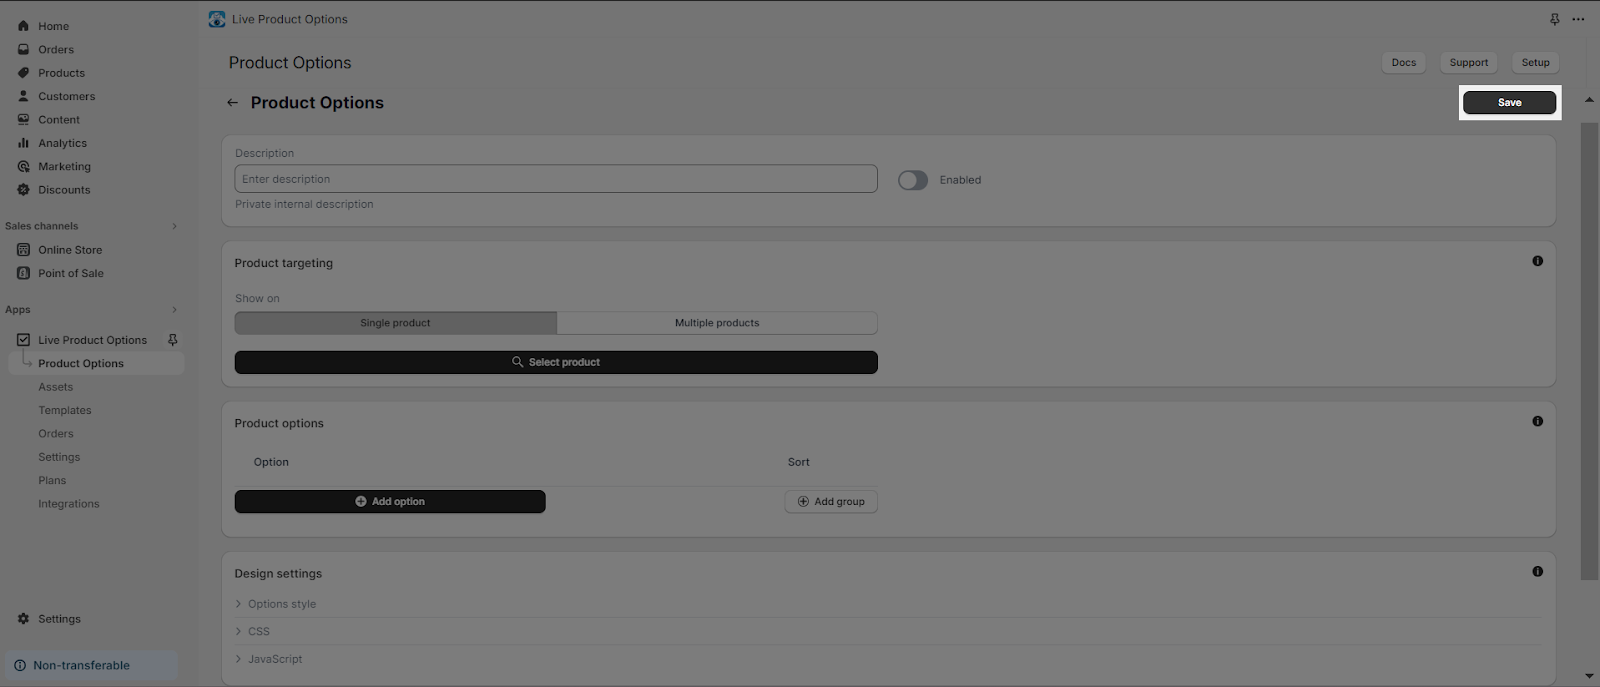
- Step 4: Hit Save.
Tips & Best Practices
We strongly recommend using the Shopify App Block Element for Live Product Options integration. Available for Shopify theme OS 2.0, this feature simplifies adding Live Product Options functionality to your PageFly pages or sections. It offers greater flexibility, easier updates, and an improved user experience. While limited to one per page, the App Block is a valuable tool to enhance your store’s capabilities.
For detailed setup guidance, refer to our App Block article. This simple change can substantially improve your Live Product Options integration and overall store performance.
Frequently Asked Questions
1. How does Live Product Options work?
Once you have installed the Live Product Options app, you can create product options for your products. You can choose from a variety of option types, including text fields, drop-down menus, swatches, file uploads, and date pickers. Customers can then select their options on the product page and see a live preview of their customized product.
2. Why should I use Live Product Options?
There are many benefits to using this Shopify Product Options app, including:
- Increase sales: By allowing customers to customize their products, you can increase your average order value (AOV) and overall sales.
- Improve customer satisfaction: Customers appreciate being able to create products that are unique to them.
- Reduce returns: Customers are less likely to return products that they have customized.
- Increase brand loyalty: Customers who are happy with their customized products are more likely to become loyal customers.