About Blog Post Image Element
Summary: Blog Post Image element is designed to display images of your Shopify blog post on your page, to get better SEO rankings.
You can use the Blog Post Image element to display your image of a blog post on any non-blog post page or use it on a blog post page.
How To Access Blog Post Image Element
To access the Blog Post Image element, you can follow these steps below:
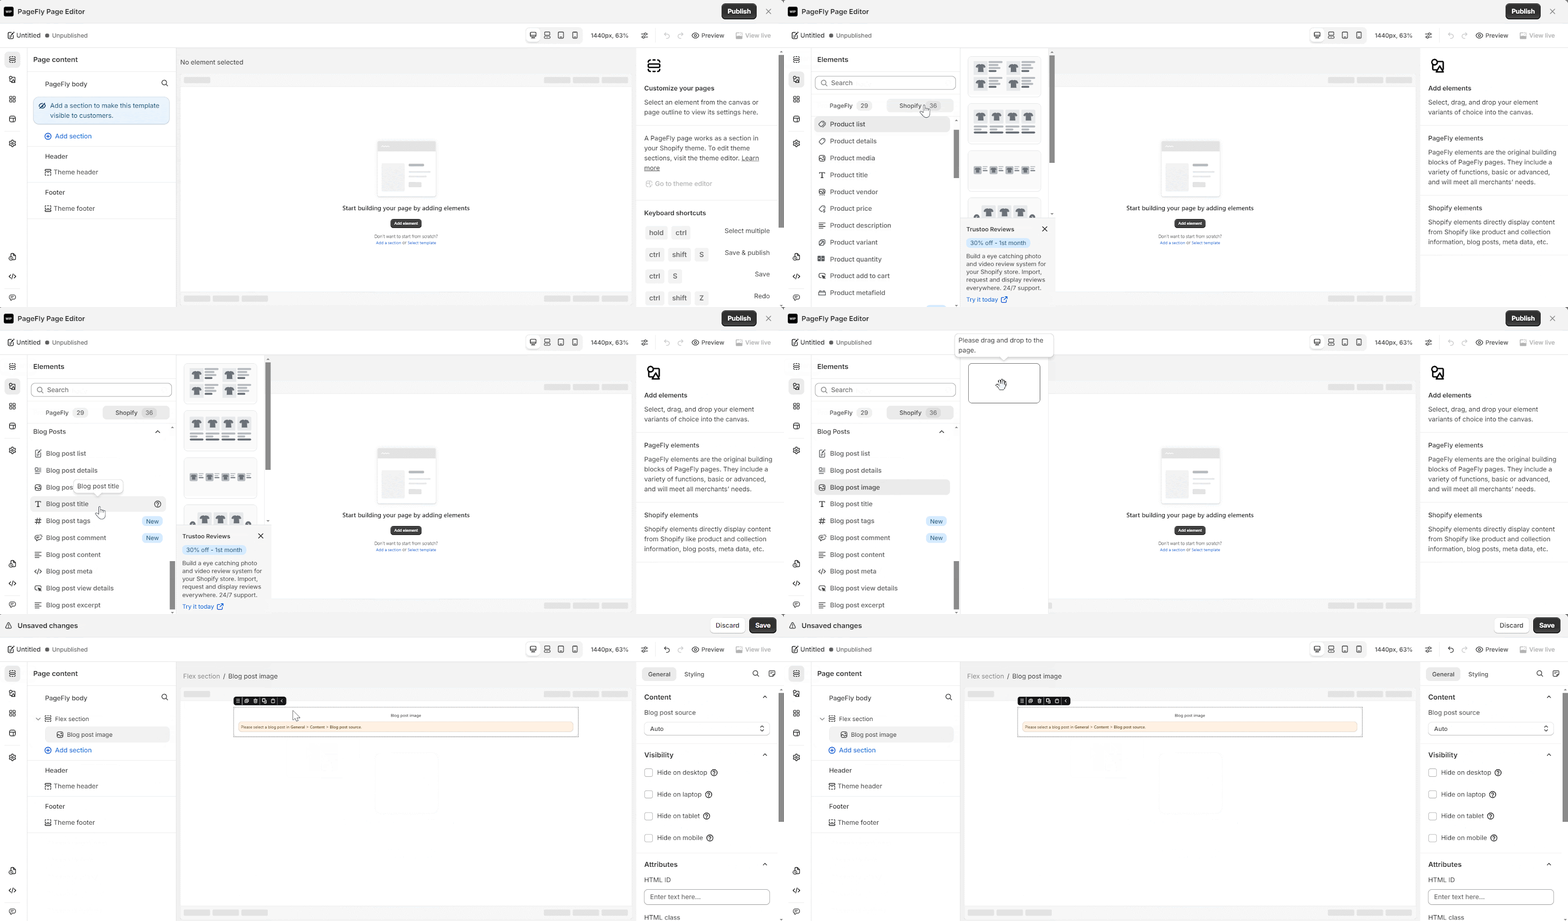
- Step 1: Click on the “Element” button icon.
- Step 2: Switch to the “Shopify” tab.
- Step 3: Scroll down to the “Blog post” section and select the “Blog post image” option.
- Step 4: Drag and drop the blog post image element into the page editor and then start using it.
Note that you can search for this element by using the search function instead of finding it in the sidebar.
How To Configure For Blog Post Image Element
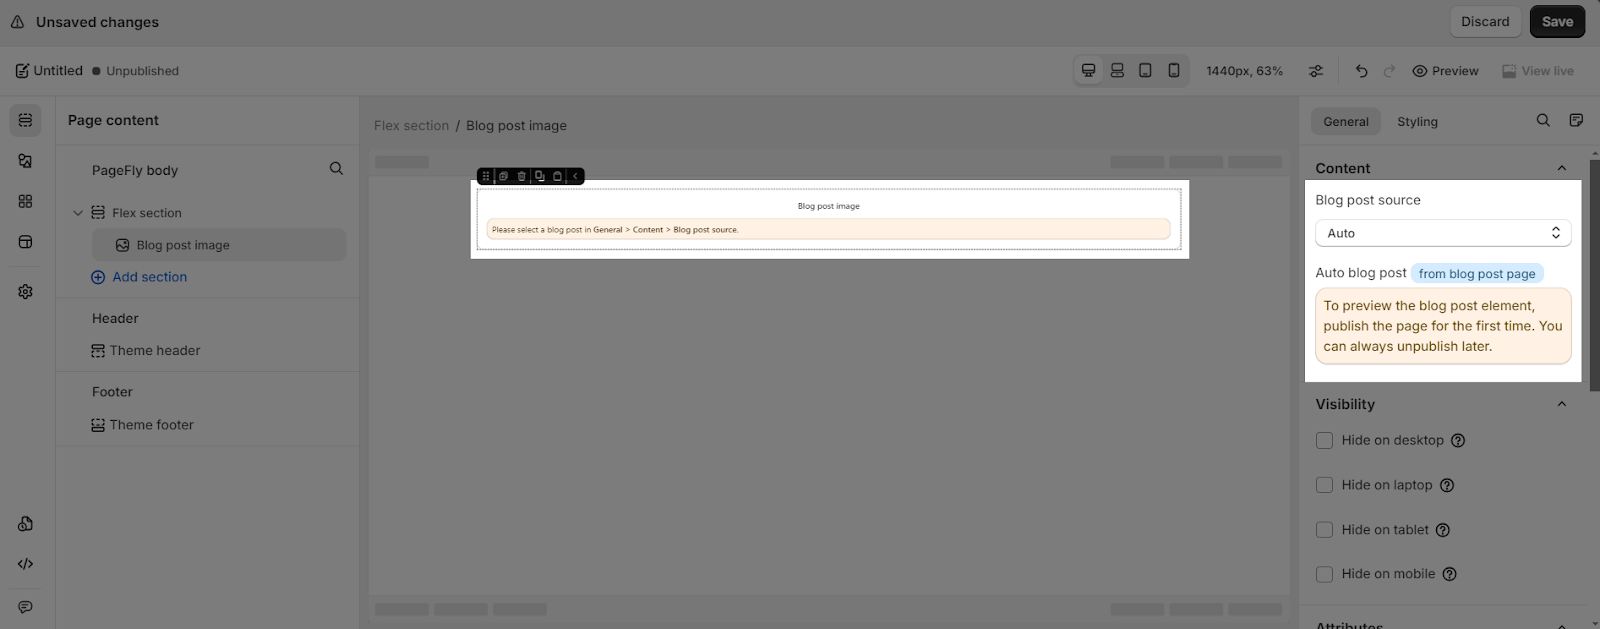
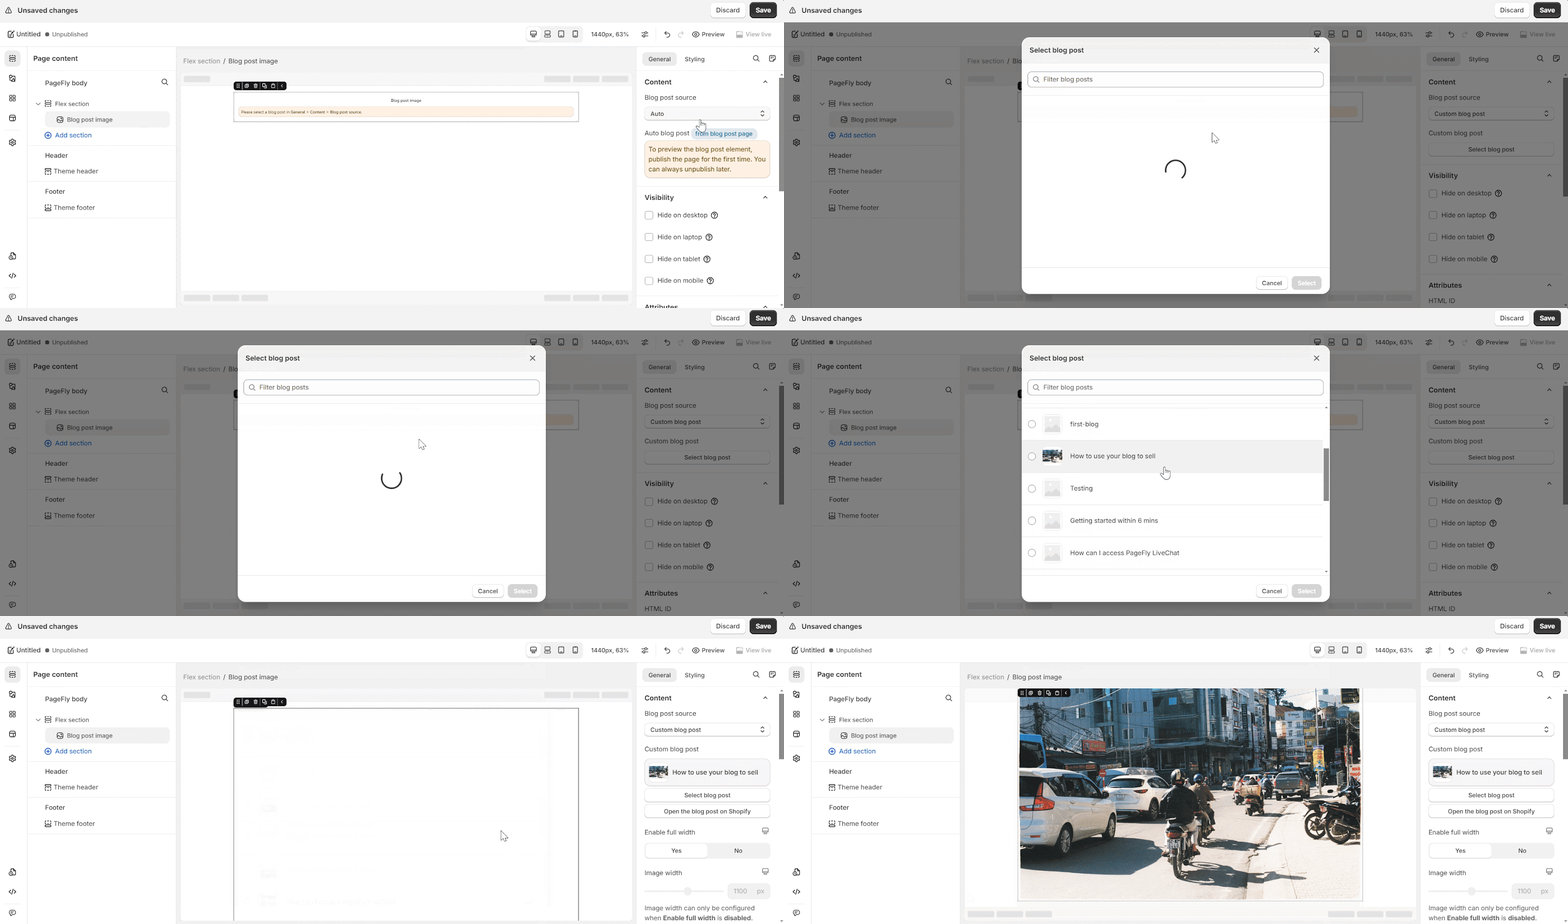
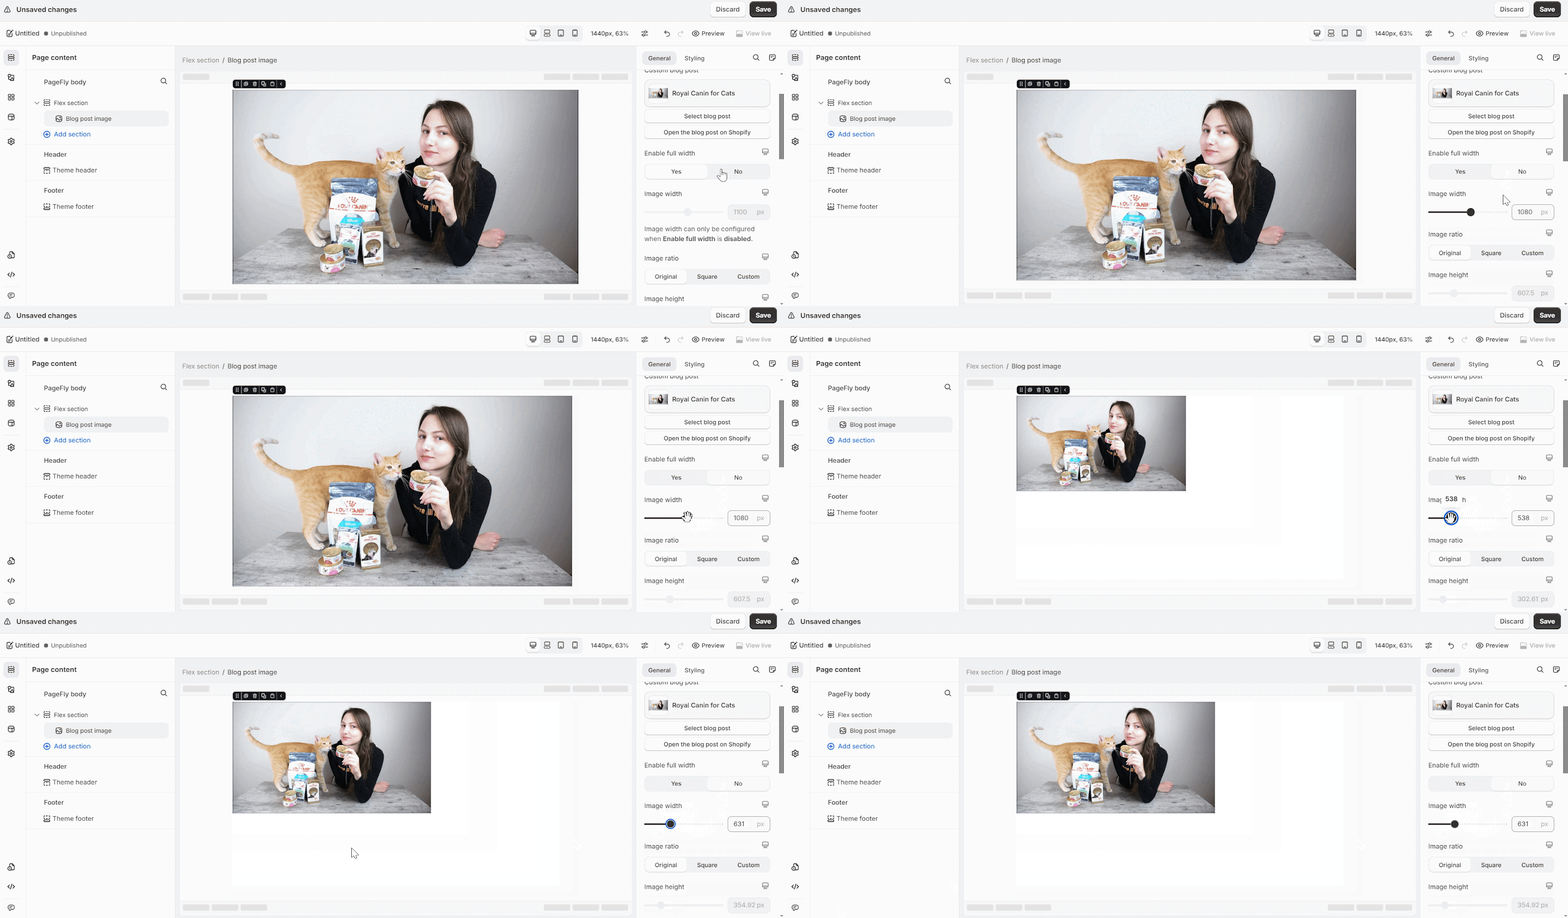
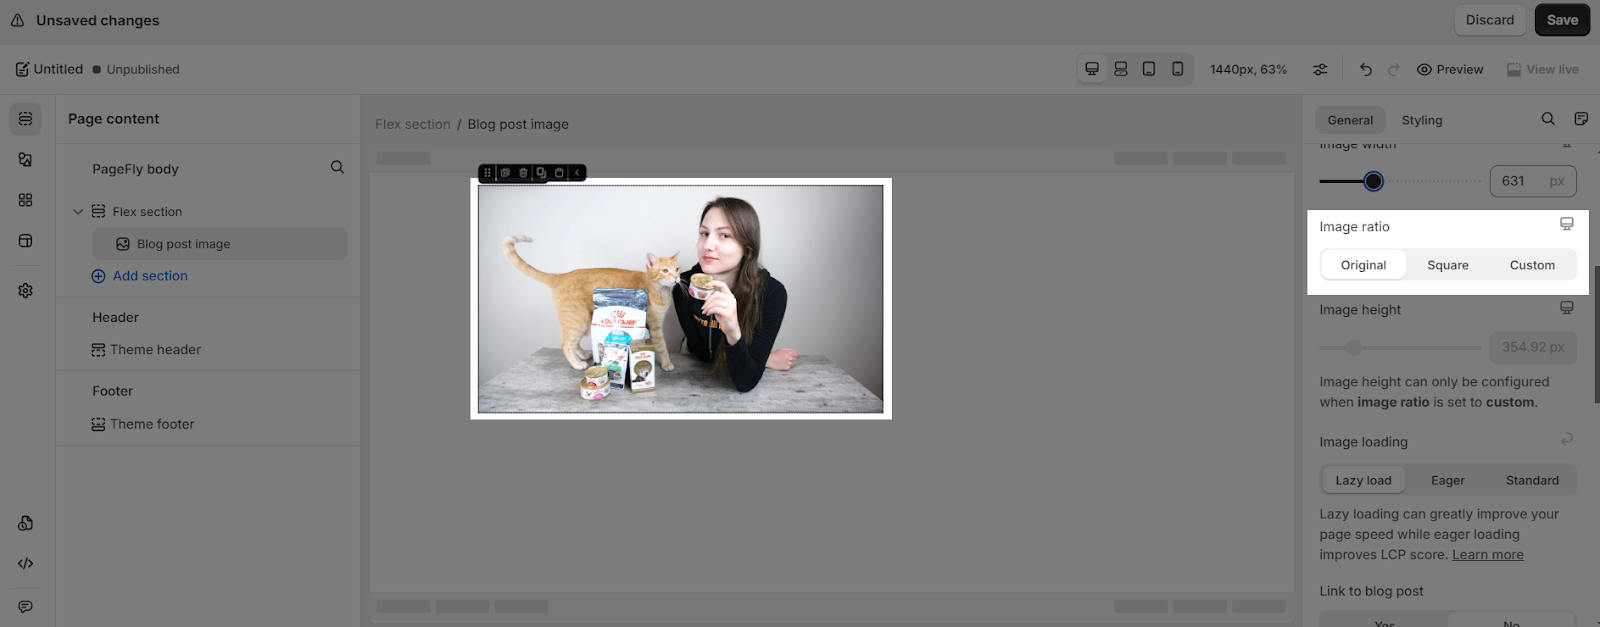
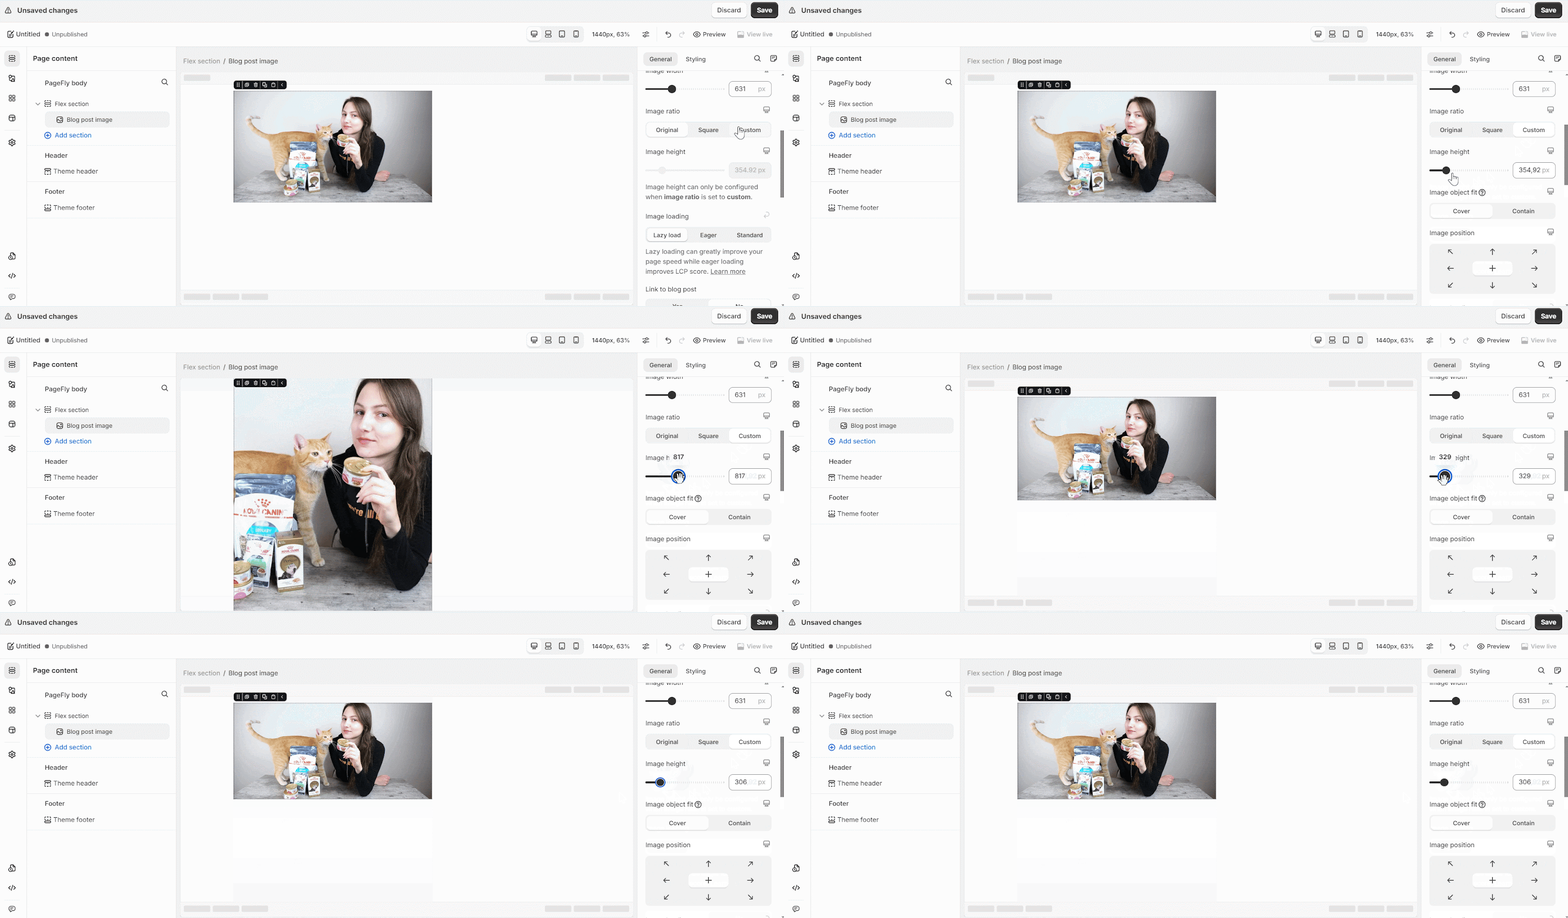
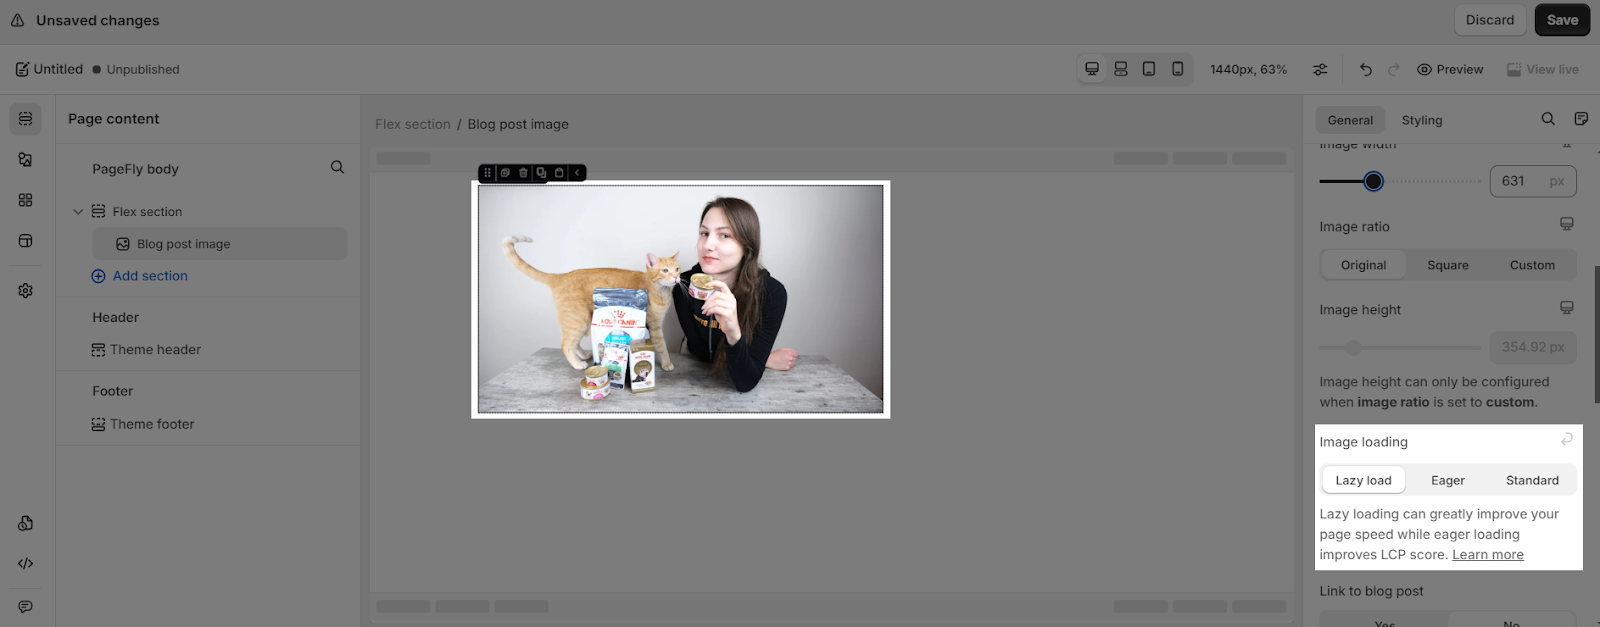
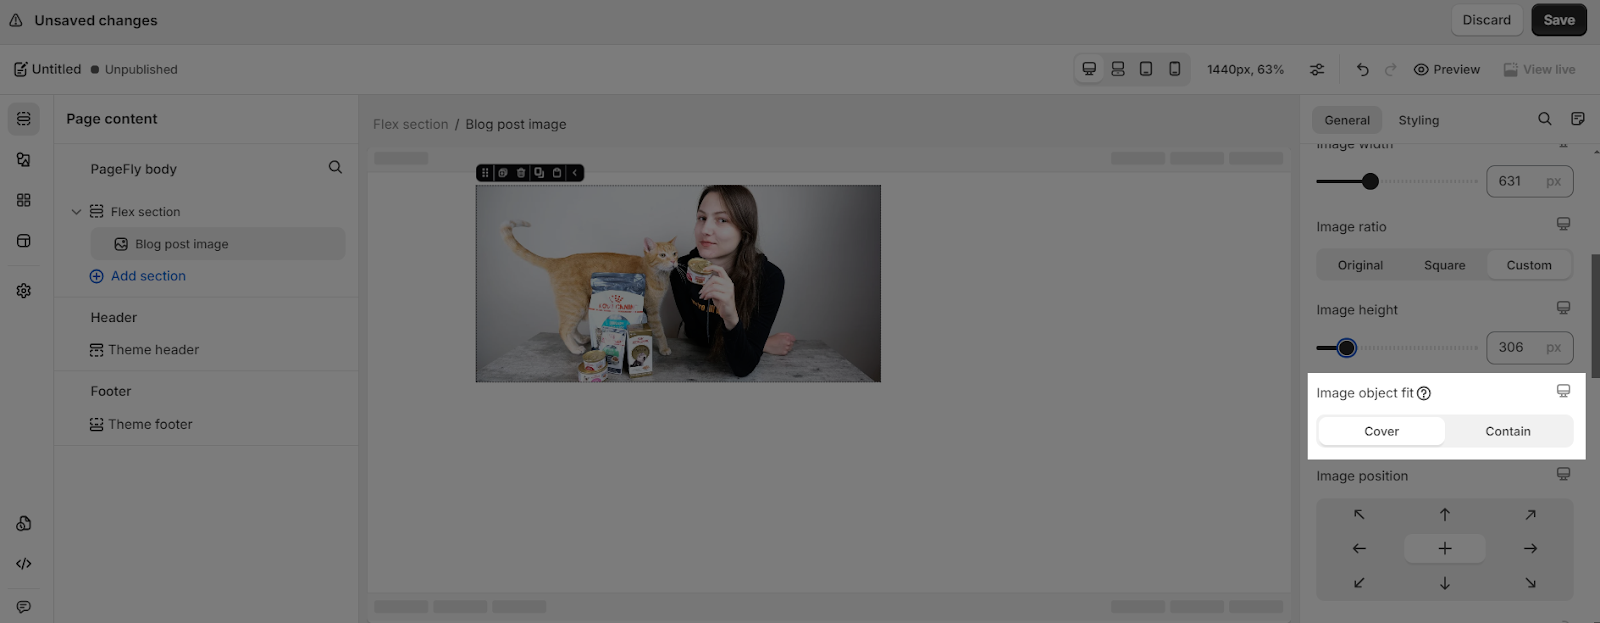
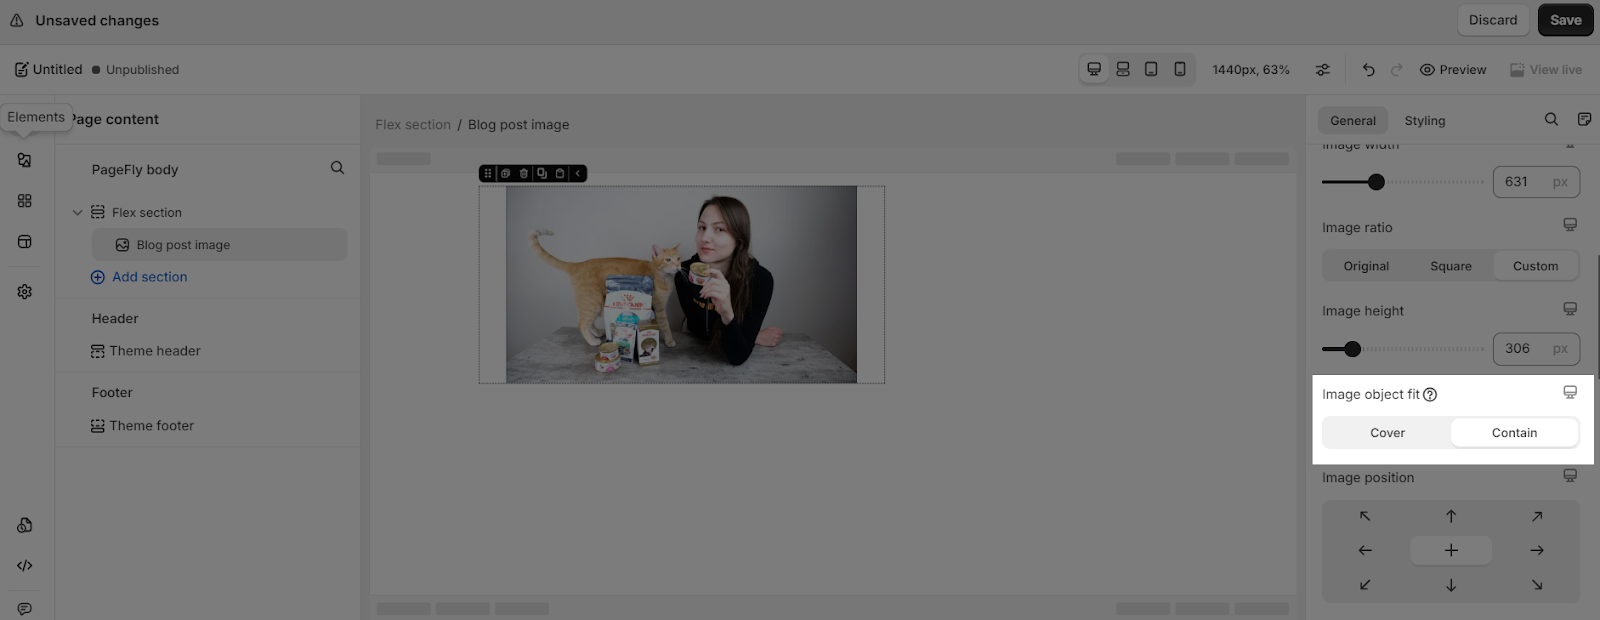
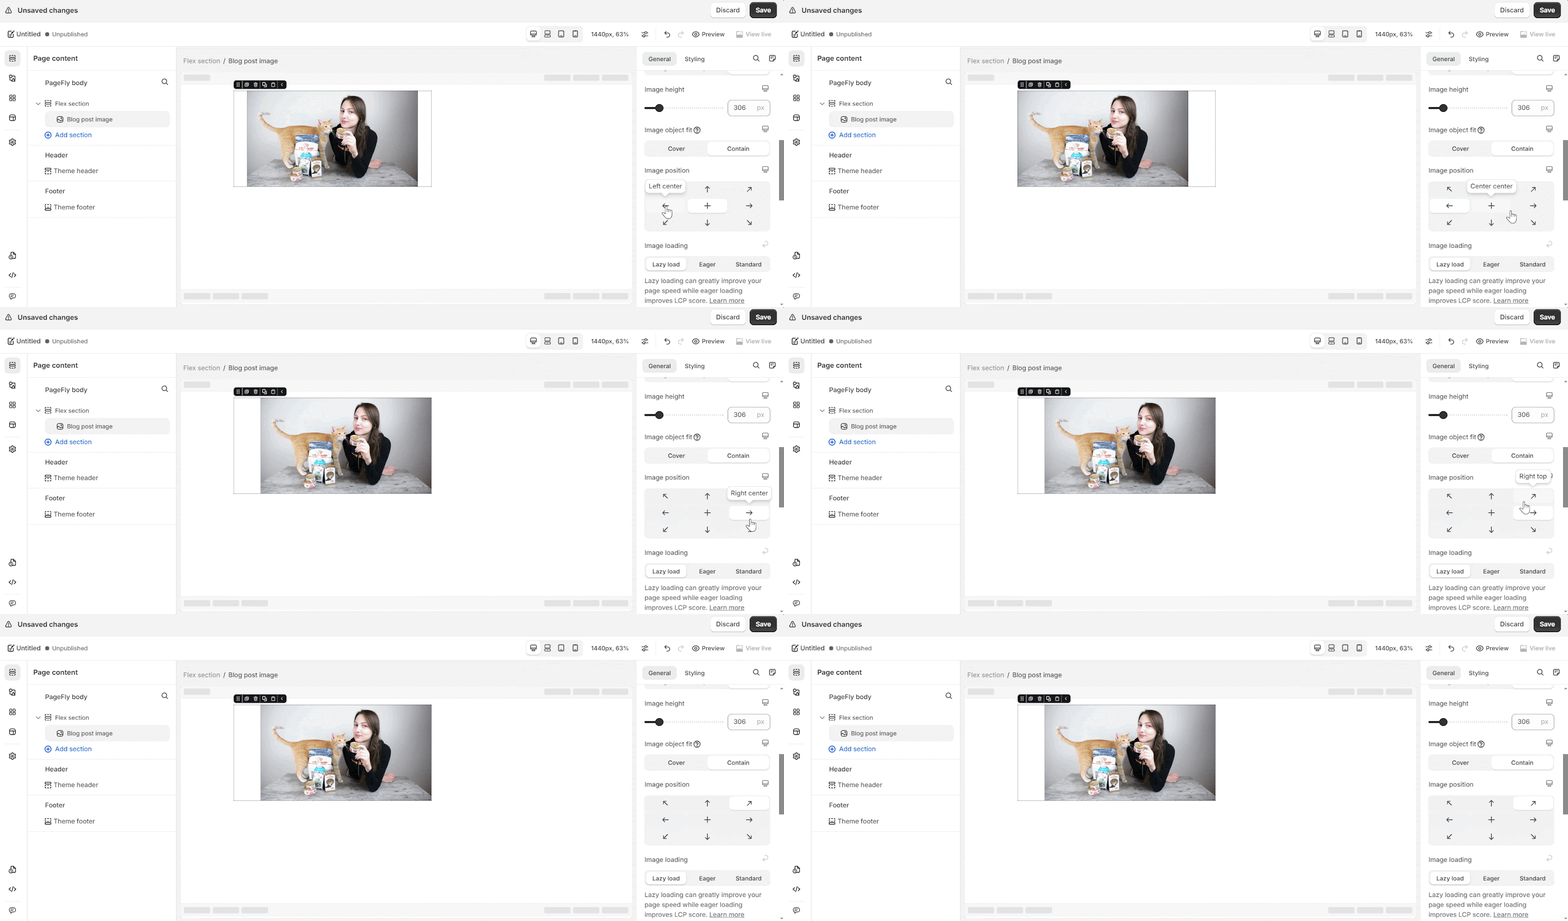
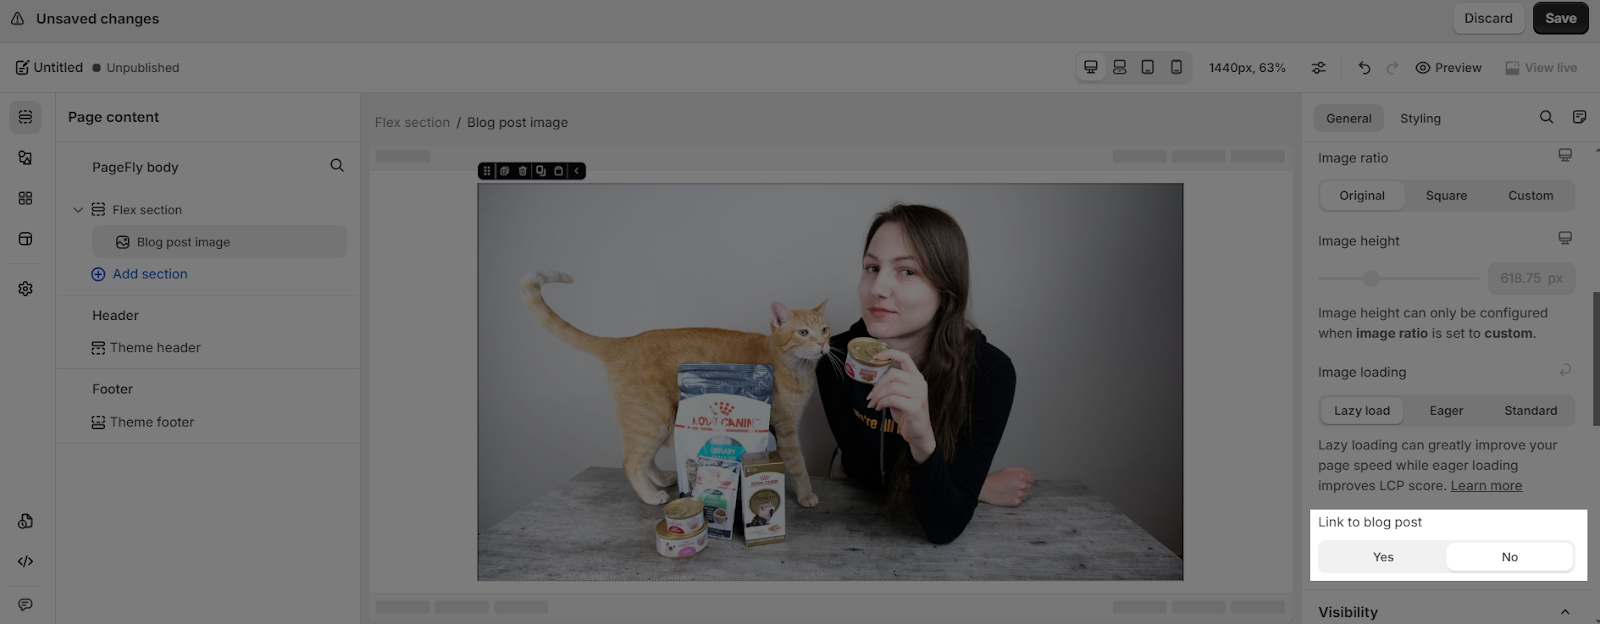
Blog Post Image element comes with parameters allowing you to fine-tune content appearance for the best possible conversion rate.
Select the element in the layout to see its parameters.
General Settings
You can get further information about ATTRIBUTES, VISIBILITY, ANIMATION parameters here.
Styling Settings
For further details on the Styling tab, please refer to this link.
Common Cases
Sometimes, images may not scale properly across different devices or screen sizes, resulting in distortion or cutoffs. This problem can occur due to CSS conflicts, improper theme settings, or inconsistencies in image dimensions. Ensuring that images are properly resized and responsive can help mitigate this issue.
Frequently Asked Questions
1. What is a Shopify blog post image?
Blog Post Image element is designed to display images of your Shopify blog post on your page, to get better SEO rankings.
2. Should I use PNG or JPG for blog posts?
JPGs, as the image weight is smaller, which takes up less space, load faster on the web.
3. Why are my Shopify images blurry?
Sometimes, Shopify lowers the image size and weight, to improve page load times.
