


About PageFly Countdown Timer Element
Summary: PageFly Countdown Timer element allows you to add a real-time countdown to your page to increase conversion rates. You can use this element to create a sense of urgency for products, or simply give an estimated time of arrival on a special occasion (spring sale, the new collection, store opening, etc) of your business.
Before jumping to the detailed steps, you can watch this video below:
Countdown Timer Types
The Countdown Timer element comes with 3 variations covering most of your needs. But we will continue to add more variations to help you save time.
Drag a variation to your layout and see how it can be configured.

Countdown Timer Structure
The Countdown timer contains 2 elements:
- Countdown number


- Countdown label
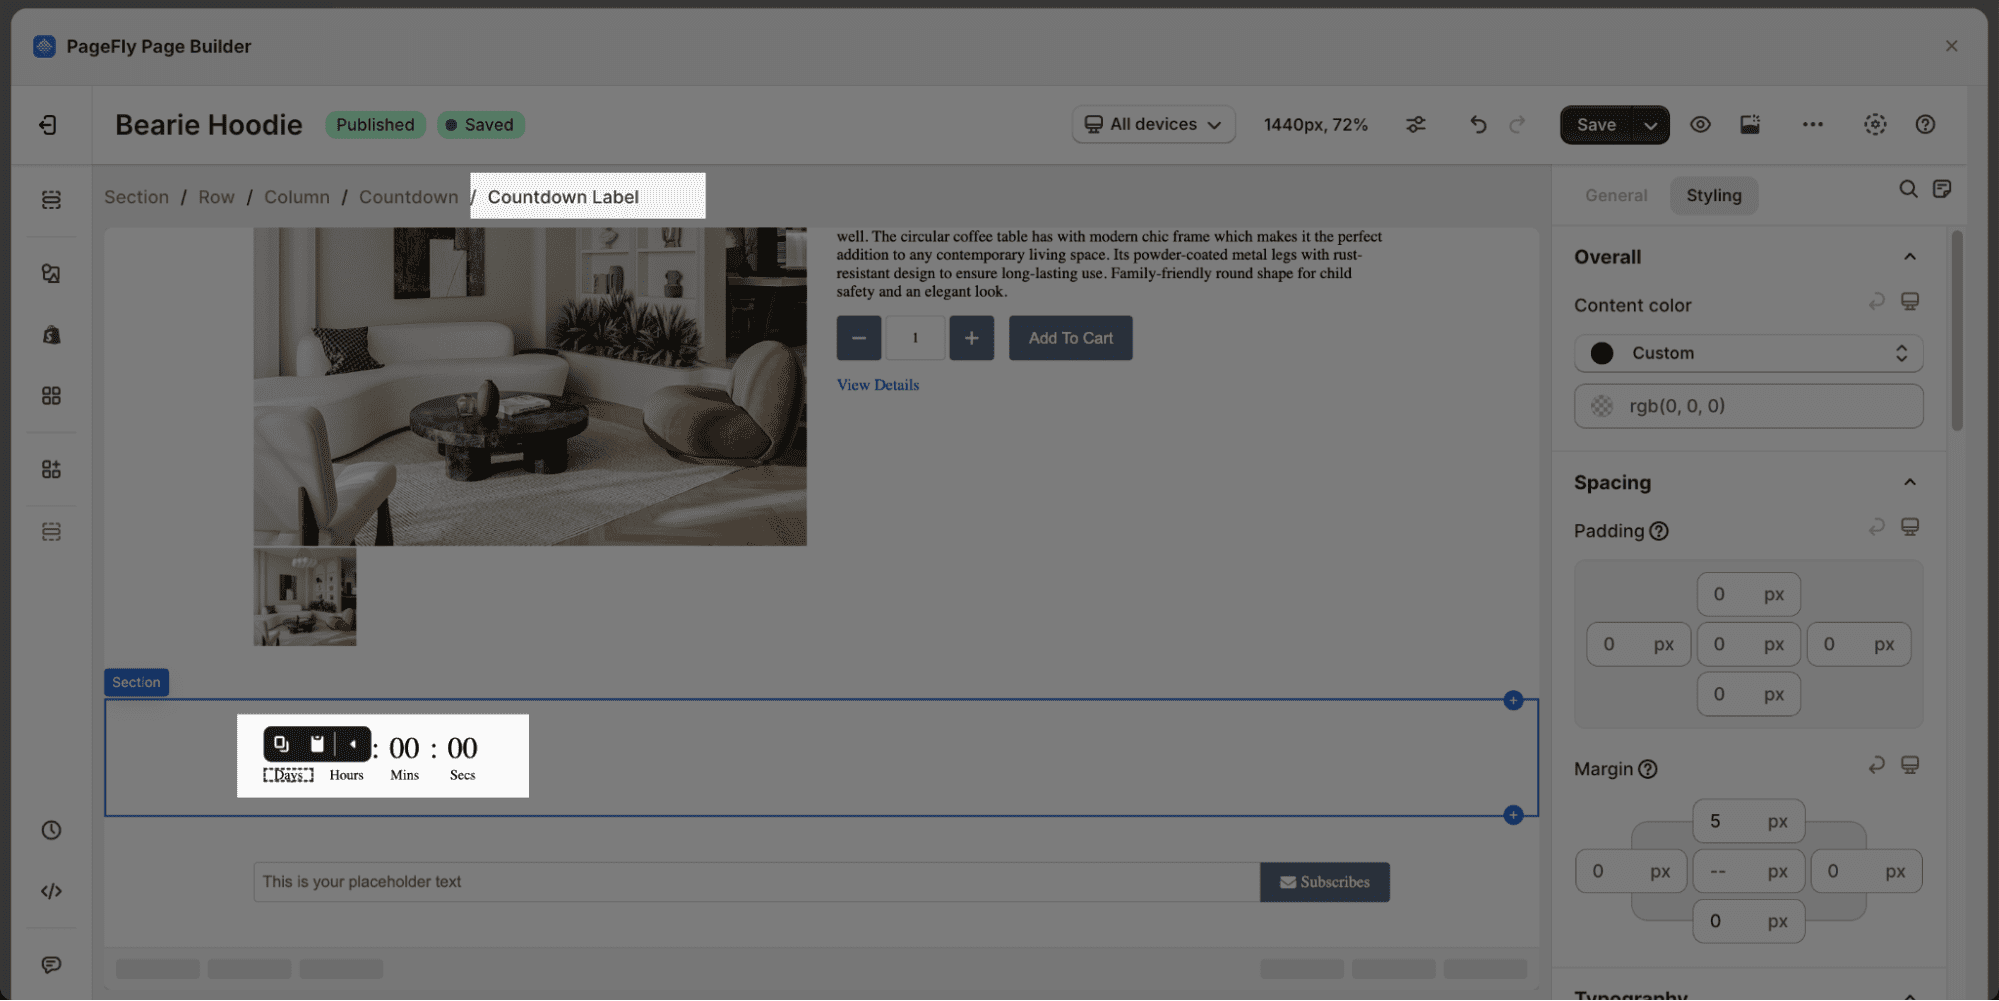
You can click on these elements to see its settings.
How To Access PageFly Countdown Timer Element
- Step 1: Click on the Plus icon which is the Add element function
- Step 2: Click on the Countdown timer element in the dropdown menu
- Step 3: Drag and drop the element you want into the page editor and then start using it
How To Configure For Countdown Timer Element?
Countdown Timer element comes with plenty of parameters allowing you to fine-tune content appearance for the best possible conversion rate.
Select the element in the layout to see its parameters.
We will show the parameters of the General and Styling tabs for the Countdown timer element.
General Settings
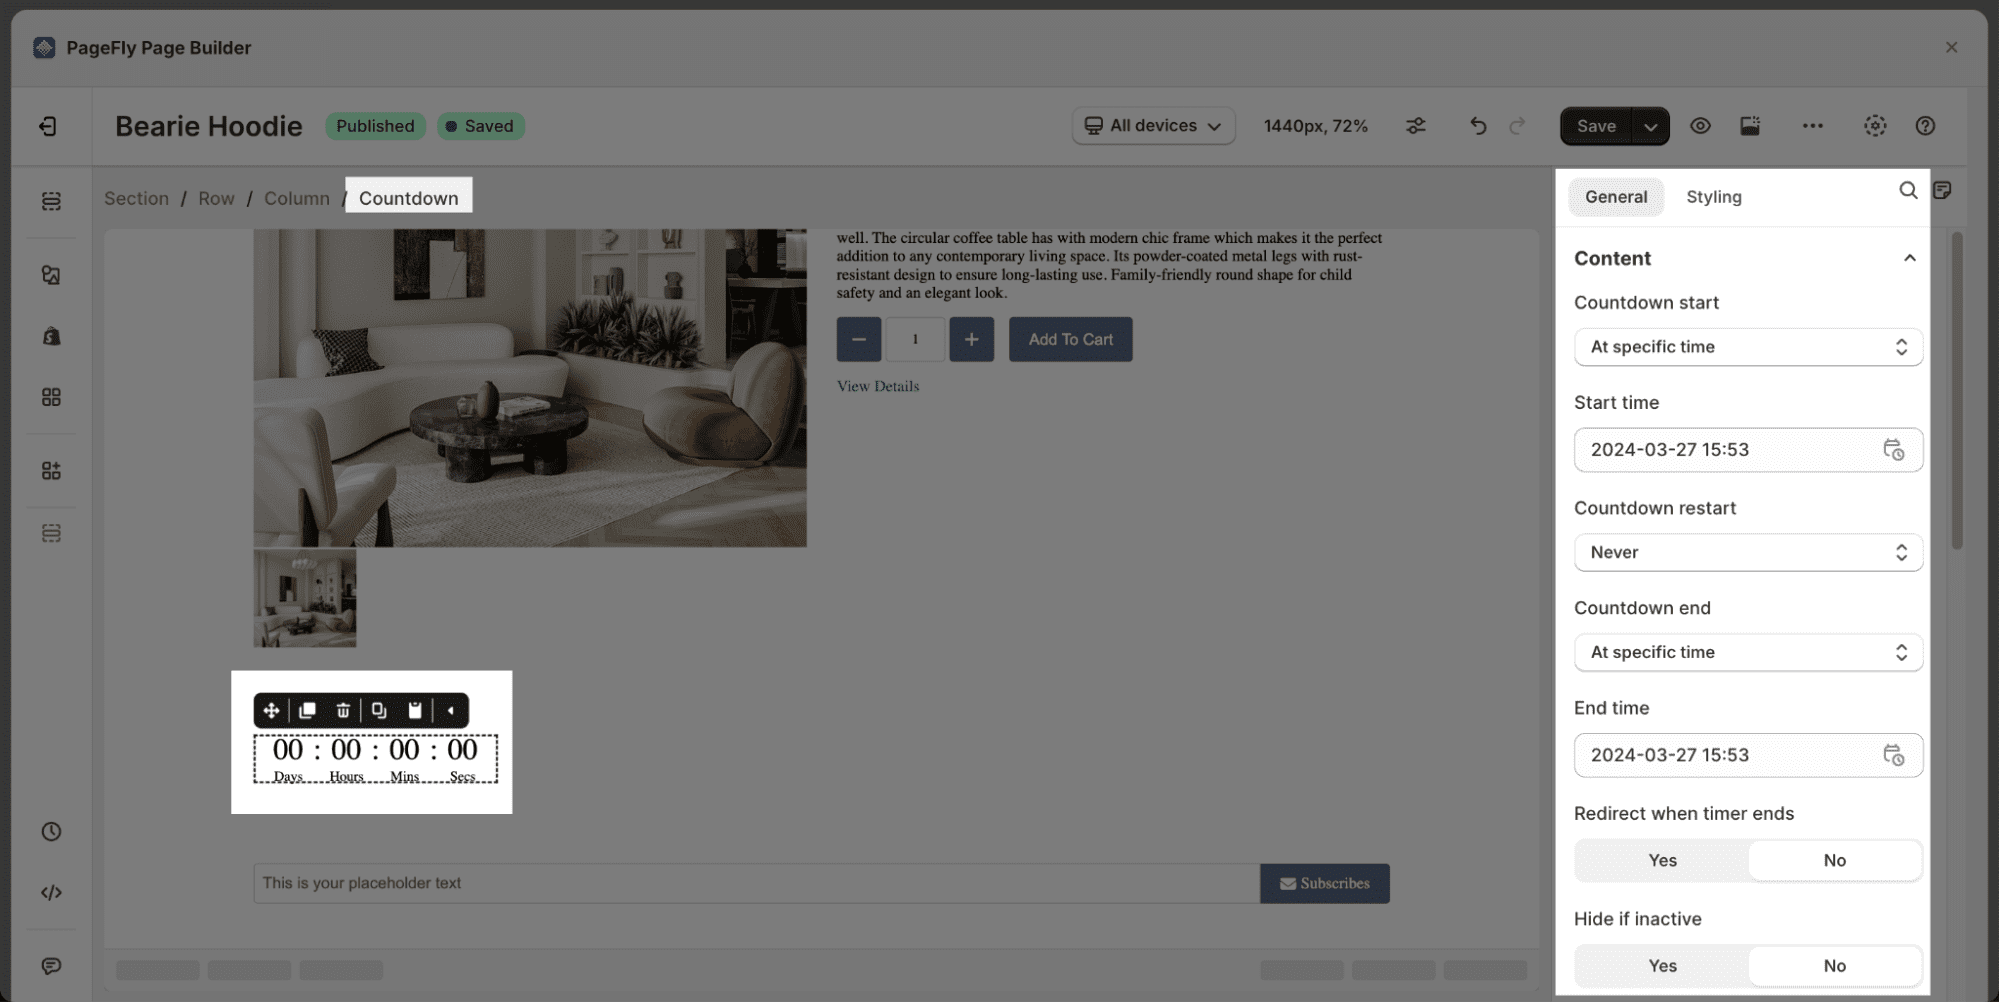
Countdown Start
There are 3 options to set up the countdown timer: At specific time, On the first Visit, On every visit.

| Option 1: At a specific time:
Start time: choose the date and time to start the countdown with the format: year/ month/ day; hour: minute. Countdown Restart: use this option if you want the evergreen countdown. It automatically refreshes the countdown which includes:
|
 |
| Option 2: On the first visit: the countdown timer starts to count when a visitor opens a tab and it continues counting when they open in another tab. | 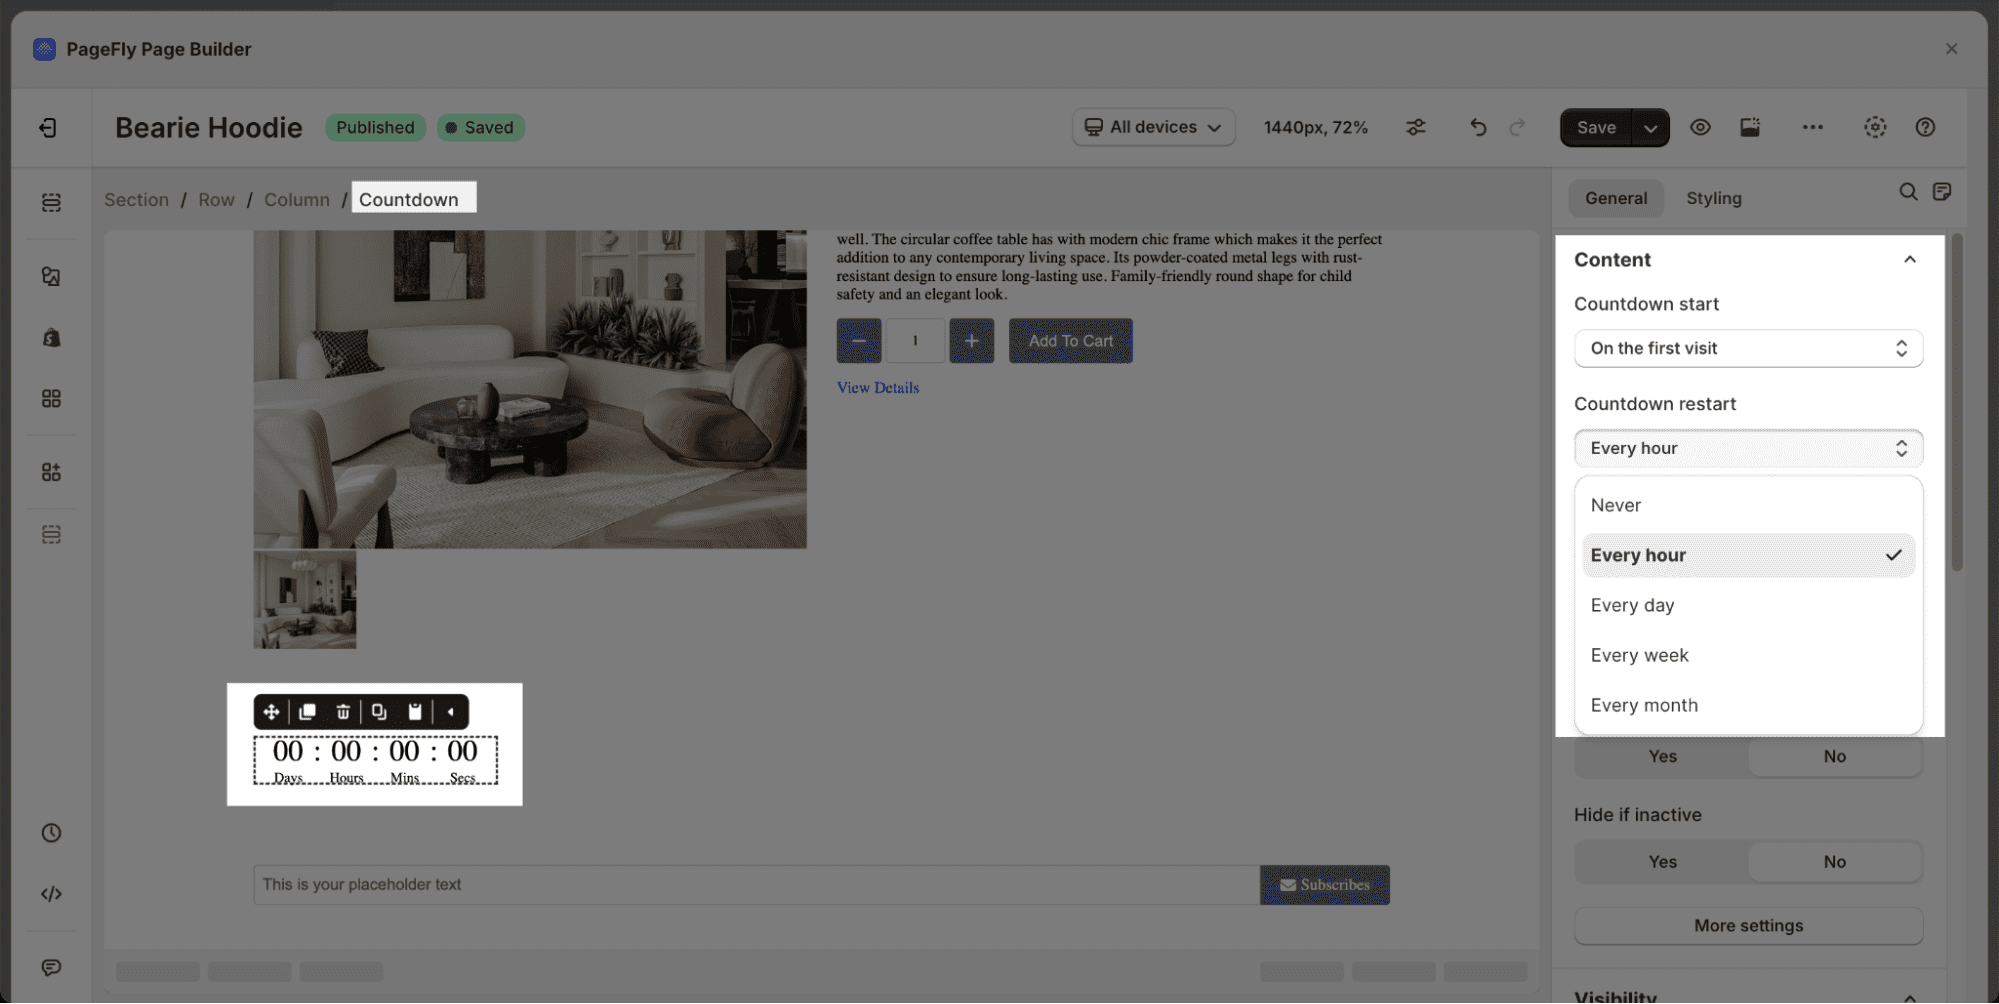 |
| Option 3: On every visit: the countdown timer starts to count in every tab when a visitor opens them. | 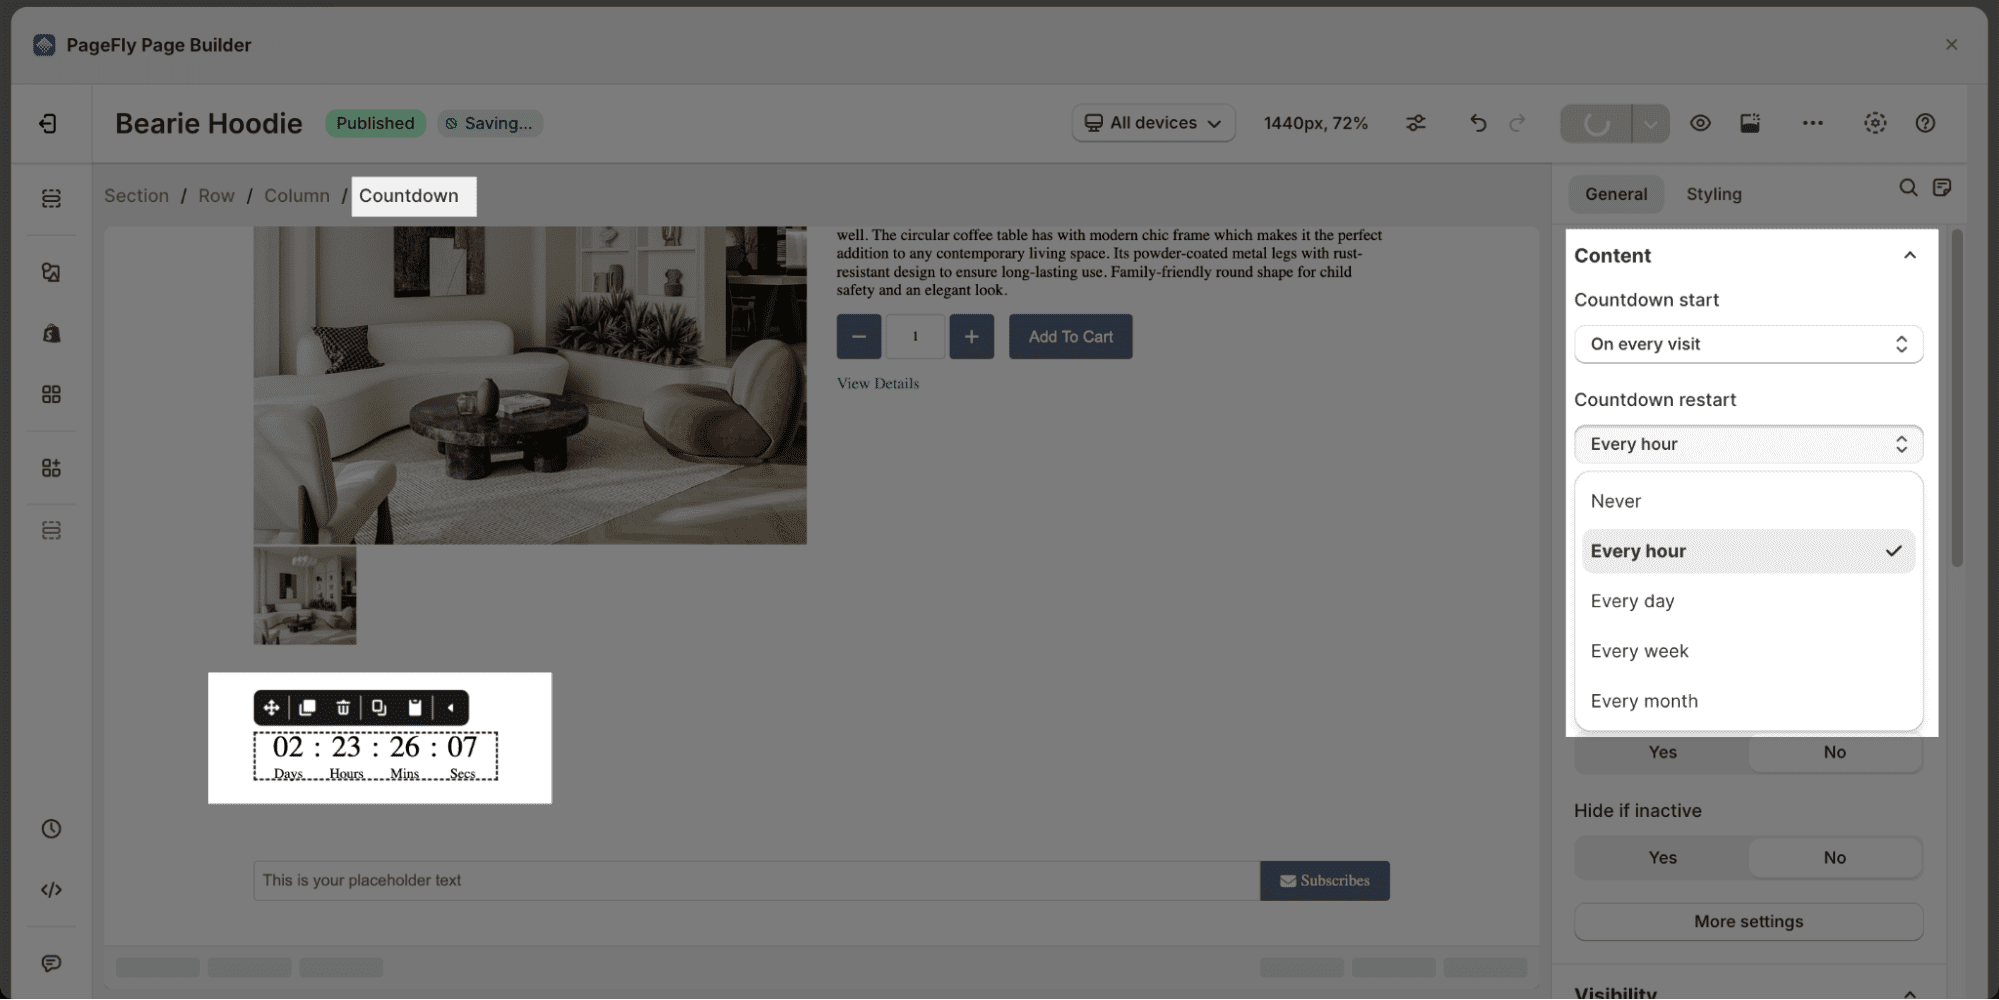 |
Countdown End
| At a specific time: set up for the end time with the format: year/ month/ day; hour: minute | 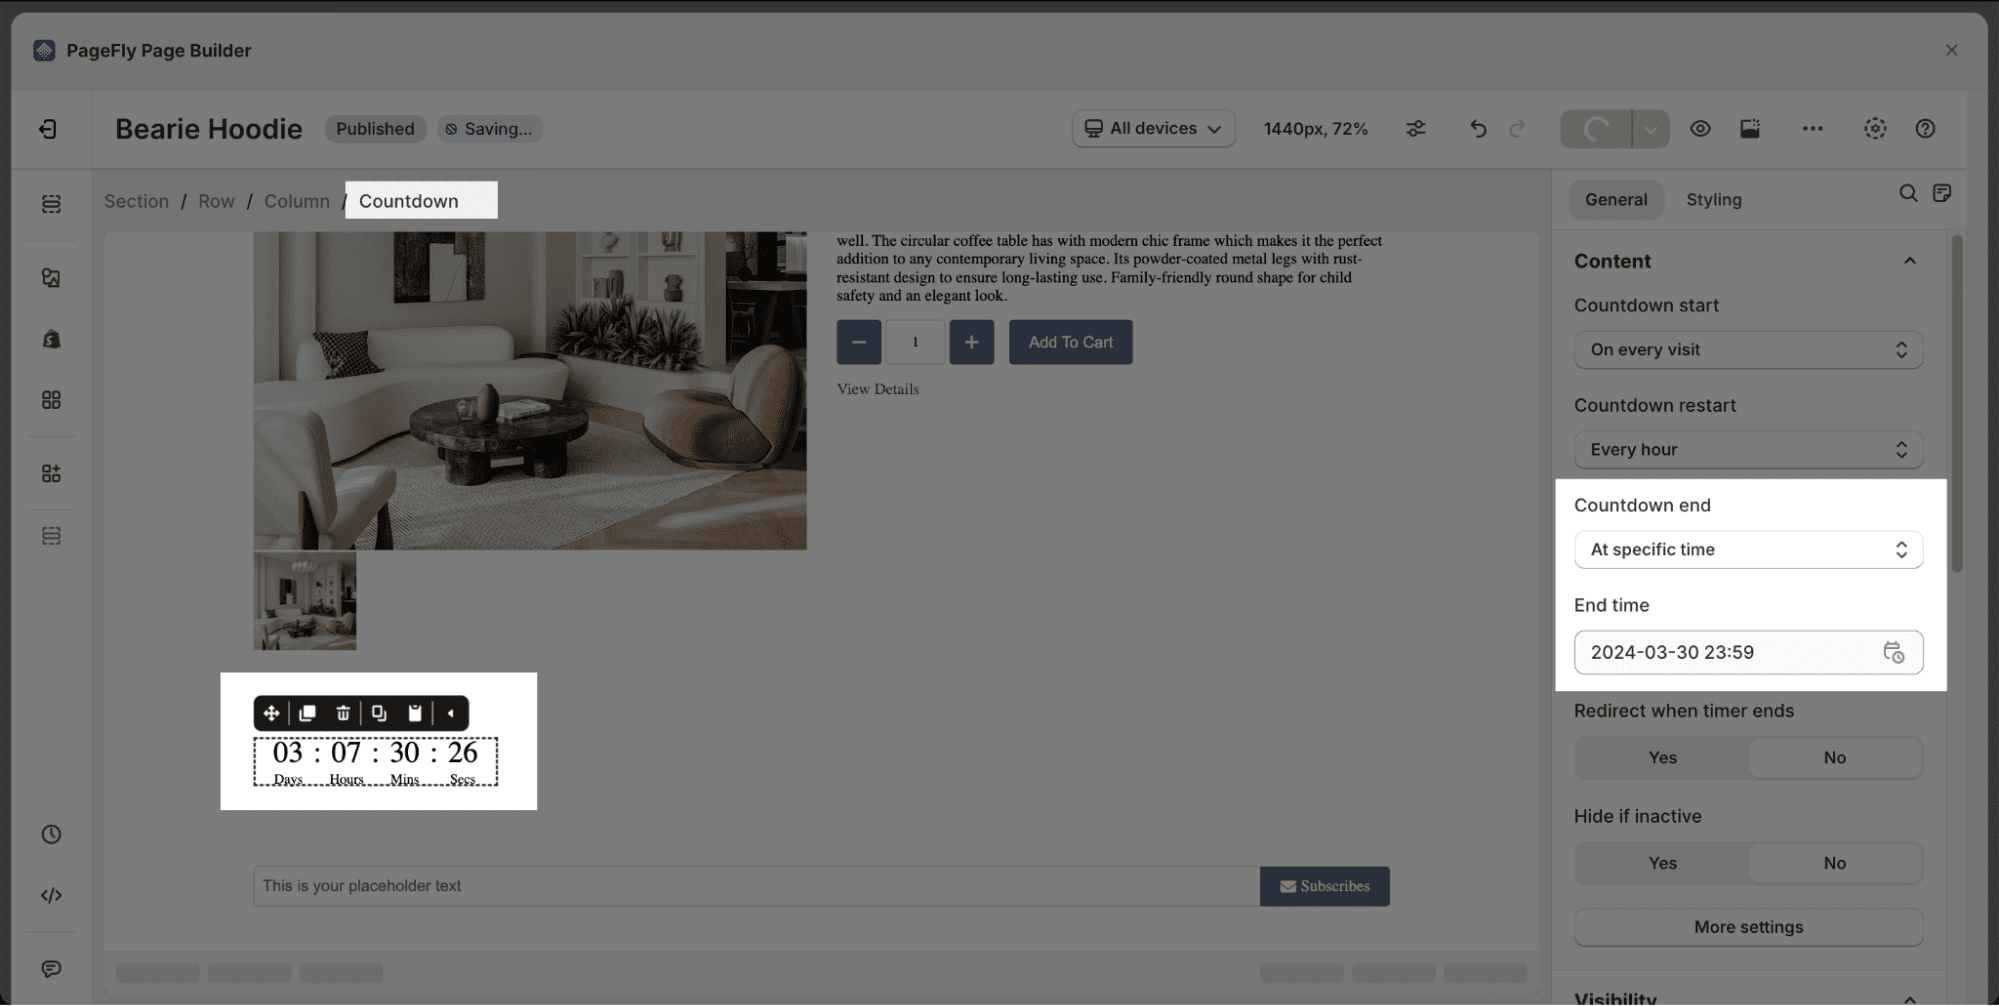 |
| At a specific period: set up for countdown period with the format: days/ hours/ mins/ secs. |  |
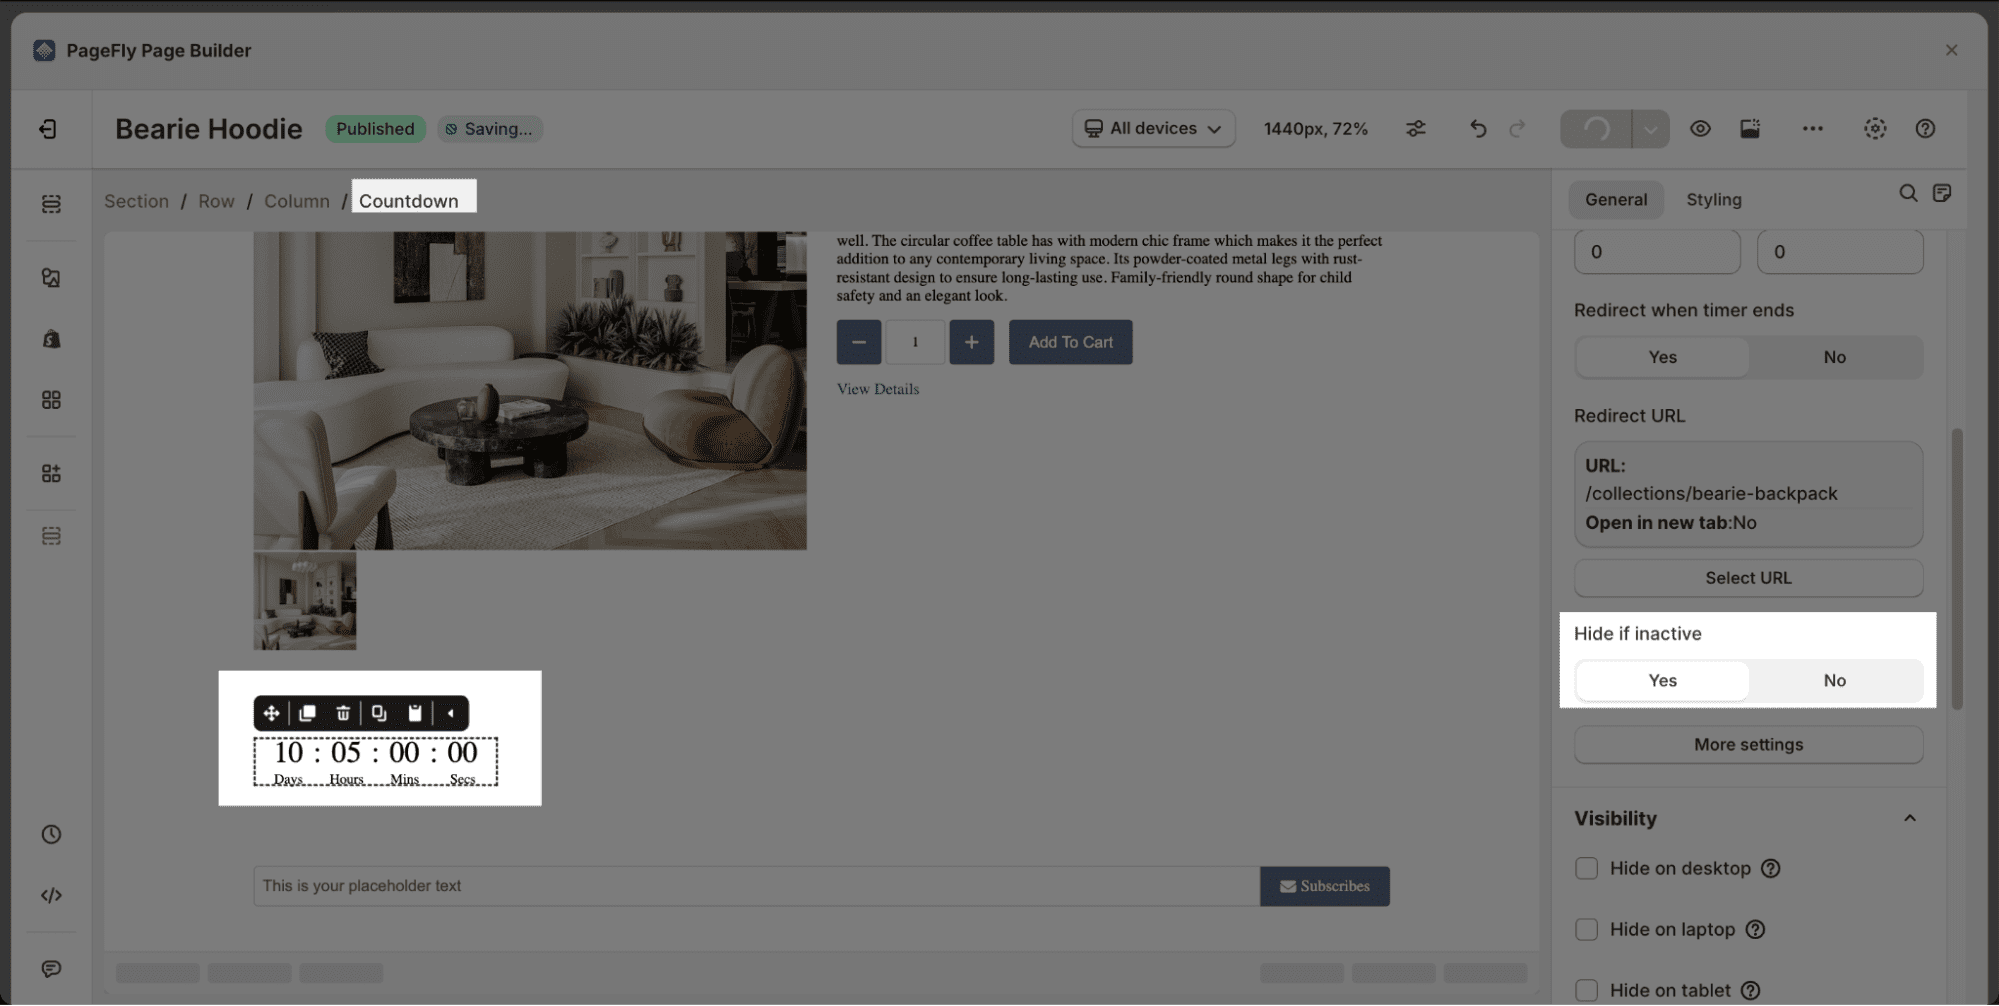
Redirect When Ends
This option is used in many cases, especially flash sales.
Enables you to insert the URL of the page when the countdown timer ends, then when the countdown ends, it will bring visitors to that page.

Hide If Inactive
Turn on this option if you want to hide this element automatically when the countdown ends.
More Settings
Click More settings to see more parameters to set up your countdown timer.
- Show week: Turn on this option if you want to show the number of weeks in the Countdown. This option is disabled by default. When this option is turned on, the Week Label Text option will show for you to change the text of this label.

- Show day, Show hour, Show minute Show second: These options are similar to the Show week option. These options are turned on by default and you can change the label text in the Label text box.

- Show colon: You can choose to show or hide the colon between countdown numbers in this option. This option is turned on by default.

- Show Label: Turn on this option to show the countdown label. To hide the countdown label, just need to turn off this option. It’s turned on by default.
Styling Settings
Overall
- Content color: Change the color of Countdown Timer by choosing one out of 8 default colors or you can customize to your liking by using available parameters.

Alignment
- Horizontal alignment: there are 4 text alignment options available, including Left, Right, and, Middle

Spacing
- Padding: edit to adjust the inner spacing of the element’s container
- Margin: edit to adjust the outer spacing of the element’s container
Typography
- Font Family: You can choose one from 6 default font family options
- Font Size: Adjust font size by dragging the black dot or by entering a number in the box on the right
Background
- Background Color: Select one out of 8 default colors or customize to your liking by using available parameters

- Background image: Click Select image > Choose image > Click Select

Display
There are three display options available

Best Practices For Using Countdown Timer Element
- Ensure the countdown timer has a clear purpose and communicates the exact benefit or action it’s promoting. Is it a flash sale, limited stock availability, or an early access window?
- Don’t overuse countdown timers. Frequent use can lessen their impact and create a sense of urgency fatigue for visitors
- Strategically place the countdown timer element where it’s most relevant to the promoted offer. For instance, near product pages for flash sales or on the homepage for a store-wide promotion
Frequently Asked Questions
Why Should I Use PageFly Countdown Timer To Set Up Sale Promotion Page?
The timer triggers urgency deep within the human mind, as people are likely to be in a hurry and would want to act immediately. IN the business sense, the counter timer helps to increases overall sales
What Is Countdown Timer?
Countdown means to count down to a specific deadline, as it could be seconds, minutes, hours and days.
How Long Should Sale Promotion Be?
4-5 weeks, but it should come along with a marketing strategy. The strategy could be a half-price, direct price-off or buy 2 get 1 free.