About Minta Social Videos Auto Post (Minta Automated Social Video) with PageFly
What Is Minta Social Videos Auto Post?
Minta Social Videos Auto Post, or Minta Automated Social Video is an automated social video element, as it allows merchants to automatically create videos or marketing content for any promotion campaigns, based on your Shopify products’ information.
Using AI to transform your store’s product catalog into engaging video content, Minta is crucial for streamlining social media marketing efforts, allowing businesses to maintain a consistent online presence without manual intervention.
You can manually share the auto – generated videos on multiple social channels or get Minta’s planner to schedule it for you. These videos help merchants enhance user experience in order to boost more sales.
Install Minta Shopify
To use this element, the Minta Social Videos Auto Post (Minta Automated Social Video) Videos app needs to be installed on your Shopify Store and configure all options within the app and return to PageFly to use the element.
- Install Minta Automated Social Videos
- Install PageFly
How To Access Minta Social Videos Auto Post Element
In the page editor, follow these steps to access the Minta Automated Social Video element:
- Step 1: In the PageFly editor, click “Third-party element” icon on the left menu
- Step 2: Click the Manage integrations icon on top
- Step 3: Search for “Minta Automated Social Video” and enable it
- Step 4: Click Done and the element will appear in the “Third-party element” menu.
![]()
How To Configure Minta Automated Social Video Element
- One element can be used once on a page.
- The elements can be used on all page types.
- The elements can be used anywhere on the page.
From PageFly
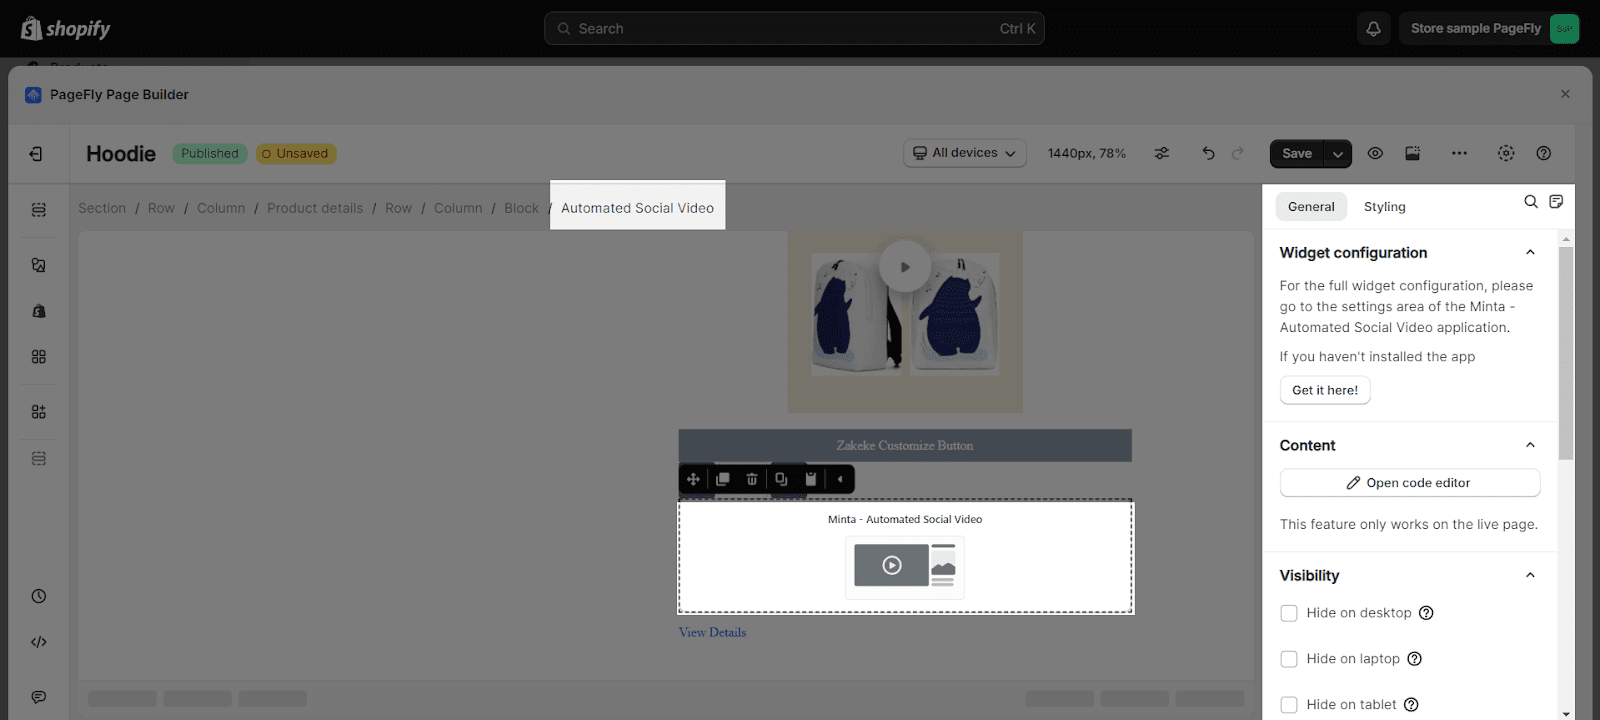
Step 1: Add Minta Automated Social Video App Element
Before starting to set up the Minta Automated Social Video element, you will need to add this element to your page canvas:
- Step 1: Click “Third party element” on the left menu bar
- Step 2: Look for the “Minta Automated Social Video” element
- Step 3: Click on the element to see its variant
- Step 4: Drag and drop the variant onto the page canvas

Step 2: Configure Minta Automated Social Video Elements
Once you finish configuring options in the Minta Automated Social Video app, you can go to a PageFly page and use this element.
- In the General tab, there is a widget configuration giving you a short explanation of the Minta app and its link to app listing, and a Minta code editor where you can paste the embedded codes from your created product in the Minta app.
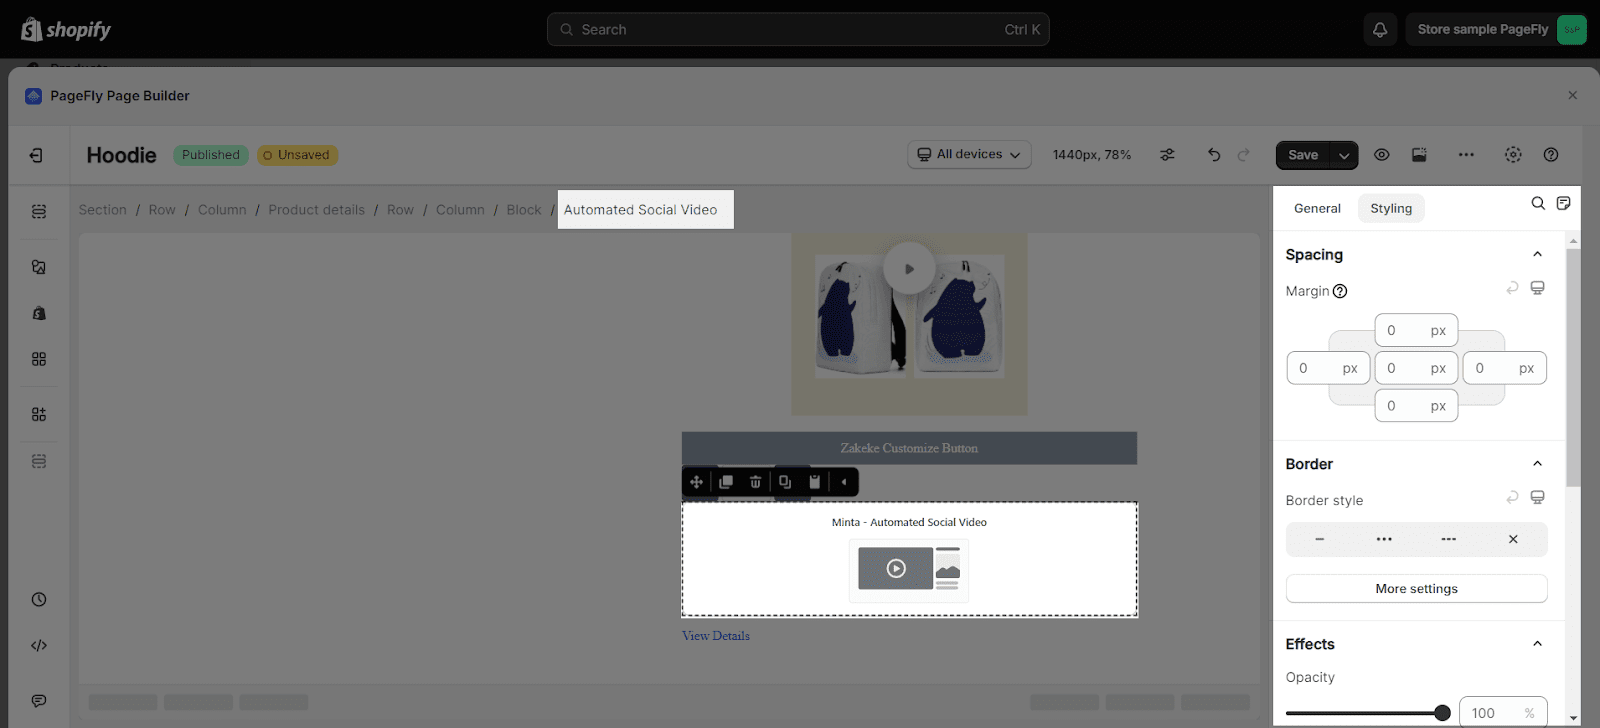
- In the Styling tab, you can edit the Margin, Border, Effect of Opacity for the element.
From Minta Shopify
You can see how to set Minta Automated Social Video in detail via their FAQ page in this article
- Step 1 : Set up Minta Automated Social Video element by your Shopify Account.
Go to your Shopify Admin > Apps > Choose Minta Automated Social Video to set it up.
- Step 2: Set up the Minta Automated Social Video app.
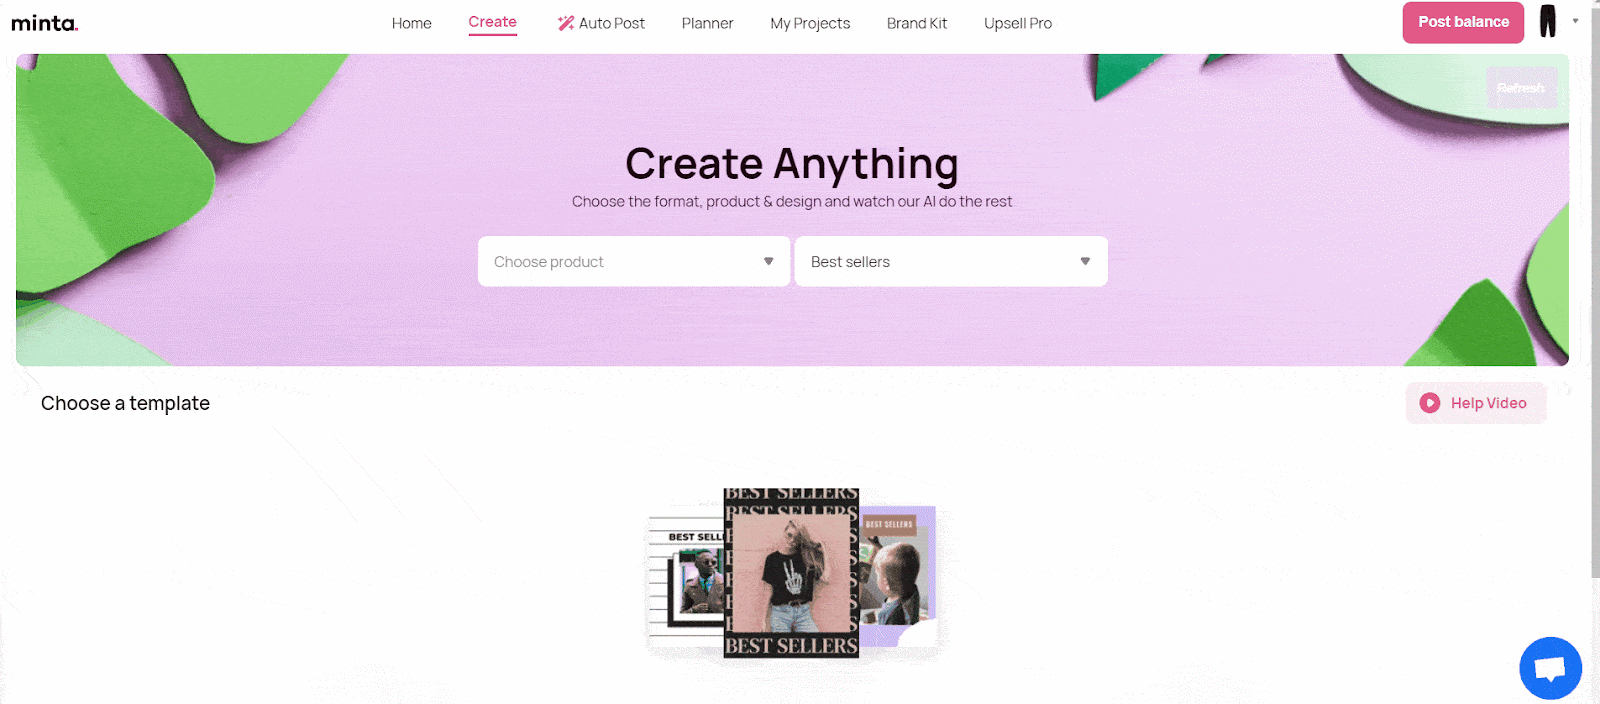
 To start with, click on Create on the menu and select format, product and design for your social videos:
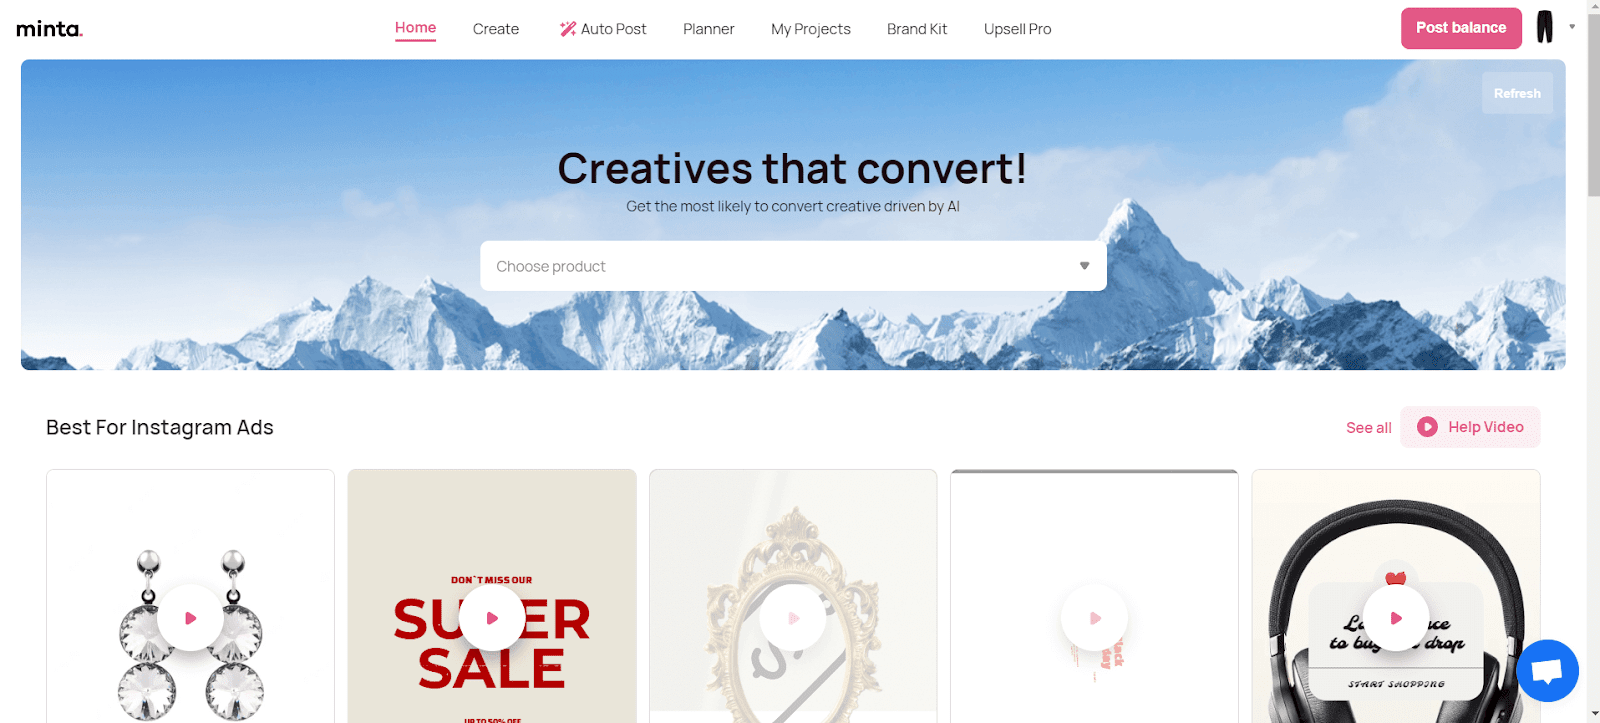 In the Choose Product tab, you are required to select one product to help Minta fetch the data from Shopify in order to make a video.
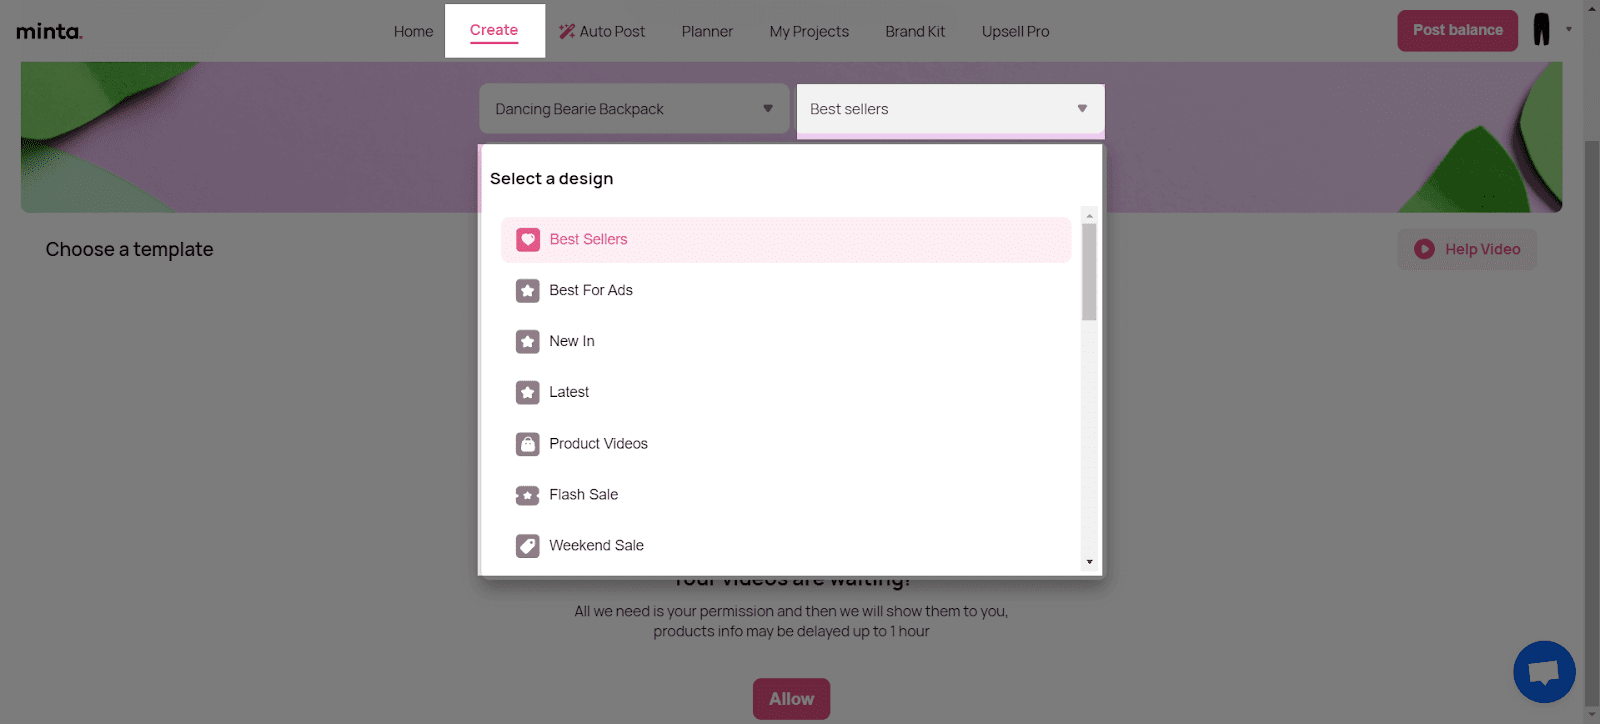
 Next, you can choose the design for the videos. Minta gives you design options to show the theme of your store, spirit of your promotion campaign, or the vibes of sale seasons.
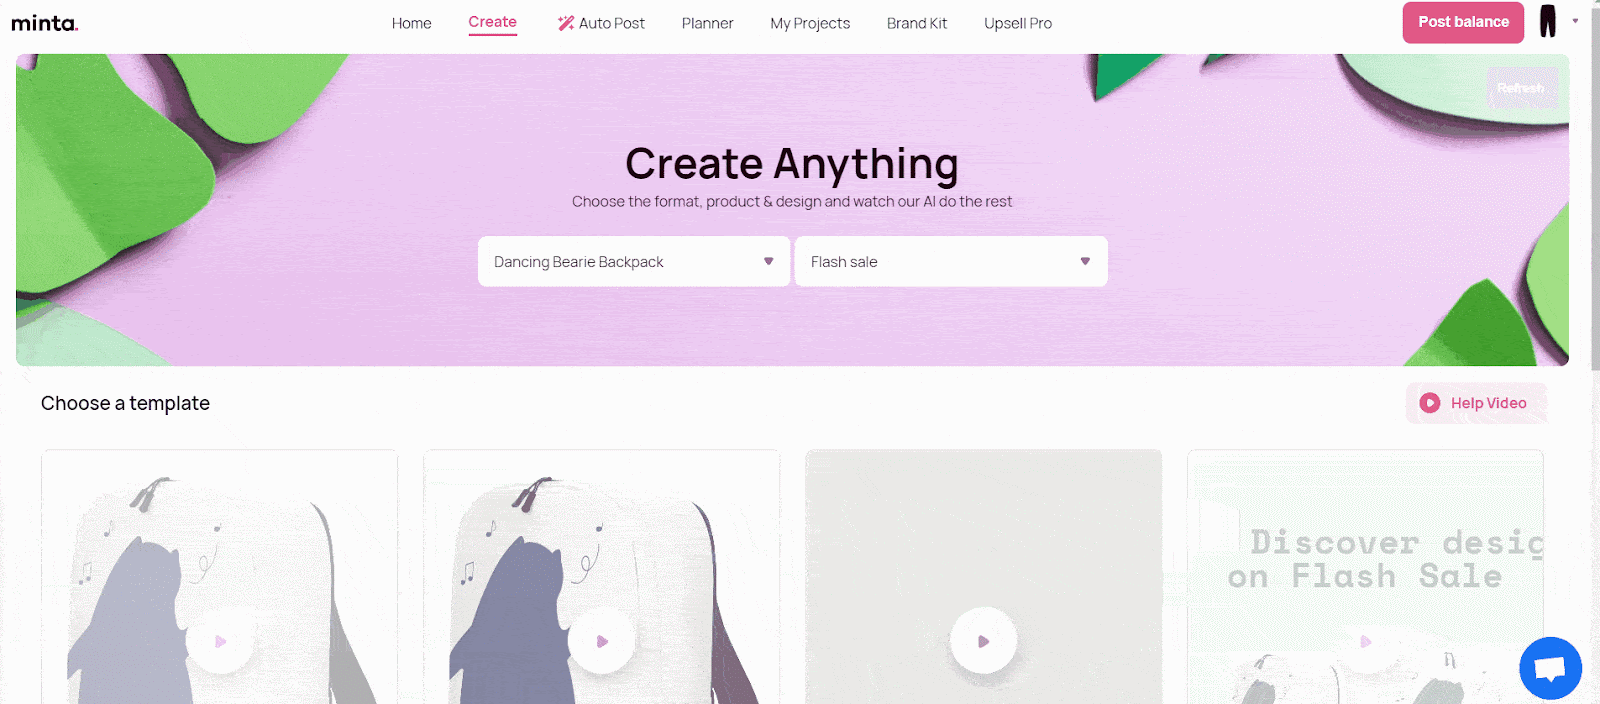
After finishing, a list of social video will be generated and ready to use.
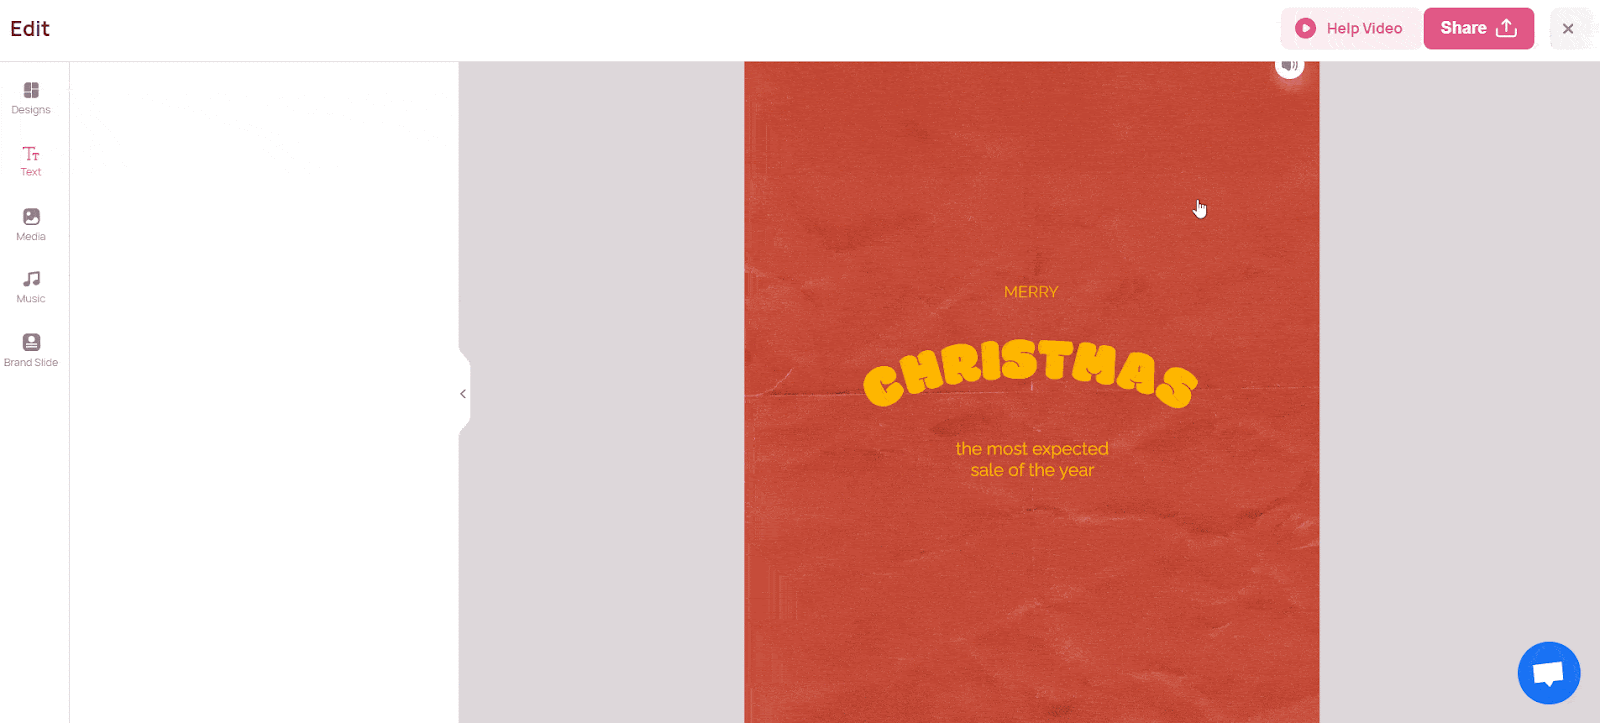
 If you do not like the available design, you can totally customize it with the options such as format, design, text, media, fonts, music, brand slide.
When you are done with your edition, you are ready to share your videos on social channels or your website by posting the design to your Product Page.
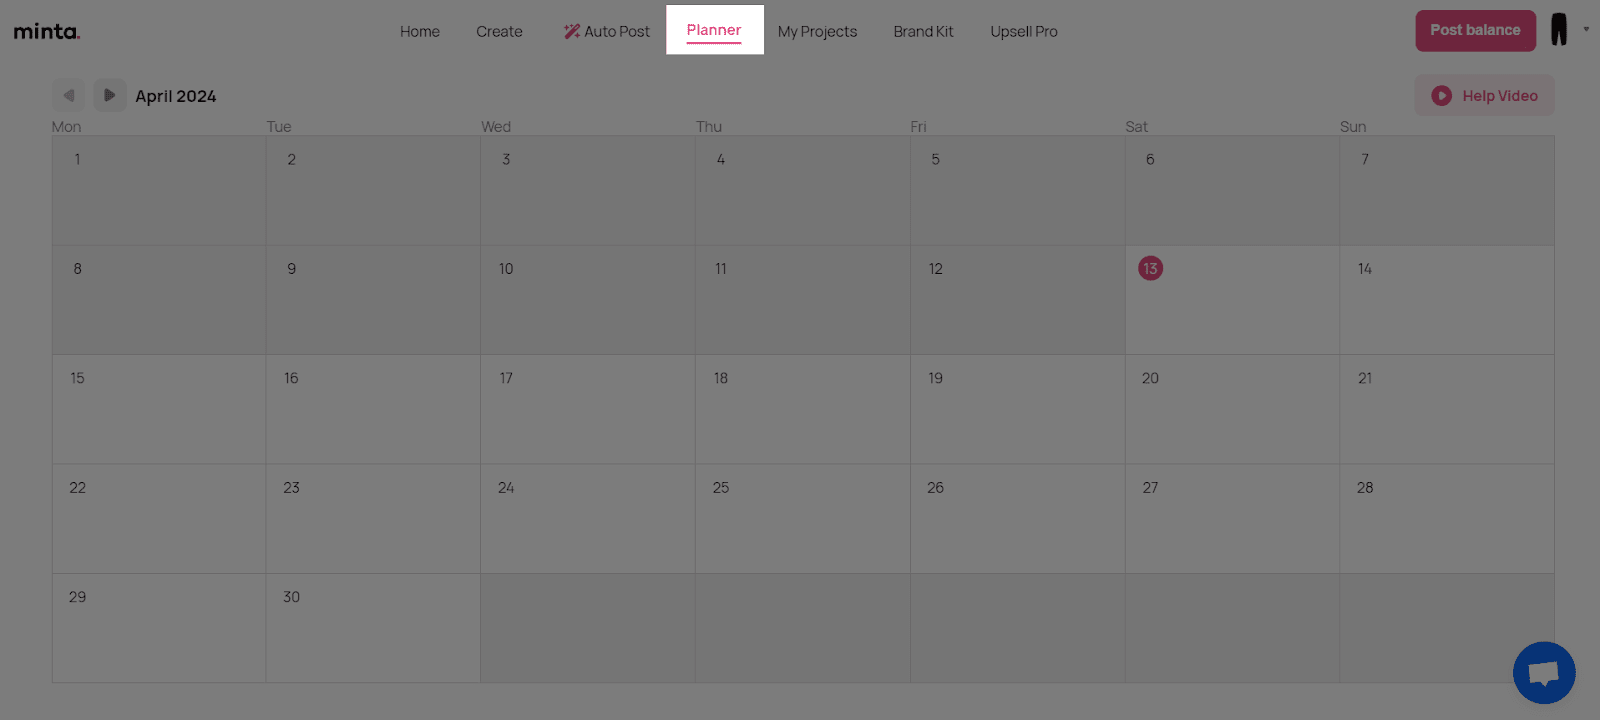
 Furthermore, you can schedule a specific time to post your videos with Minta planner.
 You can find your starred, draft, published or recent video project in My Projects and predefine your brand vibes in Brand Kit tab.
After all of the configurations are done, please go back to the PageFly page editor to drag and drop the element onto the canvas, the Minta Automated Social Video element is ready to go!
Tips & Best Practices
Minta Shopify is an automated social video element; it allows merchants to automatically create videos or marketing content for any promotion campaigns, based on Shopify product information.
We strongly recommend using the Shopify App Block Element for Minta Automated Social Video integration. Available for Shopify theme OS 2.0, this feature simplifies adding Minta Automated Social Video functionality to your PageFly pages or sections. It offers greater flexibility, easier updates, and an improved user experience. While limited to one per page, the App Block is a valuable tool to enhance your store’s capabilities.
For detailed setup guidance, refer to our App Block article. This simple change can substantially improve your Minta Automated Social Video integration and overall store performance.
Frequently Asked Questions
1. What is Minta Shopify app?
Minta Shopify is an excellent Automated Social Video App, as it offers Auto Post Social Media Videos, Promo Video Banner Ads AI Product Video Maker and AI Auto Post ReConvert.
2. What’s included in Minta Shopify app?
A free plan from Minta Shopify App includes 5 posts per month, Automated social media content catalog, Share on FB, IG, TikTok & Pinteres,t and customizable logos and brandings.
3. Who is currently in partnership with Minta Shopify App?
Shopify Flow, TikTok & TikTok ad account, Pinterest creative video maker, Instagram product video ads, Facebook videos & video ads, AI Auto post to Social Media.