About Avada Shopify
What is Avada – Email Marketing?
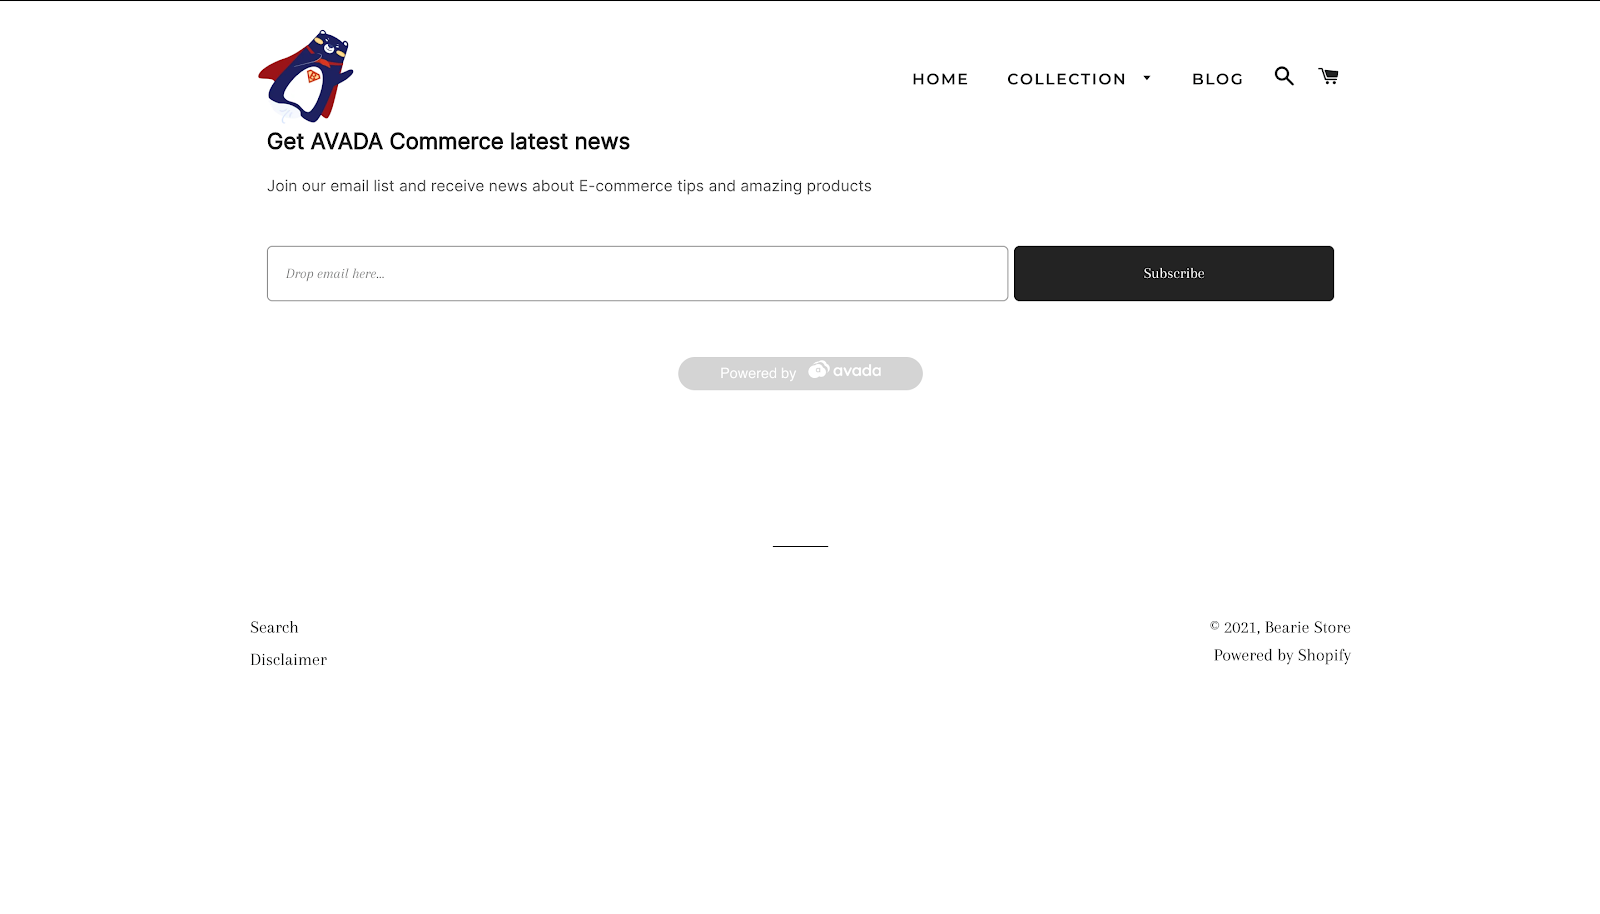
Avada – Marketing Automation Form element is designed to help you to create a signup form for your pages to turn visitors into subscribers by filling customer’s emails into the form.
Access Avada Email Marketing
To use this element, the Avada Email Marketing has to be installed on your Shopify store.
Then, please follow the following steps:
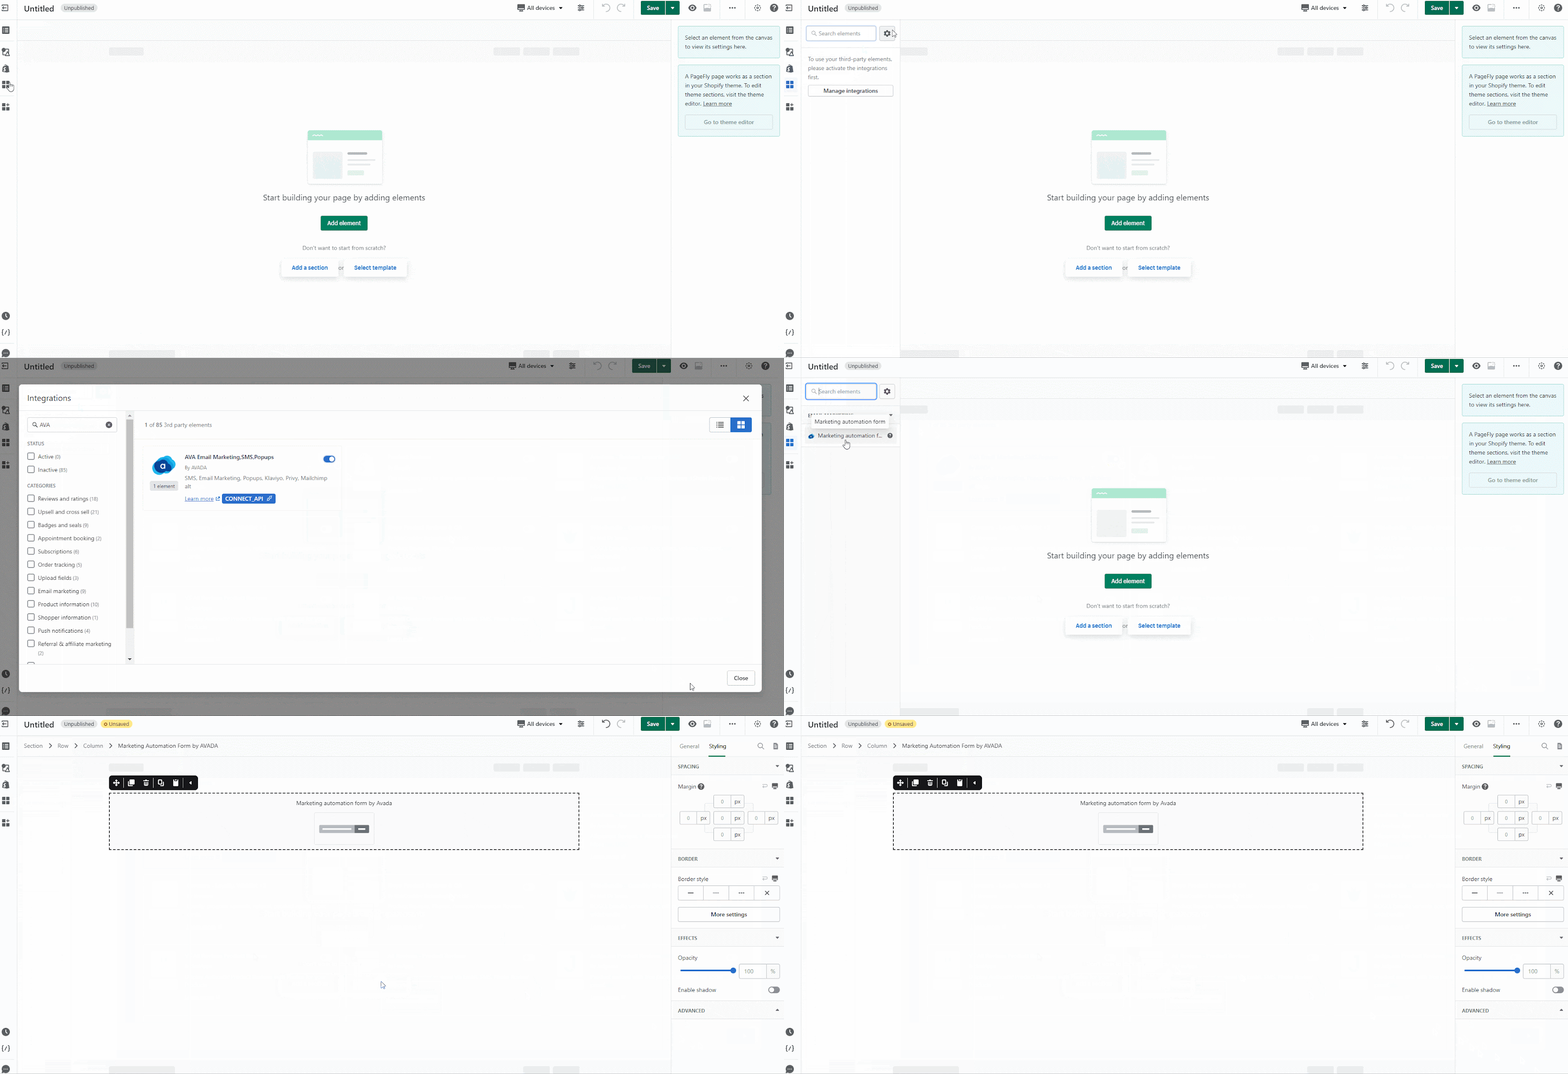
Step 1: Go to Add third-party elements in the left toolbar > Click on the Edit your 3rd party elements button.
Step 2: In Integrations popup page, you can search “Avada” on the search bar and then Enable it.
This element comes in only one variation: the Avada Marketing Automation Form.
Step 3: Drag and drop Avada Email Marketing element into your PageFly editor.
PageFly Configuration
How to revoke access to the Avada Marketing Automation Form element. There are two ways you can disconnect Avada marketing automation form element:
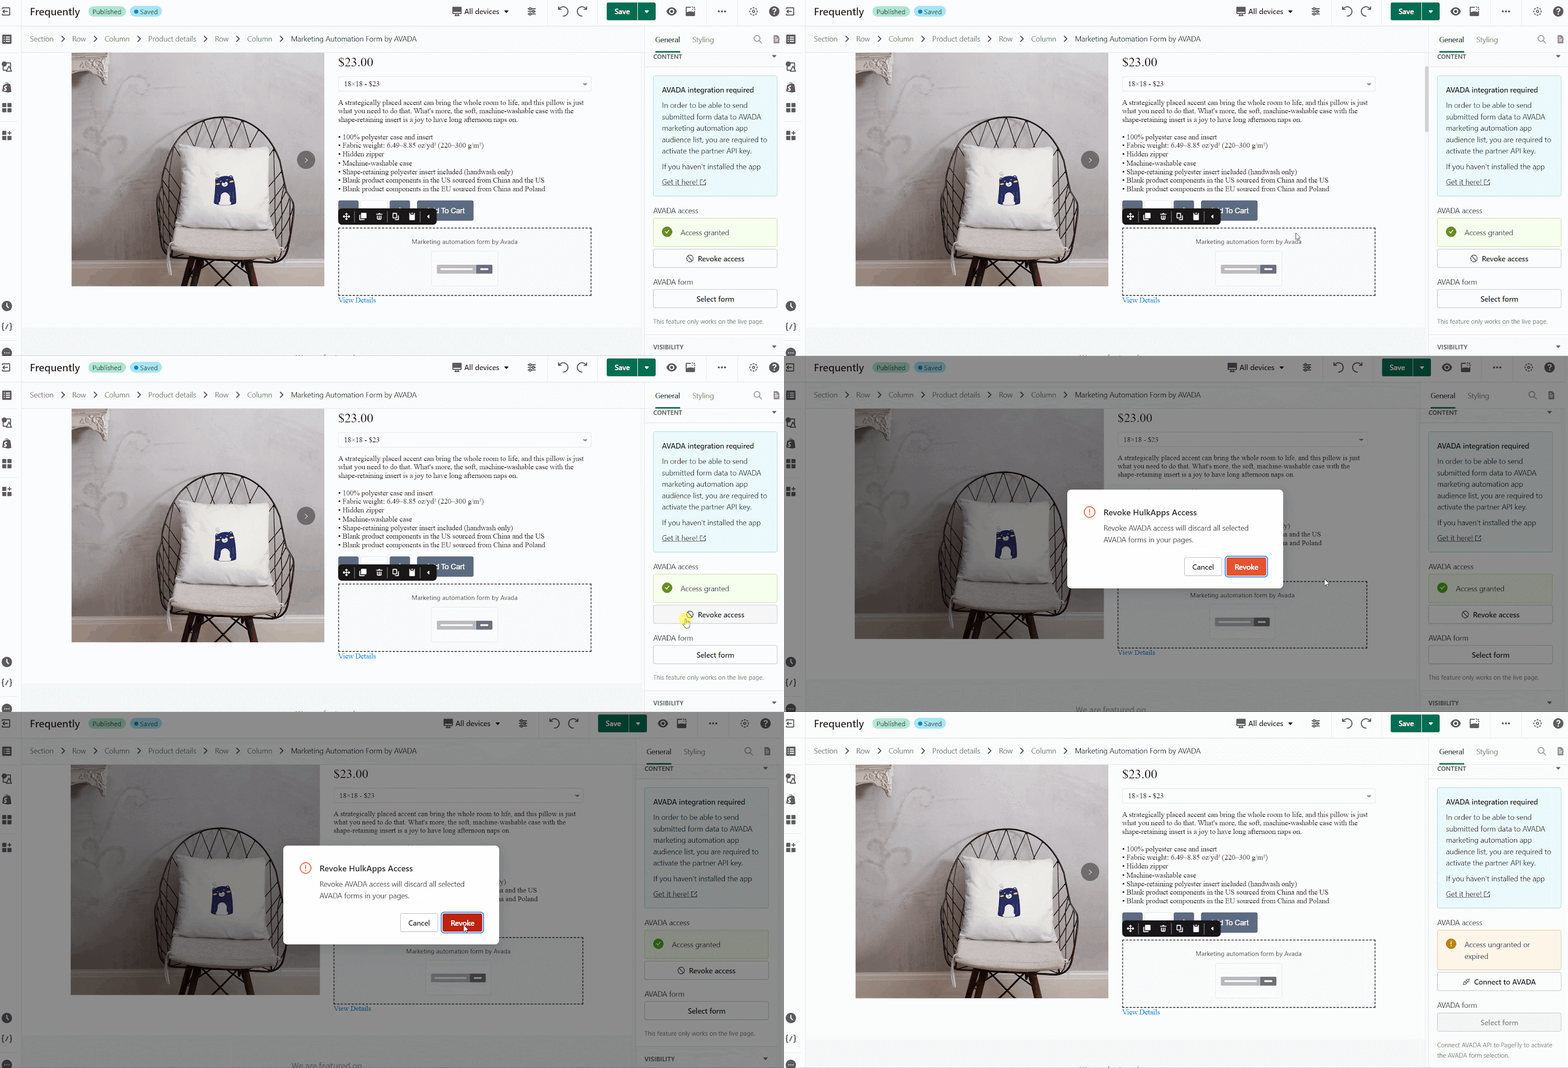
- In the PageFly editor, click to Avada Marketing Automation Form > Go to General Tab > Choose to Revoke Access button > There will be a pop-up Revoke Avada Access box > Click Revoke.
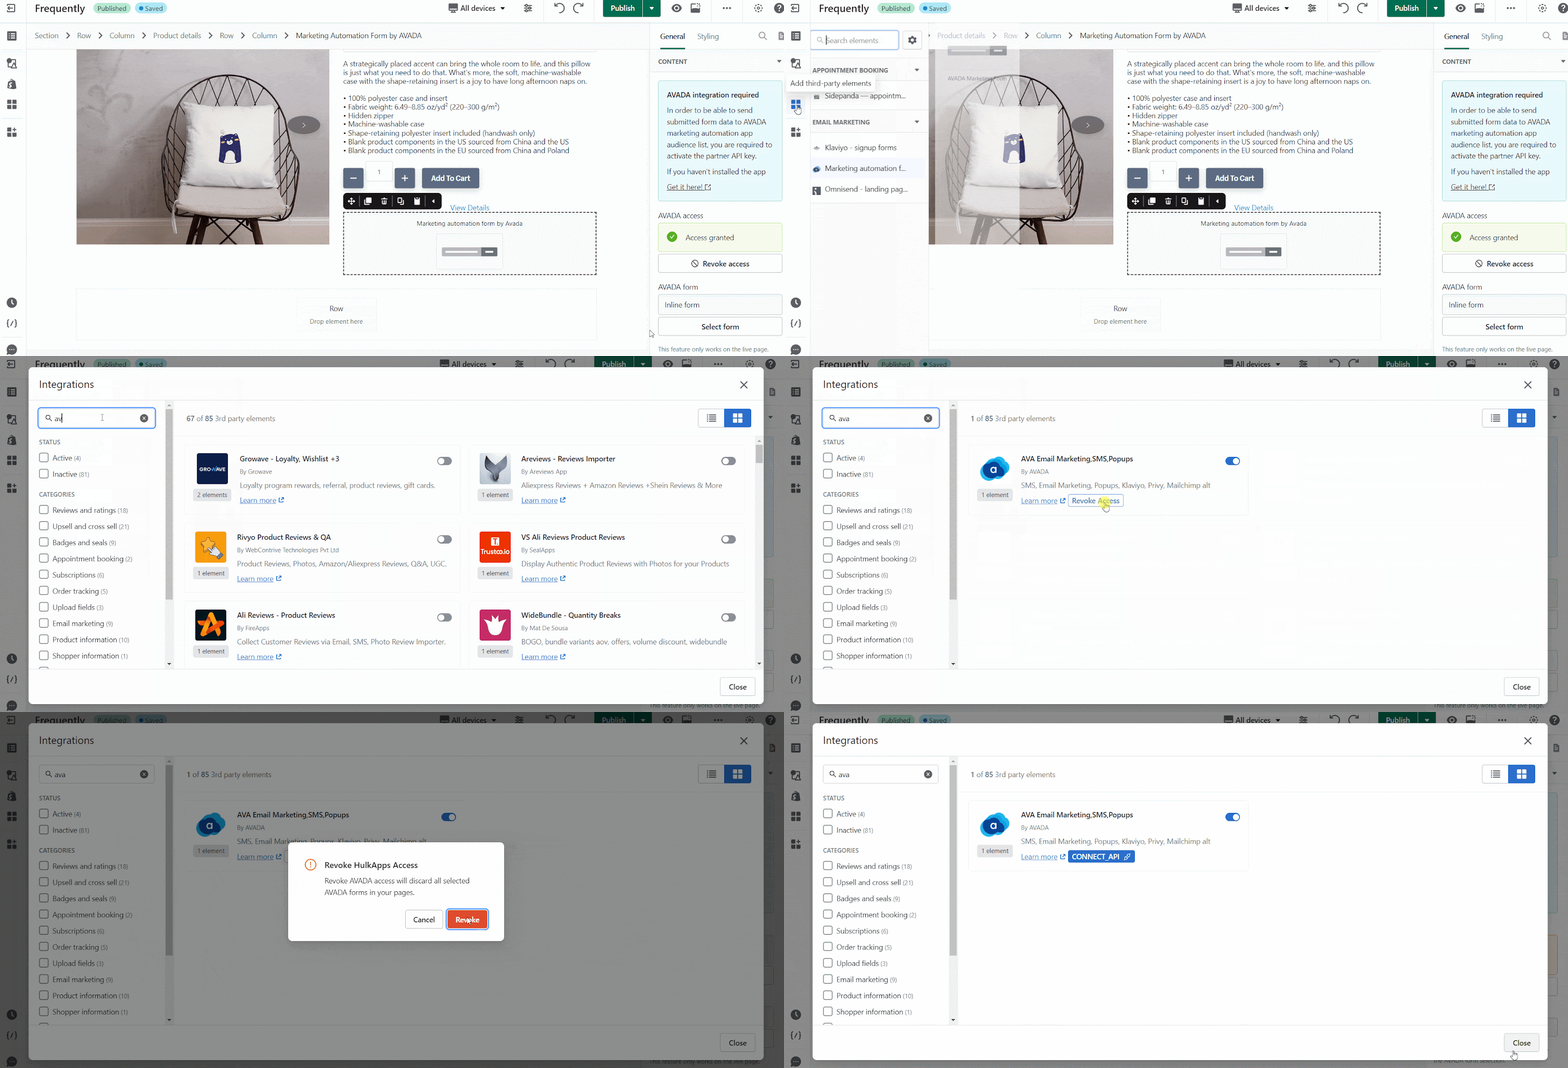
- In the PageFly Dashboard > Choose Setting > Select Integrations section > Revoke Access button> There will be a pop-up Revoke Avada Access box > Click Revoke.
Avada Shopify Configuration
Avada Shopify Element Settings
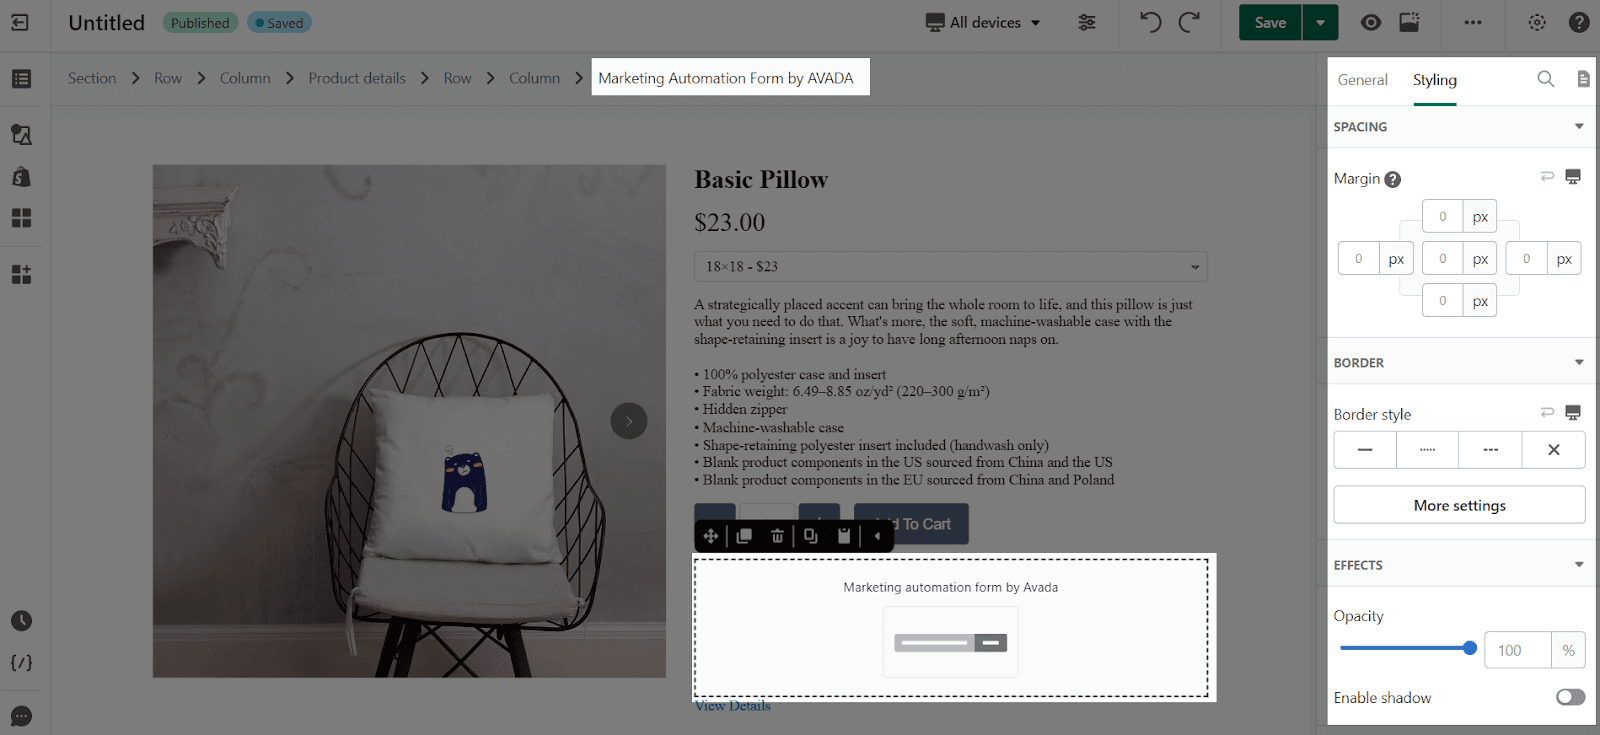
You can customize the styling of the Avada Form element in the Styling tab.
You can check more information about the Styling tab here.
Avada Email Marketing by App Settings
As mentioned above, you need to install the Avada Email Marketing app to your Shopify store and configure all settings in that app.
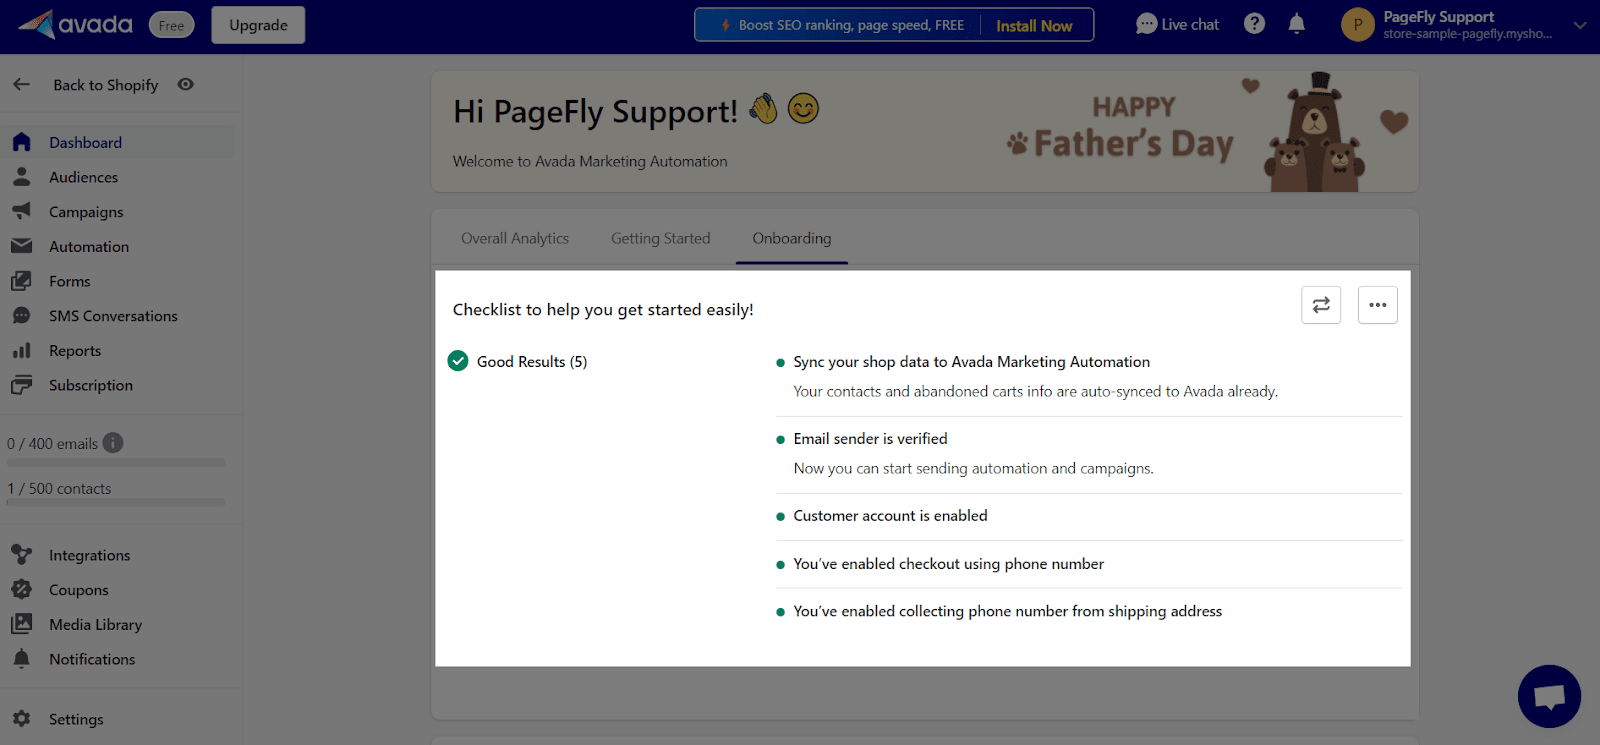
After installing the app, you are requested to fill in related information. Here’s the completed status:
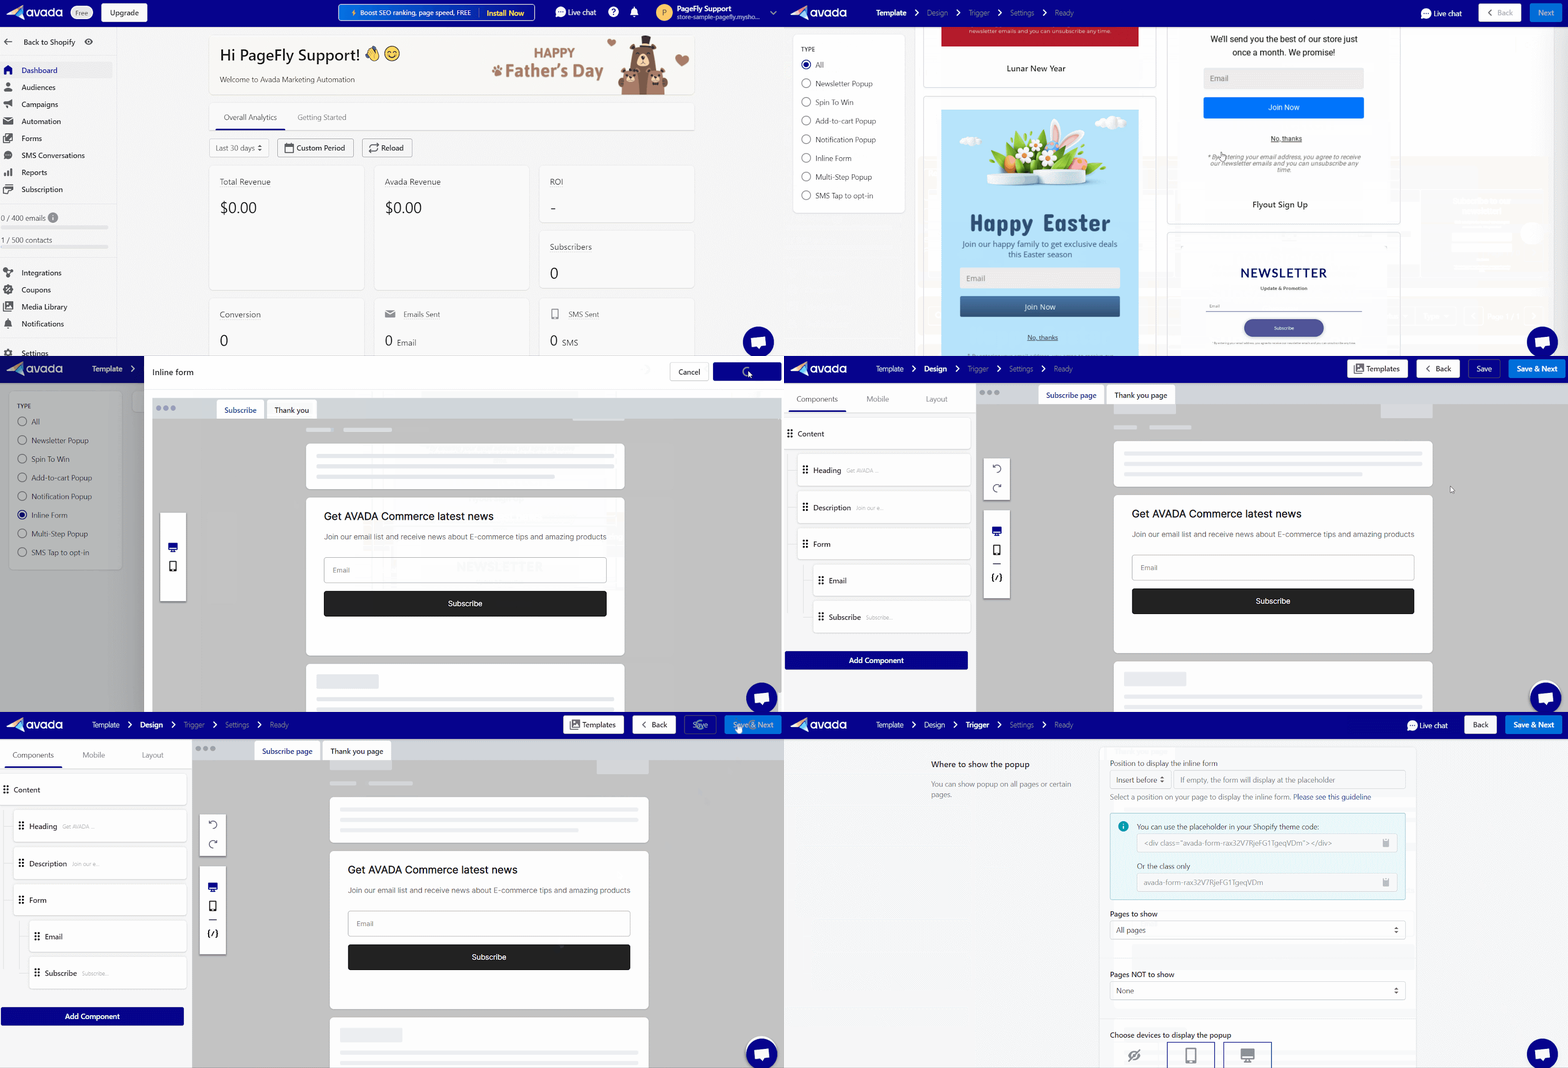
- Now, click on the Close button at the bottom of the page to go to Avada’s dashboard.
- On the Avada Marketing Automation Form dashboard, scroll down to the Forms option > Choose Create button
- Please keep in mind that in this Avada Marketing Automation Form element on PageFly, we just serve you to create an Inline option.
So, you should click on the Inline section > Select template > Save & Next
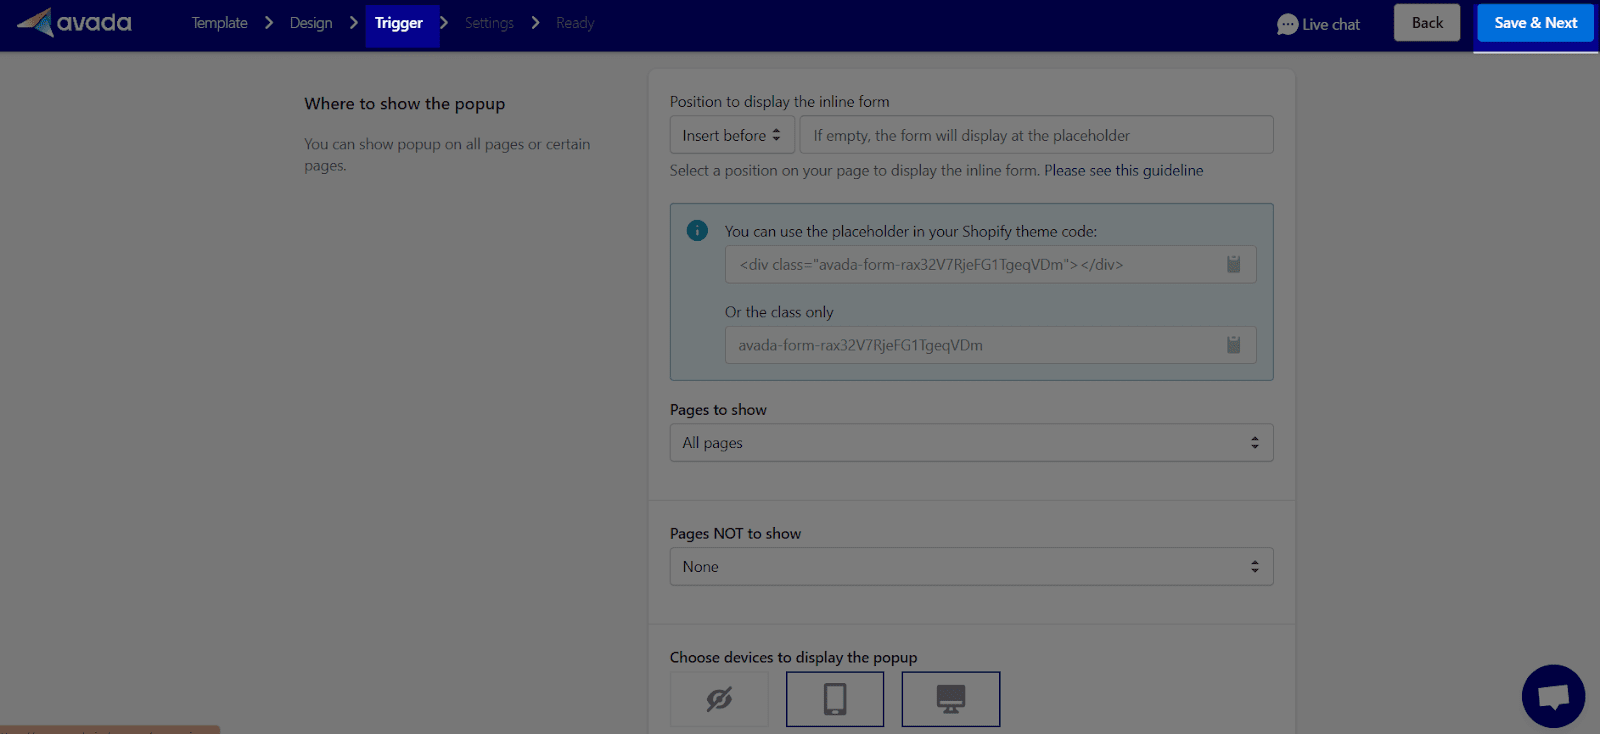
- You can set up the Trigger of form regarding Where to show the popup and Country restriction in the Trigger option > Choose Save & Next.
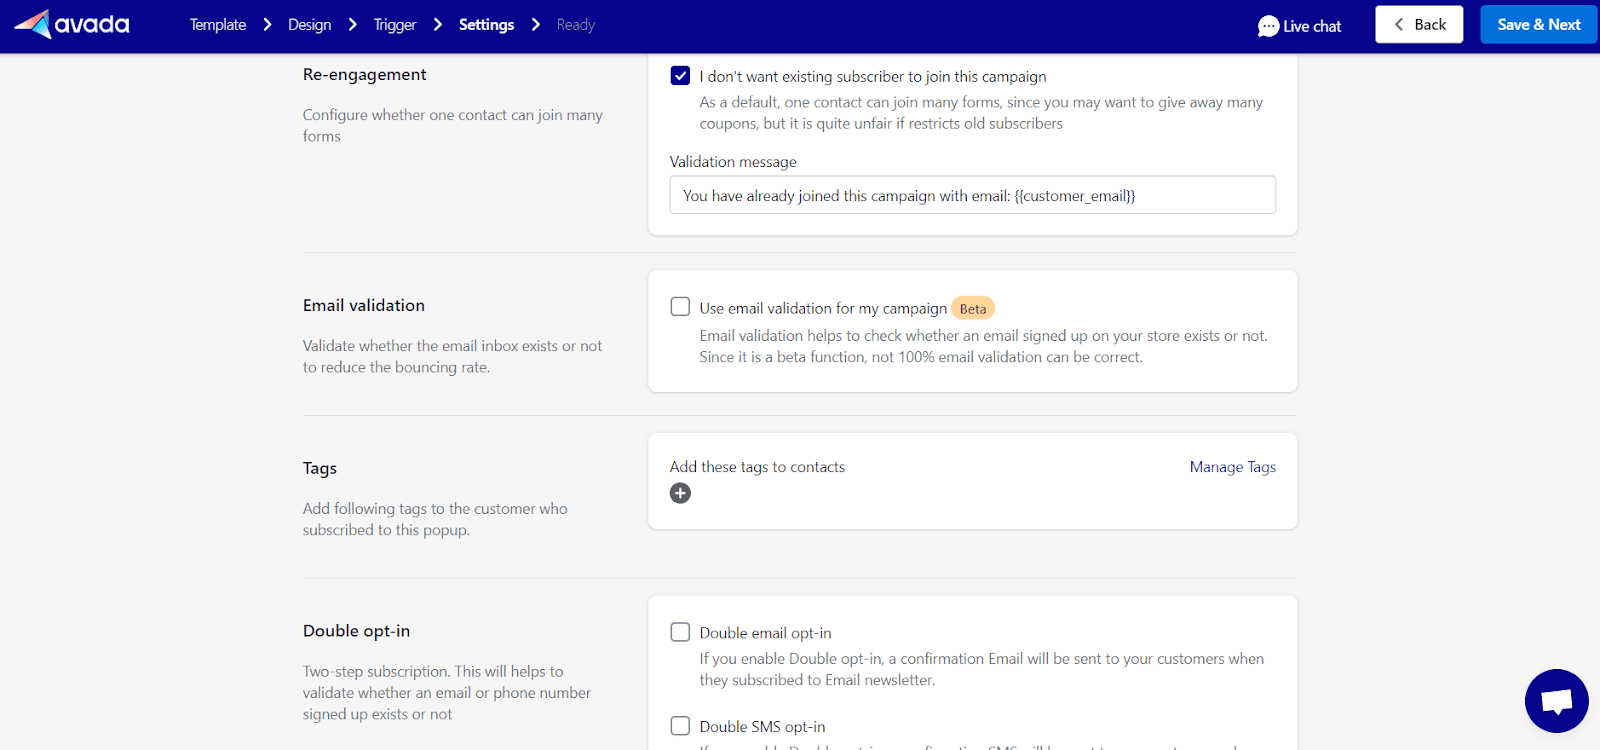
- In the next step, you can set up Re-engagement, Email validation, Tags, Double opt-in in the Settings section > Choose Save & Next.
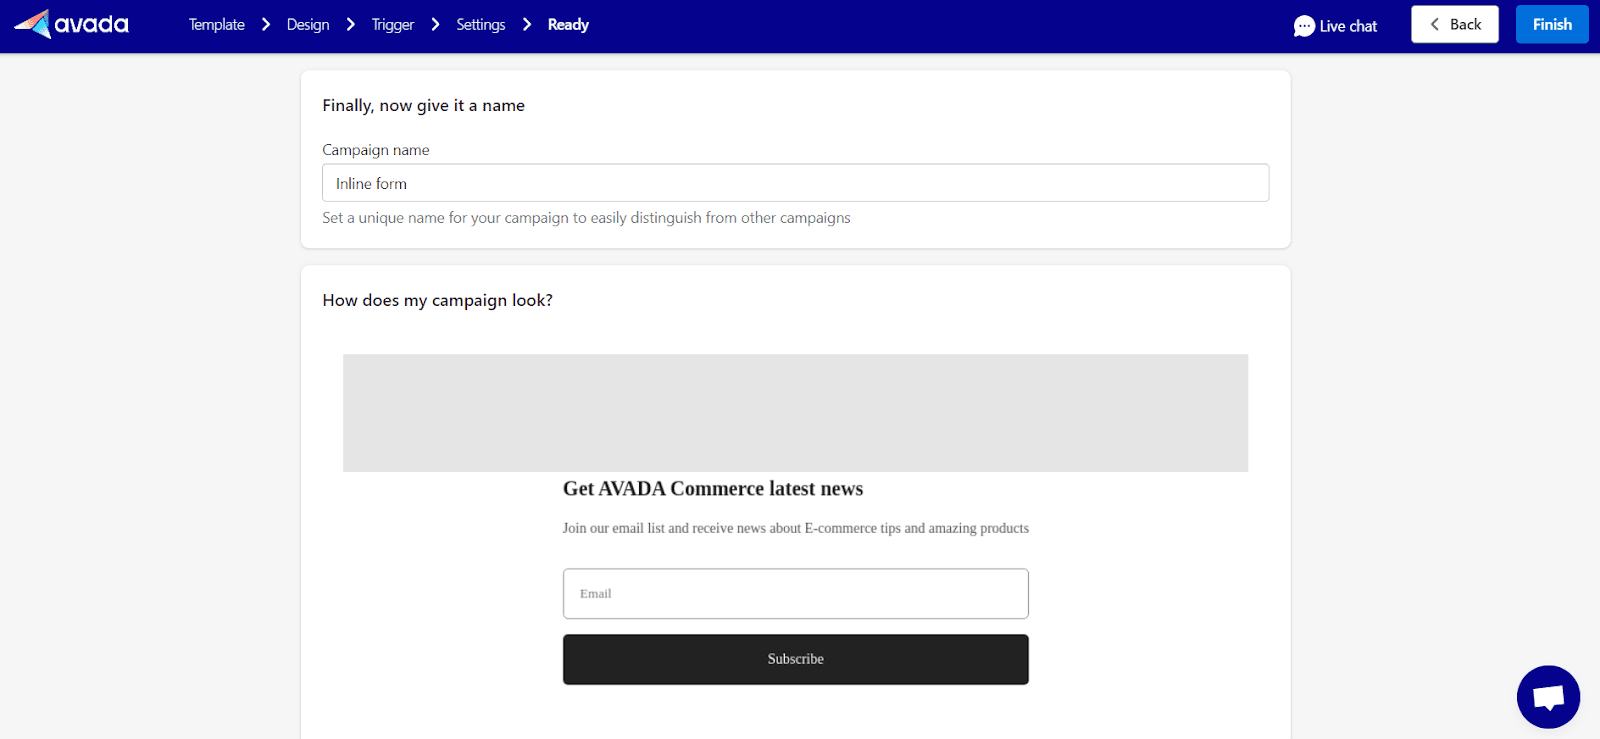
- Then, you will be moved to the final step is the Ready section, you can give the Campaign name for your email and have an overview of your campaign look, your campaign triggered, and your campaign setting. And all of your settings follow as your target, just click to Save.
In case, you want to change something you’ve set before, you can turn back by choosing the Previous button instead of the Save button or you can click on the section that you want to change the setting.
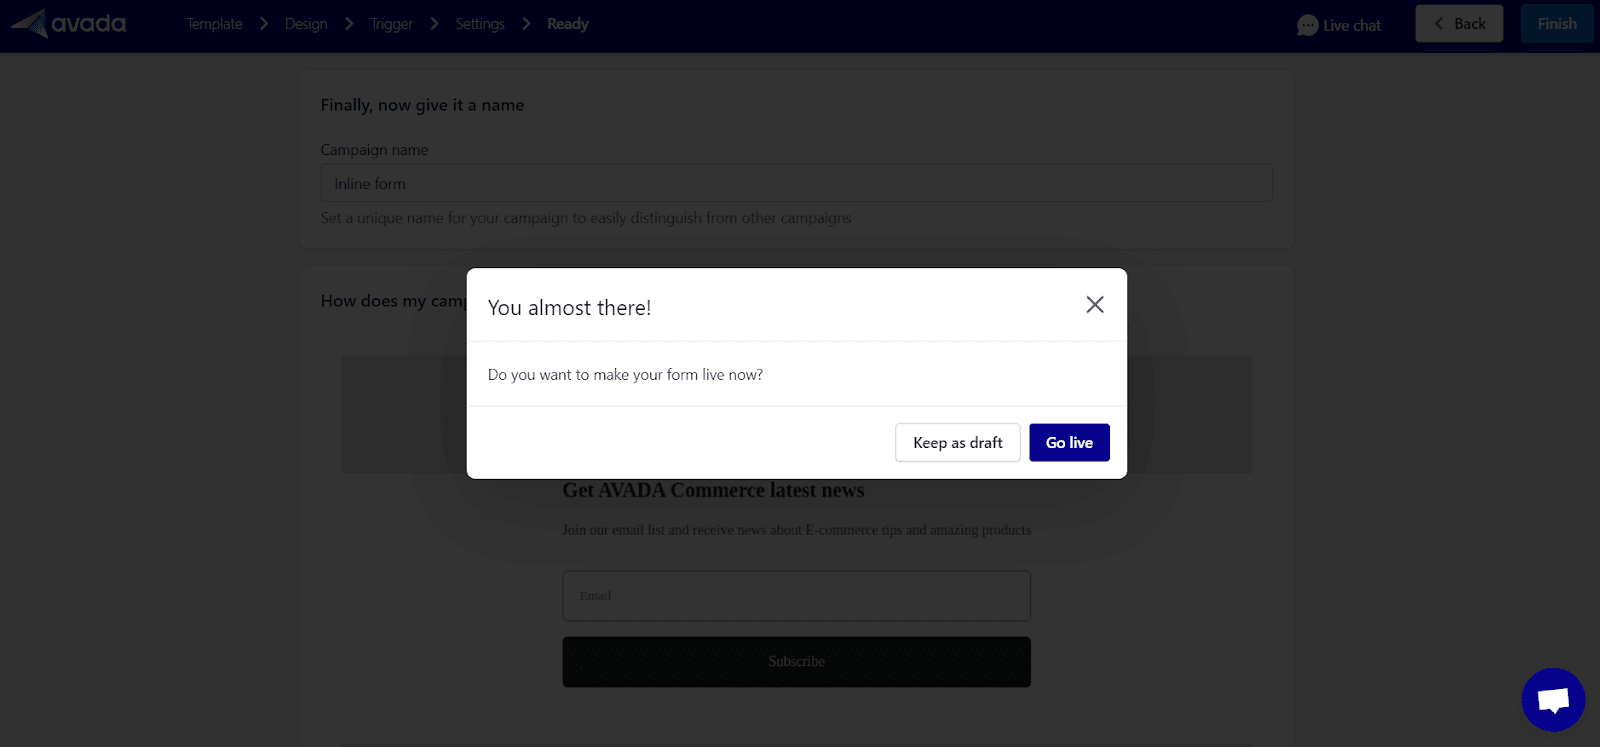
- Finally, there will be a popup showing, you can choose to make your campaign Go Live or Keep as a draft.
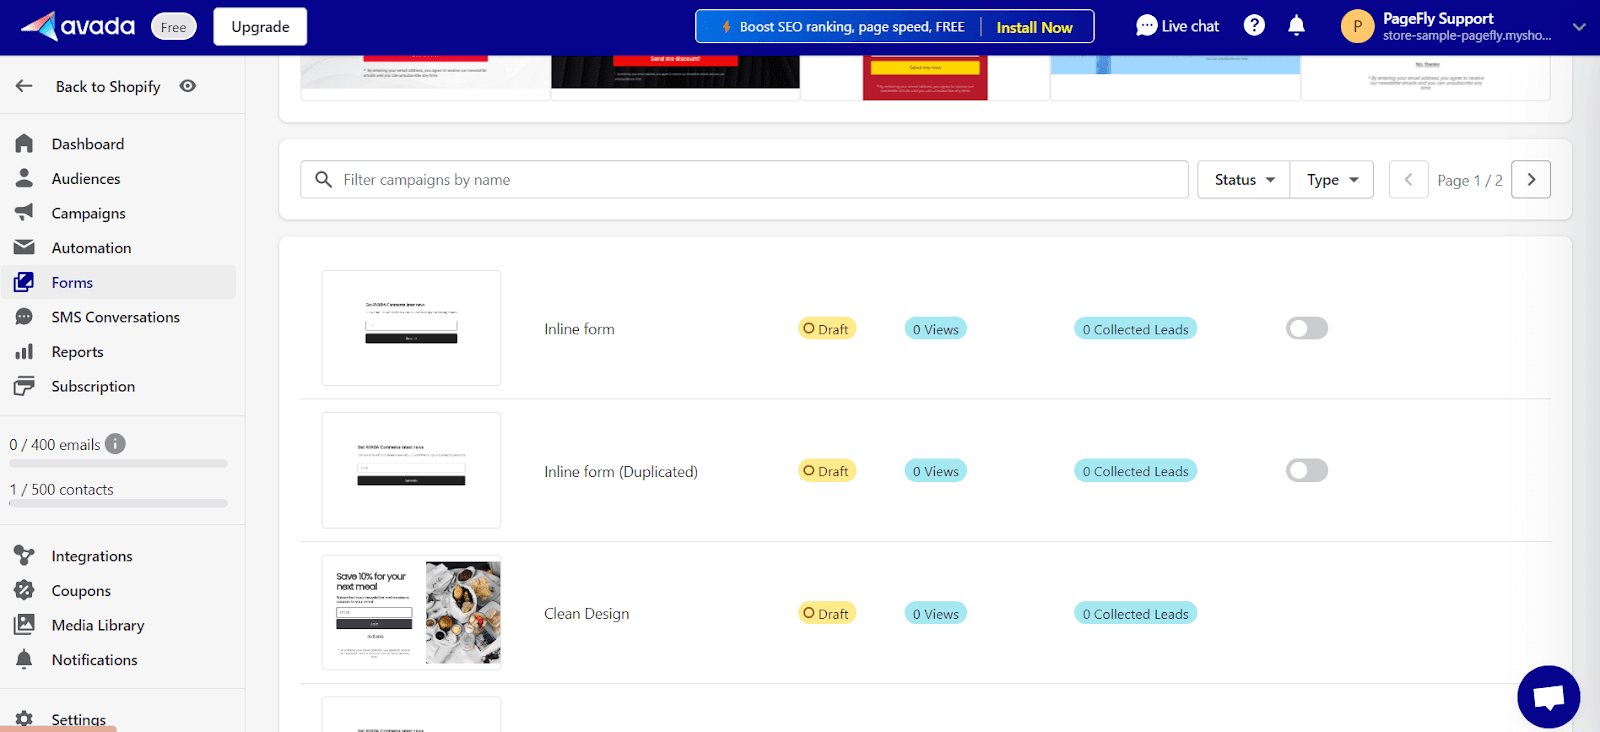
- Turn back to the Form Dashboard, you can see all of the Avada Marketing Automation Forms that you’ve created in here:
Avada Access
In order to connect PageFly to Avada, please follow these step below:
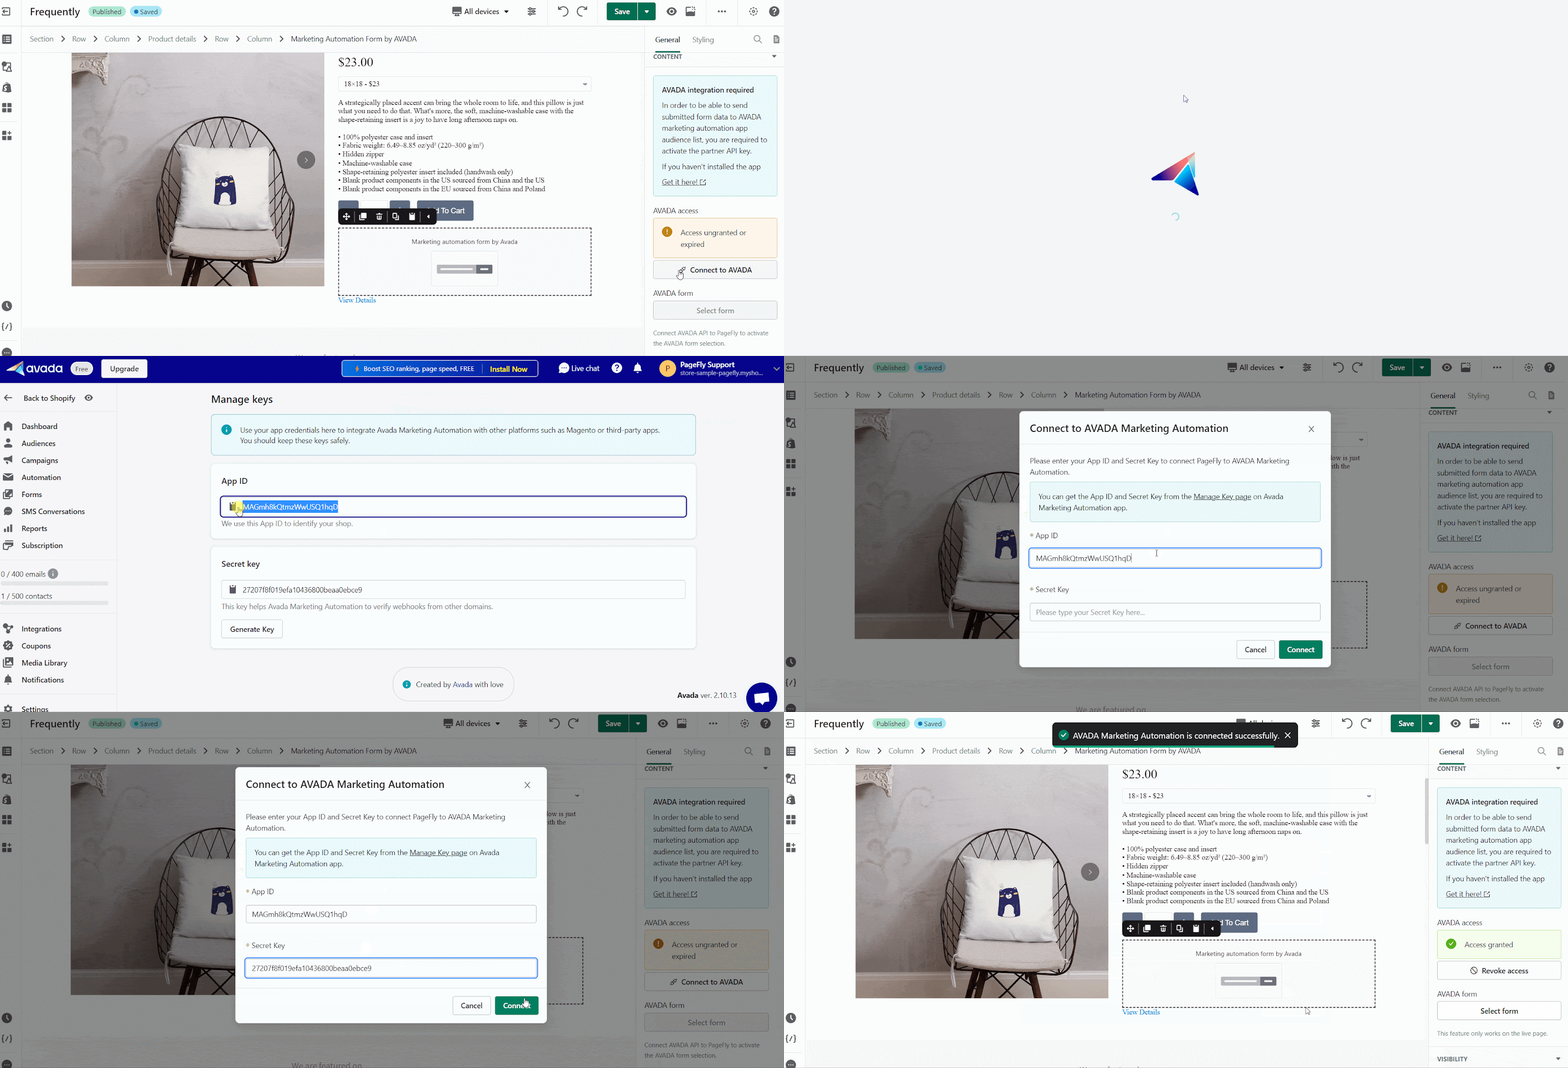
- Go to General tab > Choose Connect to Avada button. Connect to Avada Marketing Automation box will pop up.
- In the Connect to Avada Marketing Automation box, click to the Manage Key page to redirect to the Avada app to get information related to App ID and Secret key.
Note: If you don’t see the code for Secret Key, you should choose to Generate Key > Confirm to receive your code for your store.
- Copy and paste the App ID and Secret key to connect Avada on PageFly
Please keep in mind that you only need to connect the API of Avada into PageFly ONCE.
Avada Form
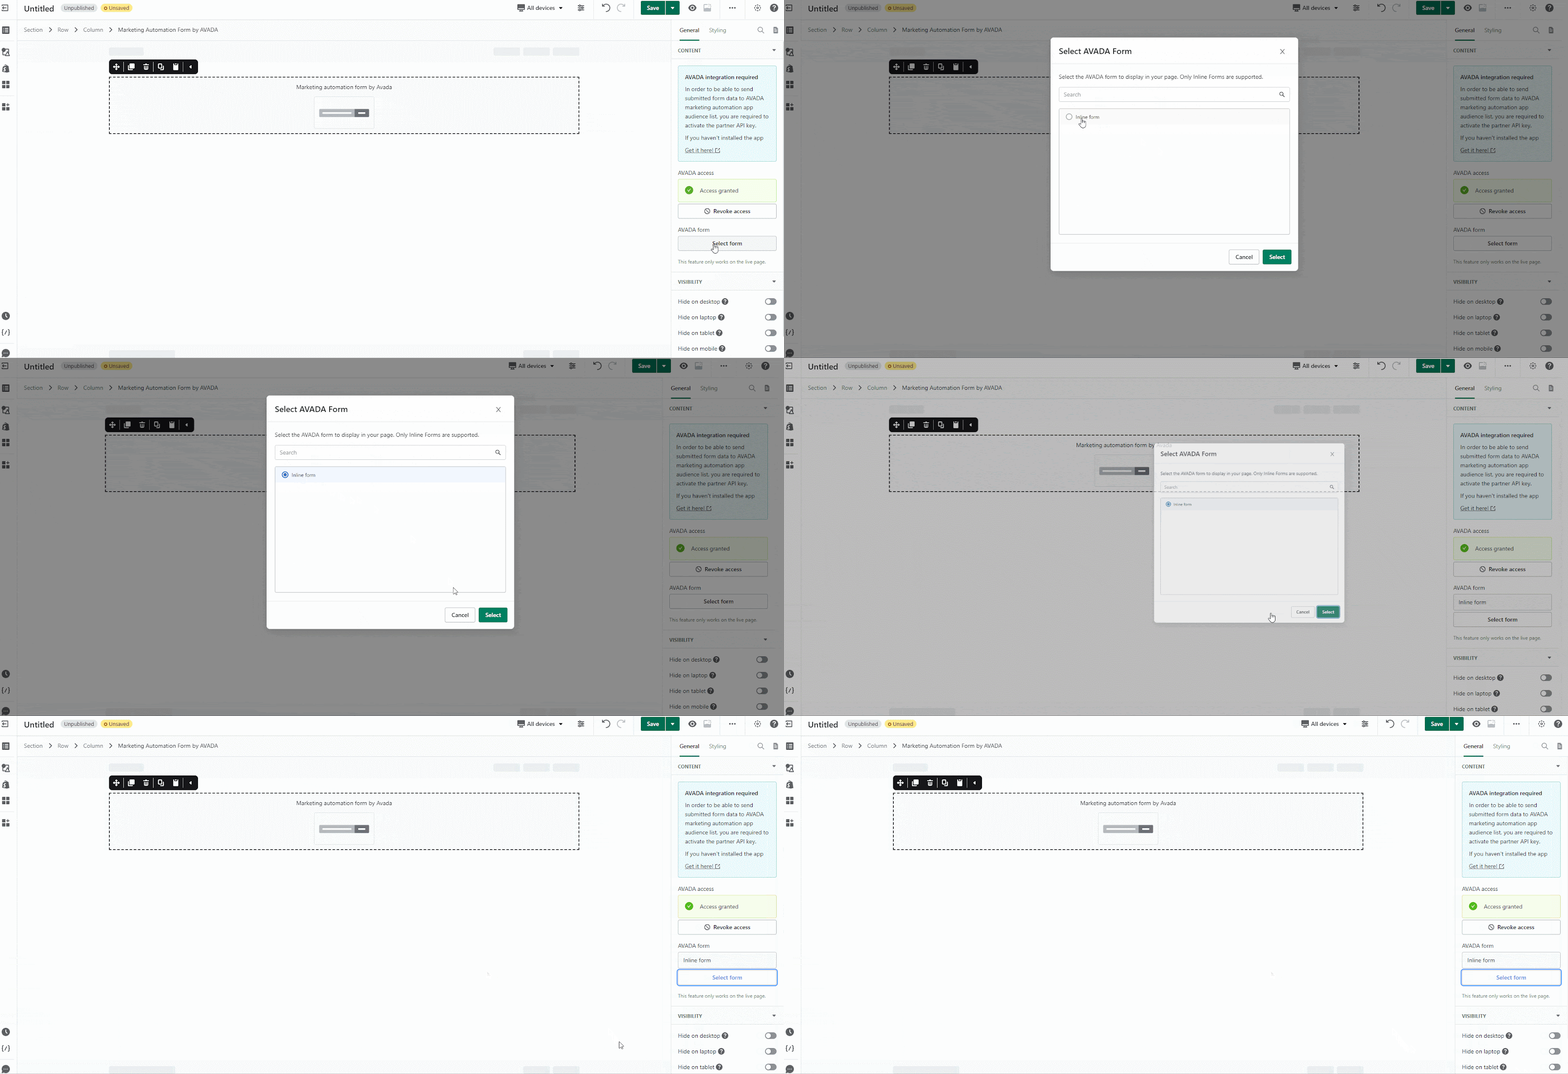
Maybe you have a variety of forms, and you can select the Avada form to display on your page in Avada Form.
Finally, don’t forget to publish the page to see it in the live view.
Key Takeaways
In conclusion, Avada Shopify is the app to follow up and convert customers via channels: Email Marketing, SMS, Push Notifications and WhatsApp.
Frequently Asked Questions
Overview
| When was Avada Shopify created? | 2020 |
| How much is Avada Shopify? | from $16/month |
| Can I use Avada Shopify on PageFly Editor? | Yes |
What is Avada Shopify?
Avada Shopify is the Shopify app that helps to follow up and convert customers by channels, including: Email Marketing, SMS, Push Notifications, and WhatsApp.
Benefits of Using Avada Shopify with Pagefly?
By choosing to use Avada Shopify, sellers can access to all features, including: Automation Workflows. Newsletter campaigns, capturing leads via popup & forms, various email marketing templates and personalization.
What include in Avada Shopify Plans?
In a free Avada Shopify plan, sellers can access to send 12,000 emails (one-off, with plan from $16/ month, they can send 12.000 emails/ month), save 500 contacts, create basic automation workflows, basic email templates, function to capture leads with web push notifications.
Who are Avada Shopify Partners?
MailChimp, Judge.me, Facebook Ads, Google Ads, PageFly, Popups


