About TablePress ‑ Data Tables

What Is TablePress ‑ Data Tables?
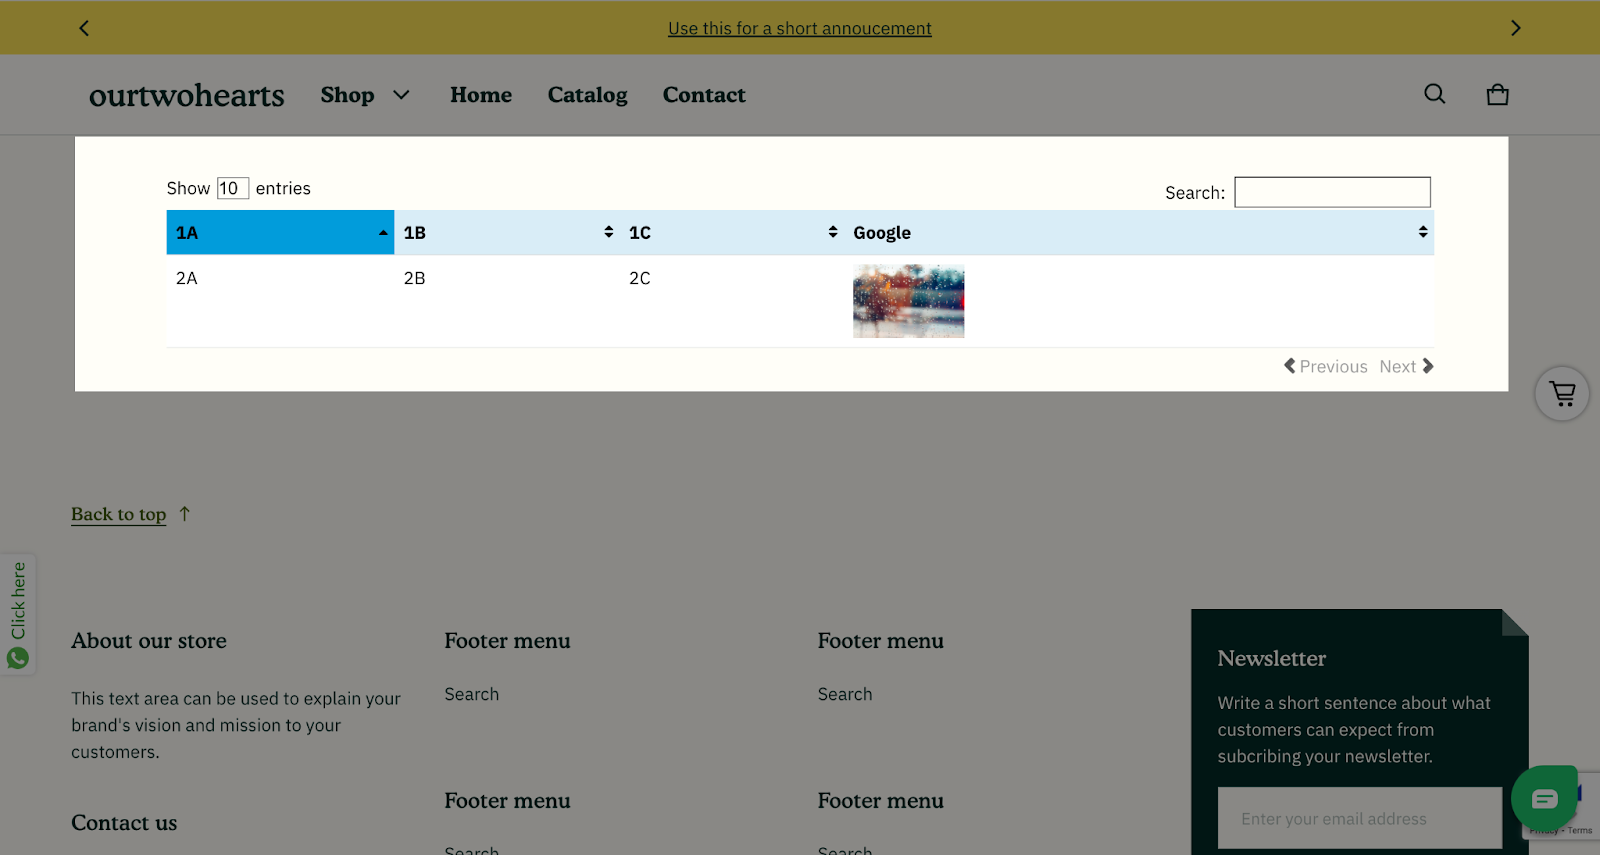
TablePress allows you to create tables that can be embedded into blogs, pages, or text widgets with a simple shortcode. No coding is required as the table data can be edited in a spreadsheet. Save time by importing data instead of editing data manually. Create complex data tables with a search box, pagination, and filtering.
Install TablePress ‑ Data Tables
To use this element, the TablePress ‑ Data Tables app has to be installed on your Shopify store.
- Install TablePress ‑ Data Tables
- Install PageFly
How To Access TablePress ‑ Data Tables Element
In page editor, follow these steps to access the TablePress ‑ Data Tables element:
- Step 1: In the PageFly editor, click “Add third-party element” on the left menu
- Step 2: Click “Manage integrations” or the gear icon on top
- Step 3: Search for “TablePress ‑ Data Tables” and enable it
- Step 4: Click “Close” and the element will appear in the “Add third-party element” menu
How To Configure TablePress ‑ Data Tables Element
- The element can be used multiple times on a page
- The element can be used on all page types
- The element can be used anywhere on the page.
- All styling and configuration must be done in the TablePress ‑ Data Tables app.
From PageFly
Step 1: Add TablePress ‑ Data Tables Element
Before starting to set up for the TablePress ‑ Data Tables element, you will need to add this element onto your page canvas:
- Step 1: Click “Add third party element” on the left menu bar
- Step 2: Look for “TablePress ‑ Data Tables” element
- Step 3: Click on the element to see its variant
- Step 4: Drag and drop the variant onto the page canvas
- Step 5: Save the draft.
The TablePress ‑ Data Tables element comes with 1 variant: Tables
Step 2: Configure TablePress ‑ Data Tables Element
General Tab
After adding the TablePress ‑ Data Tables to the Editor, on the right sidebar, you’ll see the General tab.
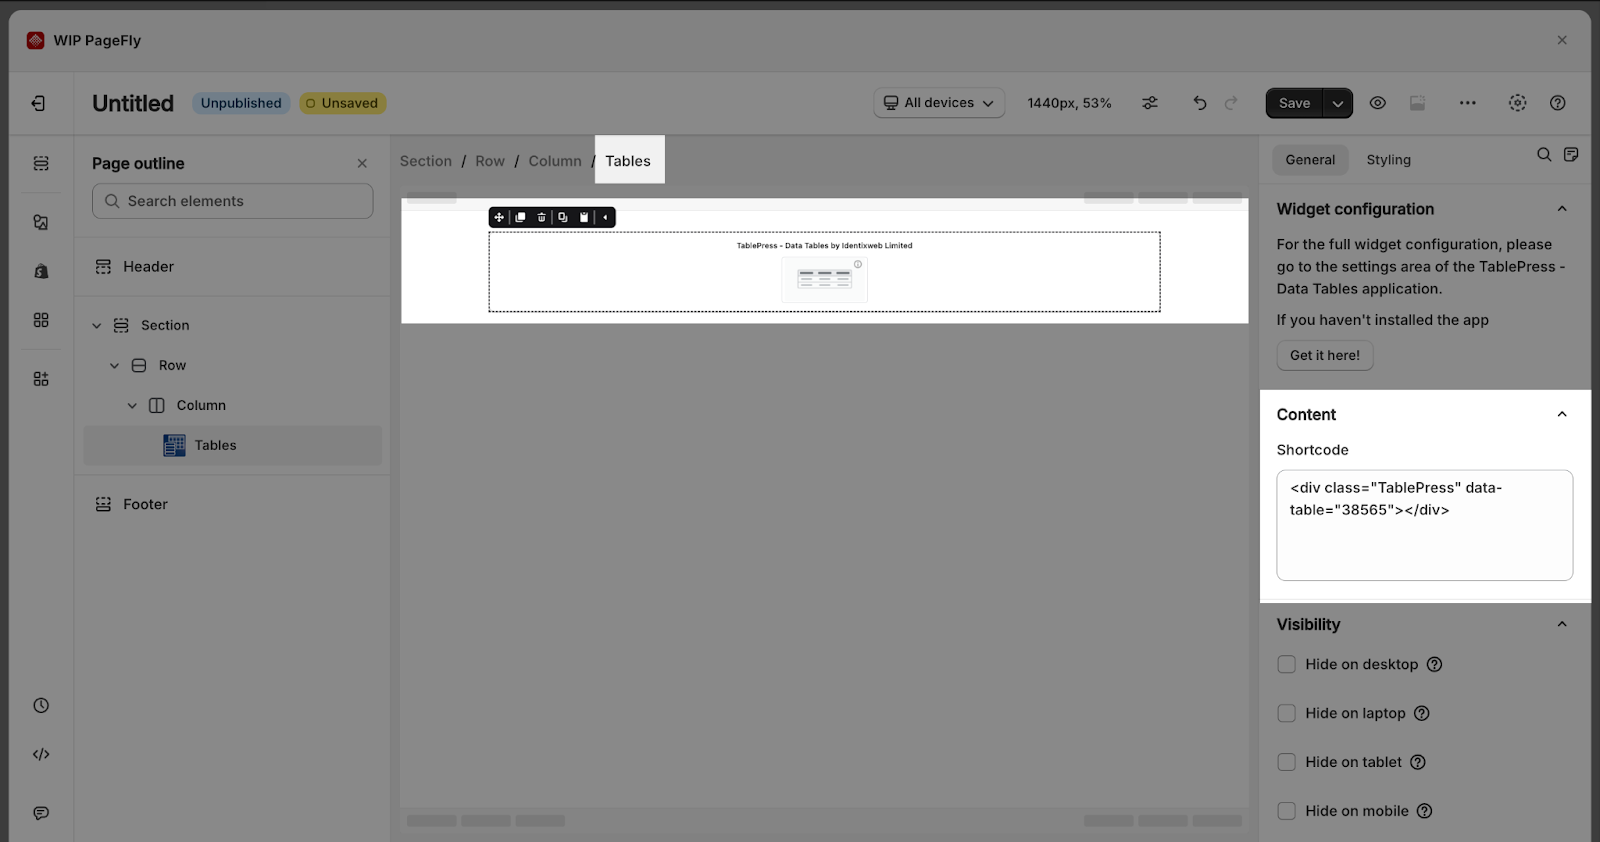
In the Short code box, you can paste the code you got from the TablePress ‑ Data Tables app.
Styling Tab
You can customize the styling of the TablePress ‑ Data Tables element in the Styling tab.
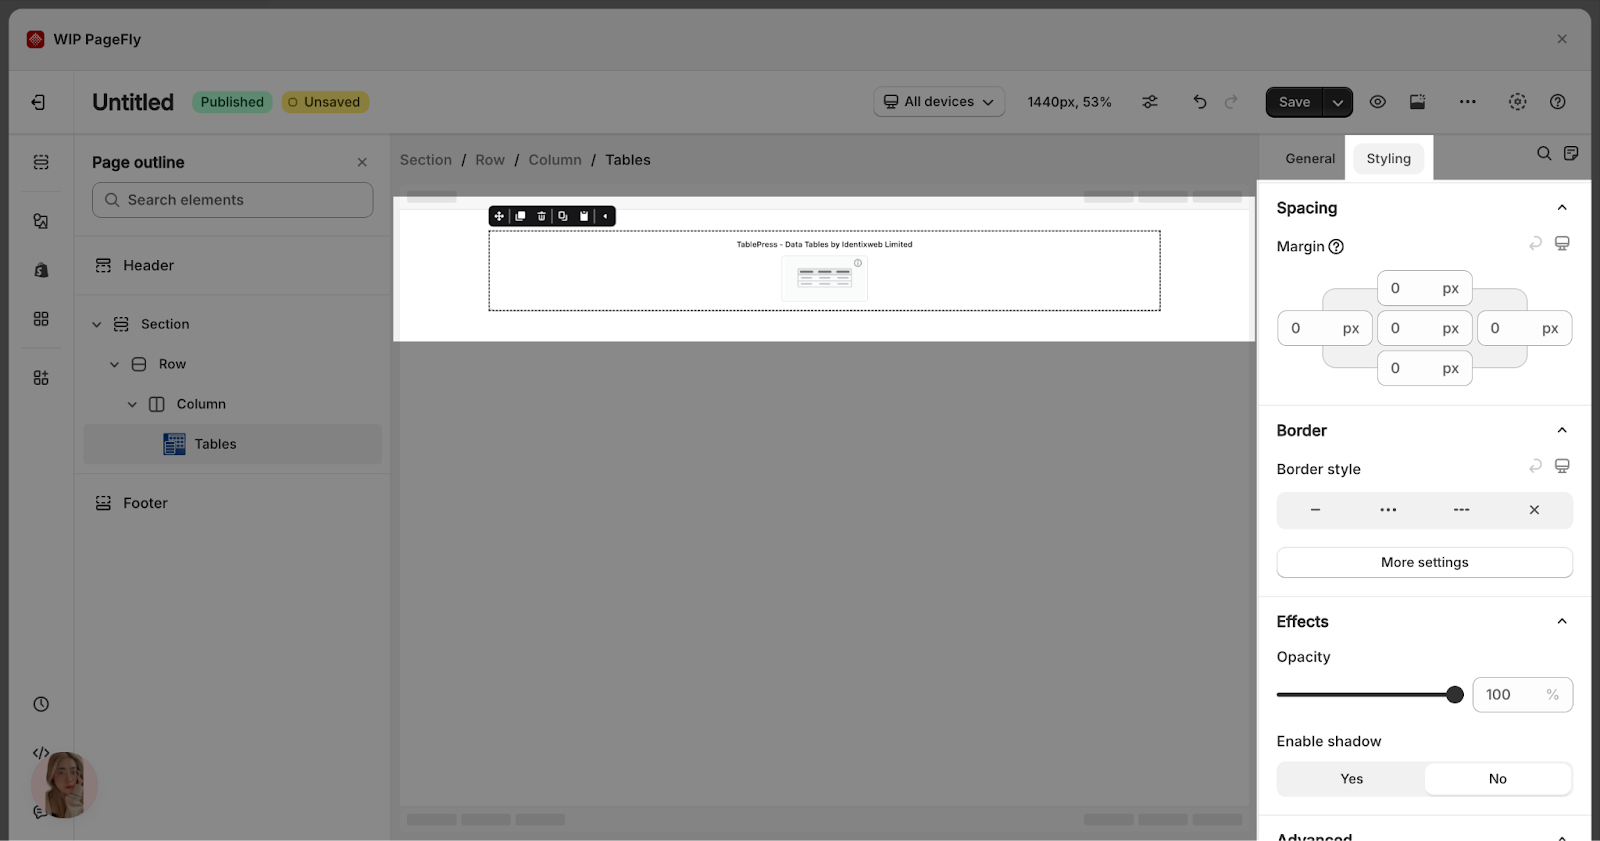
You can get further information about Styling settings.
From TablePress ‑ Data Tables App
Before using the TablePress ‑ Data Tables element in PageFly, you’ll need to enable and configure your bar in the TablePress ‑ Data Tables app:
Step 1: Enable The TablePress ‑ Data Tables
Click on the Enable button.
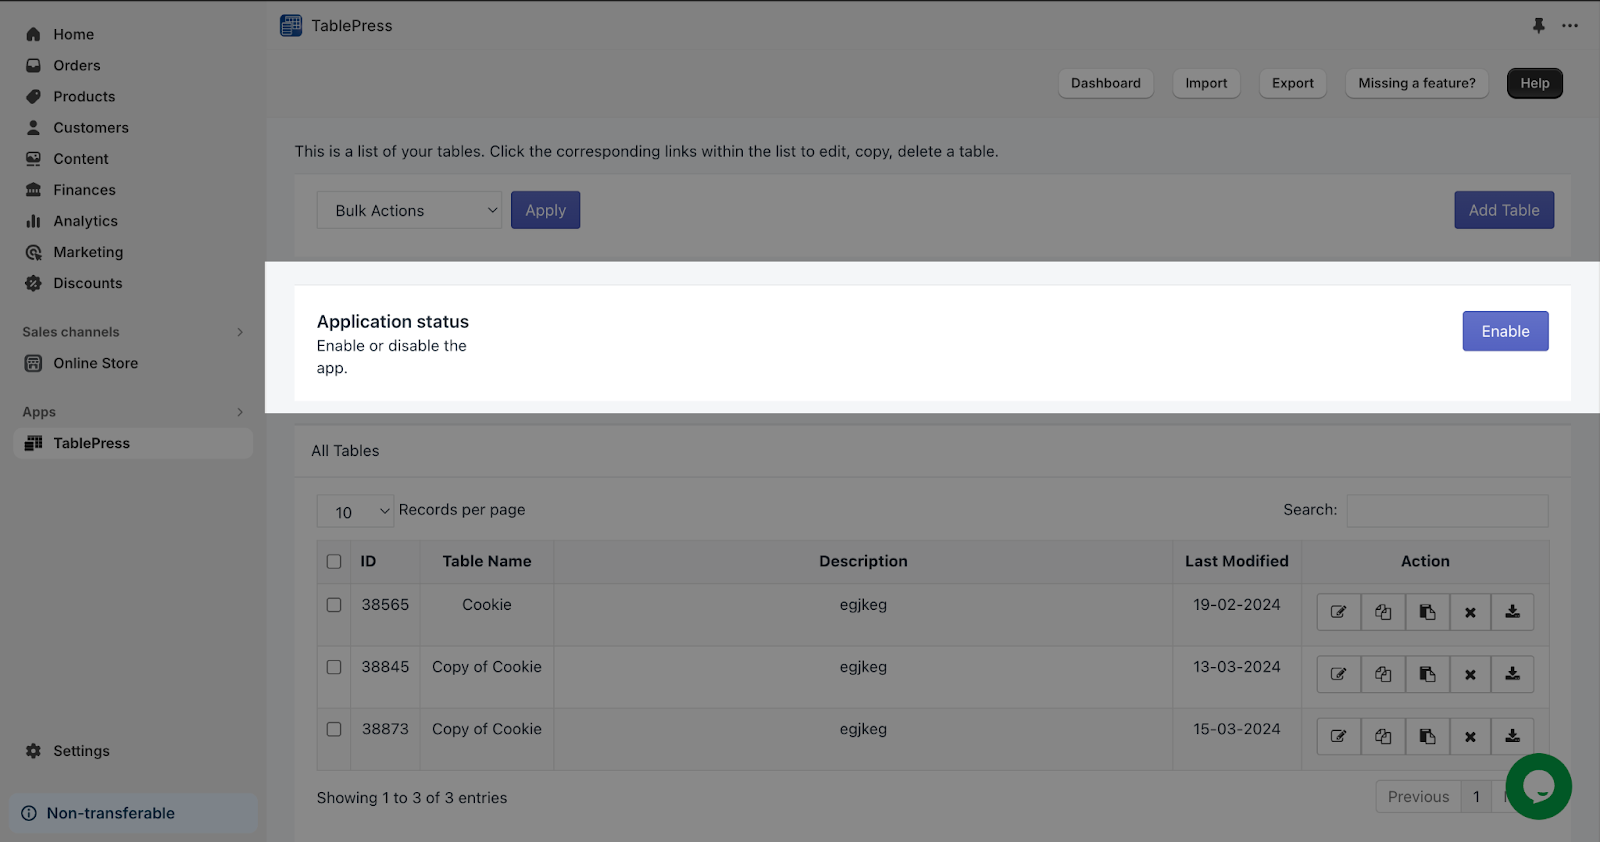
Step 2: Create Table And Copy The HTML Code
Create a table. Afterward, proceed to copy the HTML code provided.
Step 3: Publish PageFly Page
Back to the PageFly page editor, click on the TablePress ‑ Data Tables element in the canvas > Paste the copied code to the General tab > Short Code > Click Publish.
Frequently Asked Questions
Features of TablePress App
Tables can be created and embedded on any pages of your site as a shortcode.
Tables can be exported in CSV, JSON, and HTML formats.
Direct inserting of table shortcode on theme.liquid.
Individual tables can be customized with custom CSS.
Complex data tables with a search box, pagination, and filtering can be created easily.
How To Use TablePress?
Add New – It allows you to create a new table.
All Tables – Shows list is all created tables.
Export – Offer various options for exporting single and multiple tables.
Additional Resources
- PageFly Styling tab
- What apps does PageFly integrate with?