About TrackingMore ‑ Order Tracking App
What is TrackingMore ‑ Order Tracking App?
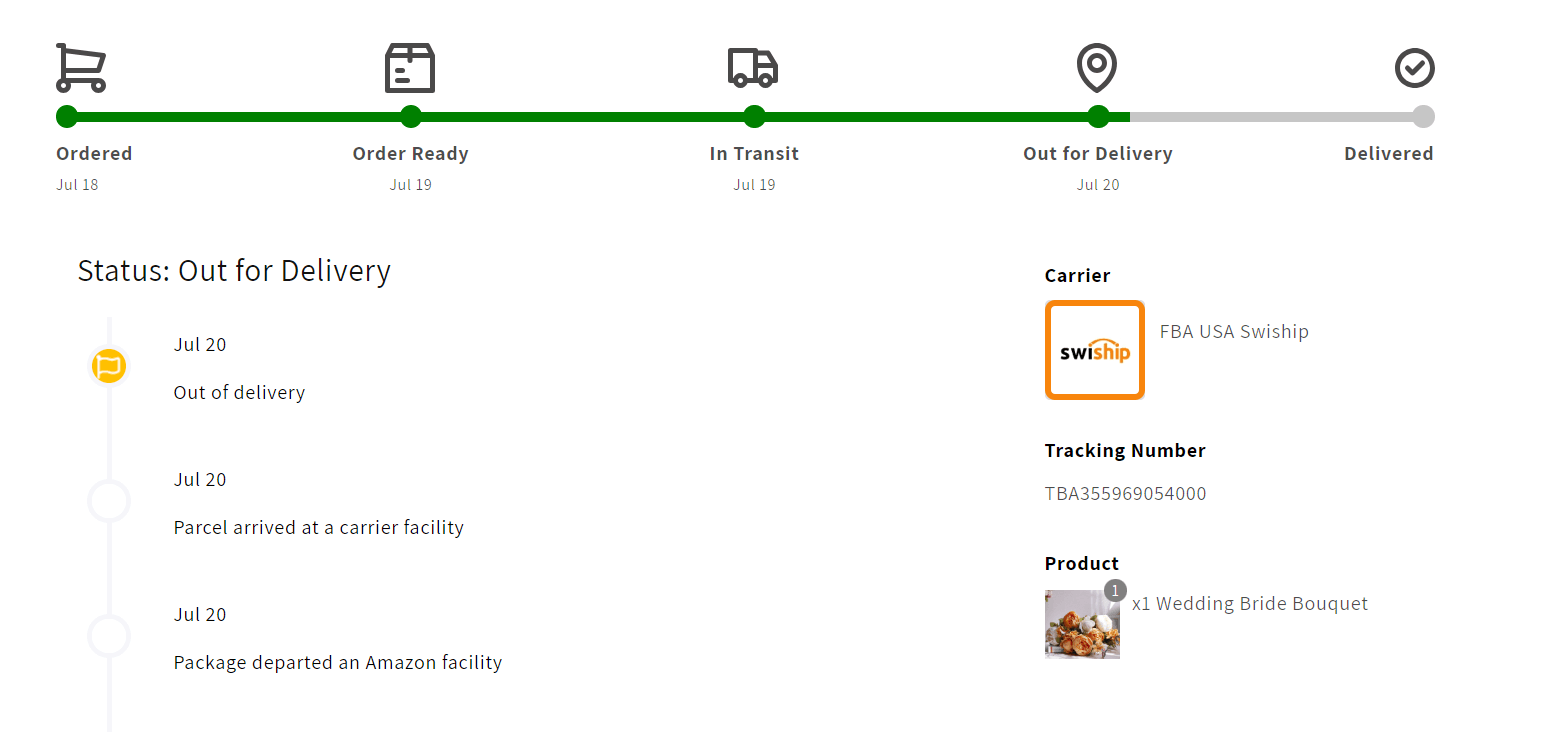
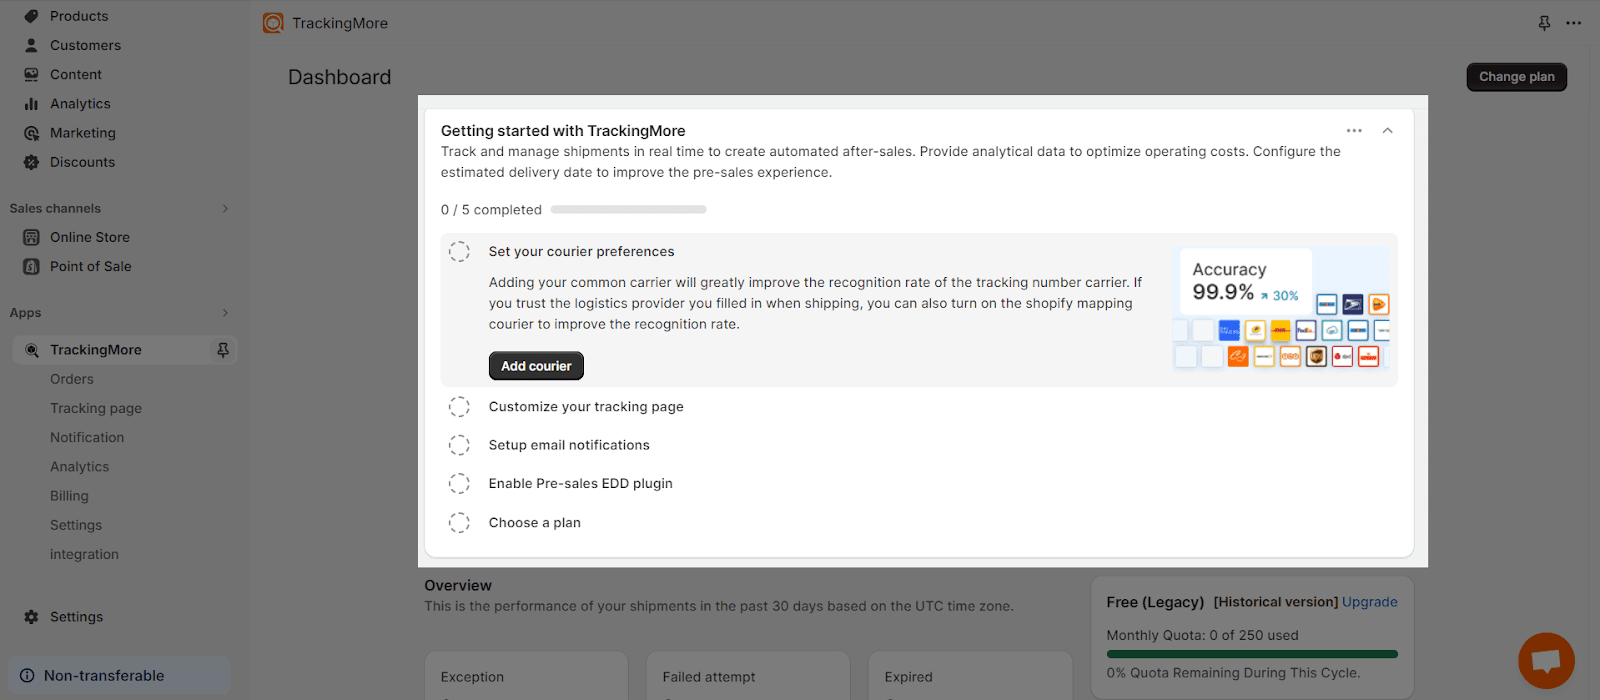
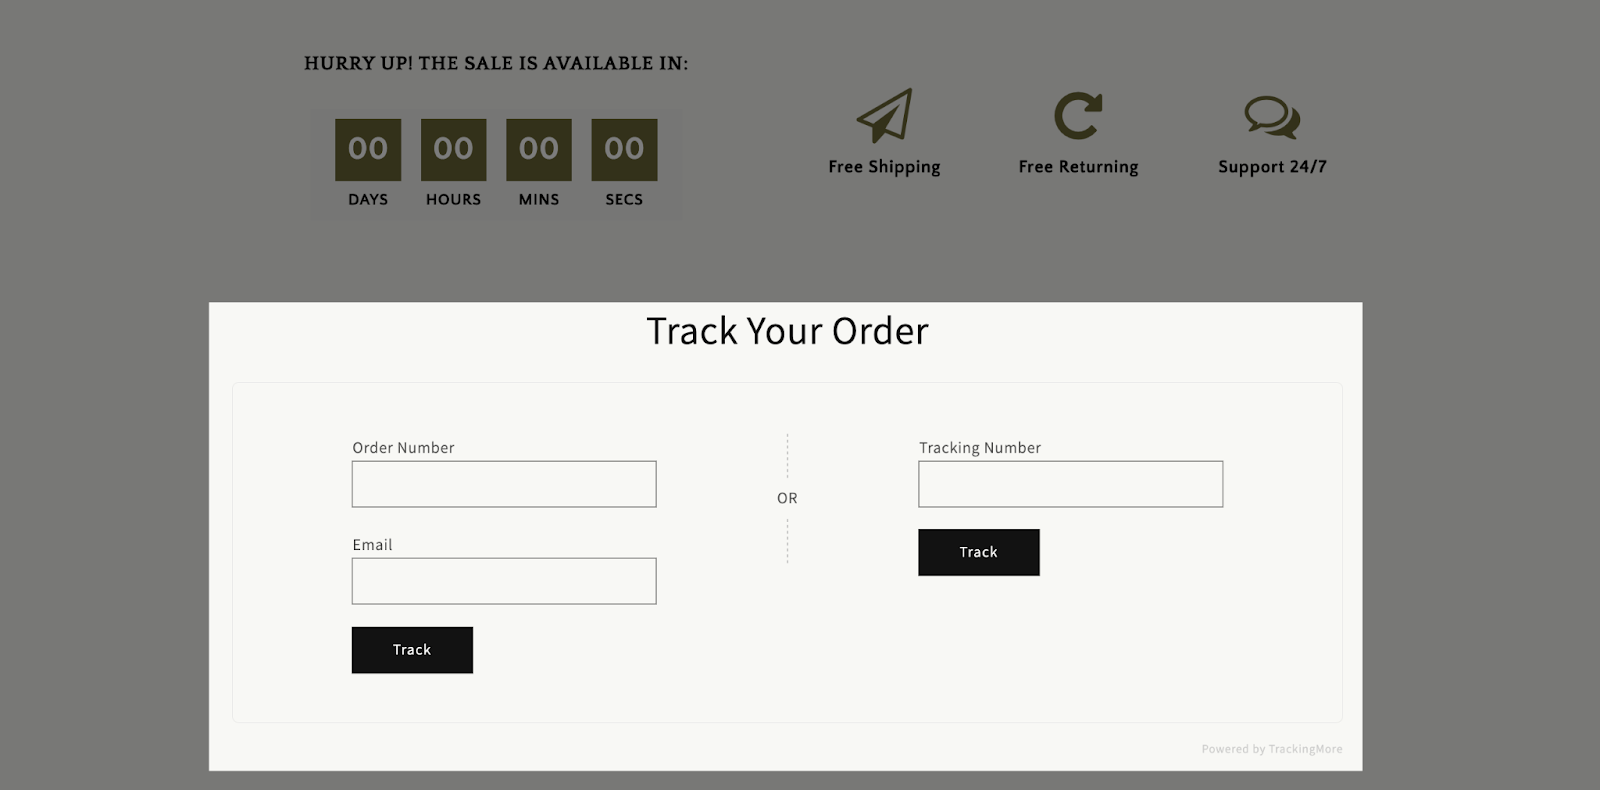
Trackingmore Order Tracking App app allows you to track your orders accurately and adequately and address problems proactively with intelligent merchant notifications and powerful order panels.
Install TrackingMore ‑ Order Tracking App
To use this element, you must first install the TrackingMore ‑ Order Tracking app in your Shopify store and configure all of its options. Once you have done that, you can return to PageFly and use the element on any of your PageFly pages.
- Install Trackingmore Shopify – Order Tracking Element
- Install PageFly
How To Access TrackingMore ‑ Order Tracking Element
In page editor, follow these steps to access TrackingMore ‑ Order Tracking element:
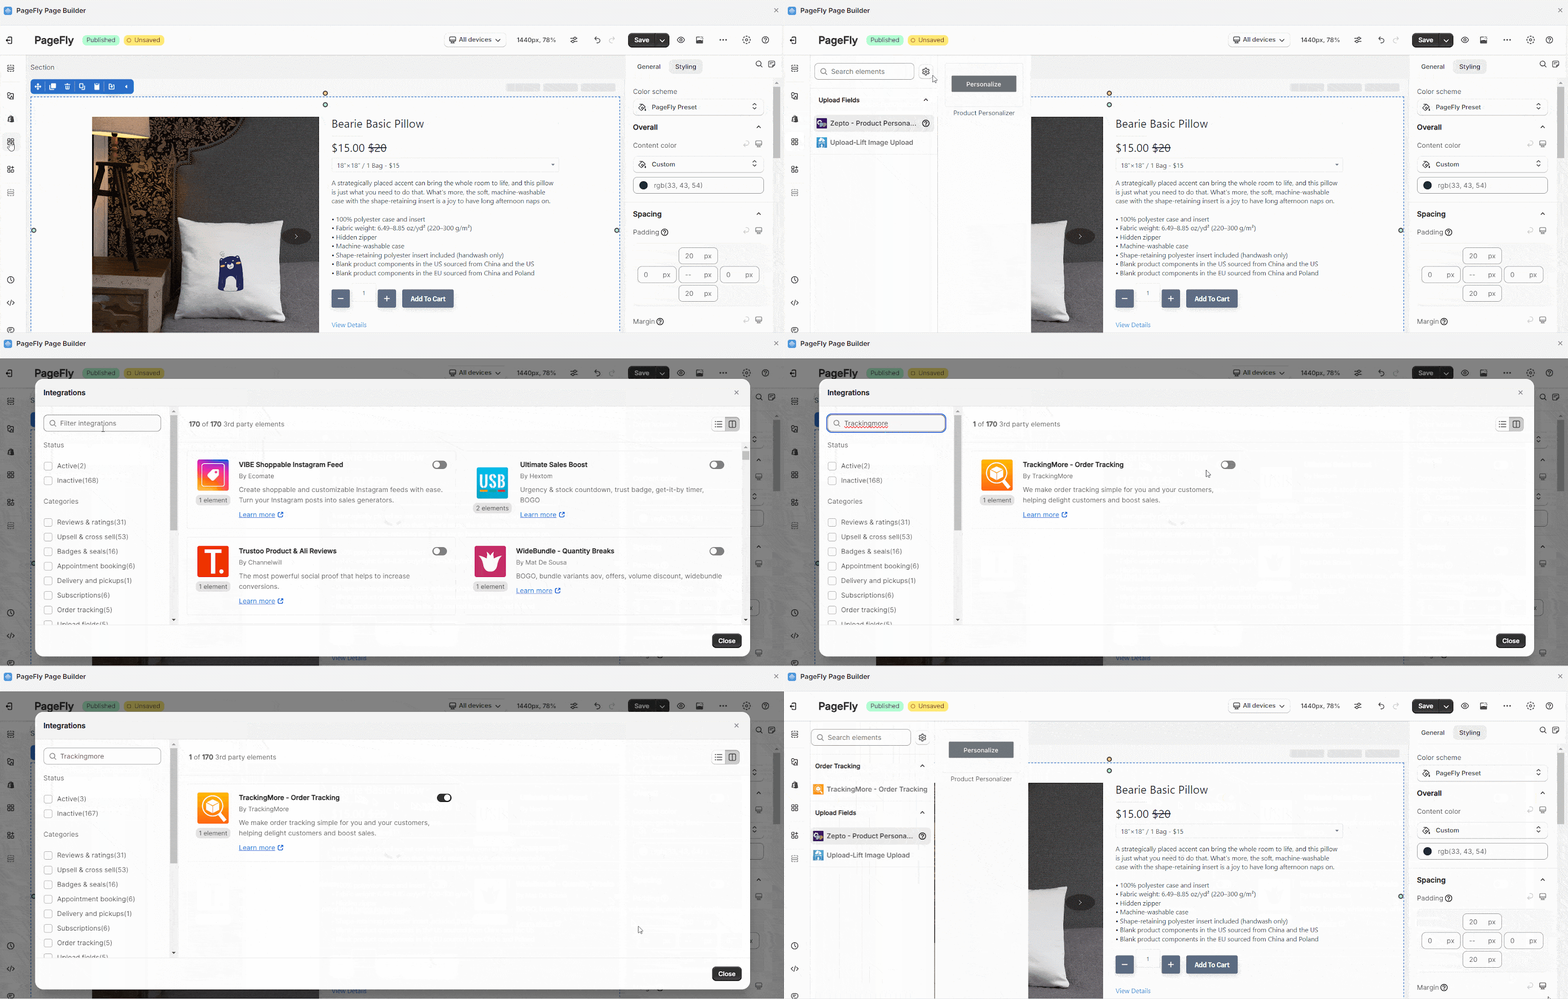
- Step 1: In the PageFly editor, click “Add third-party element” on the left menu
- Step 2: Click “Manage integrations” or the gear icon on top
- Step 3: Search for “TrackingMore ‑ Order Tracking” and enable it
- Step 4: Click “Close” and the element will appear in the “Add third-party element” menu
How To Configure TrackingMore ‑ Order Tracking Element
- This element is only used once per page. You can check this picture below for more information.
- This element works on all Page Types (Home Page, Product Page and Regular Page,…) and does not need to be installed inside the Product details area.
From PageFly
Step 1: Add TrackingMore ‑ Order Tracking Element
Before starting to set up for the TrackingMore ‑ Order Tracking element, you will need to add this element onto your page canvas:
- Step 1: Click “Add third party element” on the left menu bar
- Step 2: Look for “TrackingMore ‑ Order Tracking” element
- Step 3: Click on the element to see its variants
- Step 4: Drag and drop the variant onto the page canvas
Step 2: Configure TrackingMore ‑ Order Tracking Element
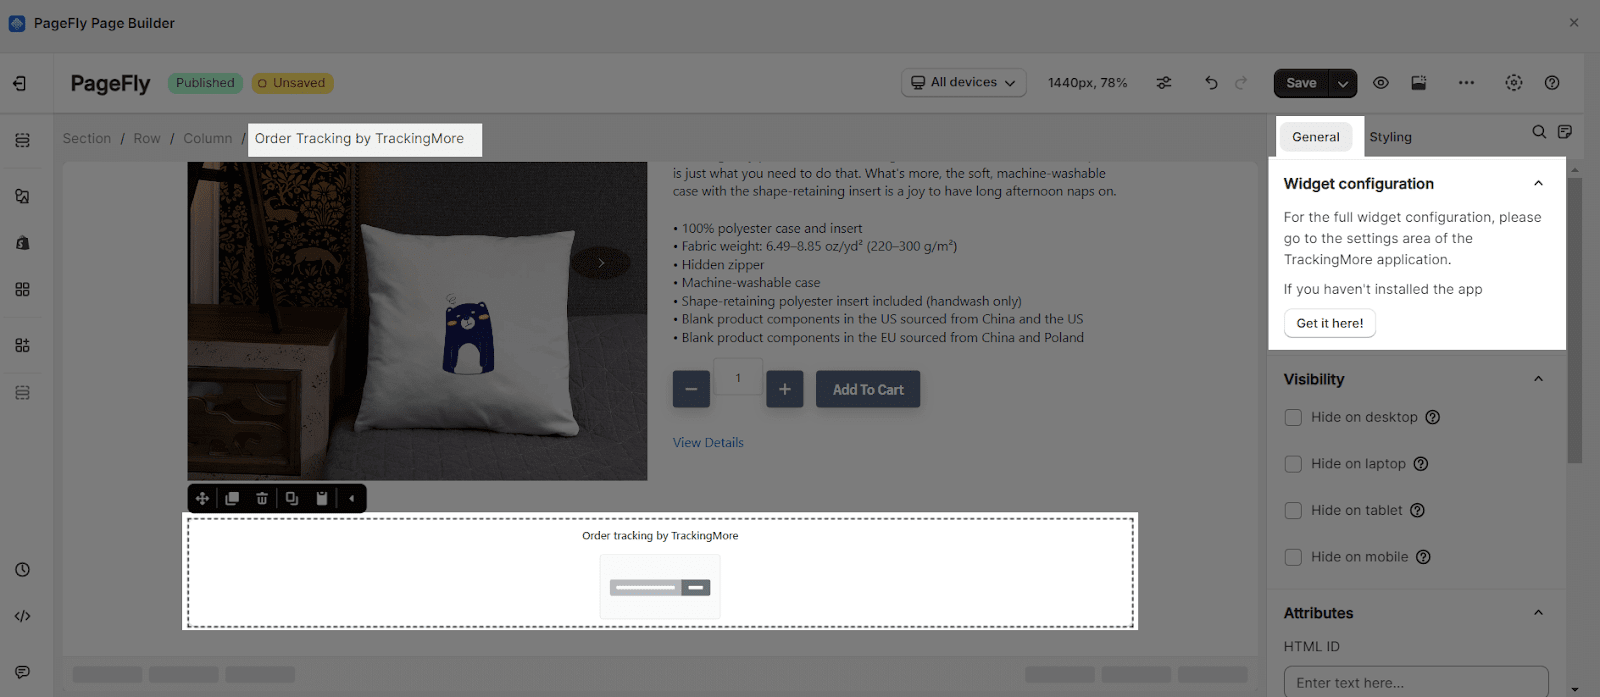
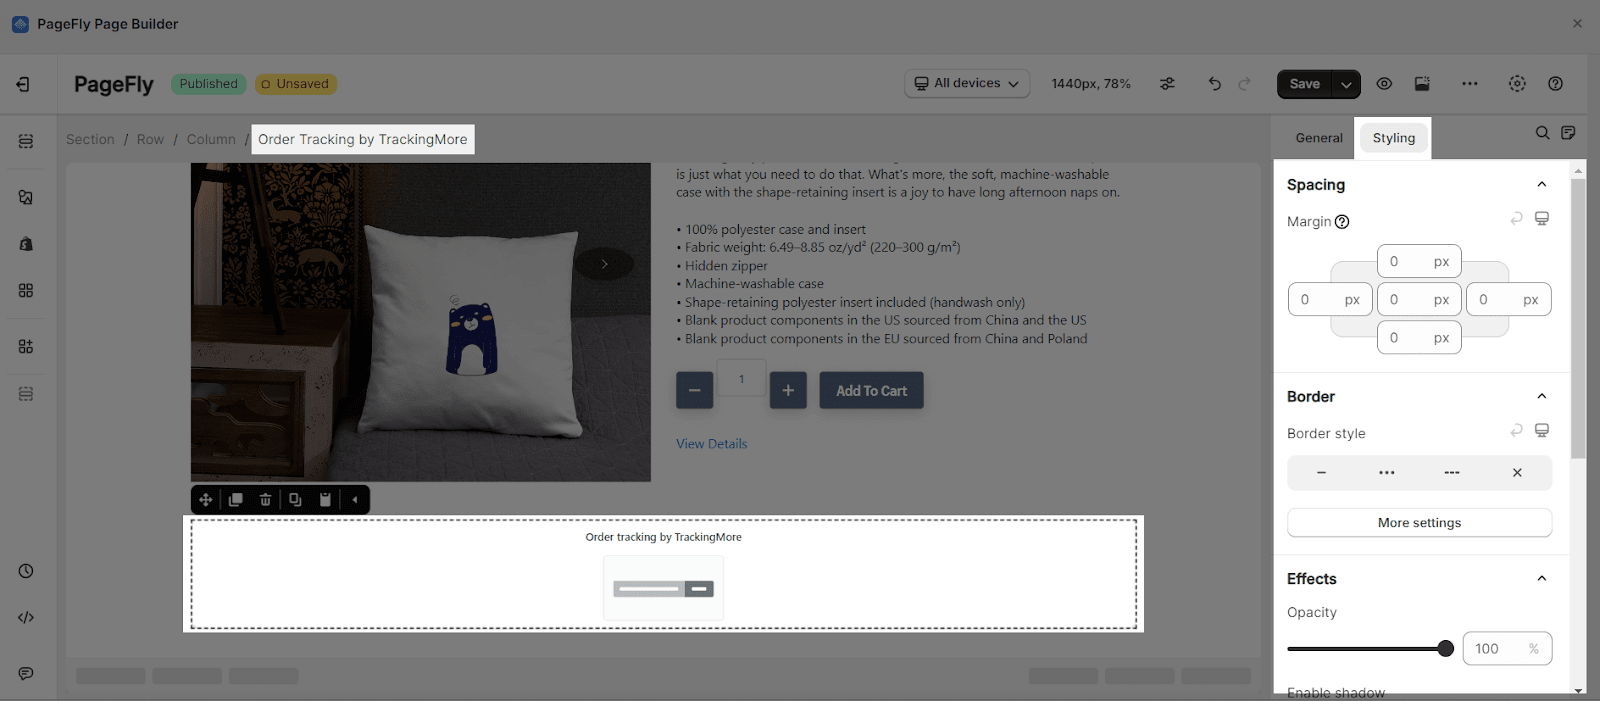
After adding the element, you can adjust for it by clicking on the element.
- From the “General” tab, there is a widget configuration giving you a short explanation of the TrackingMore ‑ Order Tracking app, its link to the app listing.
- For styling options like margins, borders, and effects, go to the “Styling” tab. You can find more details about the available options here.
From Trackingmore App
With Trackingmore – Order tracking, you do not need to set it up on the app. After installing this app, it will automatically create a tracking link for your store.
Just drag & drop that 3rd-party element into the page editor, then save and publish to check the result on the Live View page.
Frequently Asked Questions
A free plan from Trackingmore Shopify typically includes integration with 1,000+ couriers
Customizable tracking page, Auto-detect couriers, and estimated delivery date, all displayed in the multilingual dashboard.
Trackingmore Shopify Partners includes Shopify Flow, Shippo ‑ Shipping Made Easy, sendcloud – shipping automation, ShipHero Inventory & Shipping, EcoReturns: AI Powered Returns and EComposer Landing Page Builder.


