About Flair Product Badges + Labels With PageFly
What’s Flair Product Badges + Labels
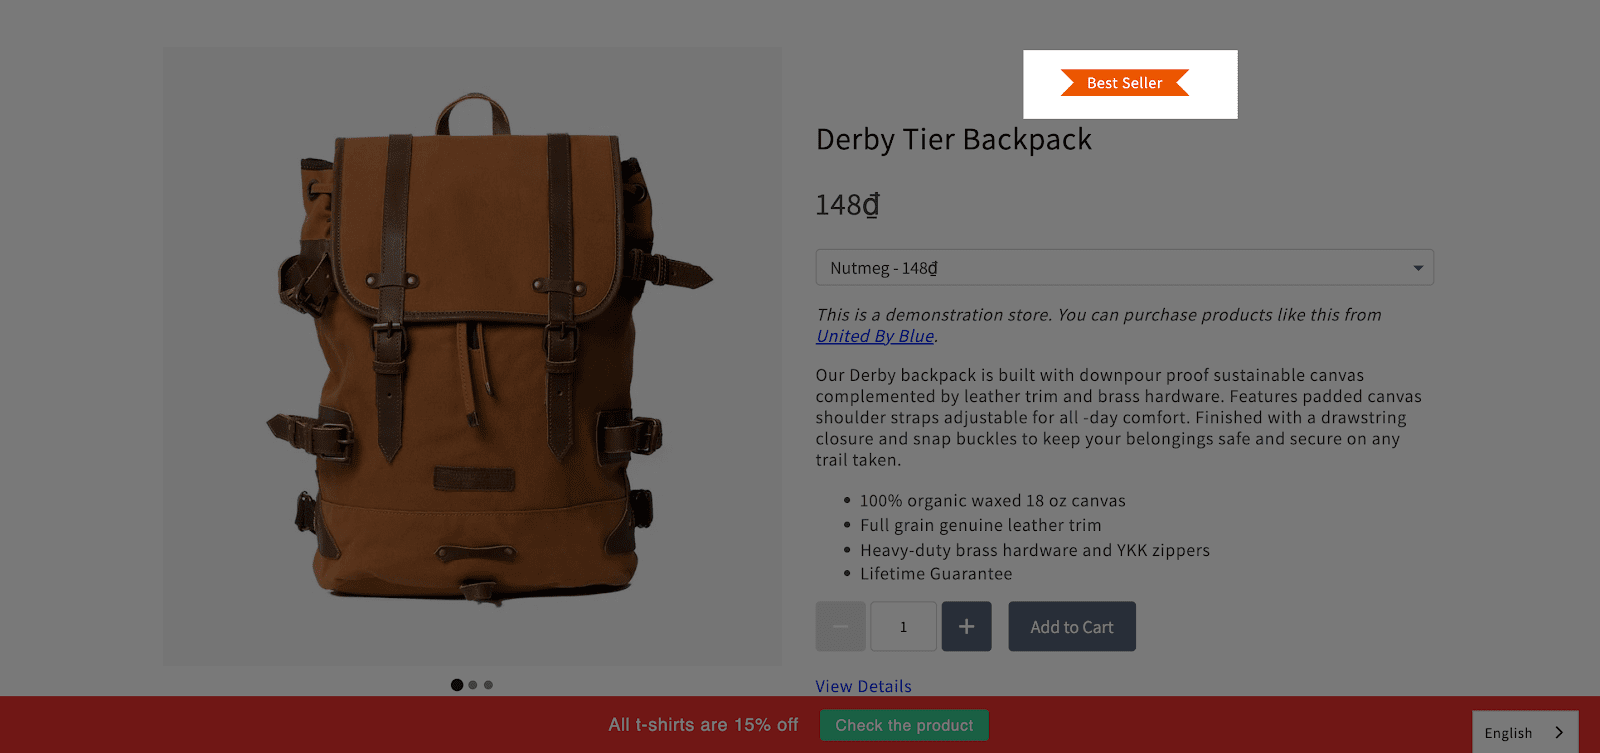
Flair Product Badges + Labels element provides merchants with targeted, automated product badges and promotion which can draw your customers’ attention. You can set up Flair banners and countdown timer to trigger your customers with FOMO effects, or you can promote your product scarcity by showing product badges and label based on the amount of remaining inventory available, or simple yet powerful product stickers like social proof product badge / label for best sellers, recently purchased and more to increase more conversion rate.
Install Flair Product Badges + Labels
Before using this element, you have to install the Flair Product Badges + Labels App to your store, configure all options in the app, and then come back to PageFly to use the element on your PageFly product pages.
- Install Flair Product Badges + Labels
- Install PageFly
How To Access Flair Product Badges + Labels
- Step 1: In the PageFly editor, click “Third-party element” icon on the left menu
- Step 2: Click “Manage integrations” or the icon on top
- Step 3: Search for “Burst Commerce – Flair Product Badges” and active it
- Step 4: Click “Done” and the element will appear in the “Third-party element” menu
How To Configure Flair Product Badges + Labels
From PageFly
- The Flair Product Badges by Burst Commerce element works on all page types and one page can have multiple elements.
- The Flair Product Badges by Burst Commerce element must stay inside the Product Details element, if you drag and drop the element outside the Product Details, a warning message will appear.
- Product Details are contained in the Product List, so the Flair Product Badges + Labels element can be used for the Product List as well.
Add Flair Product Badges By Burst Commerce Element
Before starting to set up for the Flair Product Badges by Burst Commerce element, you will need to add this element
onto your page canvas:
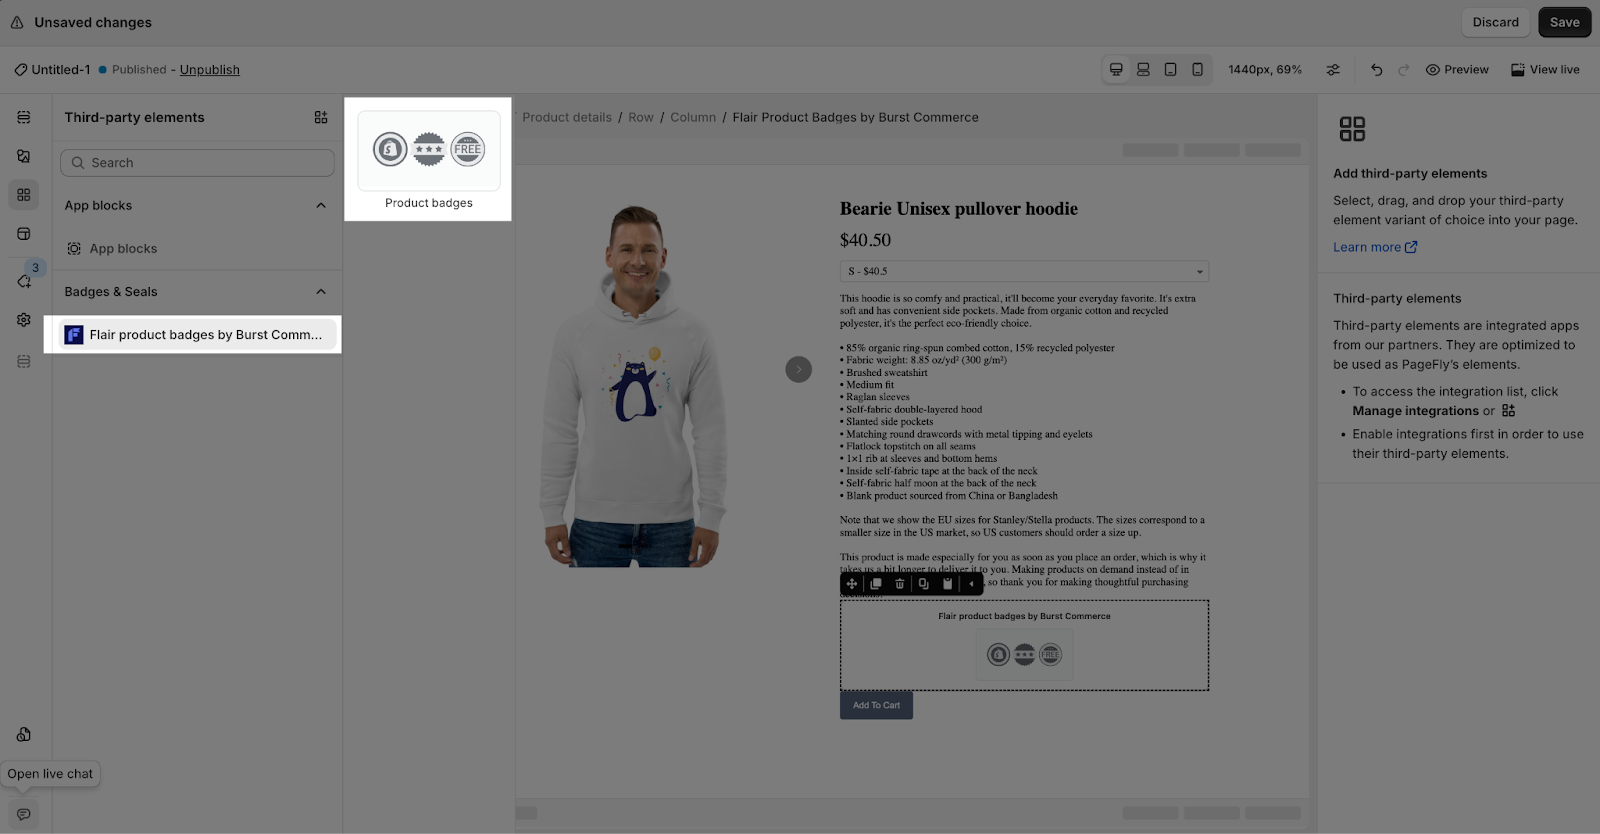
- Step 1: Click “Third party element” icon on the left menu bar
- Step 2: Look for “Flair Product Badges by Burst Commerce” element
- Step 3: Click on the element to see its variant
- Step 4: Drag and drop the variant onto the page canvas
The Flair Product Badges by Burst Commerce element comes with one variant:
Once you finish configuring options in the Flair Product Badges by Burst Commerce app, you can go to a PageFly Product page and use this element.
Do not forget to Save and Publish it when you are ready to check the Live View.
Configure Flair Product Badges By Burst Commerce Element
- General tab
After adding the Flair Product Badges by Burst Commerce element to the Editor, on the right sidebar, you’ll see the General tab.

You can get further information about Attributes, Visibility, and Animation parameters.
- Styling tab
In the Styling tab, you can edit the Spacing, Border, Effect of Opacity for the badges of Flair Product Badges by Burst Commerce element.
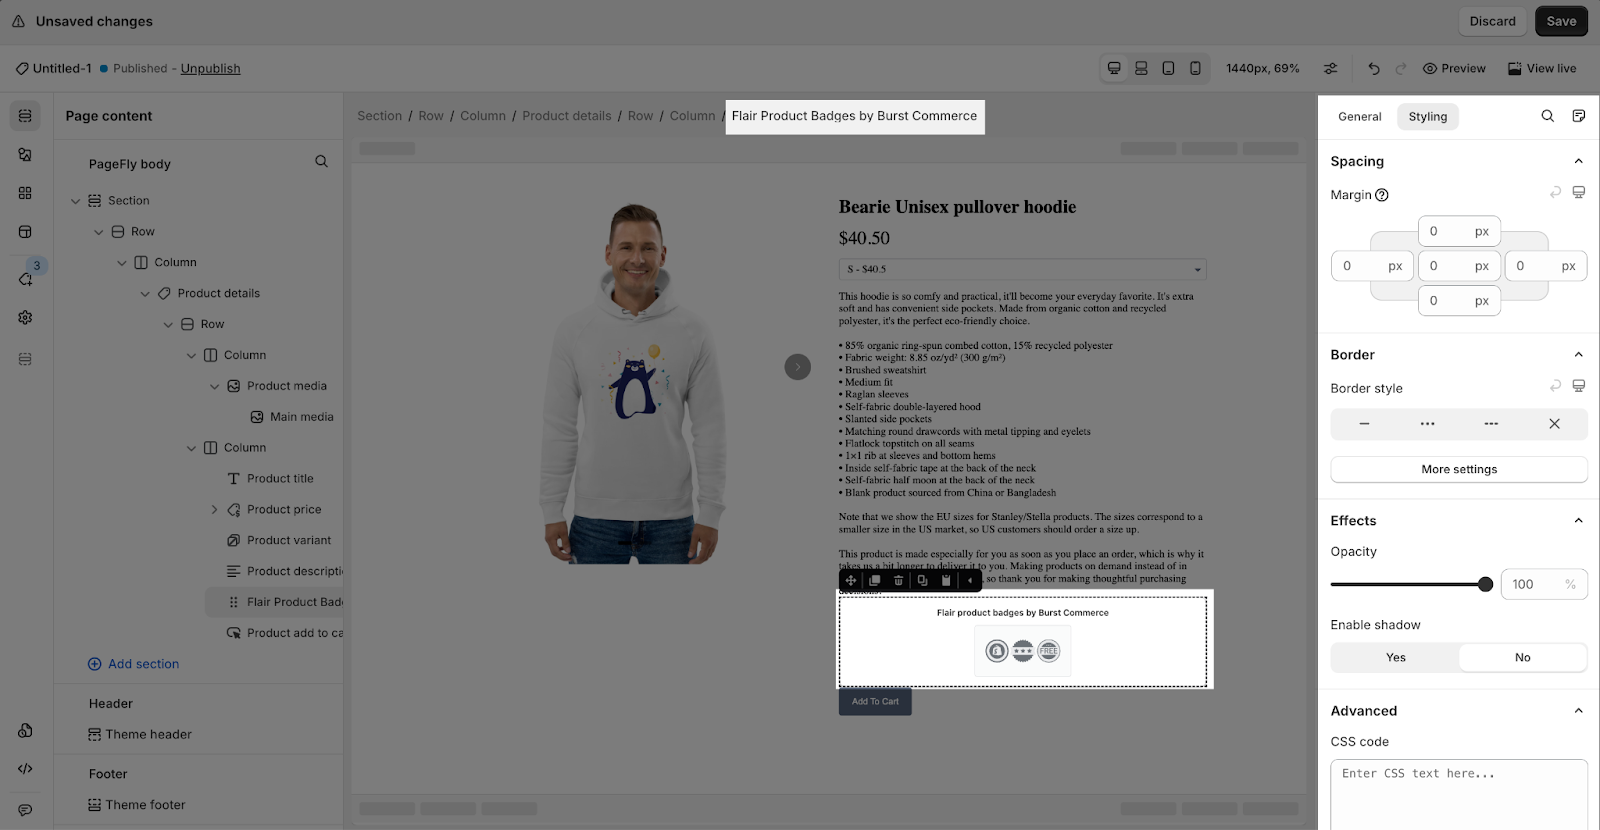

You can check more information about the Styling tab here.
From Flair Product Badges + Labels
After configuring PageFly settings, you will need to continue with the Element settings further as below.
You can see how to set Flair Product Badges by Burst Commerce in detail via their Help Center this article
- Step 1: Enable the app script from the theme customize option then save it.
After installing the Flair Product Badges + Label app, you need to add the app to Shopify Theme you are using, so the codes from the app will be embedded. If you do not add it to your current Shopify Theme, the Flair Product Badges + Label will not show.
- Step 2: Set up Flair Product Badges by Burst Commerce element by your Shopify Account.
Go to your Shopify Admin > Apps > Choose Flair Product Badges + Labels App to set it up.
- Step 3: Set up the Flair Product Badges + Labels app.
-
- On the dashboard of Badges in Flair Product Badges + Labels, there are 3 options for Promotion Ideas and 3 options for Install Guides. We can get started with Flair Promotion Gallery to create a new badge for product details on the product page.
-
- Choose one of the Badges from the list and select the style for it, then click Apply Style
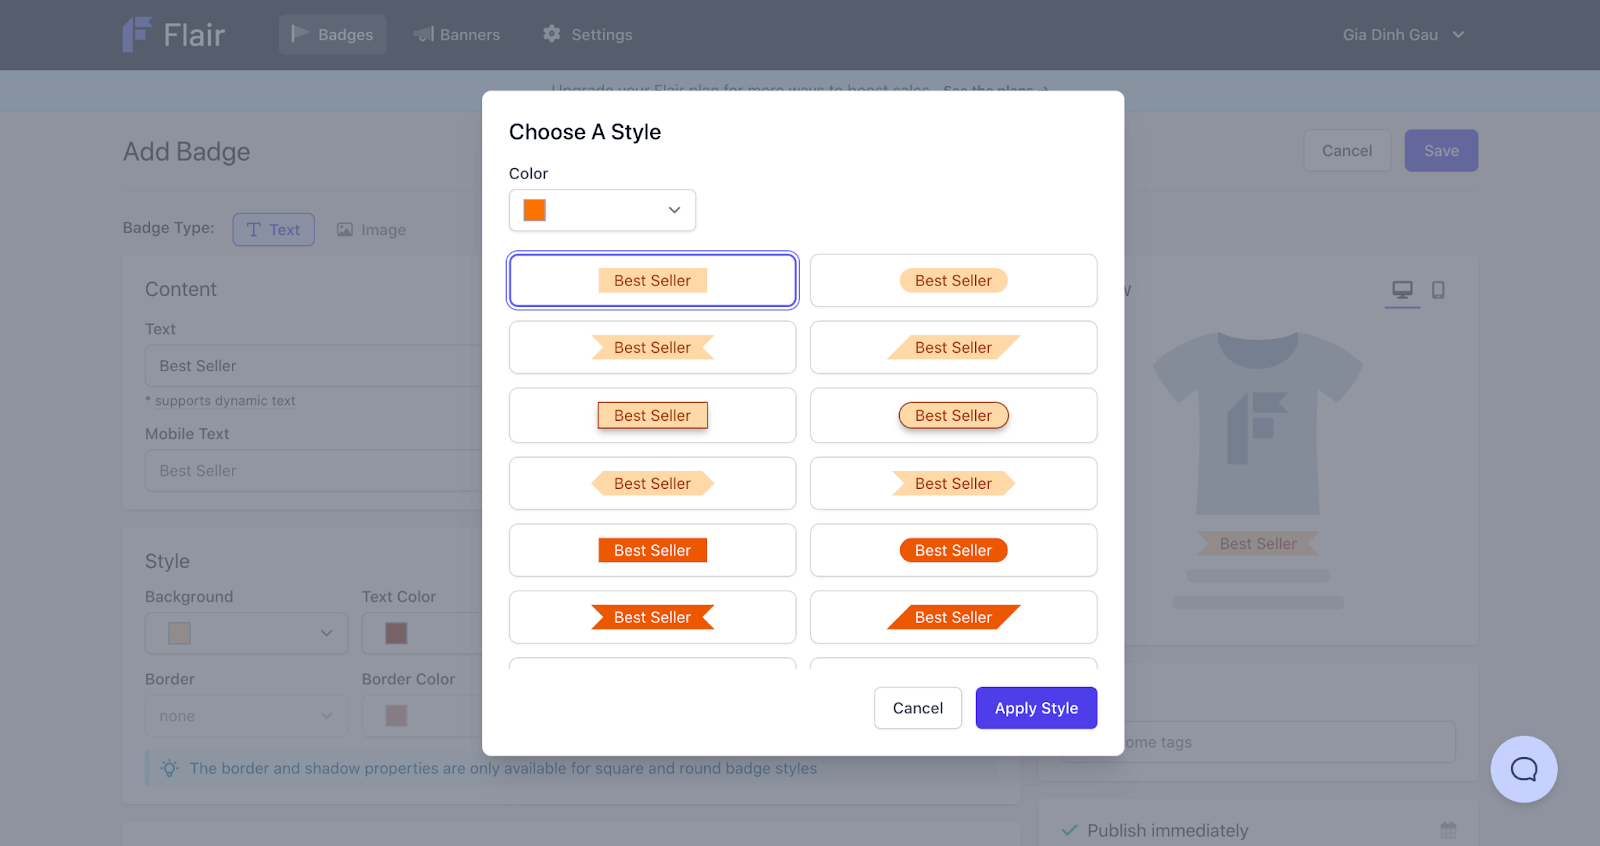
You can also further customize the badge Content, Style, Condition, Tags for it. Then hit Save.
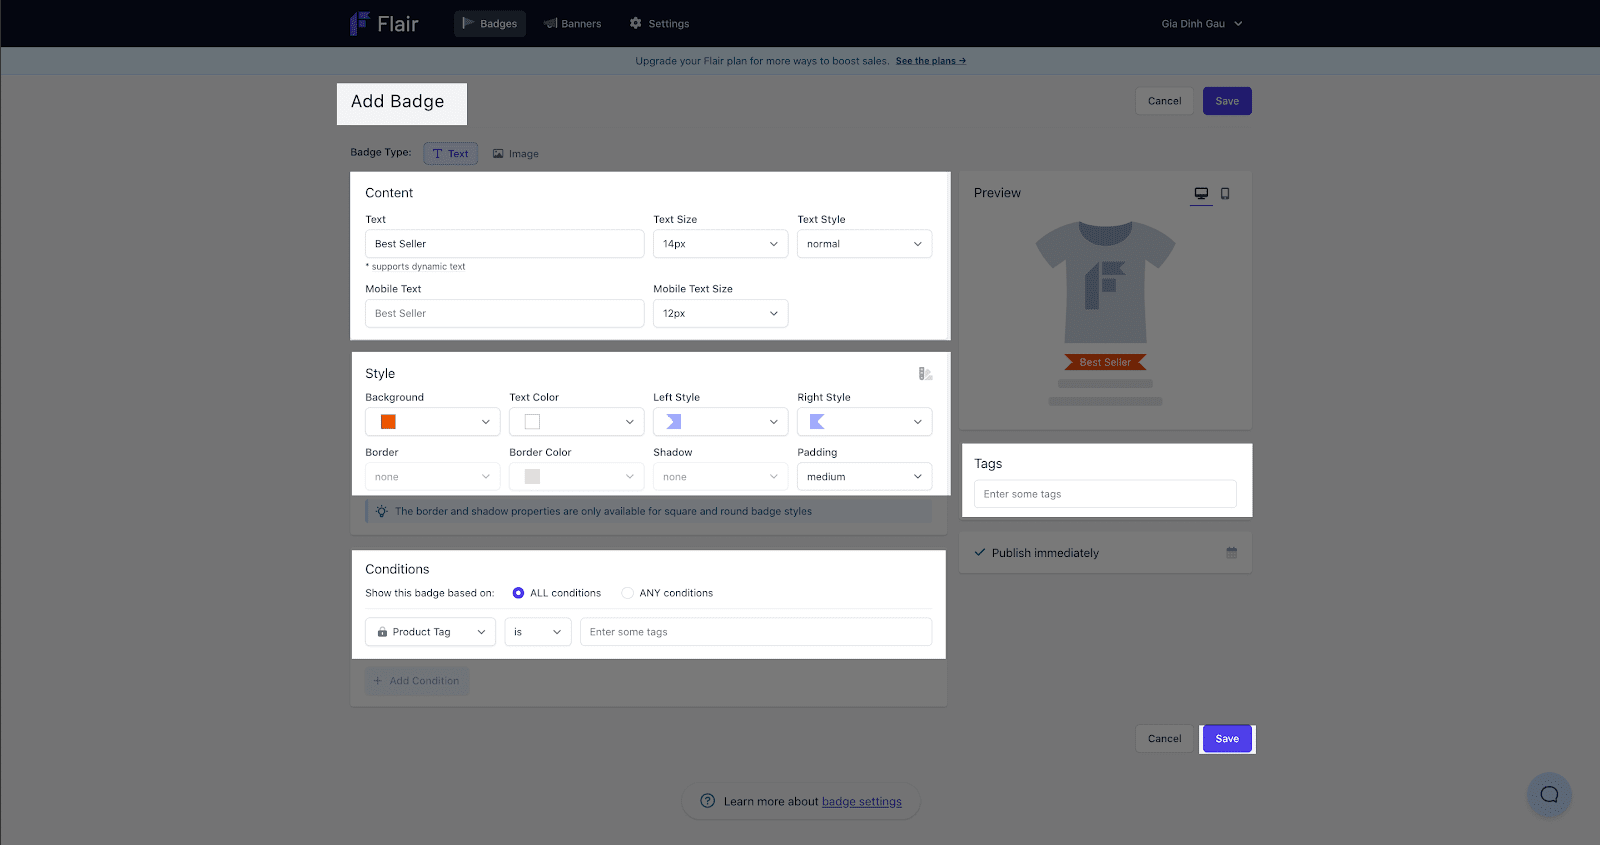
When you are done, the Badge will show up at the top of the dashboard in the Flair Product Badges + Labels app. You will have options to edit, copy and delete it anytime later on.

After all of the configurations are done, please go back to the PageFly page editor to drag and drop the element onto the canvas, the Flair Product Badges by Burst Commerce element is ready to go!
Tips & Best Practices
We strongly recommend using the Shopify App Block Element for Flair Product Badges + Labels integration. Available for Shopify theme OS 2.0, this feature simplifies adding Flair Product Badges + Labels functionality to your PageFly pages or sections. It offers greater flexibility, easier updates, and an improved user experience. While limited to one per page, the App Block is a valuable tool to enhance your store’s capabilities. For detailed setup guidance, refer to our App Block article. This simple change can substantially improve your Flair Product Badges + Labels integration and overall store performance.
Frequently Asked Questions
Overview
| What is the pricing of the Flair Product Badges + Label? | From $29/month. 14-day free trial |
| Does the Flair Product Badges + Label offer a yearly plan? | No |
| Can I use the Flair Product Badges + Label on PageFly Editor? | Yes |
What are the key features of Flair Product Badges + Label?
Here are some key features of Flair Product Badges + Label:
- Promote products with badges to help them sell faster.
- Supercharge promotion with banners and countdowns.
- Automate promotion using custom rules and scheduling.