About Sesami: Appointment Booking
What Is Sesami: Appointment Booking?
The Sesami: Appointment Booking app allows you to offer scheduling for services, events & classes online & in-store. It’s particularly useful for businesses requiring bookings, integrating well with Shopify POS and Google Calendar.
Install Sesami: Appointment Booking
Before using this element in the PageFly Page Builder app, you’ll need to install the Sesami: Appointment Booking app to your store and configure all its options.
- Install Sesami: Appointment Booking
- Install PageFly Page Builder
How To Access Sesami: Appointment Booking Element
In the page editor, follow these steps to access the Sesami: Appointment Booking element in PageFly:
- Step 1: In the PageFly editor, click “Third-party elements” on the left menu
- Step 2: Click “Manage integrations” or the icon on top right
- Step 3: Search for “Sesami” and activate it
- Step 4: Click “Done” and the element will appear in the “Third-party elements” menu

How To Configure Sesami: Appointment Booking Element
From PageFly
Add Sesami: Appointment Booking Element
Before starting to set up the Sesami: Appointment Booking element, you will need to add this element to your page canvas:
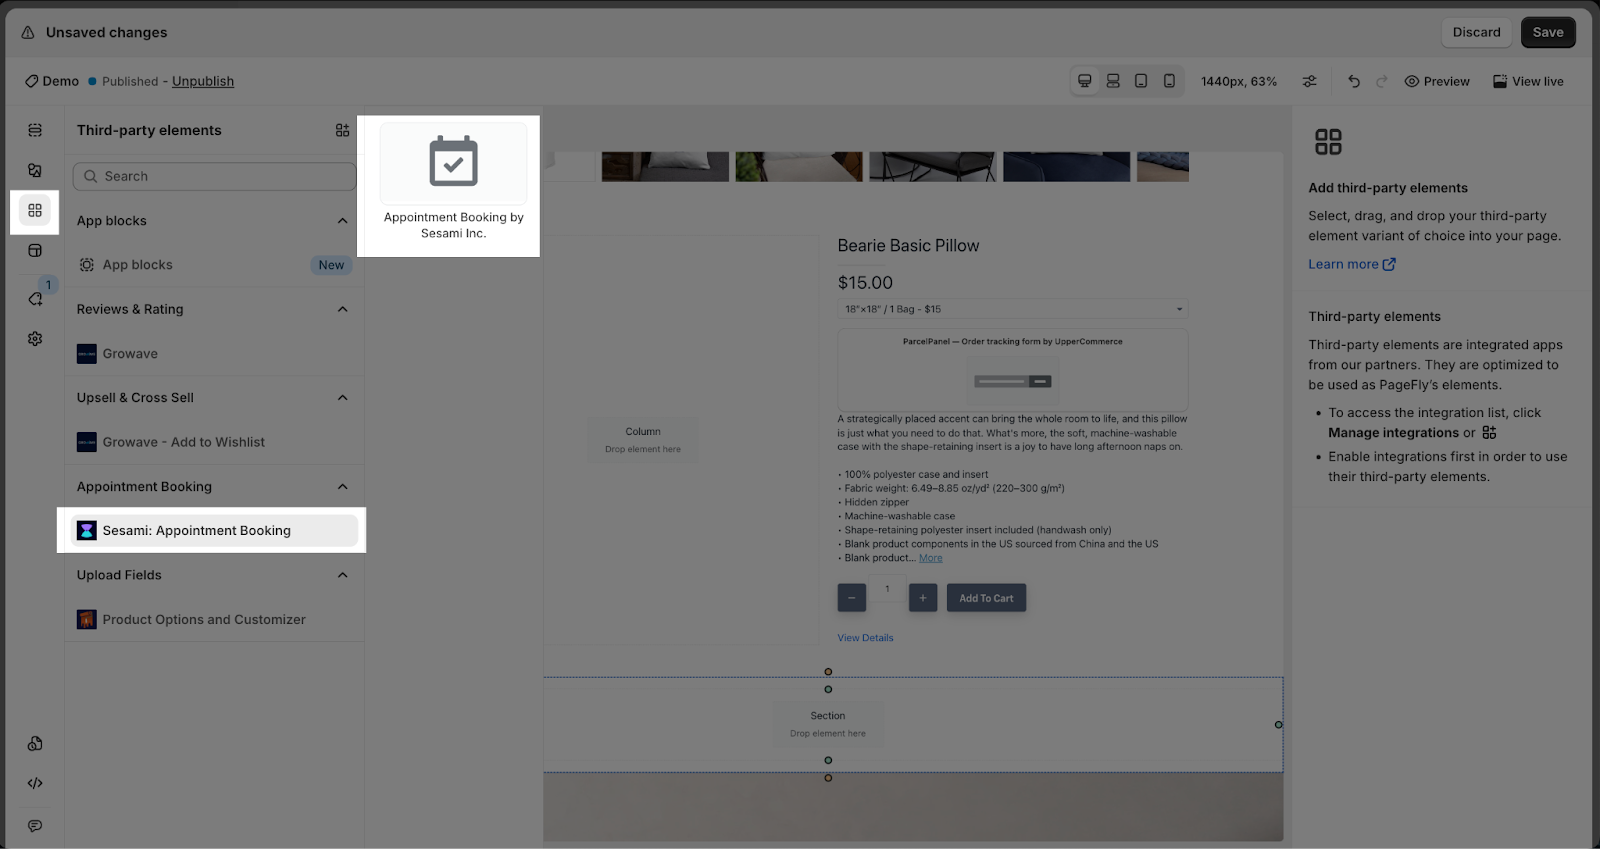
- Step 1: Click “Third-party elements” on the left menu bar
- Step 2: Look for “Sesami: Appointment Booking” element
- Step 3: Click on the element to see it variant
- Step 4: Drag and drop the variant onto the page canvas

The Sesami: Appointment Booking element comes in one variant which is the Appointment Booking by Sesami Inc.
- The element only works on the PRODUCT page type
- The element can work anywhere on the page
- The element can be used ONE time per page
Configure Sesami: Appointment Booking
General Settings
After adding the Sesami: Appointment Booking to the Editor, you’ll see the General tab on the right sidebar.
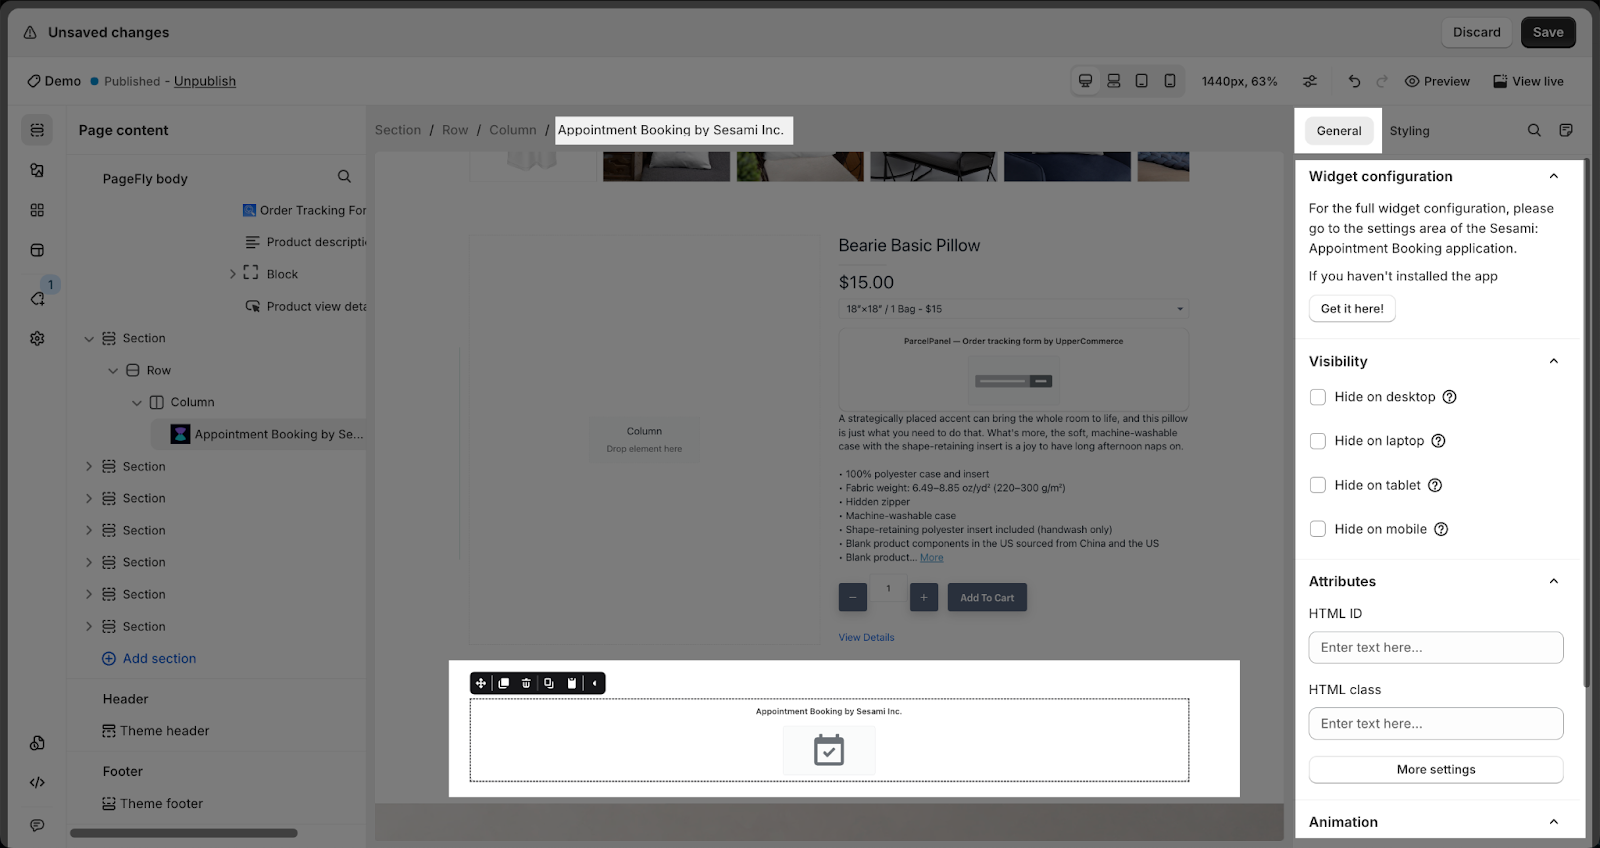
You can get further information about Attributes, Visibility, and Animation parameters.
Styling Settings
You can customize the styling of the Sesami: Appointment Booking elements in the Styling tab.
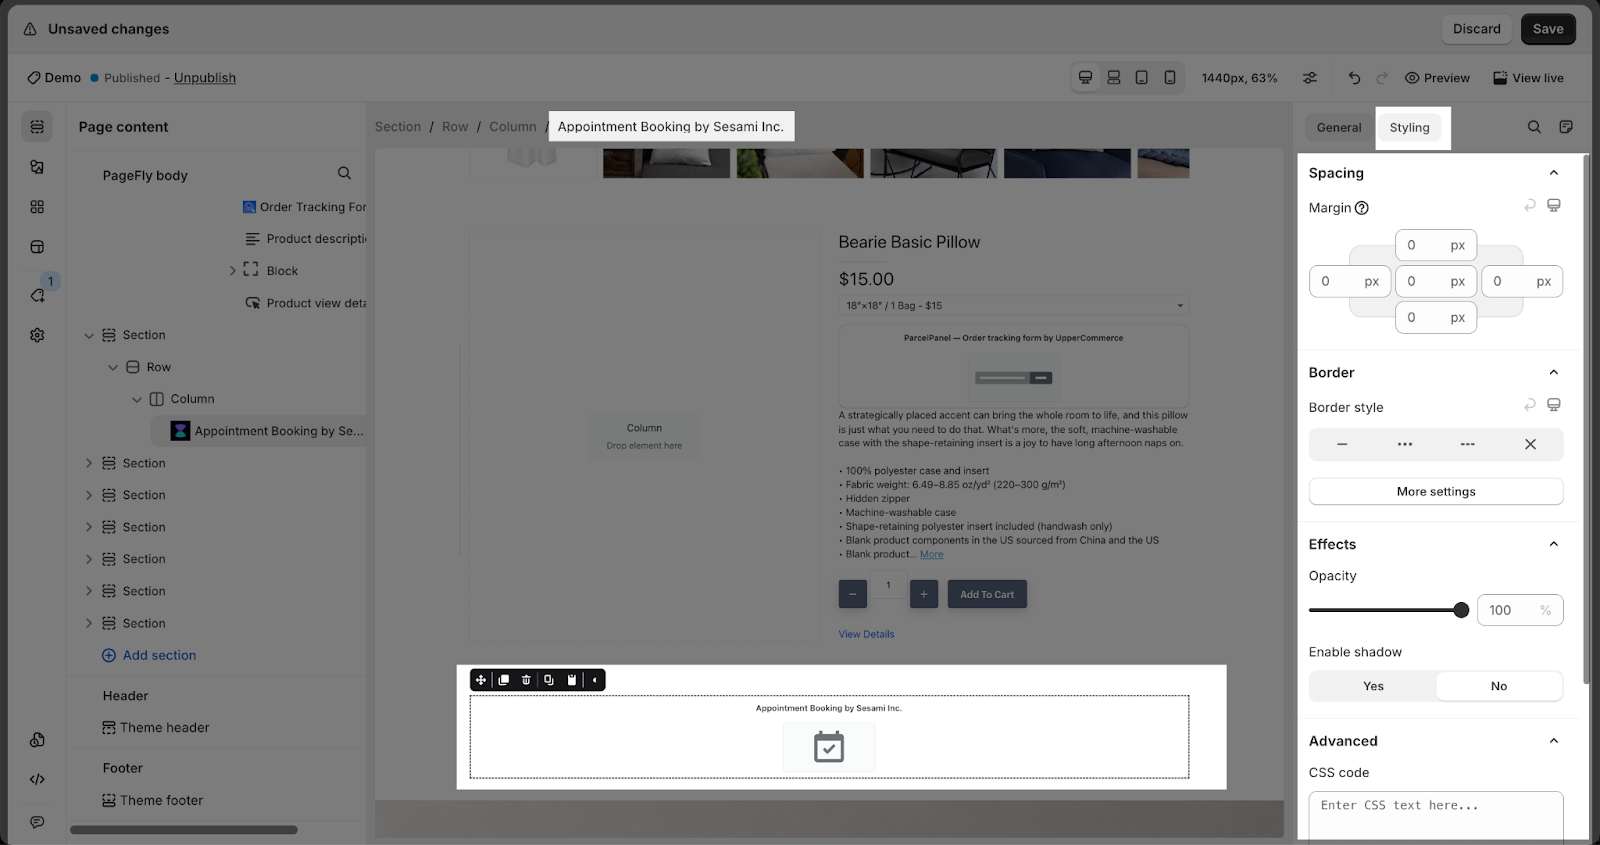
You can get further information about Styling settings.
From Sesami: Appointment Booking App
Before using the Sesami: Appointment Booking elements in PageFly, you’ll need to create and configure your bundles in the Sesami: Appointment Booking app:
- Step 1: Go to your Shopify admin > Apps > Choose Sesami and enable it.
- Step 2: On the Services screen, click on the Add service button > You will be able to choose the product you’d like to assign the service
- Step 3: Click the Manage button to edit the service > Fill in the fields you want > Click the Save button. And now, Sesami: Appointment Booking is ready to go!
- Step 4: Back the PageFly editor to drag and drop the element on the canvas. Publish the page to view the results in the live view.
Tips & Best Practices
We strongly recommend using the Shopify App Block Element for Sesami: Appointment Booking integration. Available for Shopify theme OS 2.0, this feature simplifies adding Sesami functionality to your PageFly pages or sections. It offers greater flexibility, easier updates, and an improved user experience. While limited to one per page, the App Block is a valuable tool to enhance your store’s capabilities.
For detailed setup guidance, refer to our App Block article. This simple change can substantially improve your TicTac integration and overall store performance.
Frequently Asked Questions
1. When was Sesami created?
2019
2. Can I use Sesami on the PageFly editor?
Yes, but it’s best advised that you use “App blocks” element as described in the “Tips & Best Practices” section
3. How can I style the button?
You need to use the custom code here on the PageFly page using the Custom Code Editor window