About Wishlist ‑ Wishify

Wishlist ‑ Wishify by Zooomy enables customers to save their preferred items to a wishlist for future reference, catering to a global user base. Maintaining a record of customers’ favorite products can lead to heightened sales. Provide the option for customers to share their wishlist via email and various social platforms like Facebook, WhatsApp, and Twitter, thus driving sales and attracting new users to your store.
Before using this element, you have to install the Wishlist ‑ Wishify Apps to your store and configure all options in the app and then come back to PageFly to use the element for the corresponding product you want.
Access Wishlist ‑ Wishify element
Step 1: Go to Add third party elements in the left toolbar > Click on the Edit your 3rd party elements button.
Step 2: In Integrations popup page, you can search “Wishlist ‑ Wishify” on the search bar.
Step 3: Click on Wishlist ‑ Wishify element in the drop-down menu.
Step 4: Choose the variant you want, then drag and drop it to the editor page.
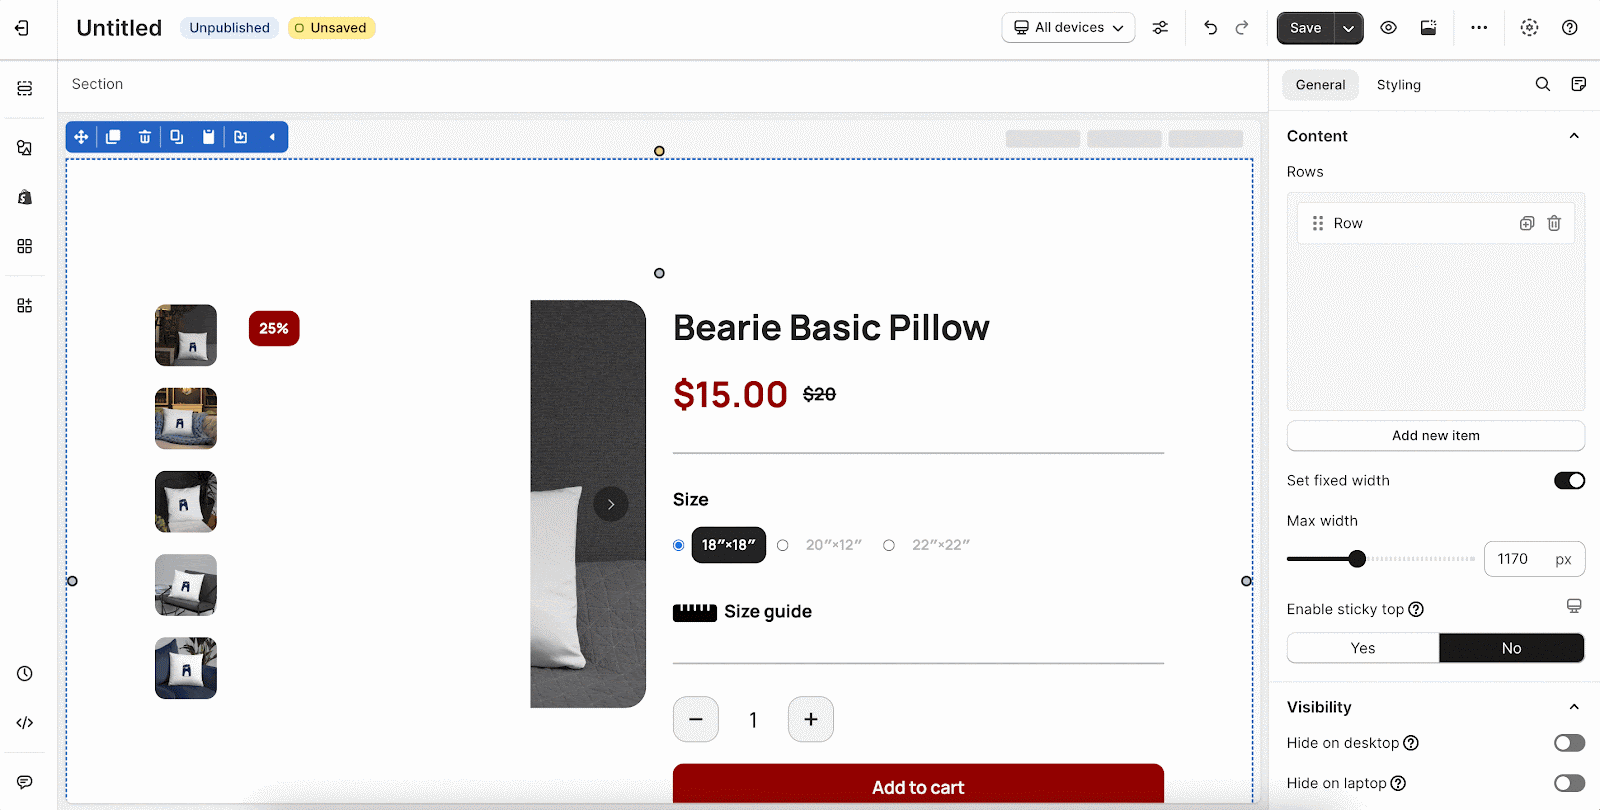
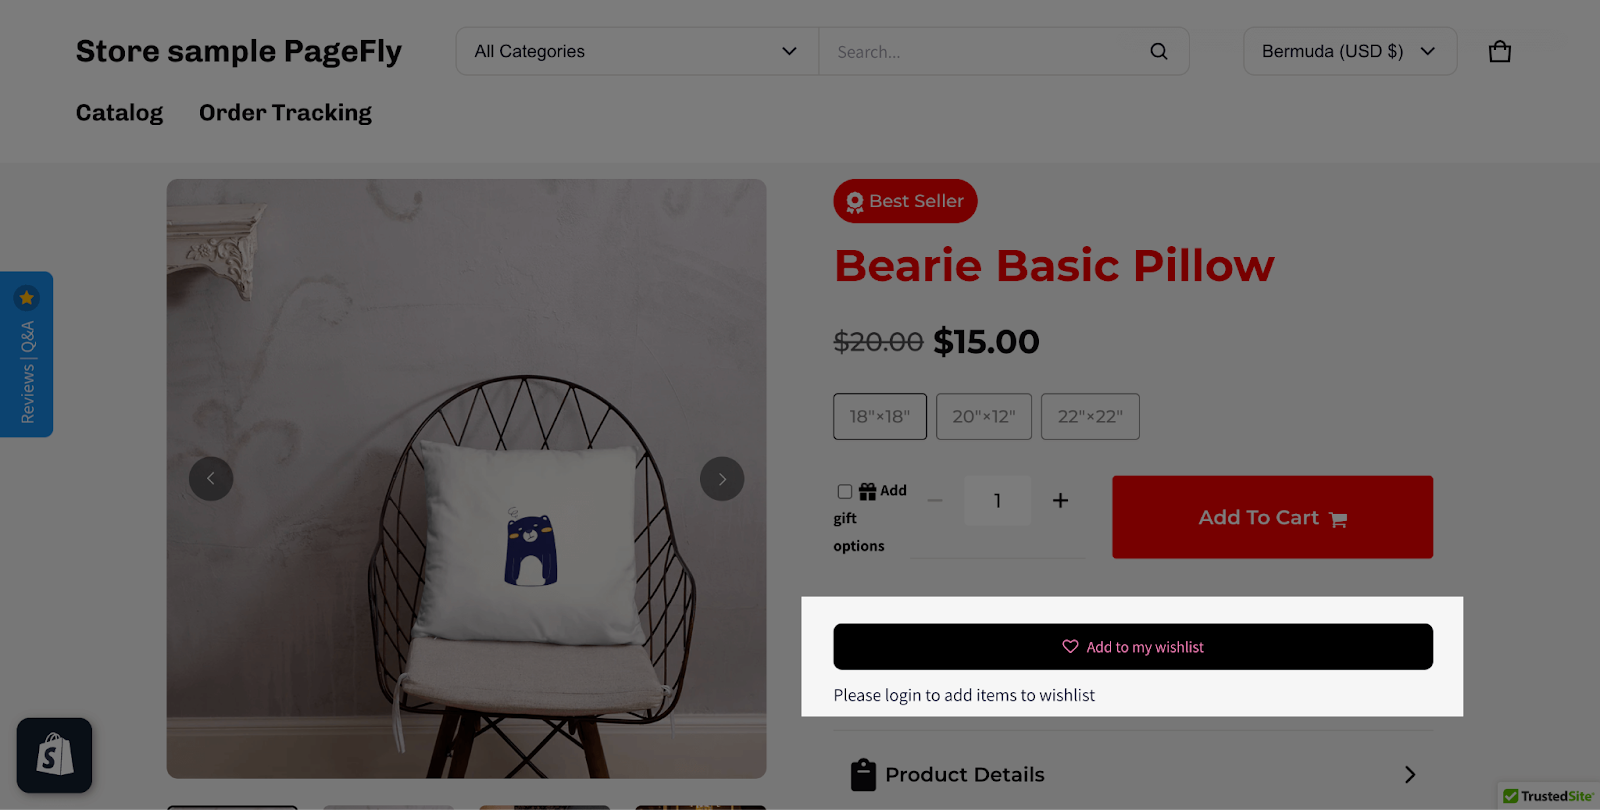
This element comes in only one variation, which is the Add To Wishlist.
Configuration
PageFly’s Settings
General Settings
In the General tab, there is a widget configuration giving you a short explanation of the Wishlist ‑ Wishify app and its link to the app listing.
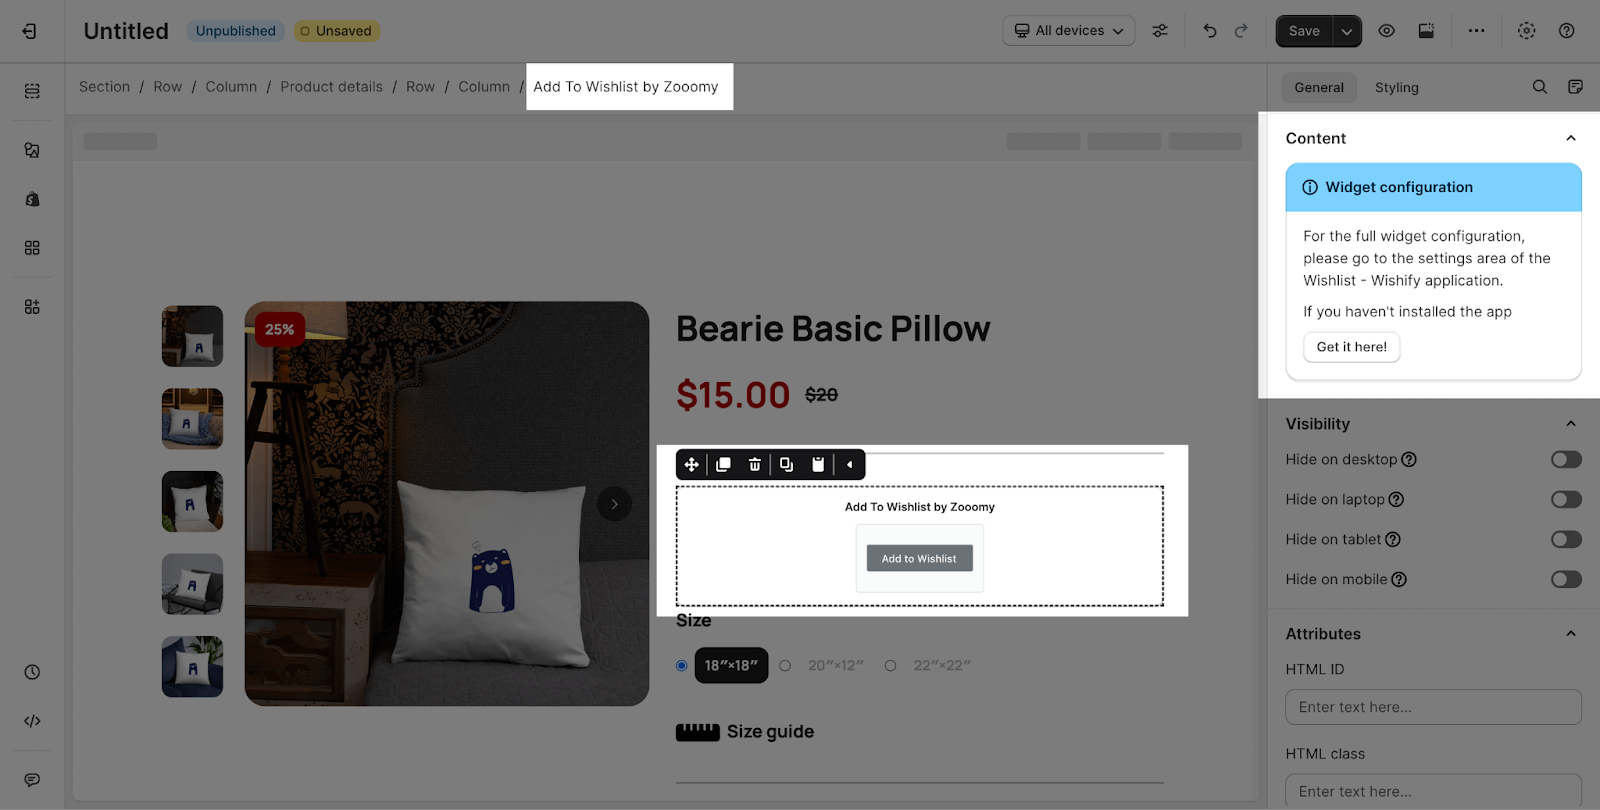
Note that this element can only work on PageFly product page and once per page.
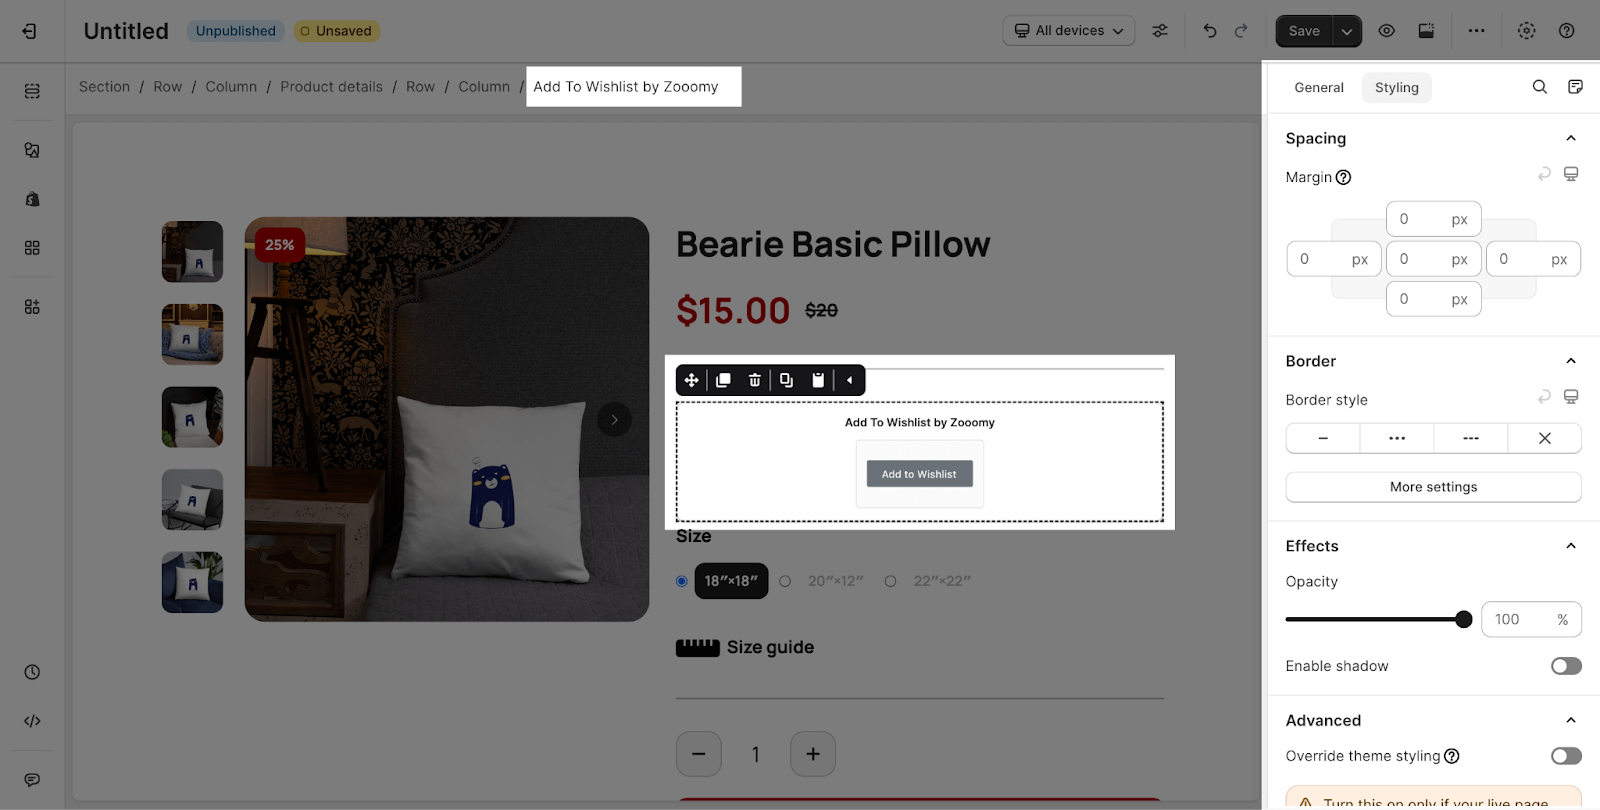
Styling Settings
You can customize the styling of the Wishlist ‑ Wishify element in the Styling Tab. You can check out more information about the Styling tab here.
Wishlist ‑ Wishify by Zooomy App Settings
After installing the app, please visit theme editor page, enable Wishlist – Wishify.
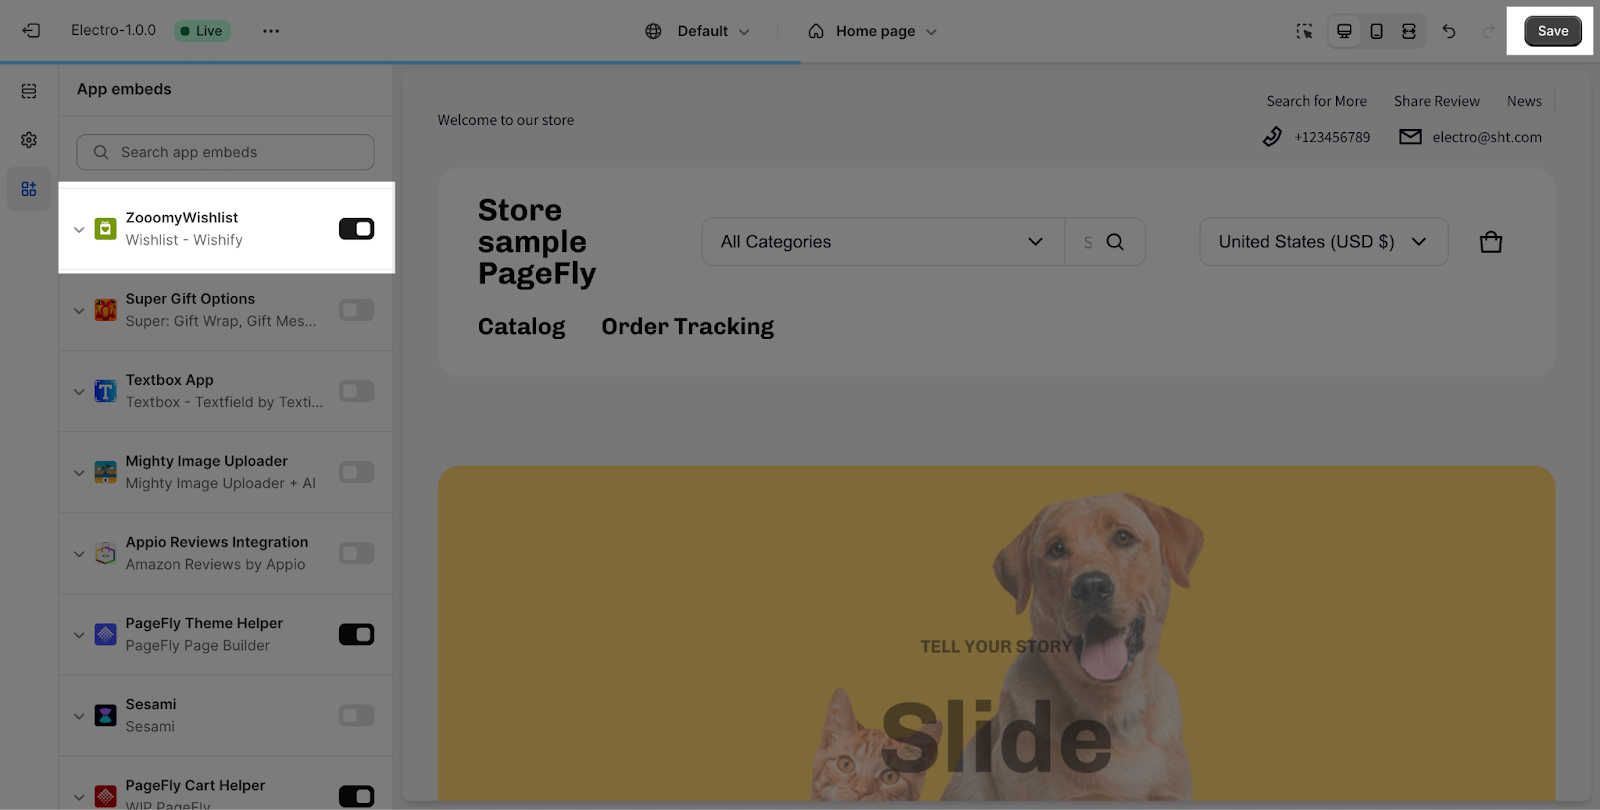
Simply click “Save” to save the settings, and you can start using the Wishlist – Wishify.
Customize Add to wishlist button
To create and customize Add to wishlist button, please follow these steps below:
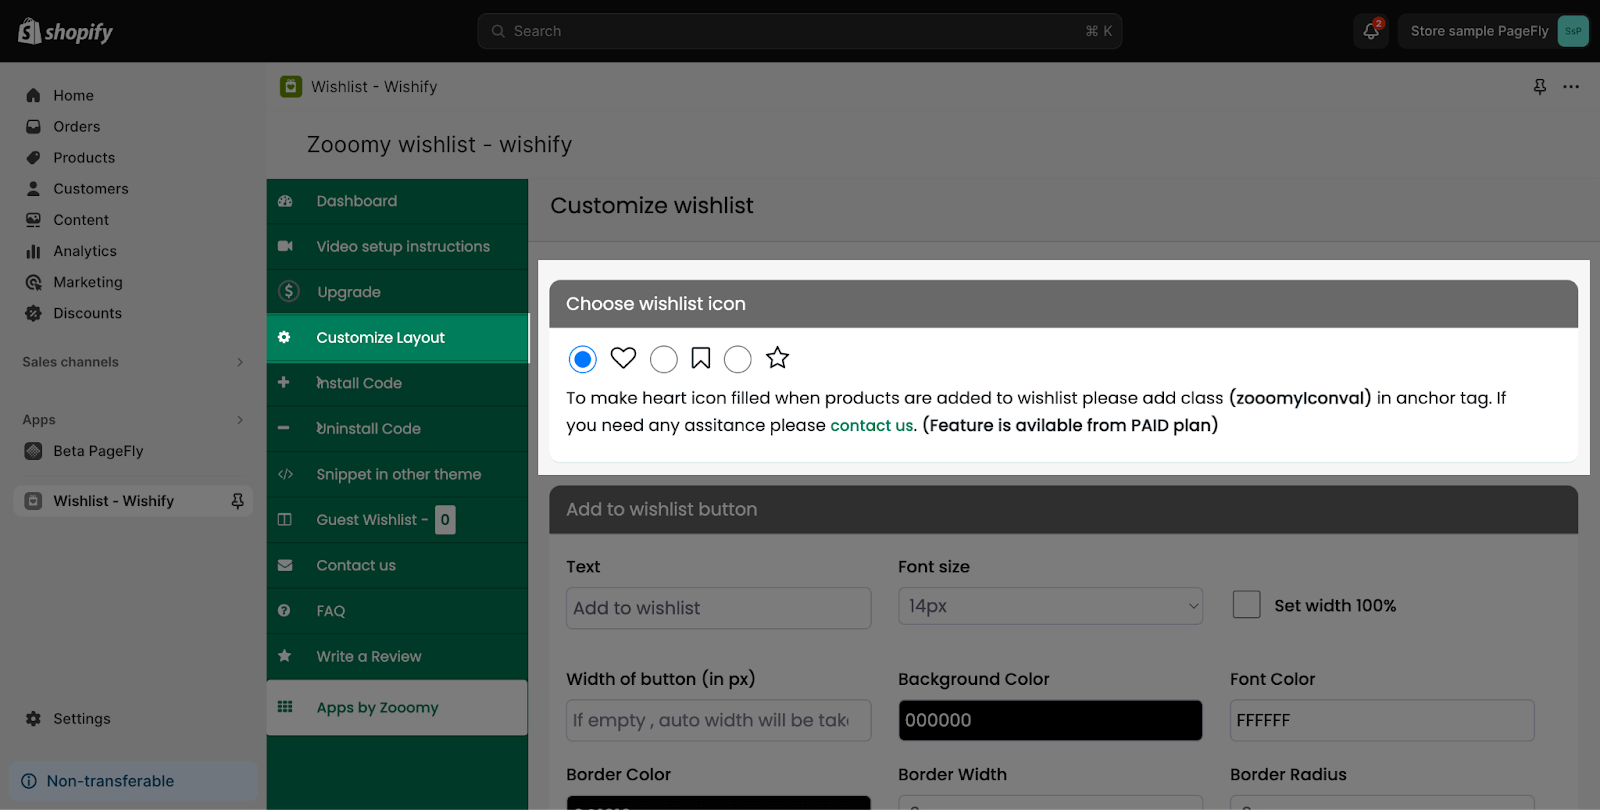
Step 1: Click on the Customize layout tab > Choose wishlist icon
Step 2: Adjust add to wishlist button
You can adjust text, font size, width, background color, font color, border color, border width and border radius for the button here: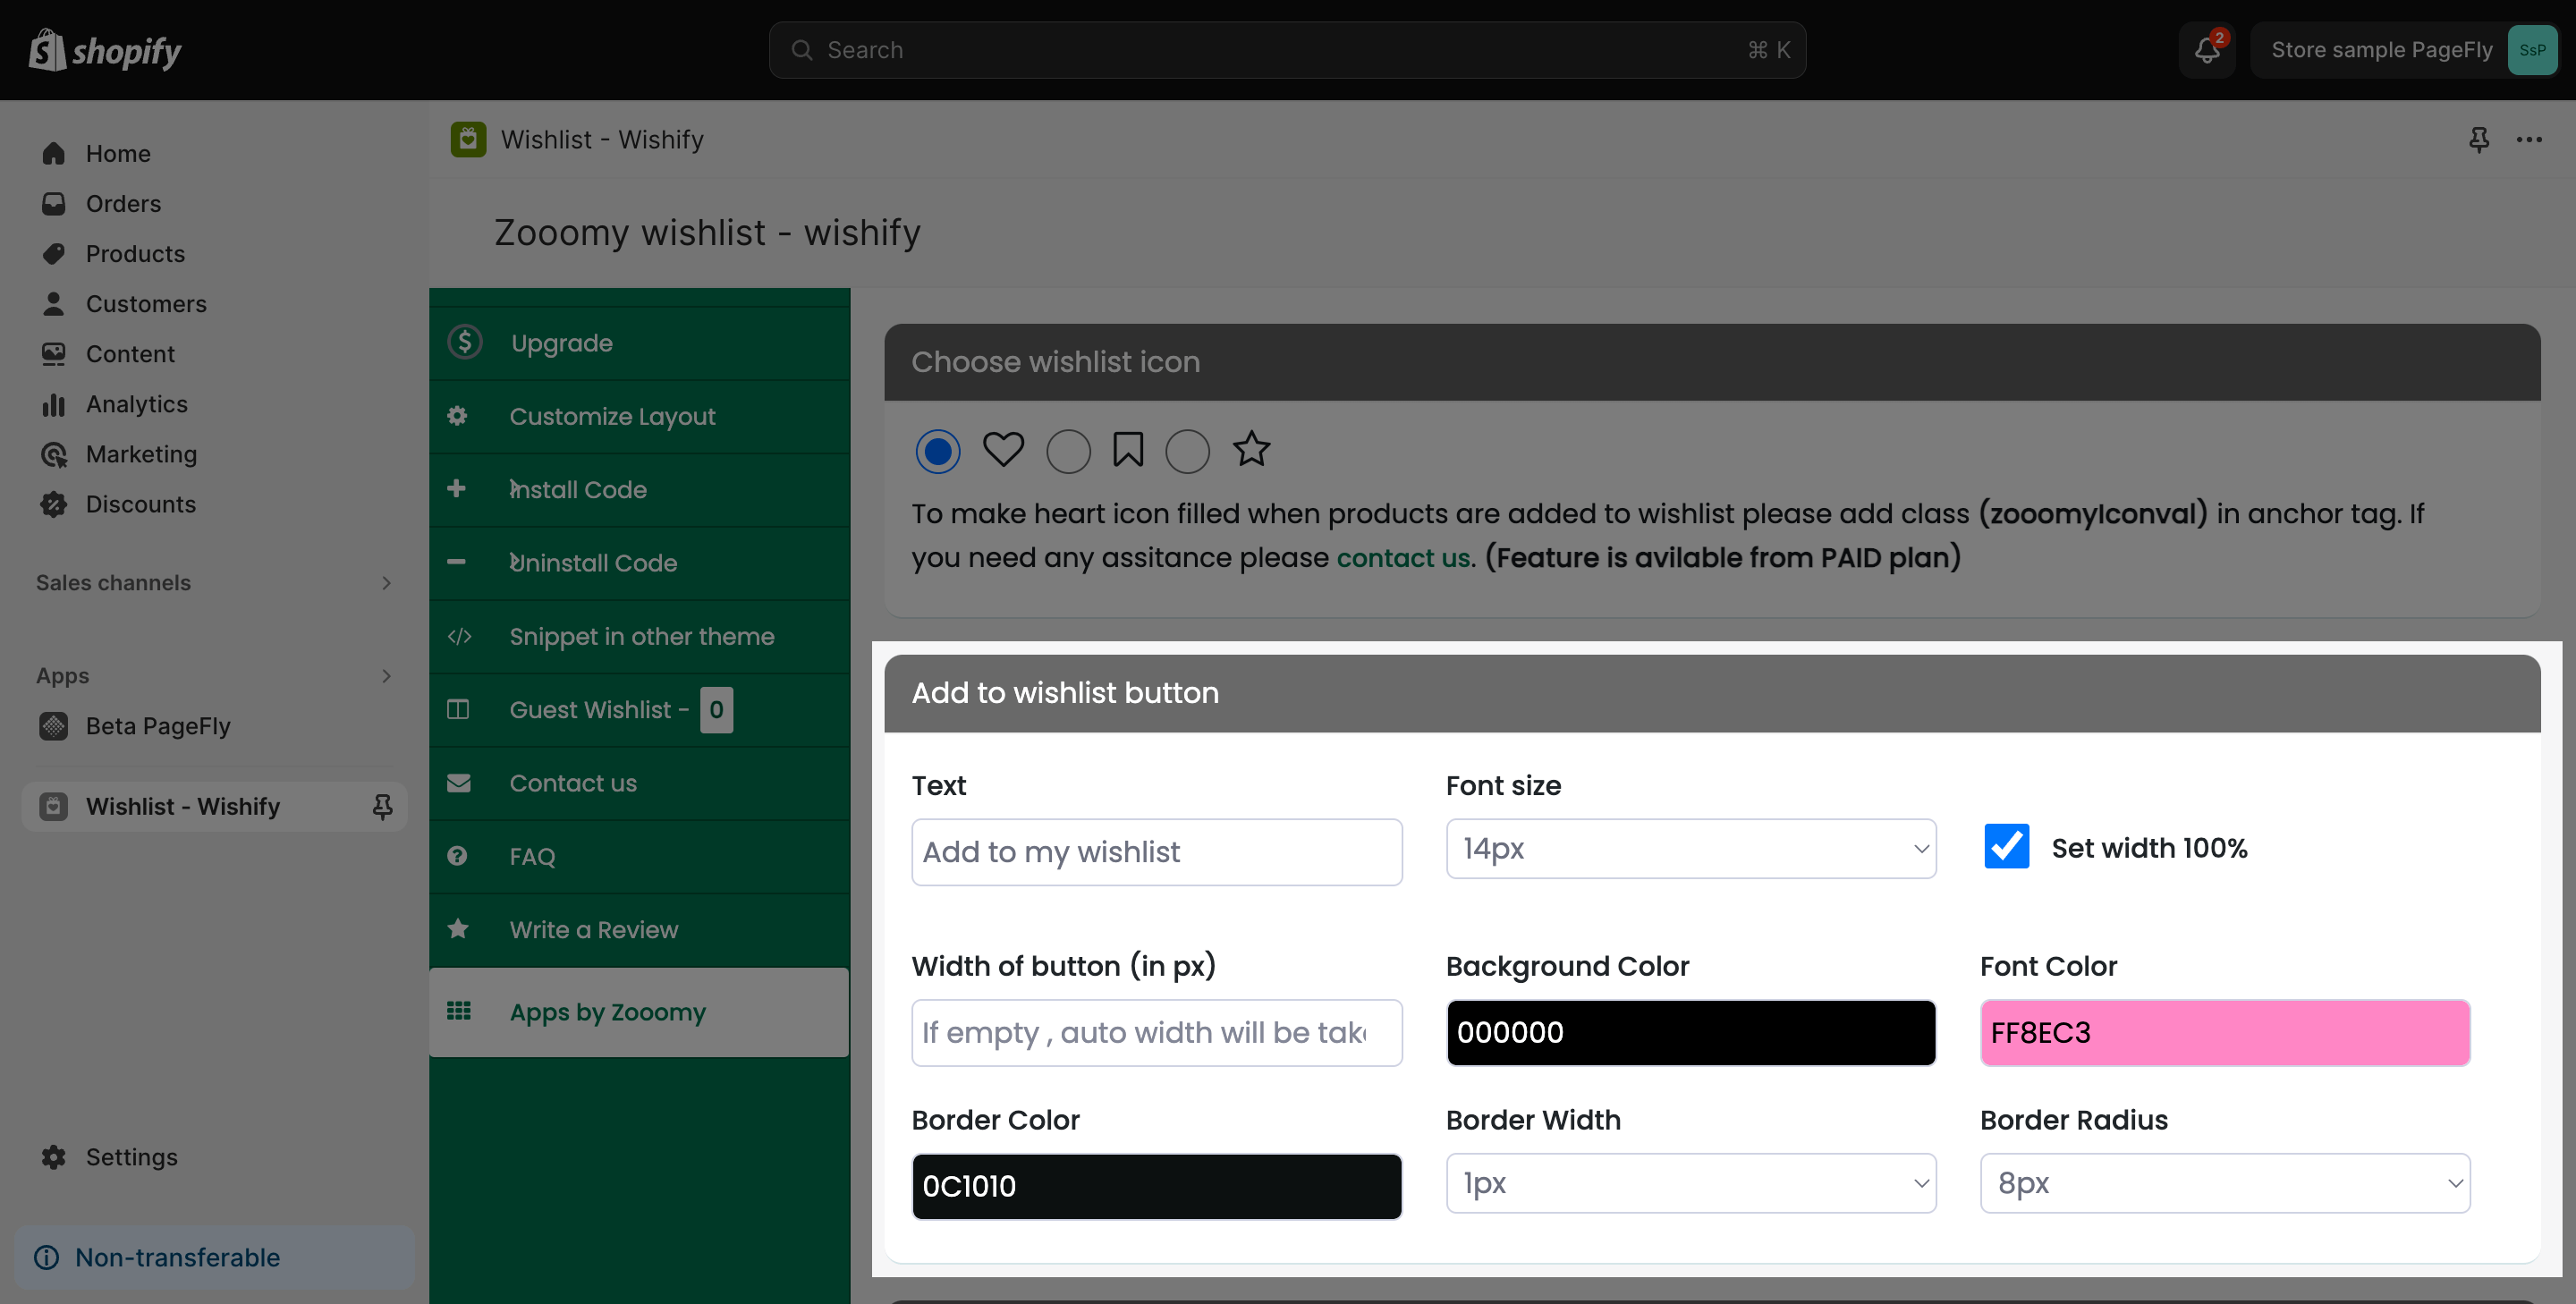
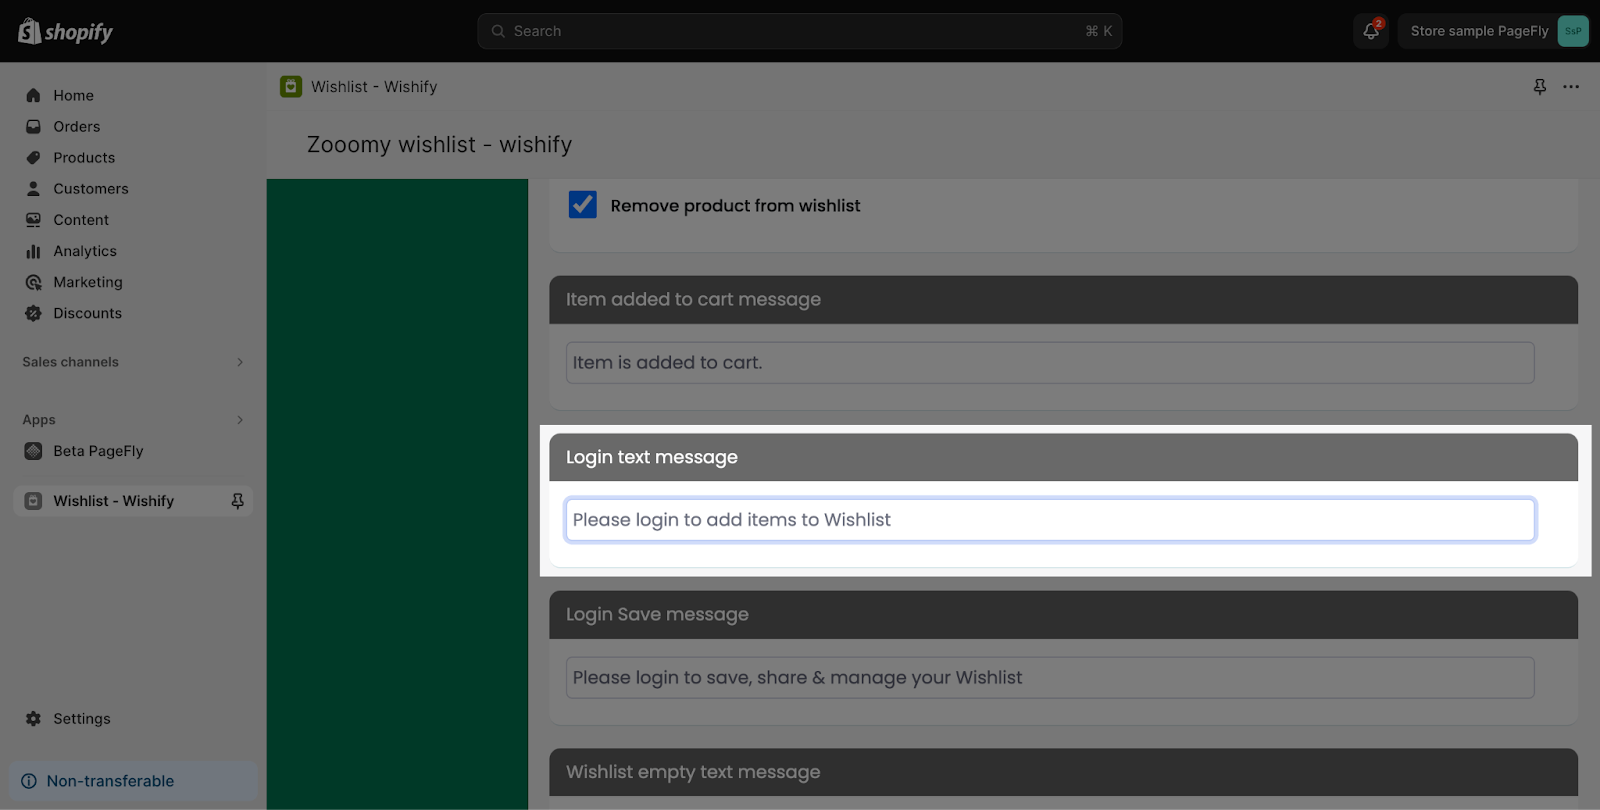
Step 3: Adjust content for login message
You can add the content for notification login messages on the text box here:
After finishing configuring options in the Wishlist ‑ Wishify app, come back to the PageFly page and use this element. Finally, hit Publish PageFly’s page and check the results on your live page.
Key Takeaways
Wishlist ‑ Wishify allows users to save preferred items for future reference, boosting sales. Shareable via email and social platforms, it attracts new users.
Frequently Asked Questions
Overview
| When was Wishlist ‑ Wishify Created? | 2018 |
| Is Wishlist ‑ Wishify free? | Yes |
| Can I use Wishlist ‑ Wishify on PageFly Editor? | Yes |
How much is Wishlist ‑ Wishify?
Wishlist ‑ Wishify is free to install, and they also offer a free plan with 100 Wishlist items/month for store. With a paid plan, they offer Professional plan: $5.99/month, Premium plan: $12.99/month and Advanced plan: $29.99/month.
What are included in Wishlist ‑ Wishify Professional plans?
1000 wishlist items/month, Share wishlist, Widget on collection page, Guest wishlist, Heart icon in header, Customize button to match theme.