


About Trust Badges & Icons – Iconito
What Is Trust Badges & Icons – Iconito?
With Iconito, you can choose the banner for your icons, include titles, personalize the colors and fonts, select where to place the blocks (product page, footer, cart, or custom location), and then publish.
You have the option to select from a range of predefined payment gateway icons, seals, shipping badges, highlights, warranty icons, ecology symbols, payment badges, beauty icons, recycling logos, integration icons, social media icons, header icons, cosmetic badges, payment icons, and product features.
Install Trust Badges & Icons – Iconito
Before using this element in PageFly, you’ll need to install the Trust badges & icons – Iconito app to your store and configure all its options.
- Install Trust badges & icons – Iconito
- Install PageFly
How To Access Trust Badges & Icons – Iconito Element
In page editor, follow these steps to access Trust badges & icons – Iconito element in PageFly:
- Step 1: In the PageFly editor, click “Add third-party element” on the left menu
- Step 2: Click “Manage integrations” or the gear icon on top
- Step 3: Search for “Iconito” and enable it
- Step 4: Click “Close” and the element will appear in the “Add third-party element” menu
How To Configure Trust Badges & Icons – Iconito Element
From PageFly
Add Trust Badges & Icons – Iconito Element
Before starting to set up for the Trust badges & icon – Incognito element, you will need to add this element onto your page canvas:
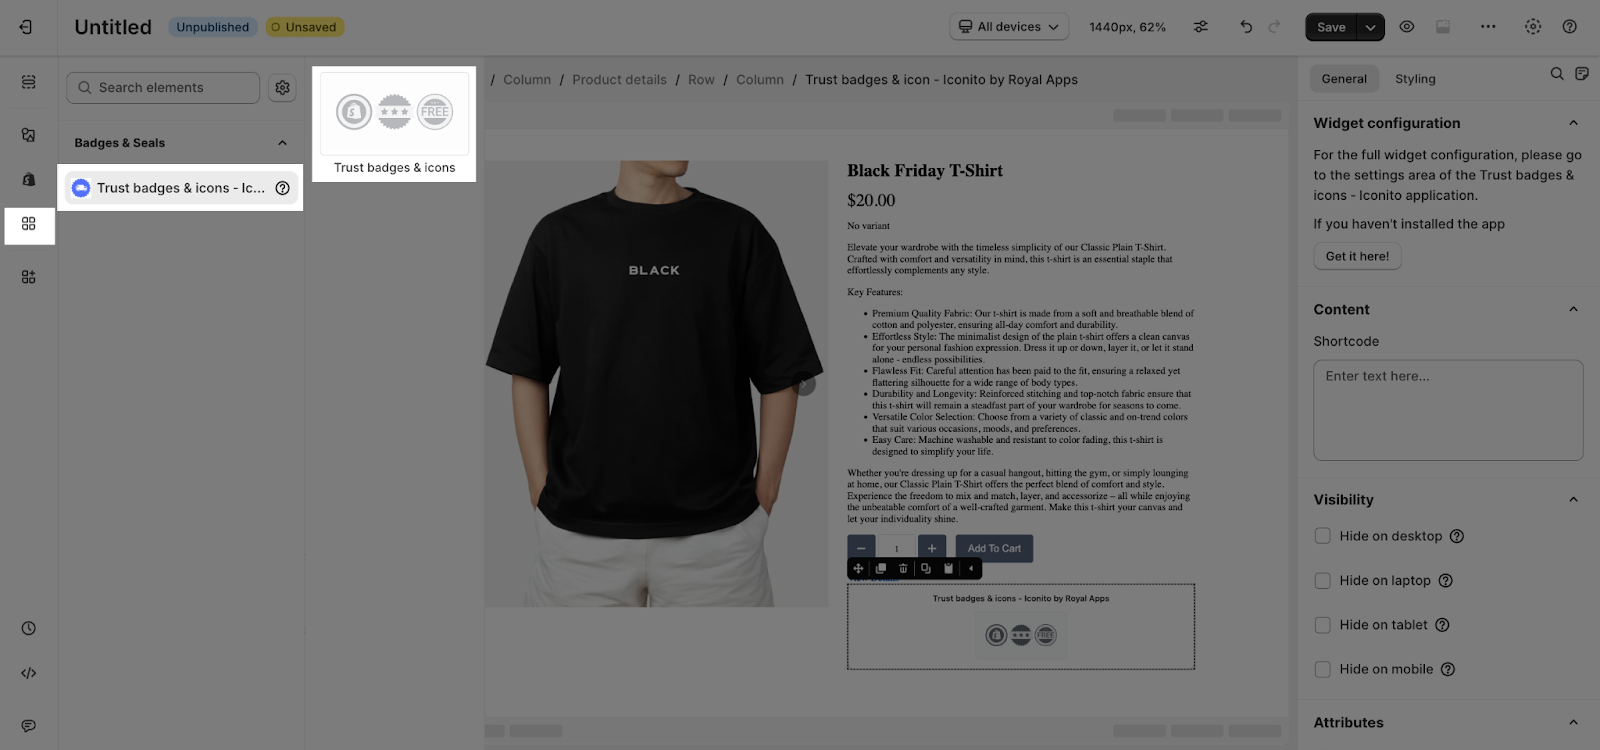
- Step 1: Click “Add third party element” on the left menu bar
- Step 2: Look for “Trust badges & icons ‑ Iconito” element
- Step 3: Click on the element to see it variant
- Step 4: Drag and drop the variant onto the page canvas

The Trust badges & icons – Iconito element comes in one variant which is Trust badges & icons.
Important note:
- The element can work on ALL page types
- The element can work anywhere on the page.
- Each page can ONLY have 1 element.
Configure Trust Badges & Icons – Iconito
General Settings
After adding the Trust Badges and Icons to the Editor, on the right sidebar, you’ll see the General tab.
In the Short code box, you can paste the HTML code you got from the Iconito – Trust badges & icons app.
You can get further information about Attributes, Visibility, and Animation parameters.
Note: All configuration of the element must be done in the Iconito app before using in PageFly.
Styling Settings
You can customize the styling of the Trust Badges and Icons elements in the Styling tab.
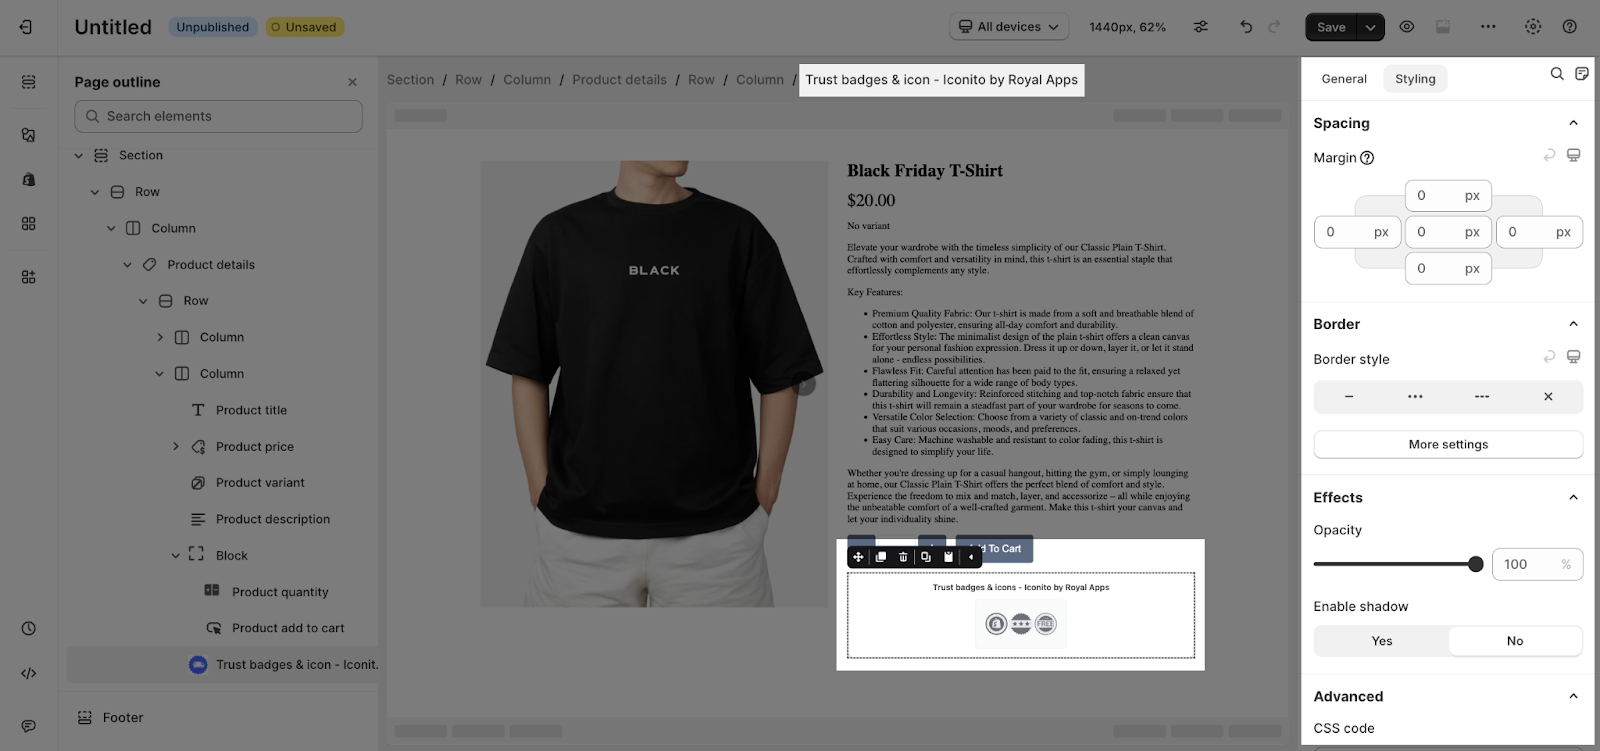
You can get further information about Styling settings.
From Trust Badges & Icons – Iconito App
Before using the Trust badges & icons – Iconito elements in PageFly, you’ll need to create and configure your bundles in the Trust badges & icons – Iconito app:
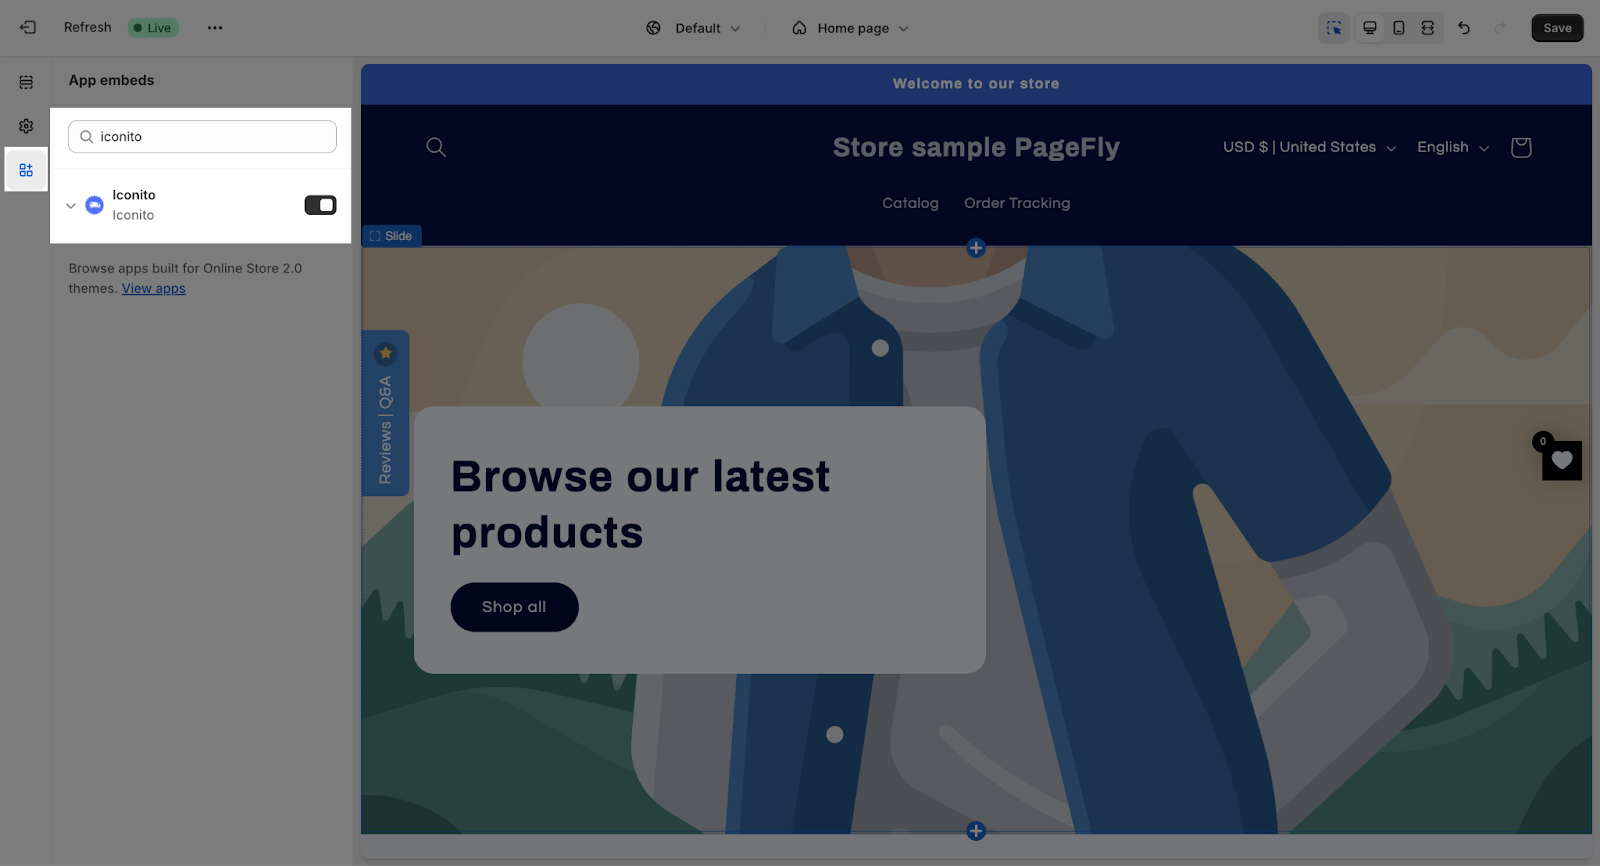
Step 1: Activate “Iconito” In The Theme Customize
Go to your Shopify admin, then navigate to Online Store > Theme > Current theme > Customize > App embeds.
Search for “Iconito” and activate it.
Step 2: Set Up The Icon Blocks
On the Dashboard of Iconito app, click on “Add icon blocks button” to create a new badge.
You can also further customize the badge Content, Icons, Style. Then hit Save.
Step 3: Copy The Code From Iconito App
After customizing the block, scroll down to the bottom, you can see a text box that contains the code. Hit the “Copy” icon button to copy this code into clipboard.
Step 4: Go To The Page On PageFly App > Paste This Code To The Short Box
Step 5: Publish The Page From PageFly App
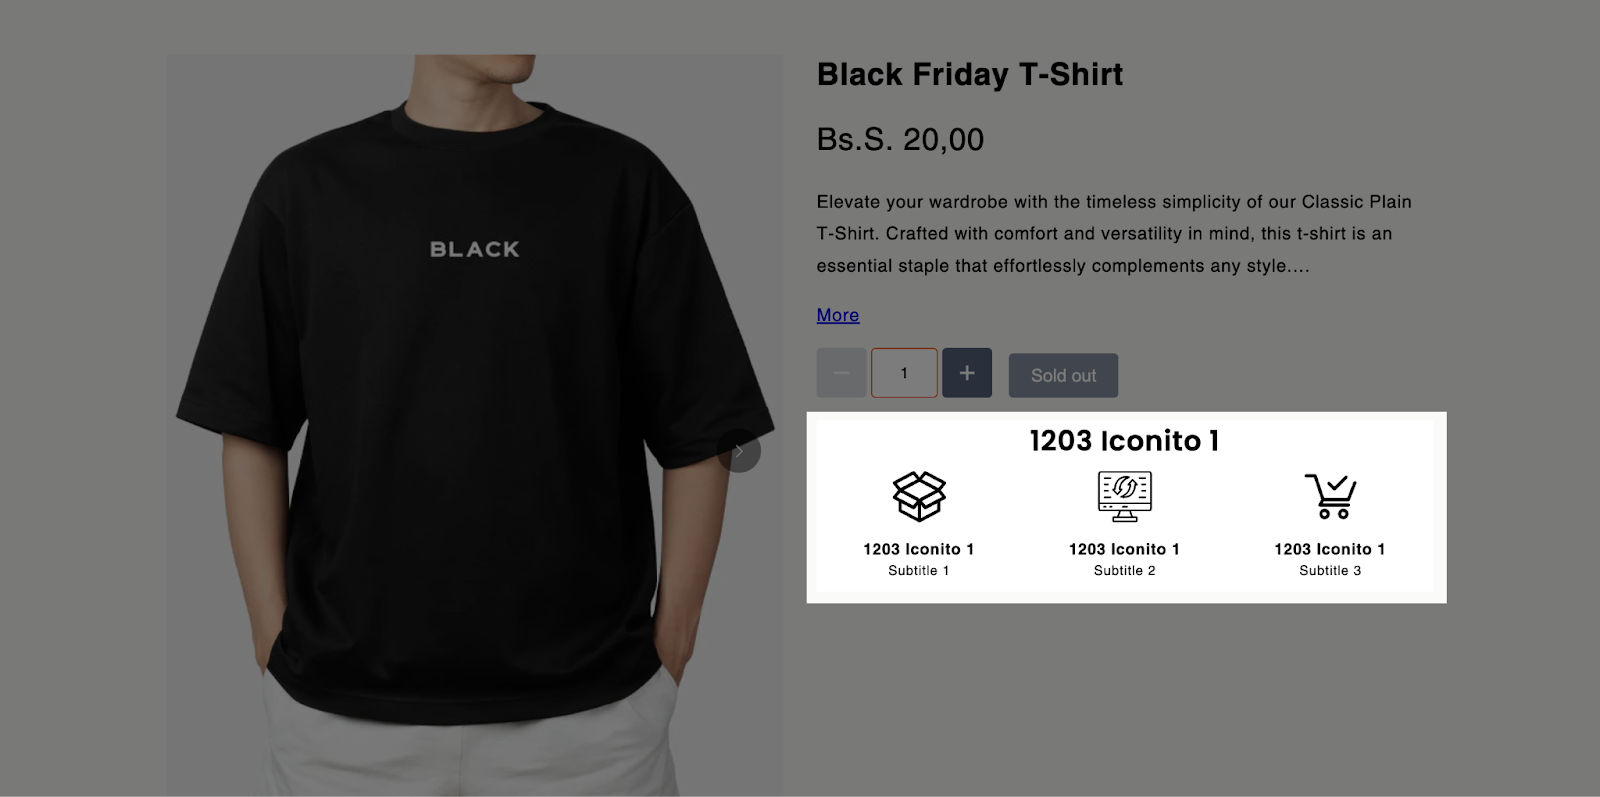
Then You Can See The Result On The Live Page:
Frequently Asked Questions
Is The Iconito App Free?
Yes, there’s a free version.
How Many Icons Am I Allowed To Use With My Plan?
You are allowed to use all the icons you want in the library. You can also import your own if you want.
Additional Resources
- PageFly Styling tab
- What apps does PageFly integrate with?