About Estimated Delivery Date ‑ Plus
What Is Estimated Delivery Date ‑ Plus?
Estimated Delivery Date ‑ Plus app allows you to set up different delivery estimates based on various factors such as product types, shipping locations, and shipping methods. You can include handling and processing times in the estimated delivery dates to give customers a more accurate timeframe.
Install Estimated Delivery Date ‑ Plus
Before using this element in PageFly, you have to install the Estimated Delivery Date ‑ Plus app to your store and configure all options in the app.
- Install Estimated Delivery Date ‑ Plus
- Install PageFly
How To Access Estimated Delivery Date ‑ Plus Element
In the page editor, follow these steps to access the Estimated Delivery Date ‑ Plus element:
- Step 1: In the PageFly editor, click “Third-party element” on the left menu
- Step 2: Click on the icon on top
- Step 3: Search for “Estimated Delivery Date ‑ Plus” and activate it
- Step 4: Click “Done” and the element will appear in the “Third-party element” menu
How To Configure Estimated Delivery Date ‑ Plus Element
From PageFly
- The element can work on all pages and one page can have many elements.
- The element needs to stay inside the product details element
- All styling and configuration must be done in the Estimated Delivery Date ‑ Plus app.
Add Estimated Delivery Date ‑ Plus Element
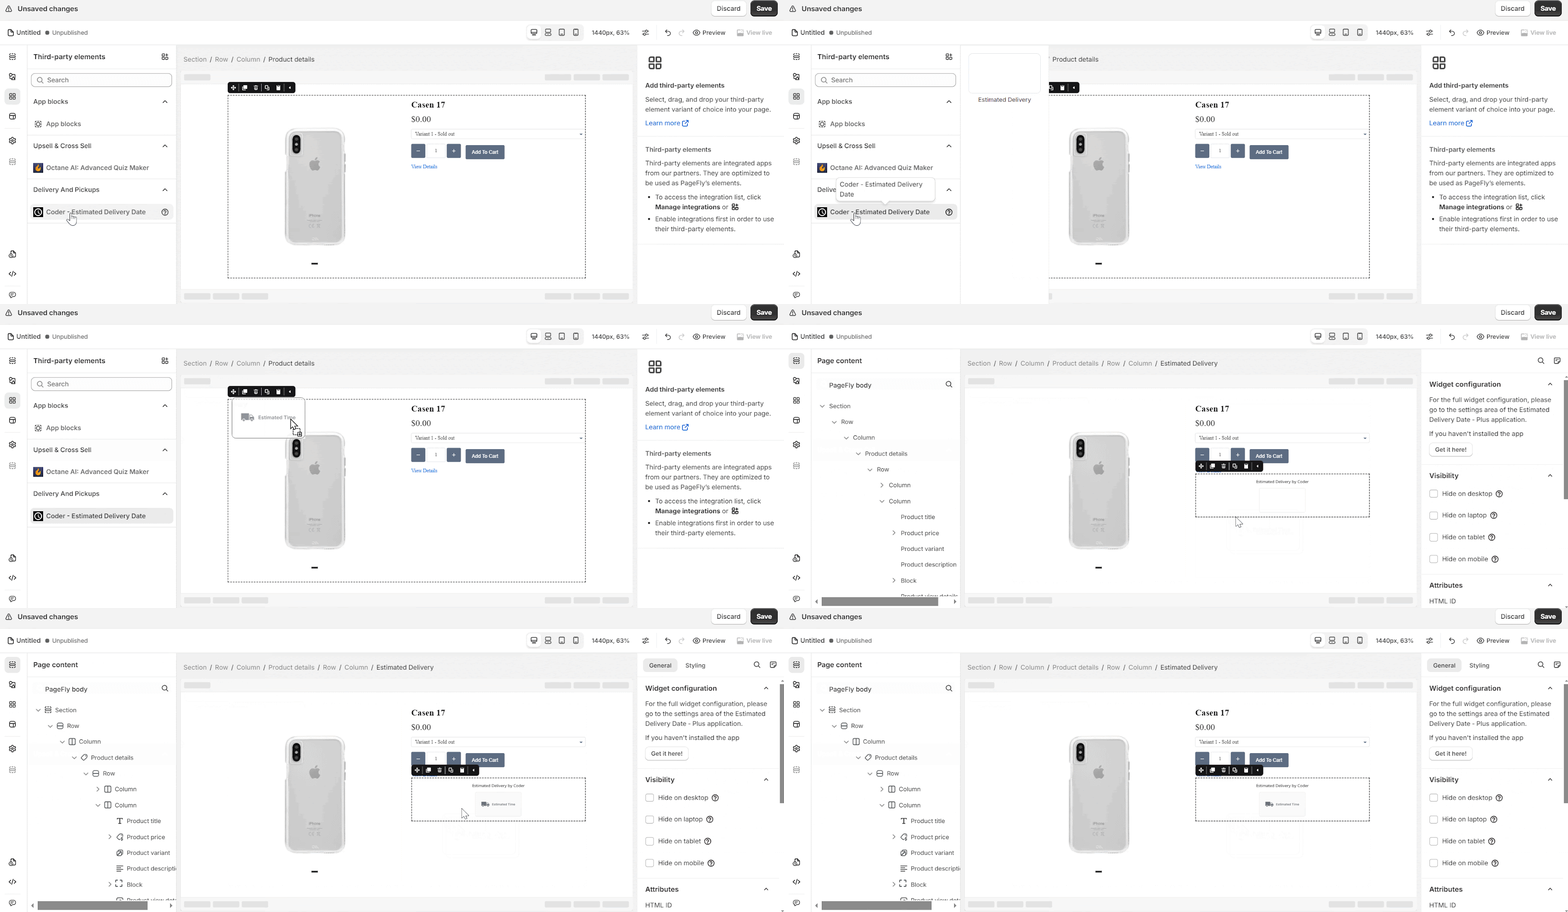
Before starting to set up for the Estimated Delivery Date ‑ Plus element, you will need to add this element onto your page canvas:
- Step 1: Click “Third-party element” on the left menu bar
- Step 2: Look for “Estimated Delivery” element
- Step 3: Click on the element to see its variant
- Step 4: Drag and drop the variant onto the page canvas
Configure Estimated Delivery Element
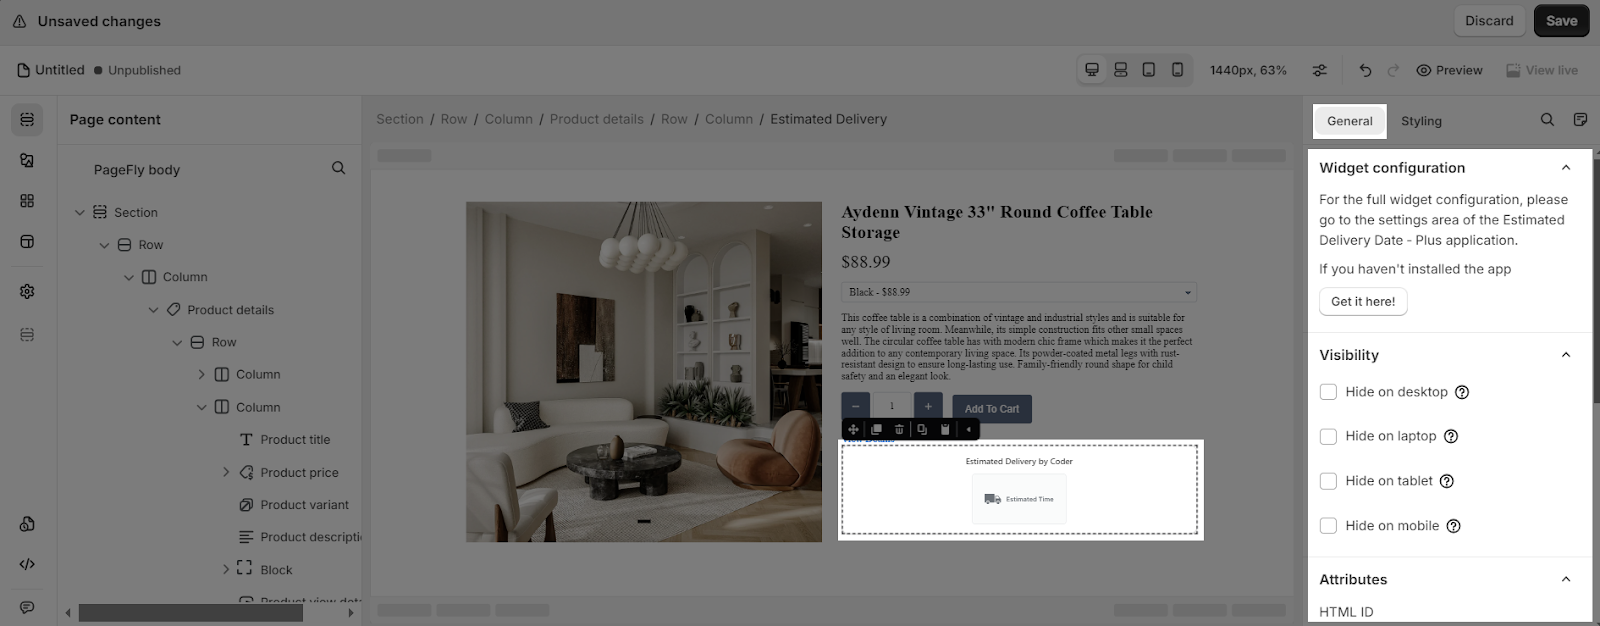
After adding the element, you can adjust for it by clicking on the element.
- In the General tab, there is a widget configuration giving you a short explanation of the Estimated Delivery app and its link to the app listing.
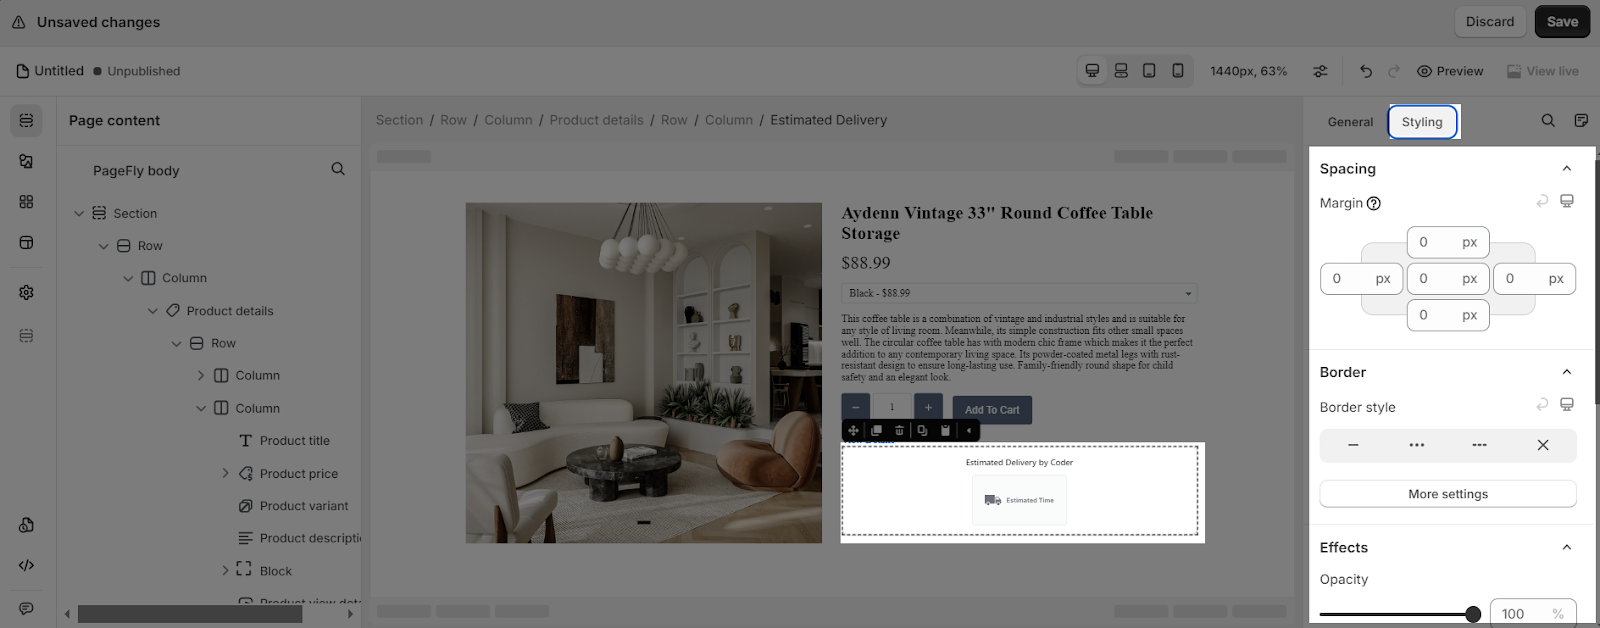
- For styling options like margins, borders, and effects, go to the “Styling” tab. You can find more details about the available options here.
From Estimated Delivery Date ‑ Plus
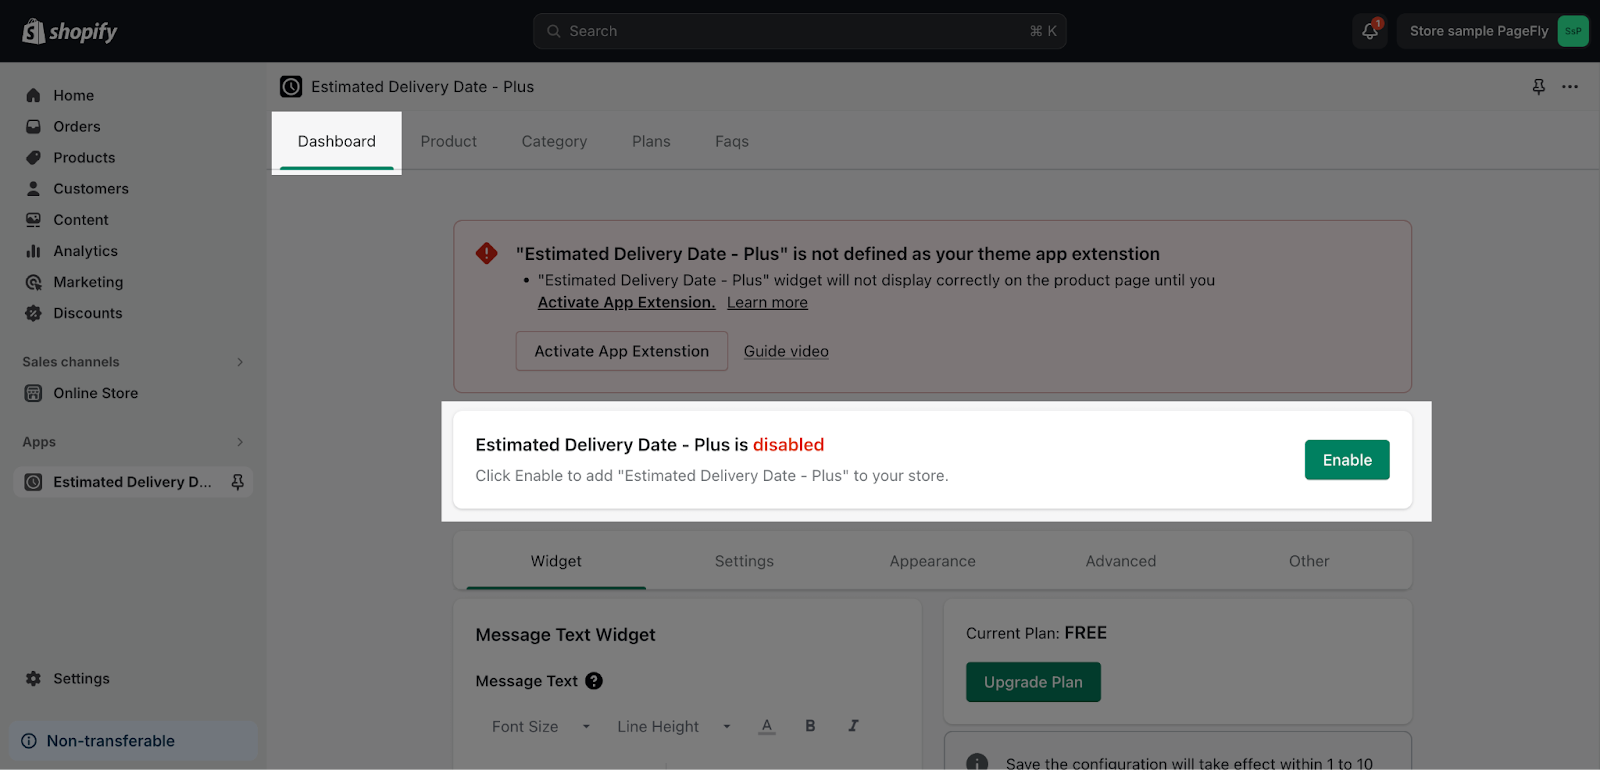
Step 1: Enable The App
From the app dashboard, you just need to click on the Enable button to enable it.
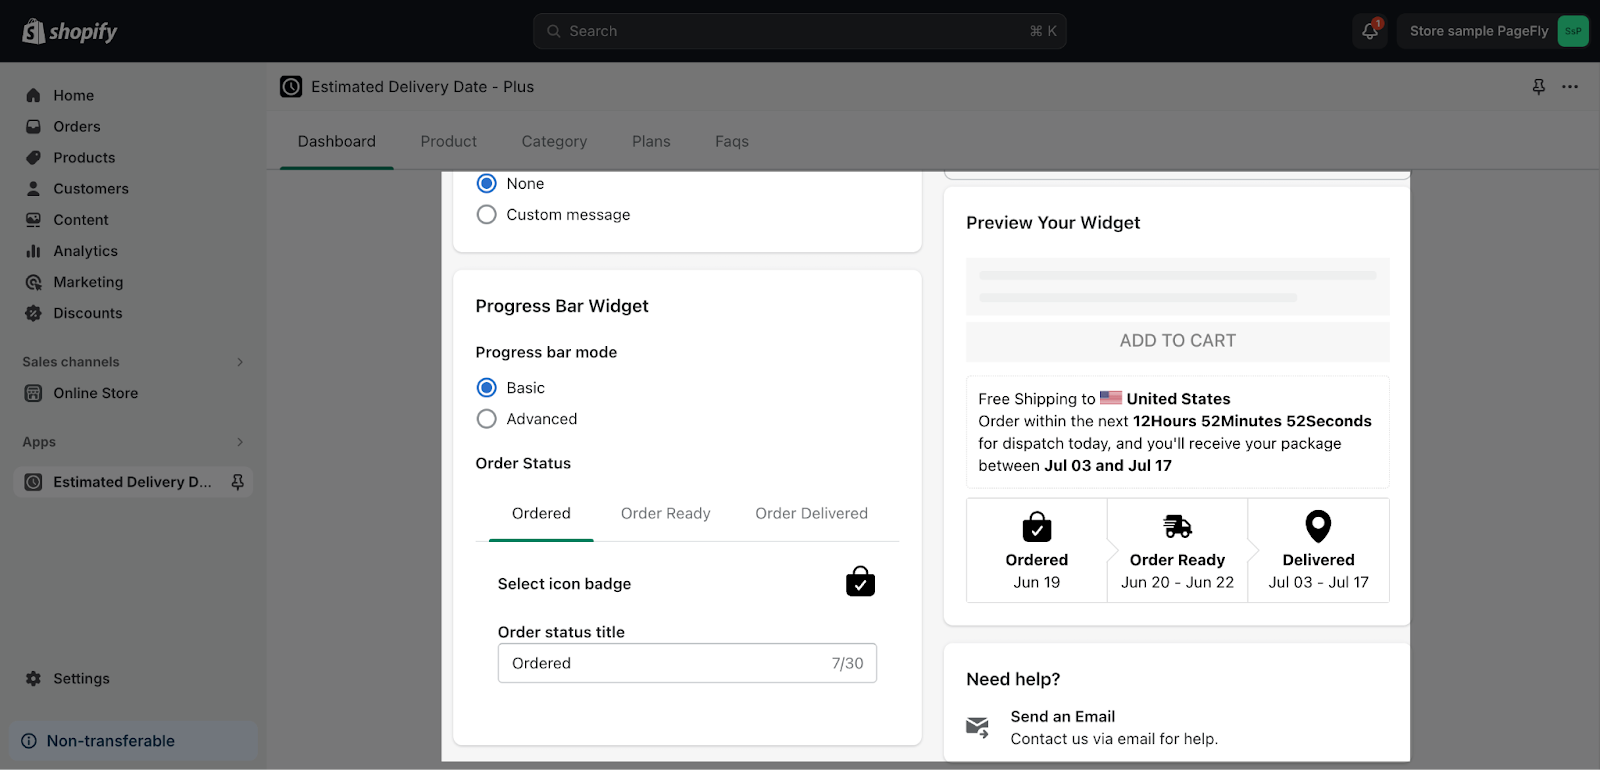
Step 2: Adjust The Widget
Click on all the details to change to content to match with your requirements:
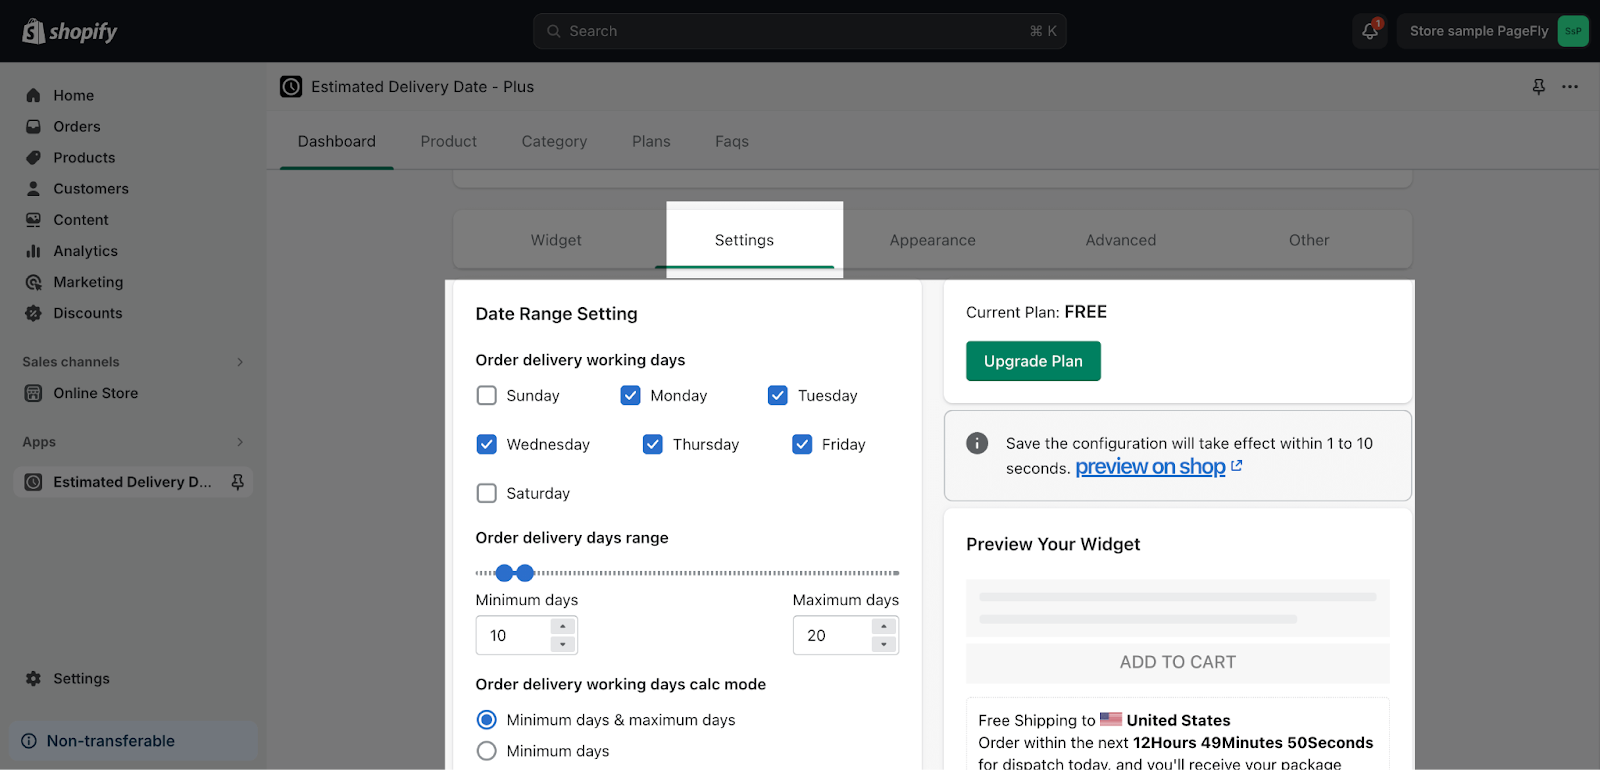
Step 3: Change The Settings
Switch to settings tab, you can able to change the: Date Range Setting, Date Setting, Countdown Setting, and Variable Language Translate Setting.
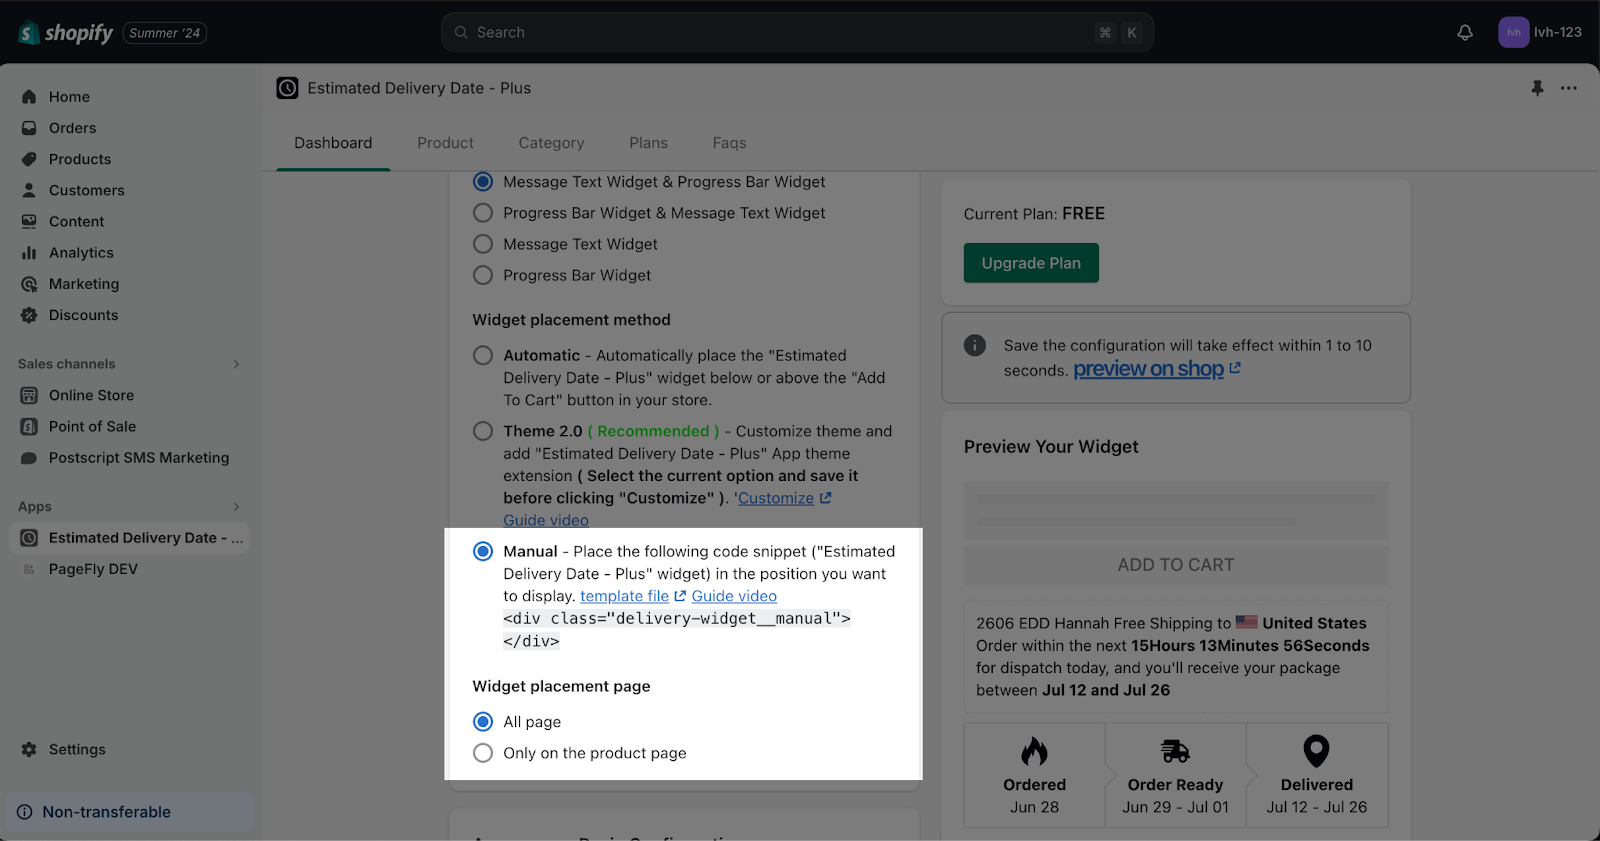
Step 4: Adjust The Appearance
Move to the appearance tab > Widget placement method > Select the manual. Then, you can also select the Widget placement page: on all page.
Tips & Best Practices
We strongly recommend using the Shopify App Block Element for Estimated Delivery Date ‑ Plus integration. Available for Shopify theme OS 2.0, this feature simplifies adding Estimated Delivery Date ‑ Plus functionality to your PageFly pages or sections. It offers greater flexibility, easier updates, and an improved user experience. While limited to one per page, the App Block is a valuable tool to enhance your store’s capabilities.
For detailed setup guidance, refer to our App Block article. This simple change can substantially improve your Estimated Delivery Date ‑ Plus integration and overall store performance.
Frequently Asked Questions
1. Can I use the Estimated Delivery Date – Plus element on any page?
The Estimated Delivery Date – Plus element can be used on any page in your store, but it’s important to note that it only works when placed within the product details element.
2. Is The Estimated Delivery Date ‑ Plus App Free?
Yes, the app offers a free plan for you to use.


