Overview
Summary:
Want to translate your PageFly-designed Shopify website and reach new customers globally? This tutorial shows you how to use Langify for effortless multilingual content translation. After following this guide, you’ll be able to create a seamless experience for international visitors, boost sales, and conquer new markets with your Shopify store.
Requirements
- Install Langify Shopify App.
- Install PageFly App.
- Check Langify Help Center here if you need any further configuration in the app.
How To Use Langify To Translate PageFly Pages?
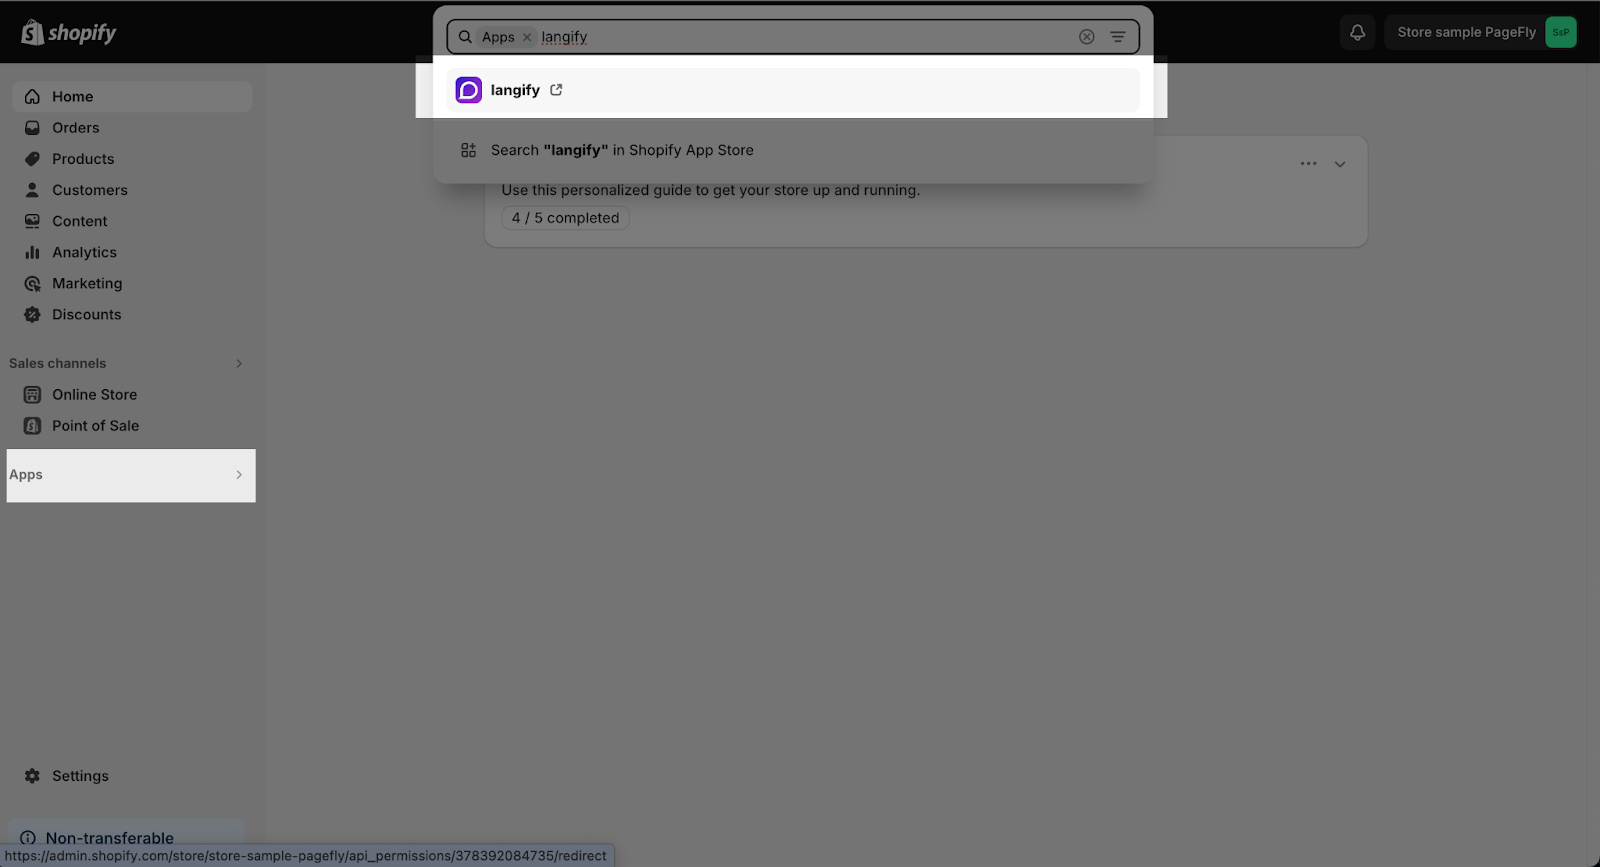
After installing Shopify Langify, open the app in Shopify Admin > App > Langify.
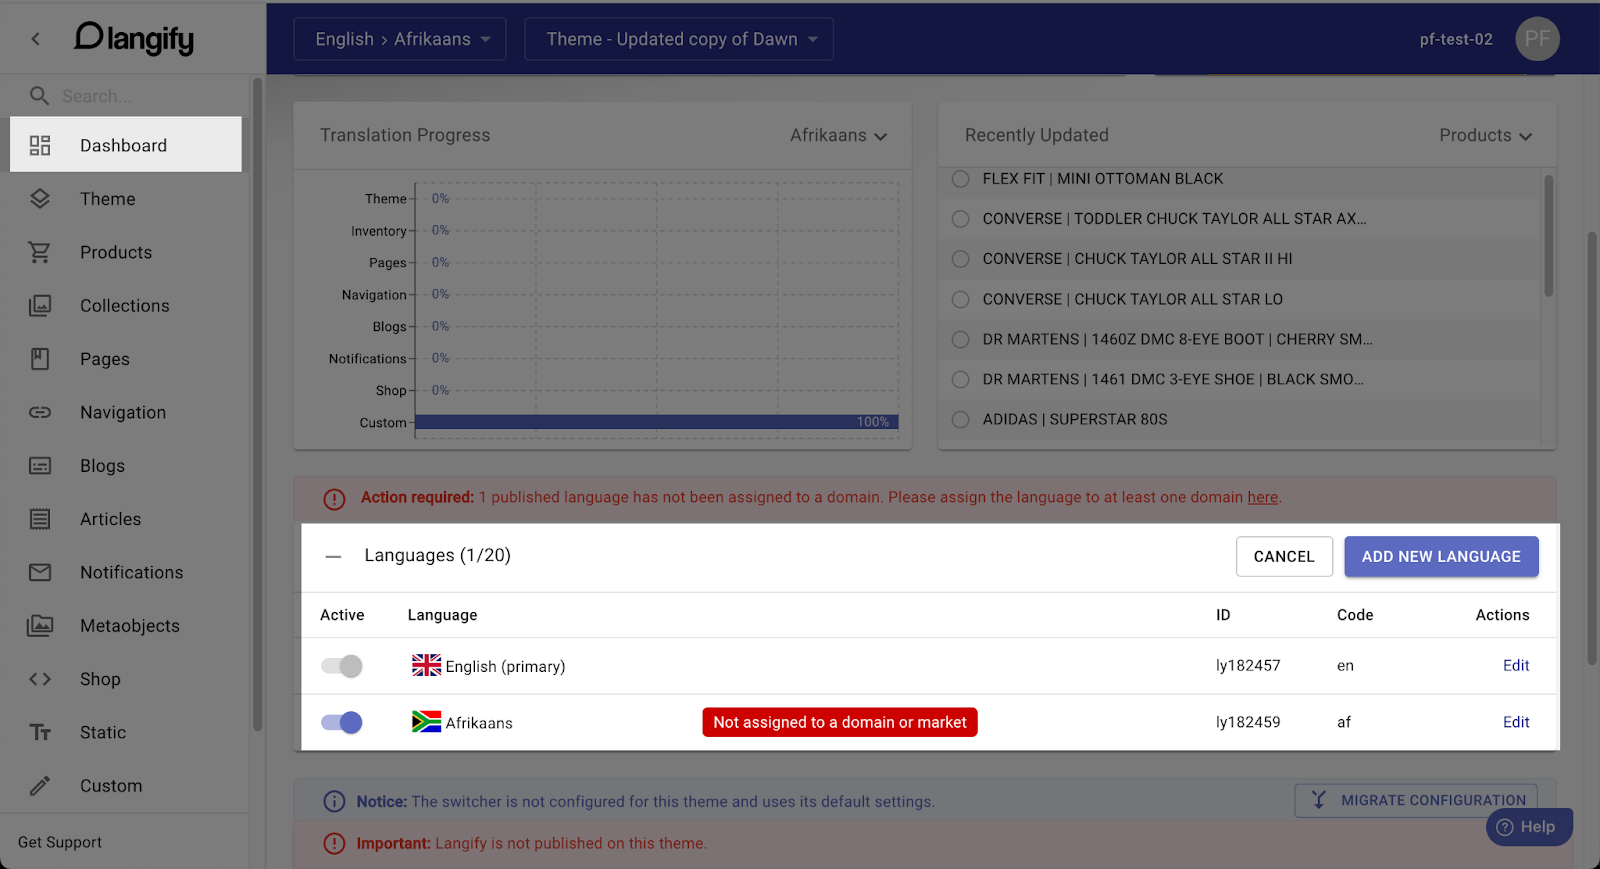
You will be directed to the Langify main dashboard.
First of all, you will need to choose a language in the Languages tab to use other functions of Langify.
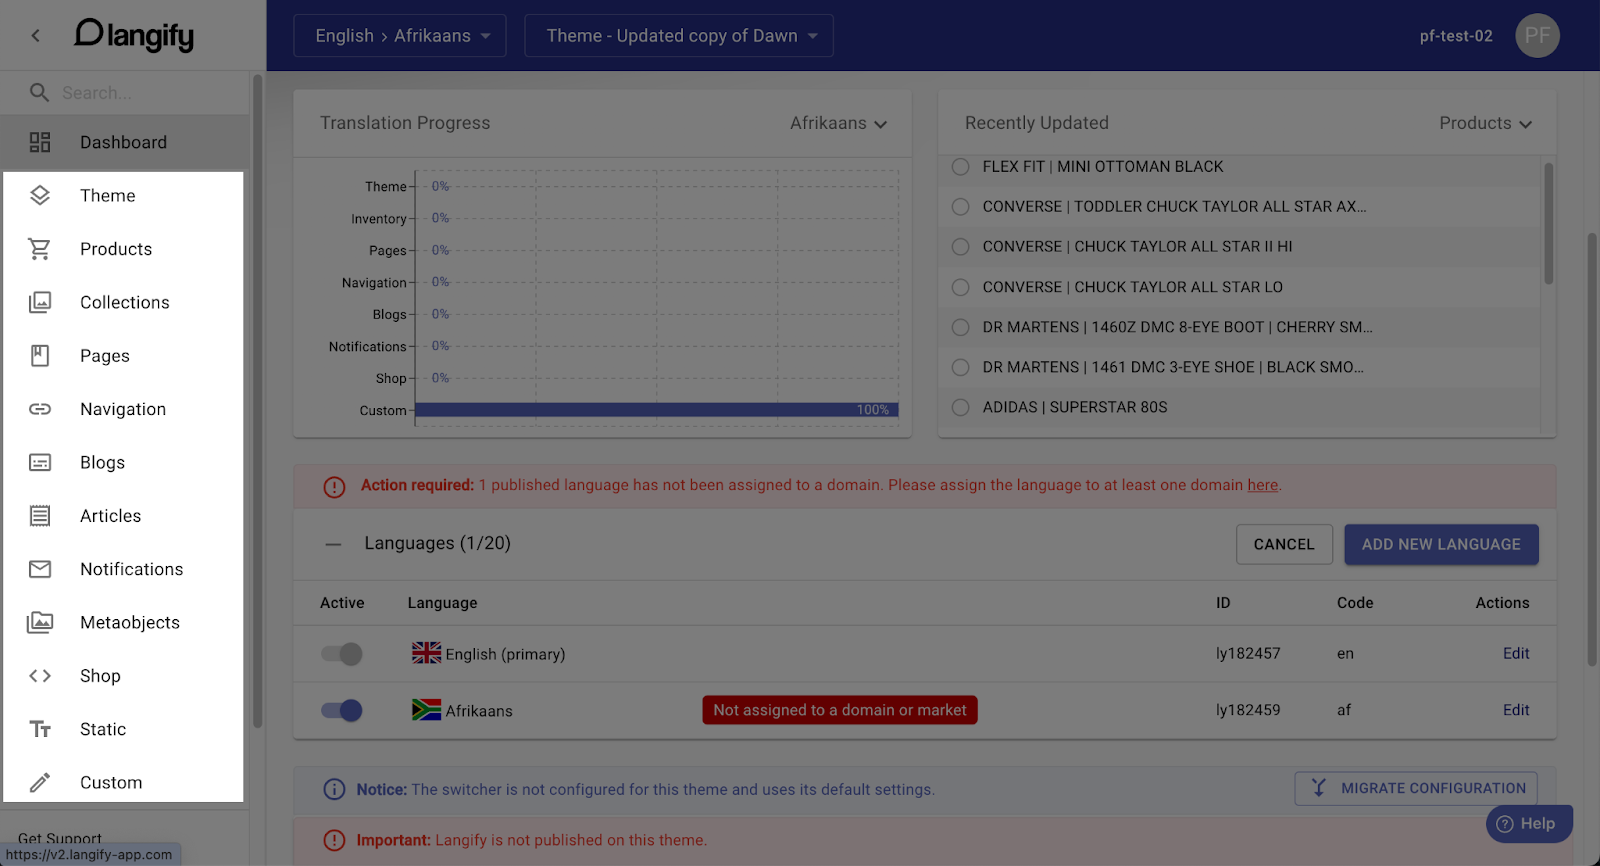
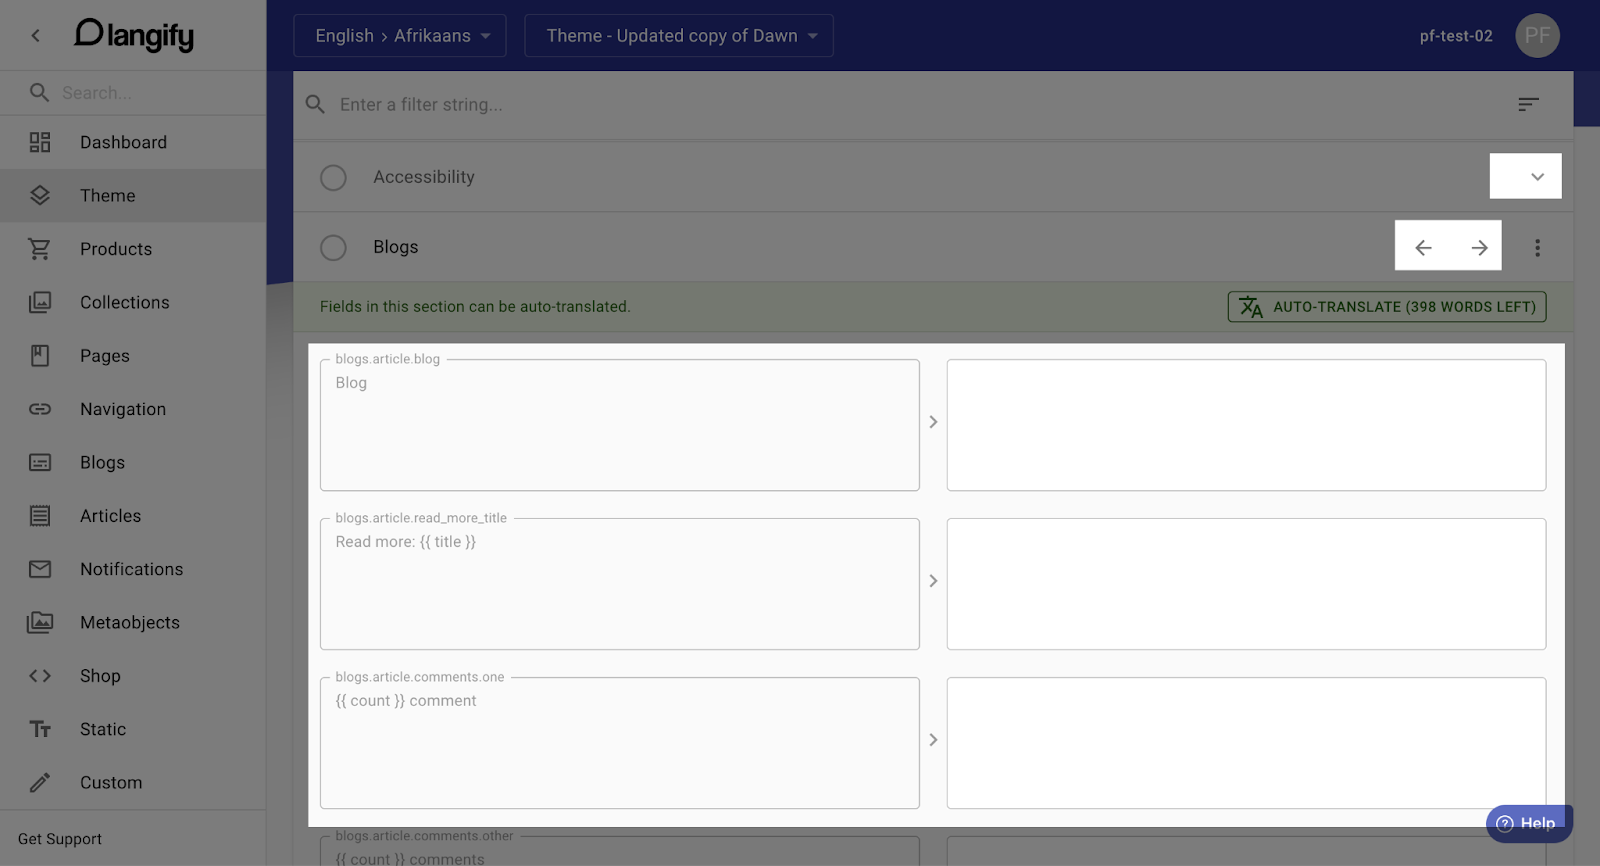
To translate the content of pages created by PageFly, head to the respective category & section on the left.
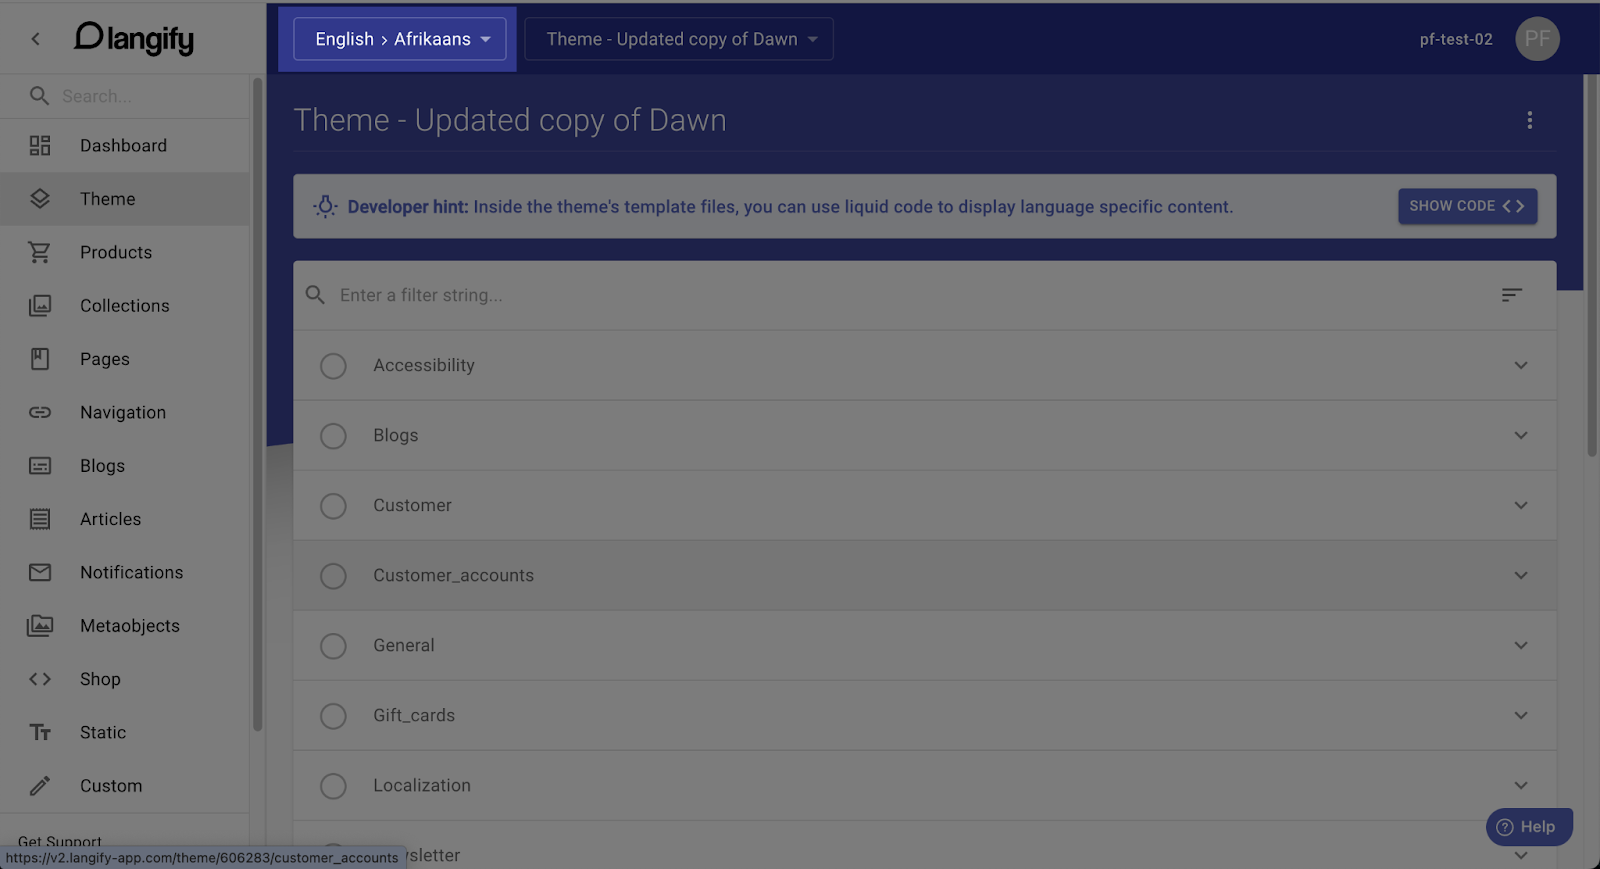
Remember to choose the correct language in the top dropdown menu.
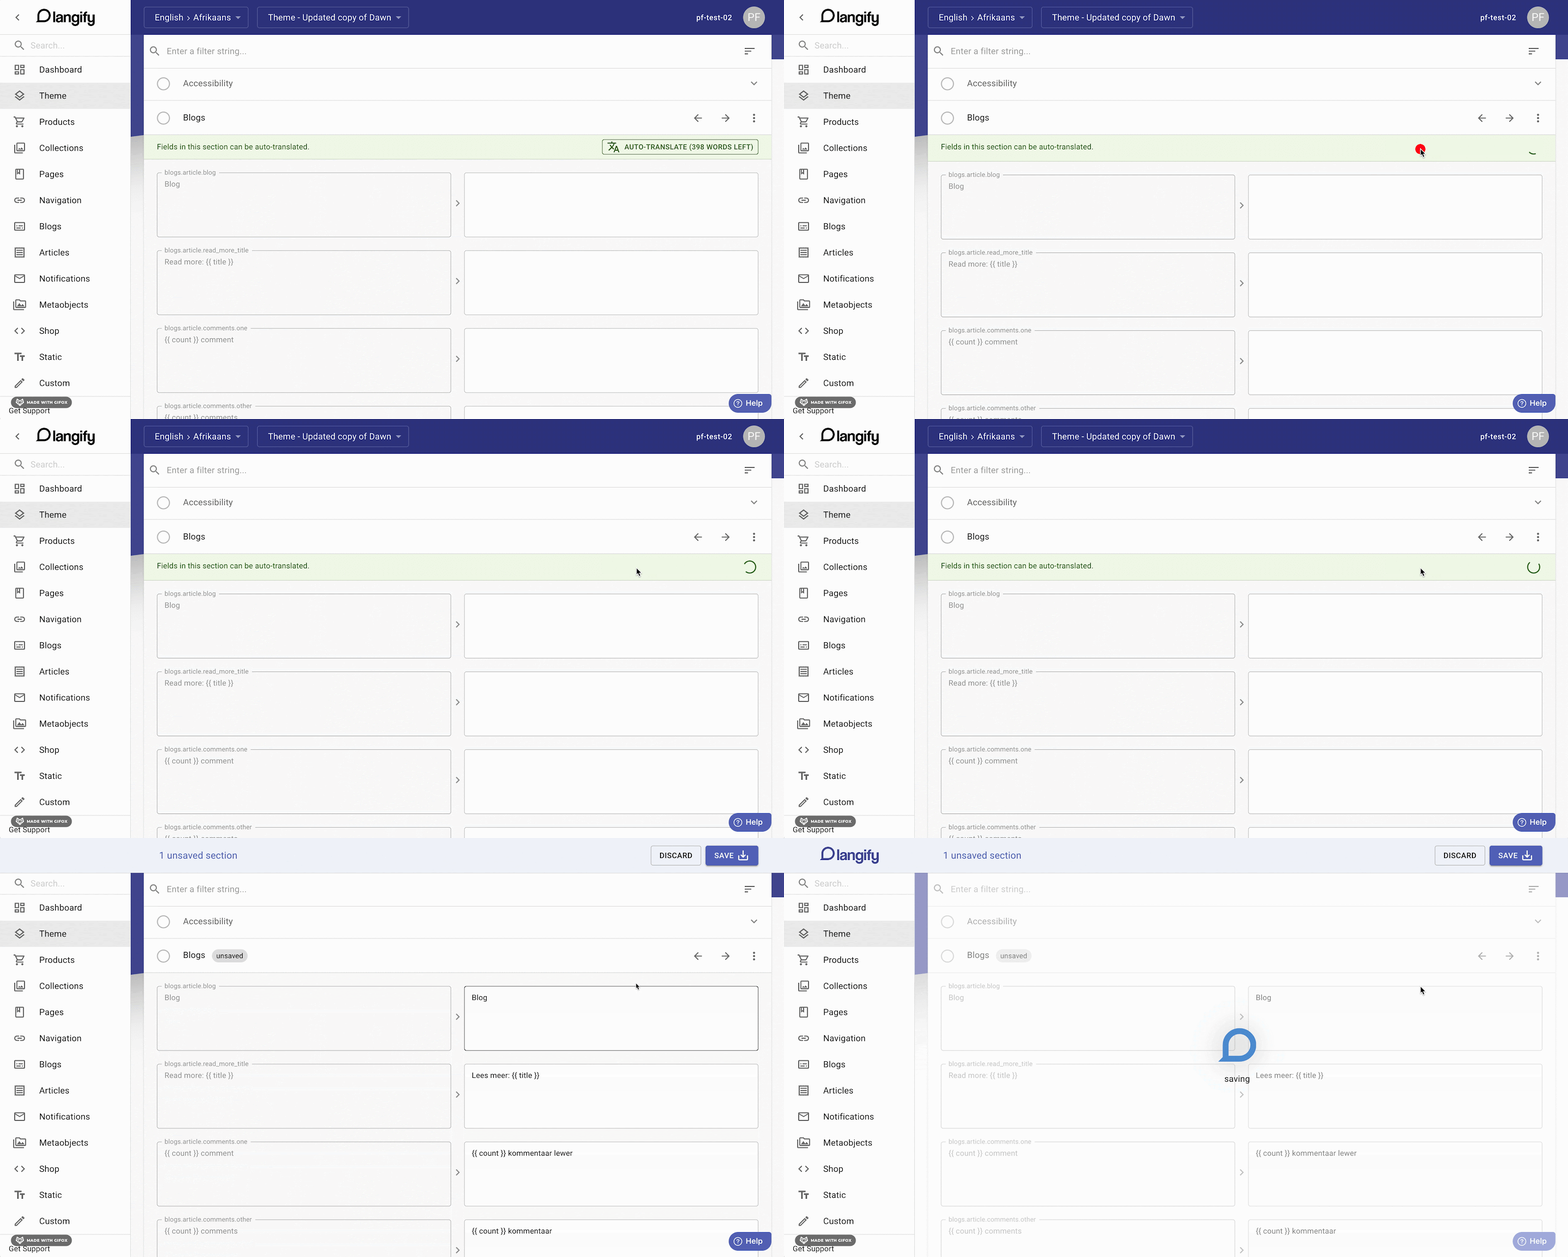
Click on the string on the right then add your translations manually.
You can translate the content by yourself or using Langify Auto-translate.
How To Translate Custom Contents
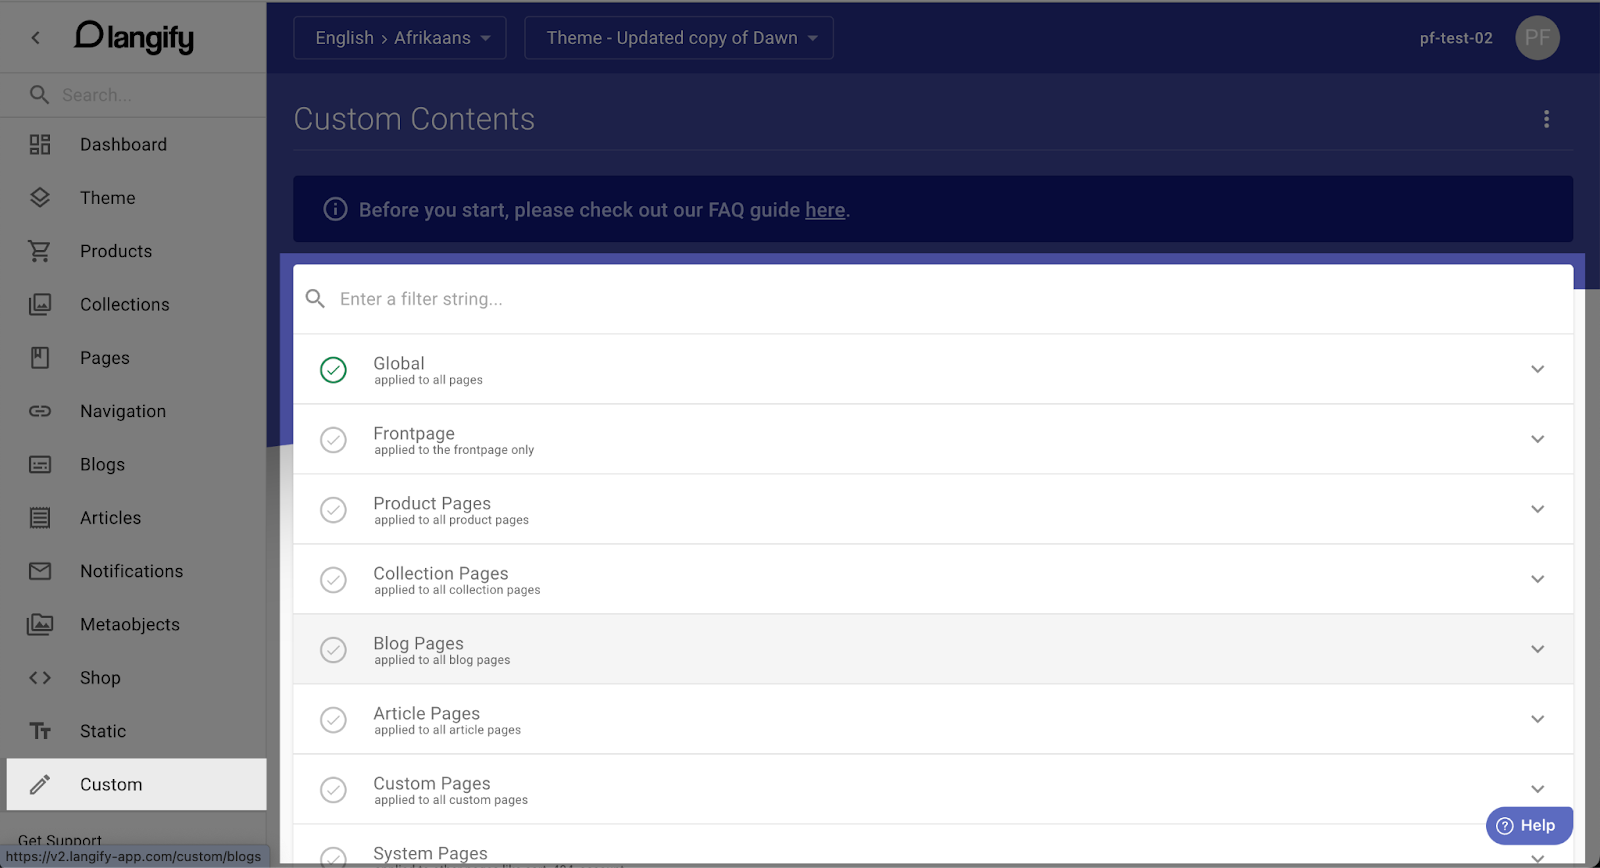
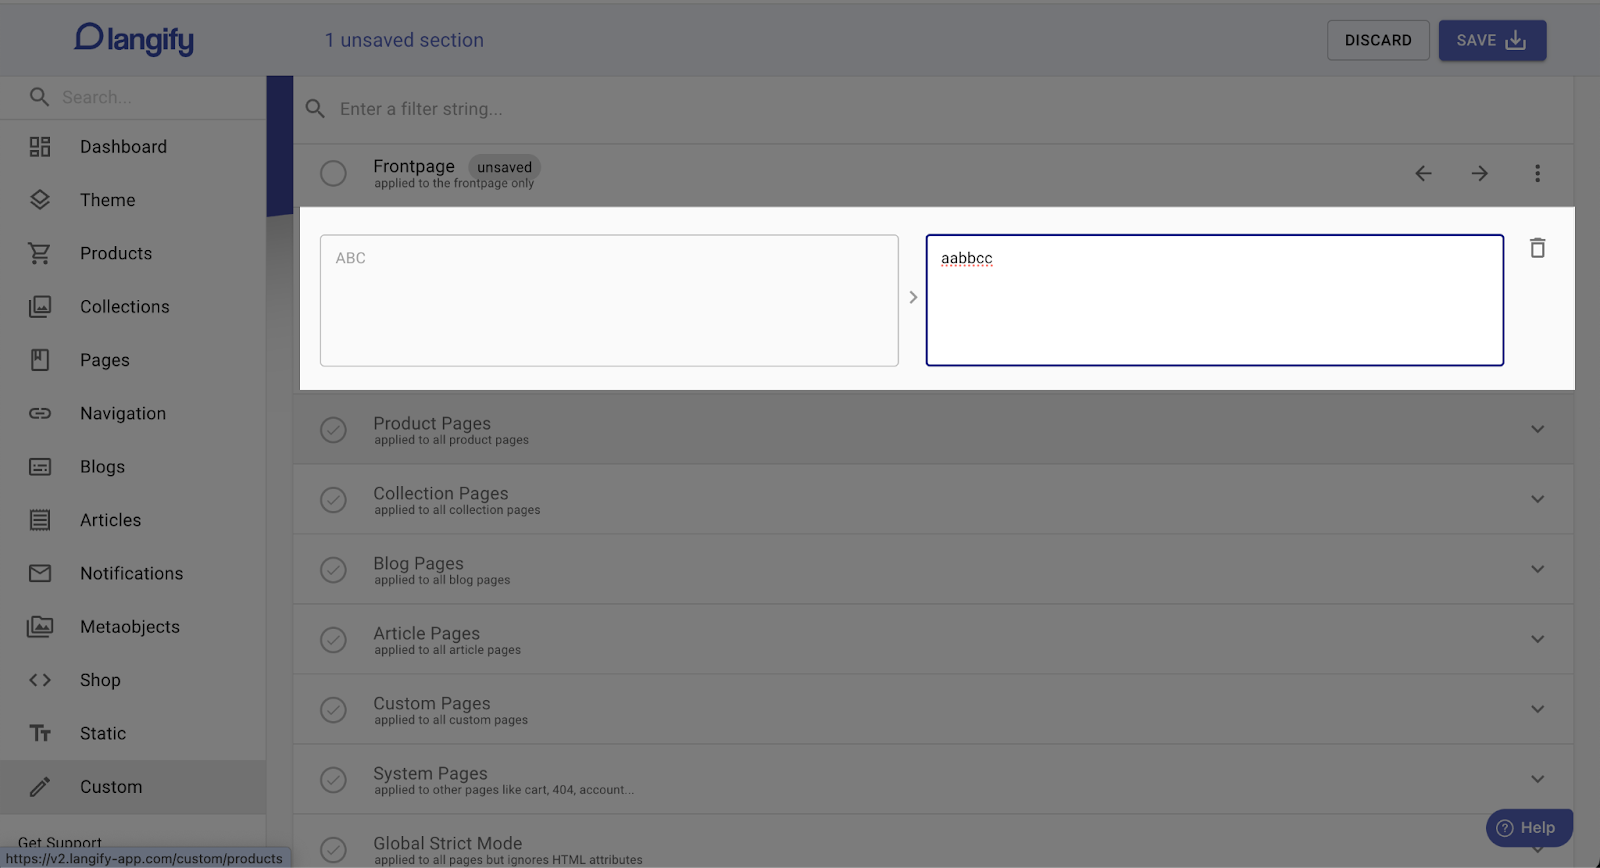
If you want to add your custom content, click on Custom on the left side.
Click on the corresponding tab in the list.
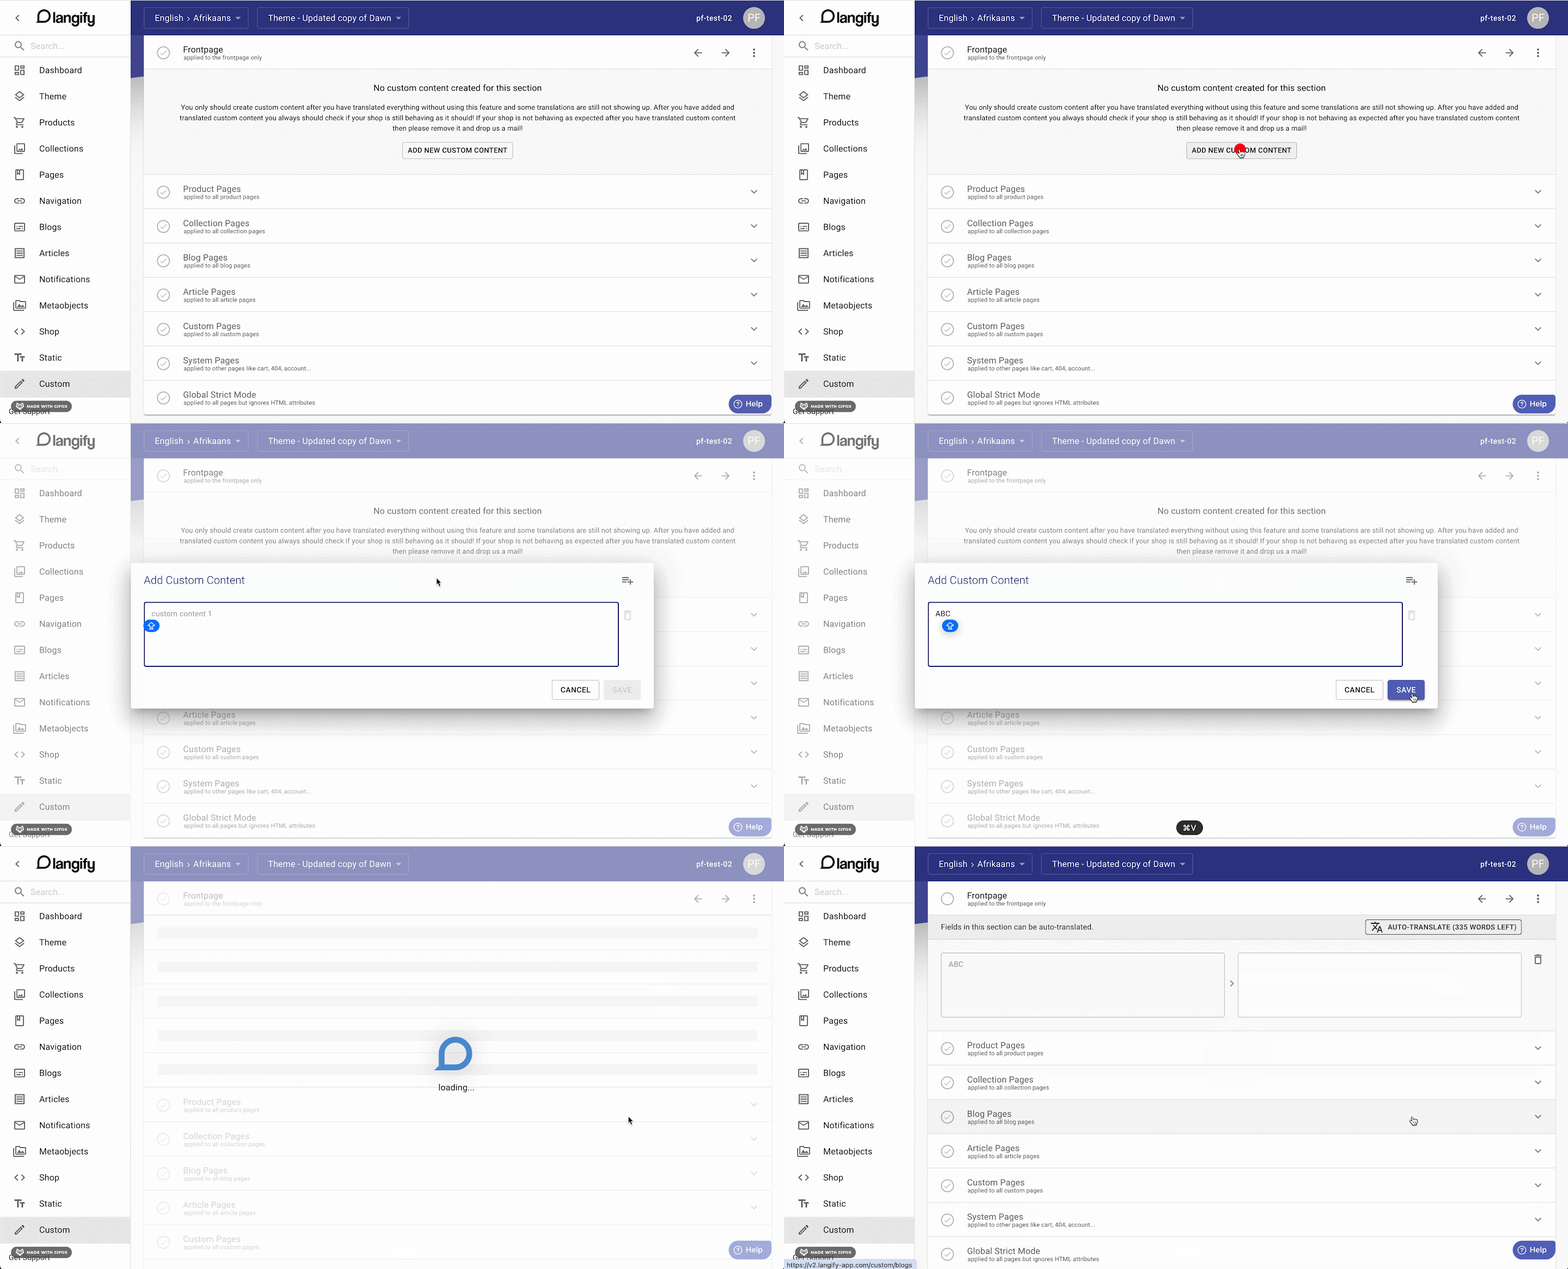
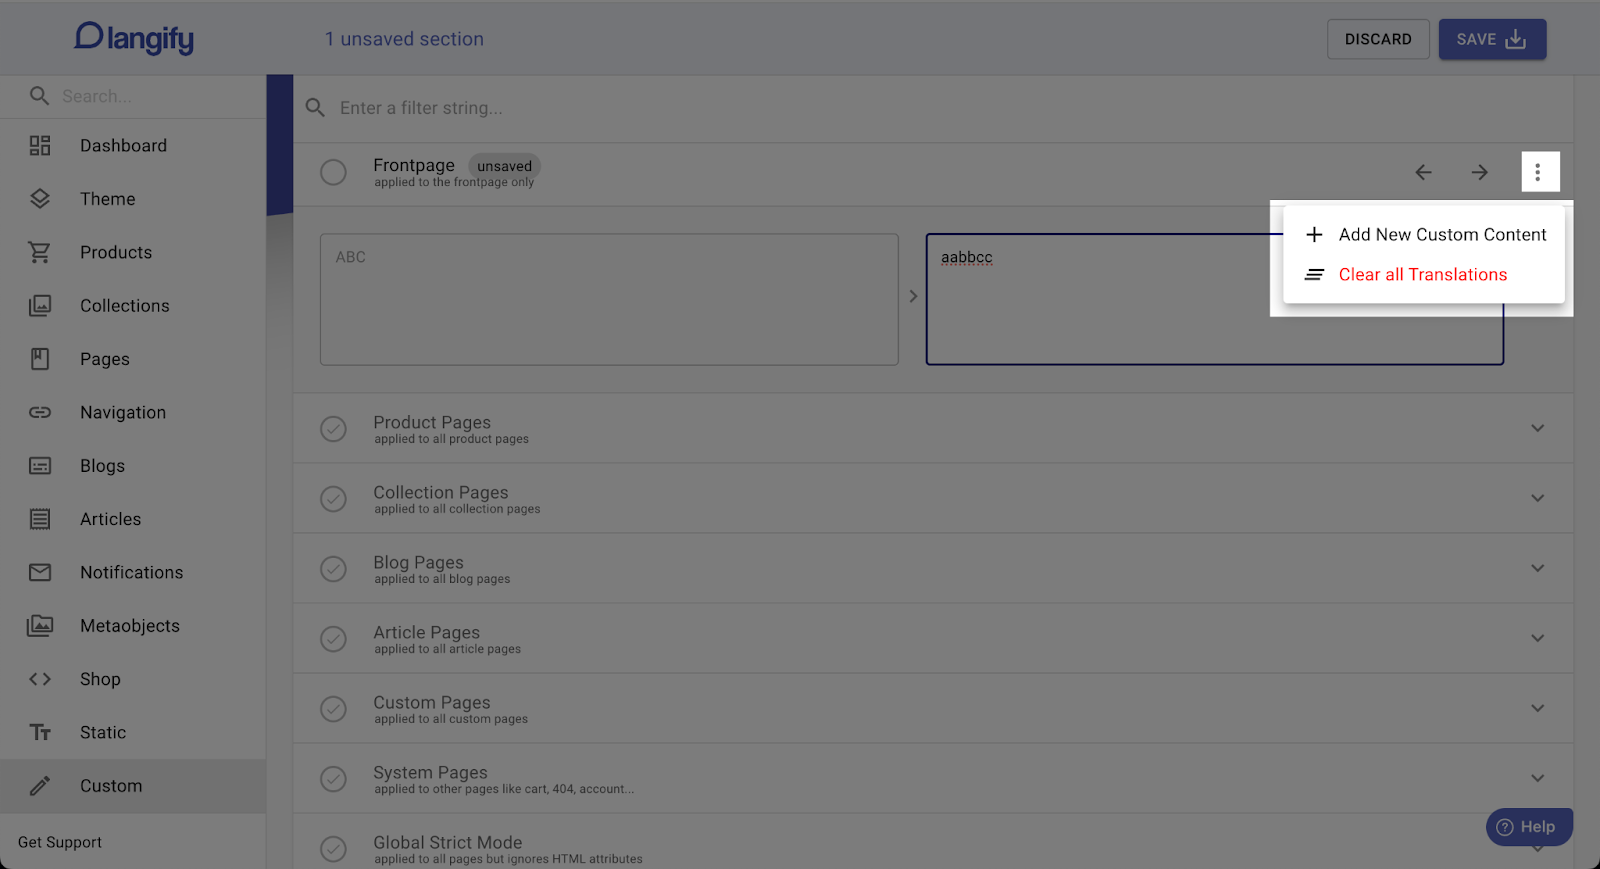
Click ADD NEW CUSTOM CONTENT button
Click on your target content string, enter translation in the right box or use Langify Auto-translate function. Your translation of the PageFly content will be published.
After successfully creating one custom string, you can create more content as you please.
Tips & Best Practices
- Identify and prioritize the PageFly content that needs translation. This might include product descriptions, CTAs, navigation menus, and any text elements displayed on your pages
- Maintain consistency in style, tone, and terminology across all translated languages. This ensures a professional and cohesive experience for your international visitors
Frequently Asked Questions
Is There A Free Version Of Langify Shopify?
No, only 7-day free trial available, with price starting from $4.99 per 10.000 words
What Is The Use Of Shopify Langify?
This is the way to translate a page to English or to any other supported languages. Going Global is the best way to boost your sales, and conversion rate, as the best way to localize your store.
