Overview
In this article, you will learn how to use PageFly with some key features and tools. After that, you will get familiar with PageFly and easily build a stunning and high-converting page.
Whether you’re a beginner or an advanced user, the basic steps will help you use PageFly correctly.
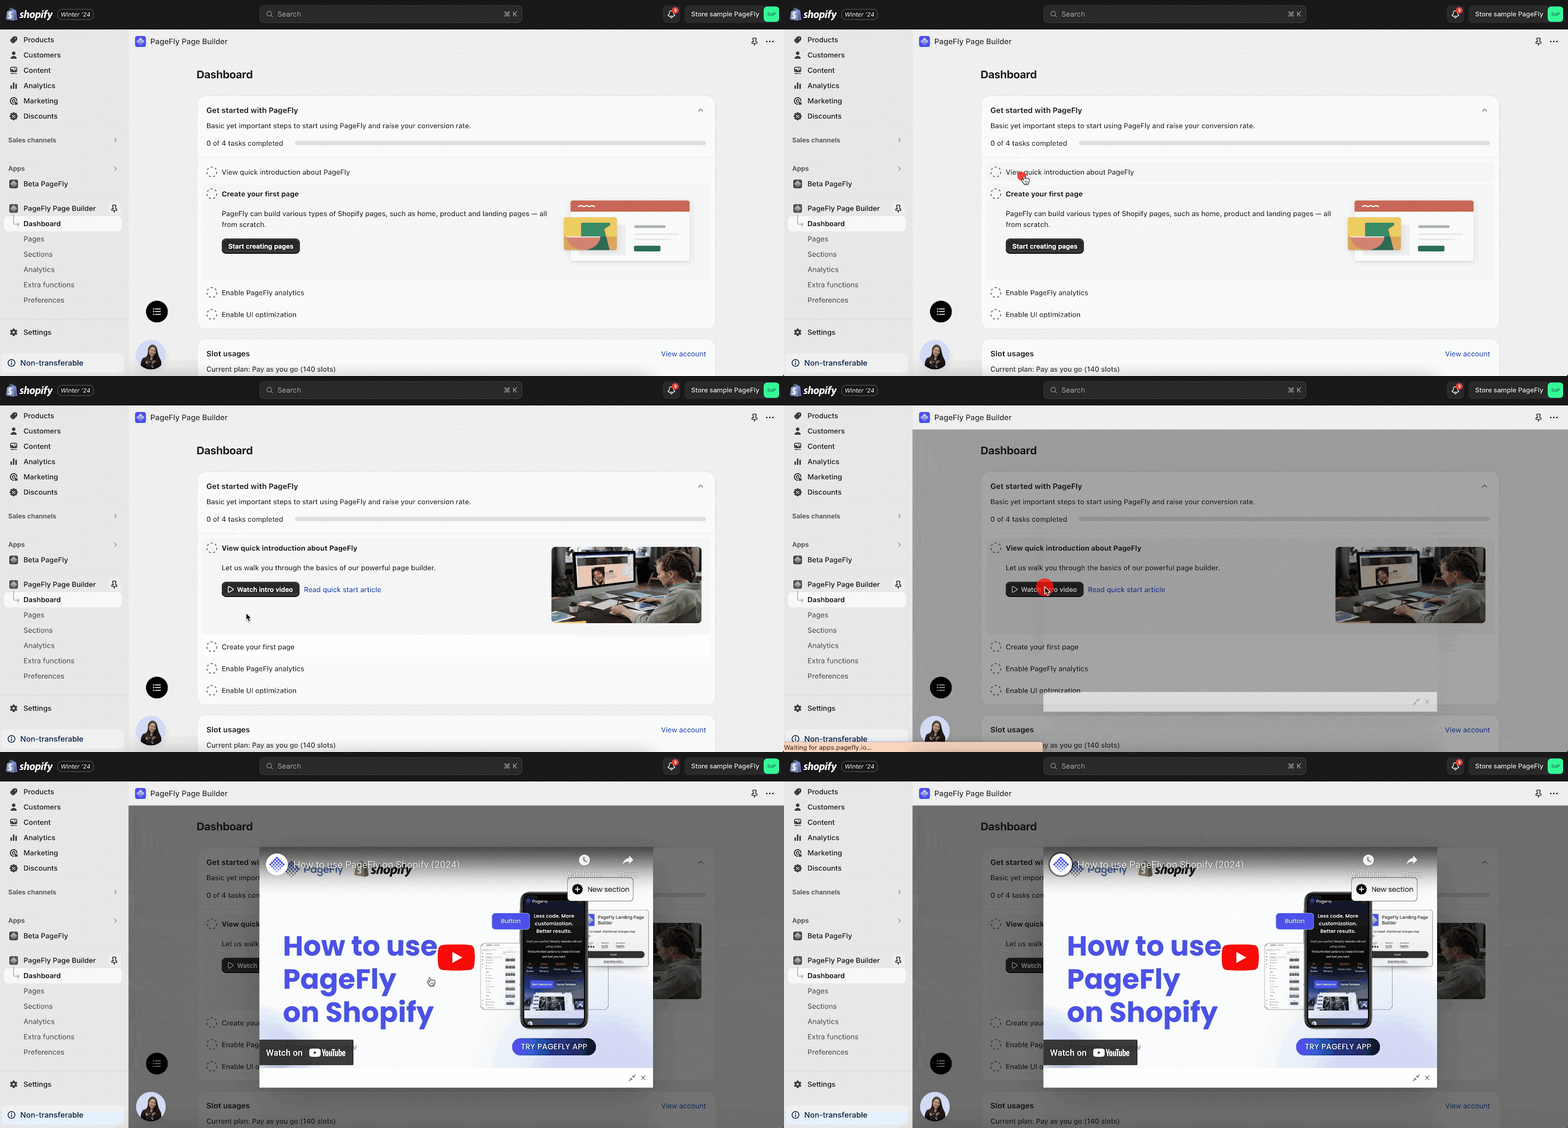
Before diving into the details, let’s check this video on how to get started with PageFly in 5 minutes.
How To Install PageFly
If you already installed the app, skip this step and move to the next one.
If not, let’s visit the PageFly page on Shopify App Store, click the Add App button and fill in your store’s URL to install the app to your Shopify store. Simples.
How To Access PageFly
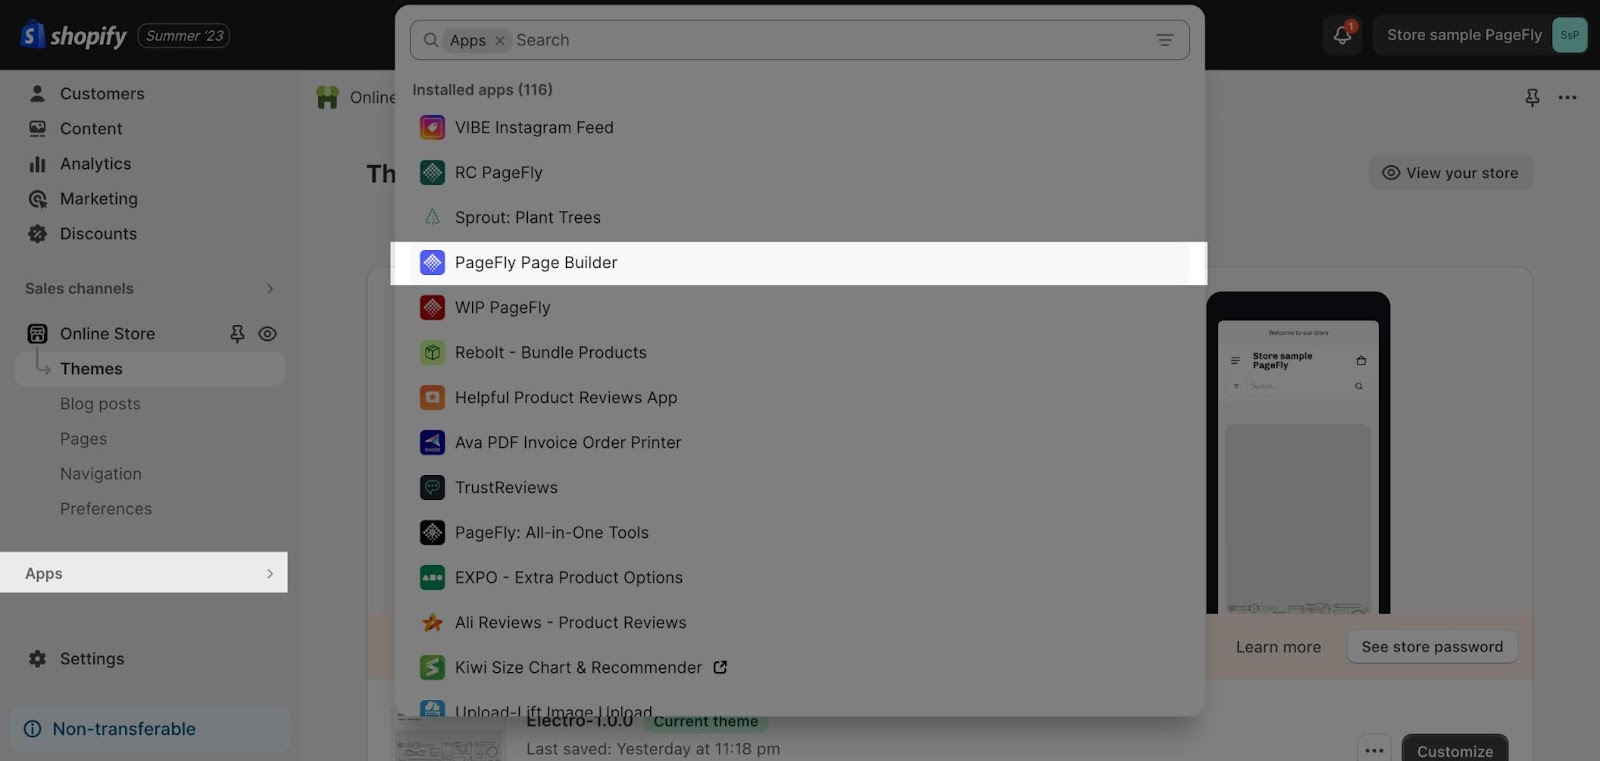
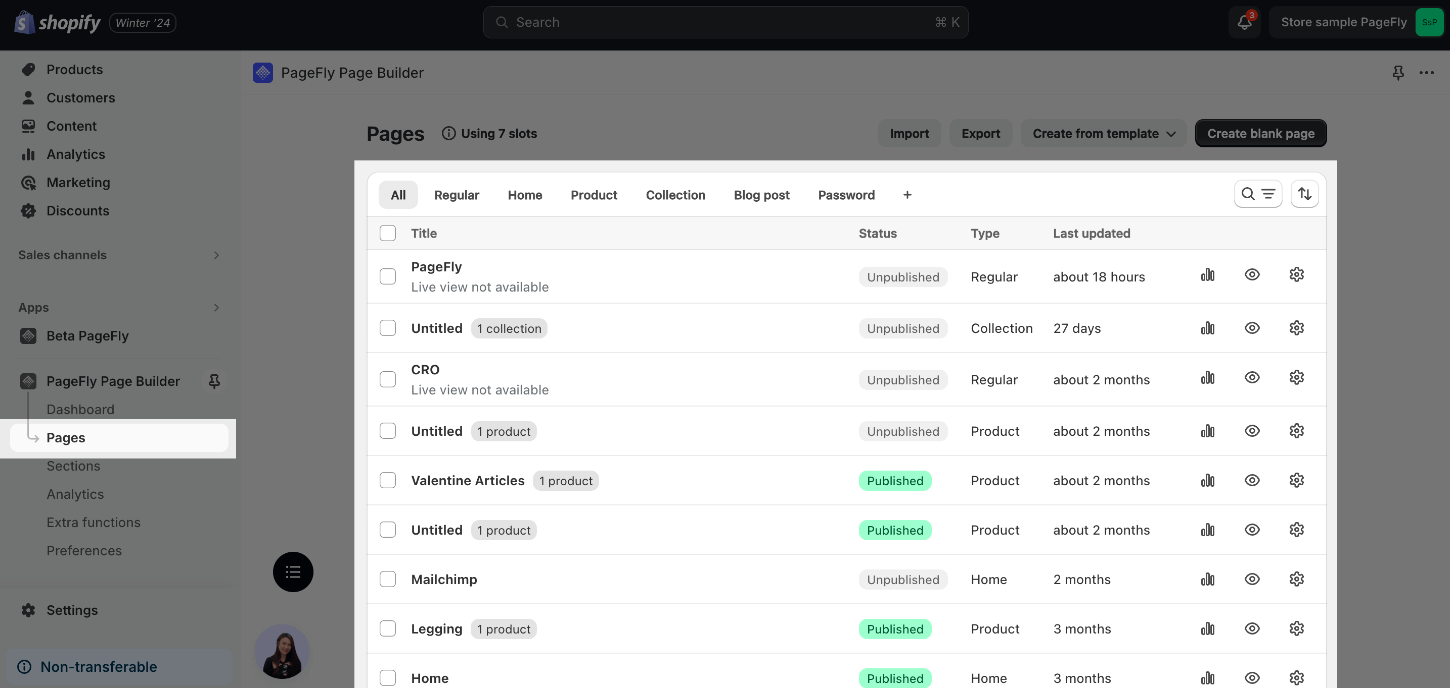
In the Shopify admin sidebar, click Apps > PageFly Landing Page Builder. After that, you will be redirected to the PageFly Dashboard.
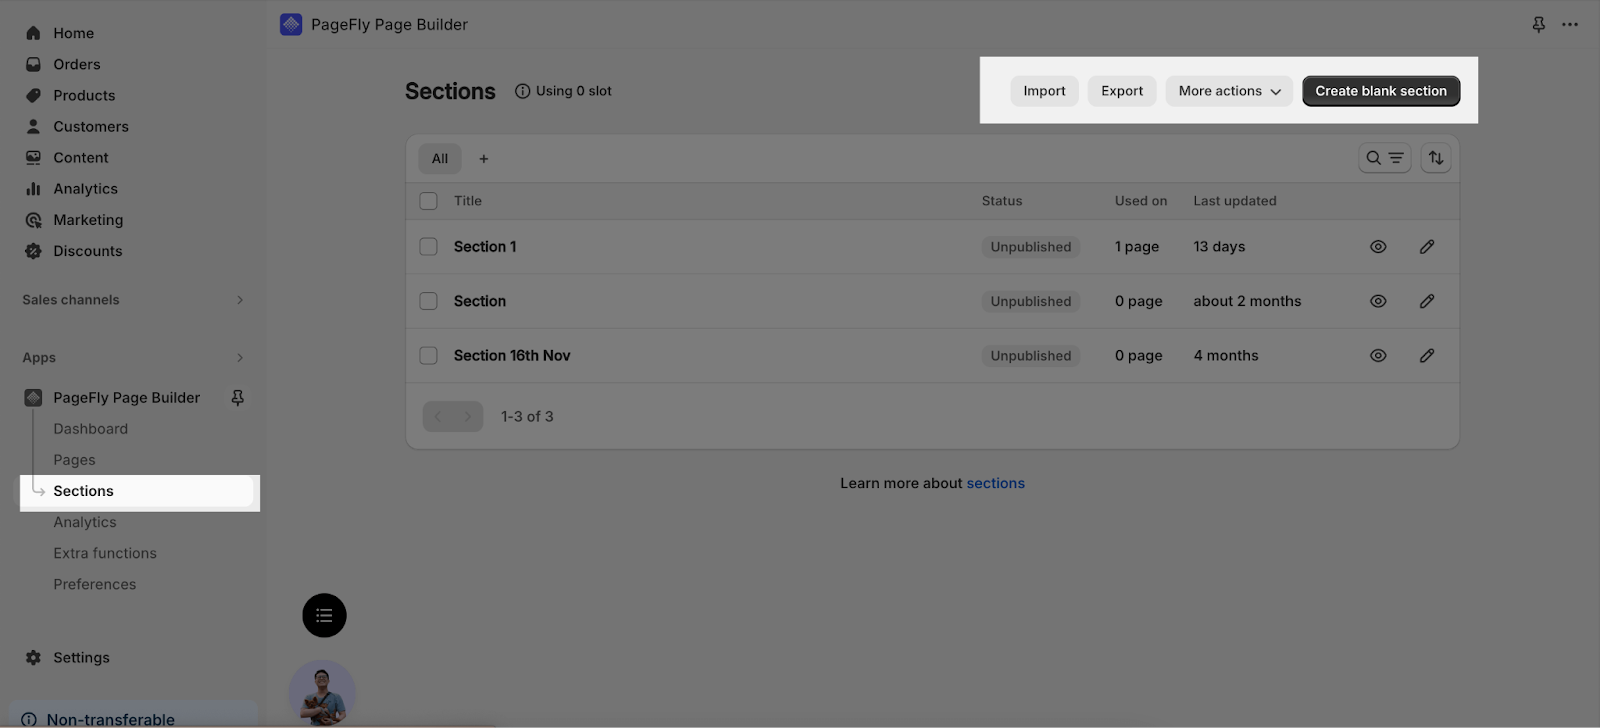
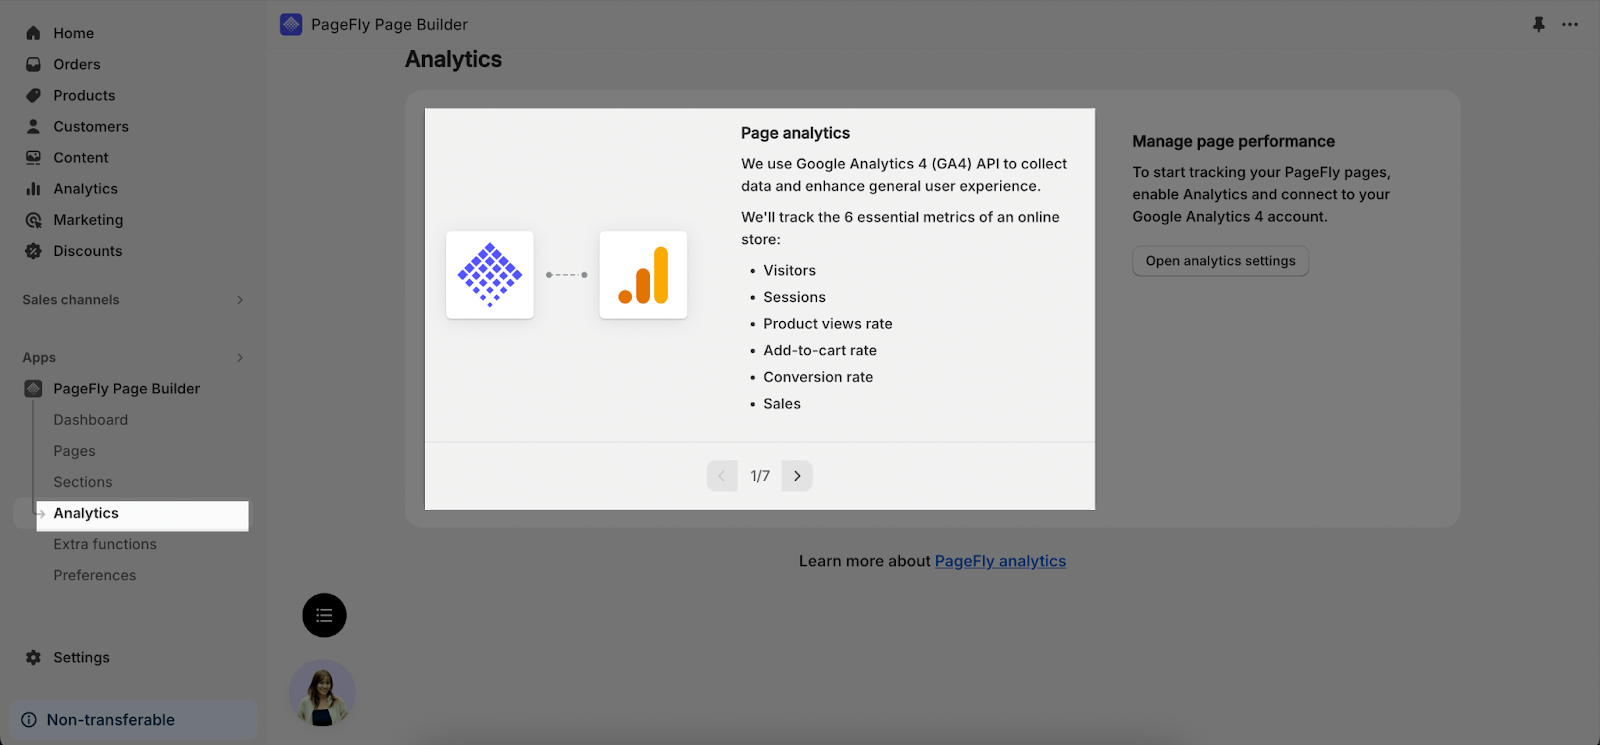
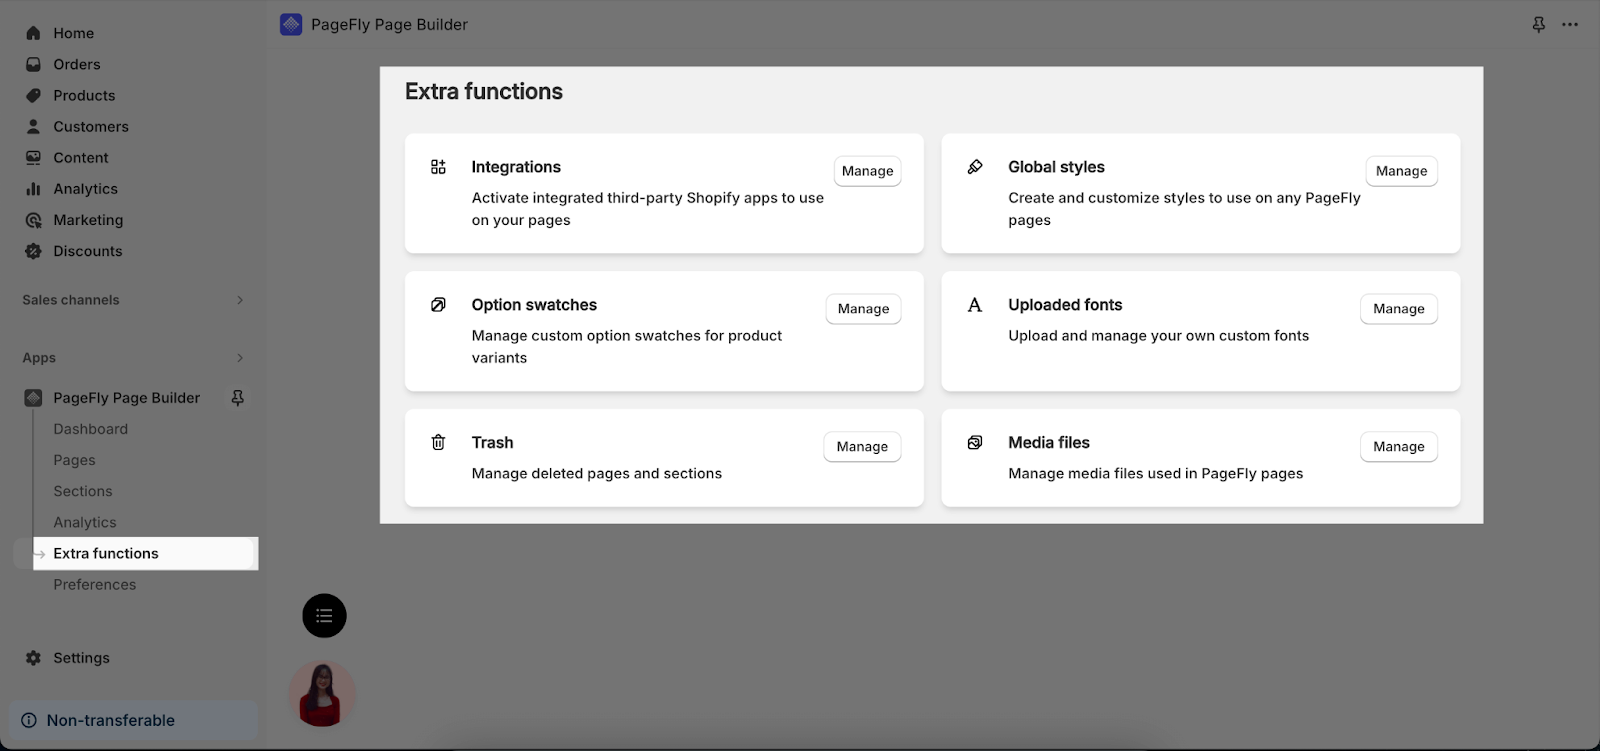
On the menu sidebar below PageFly Page Builder, you will see:
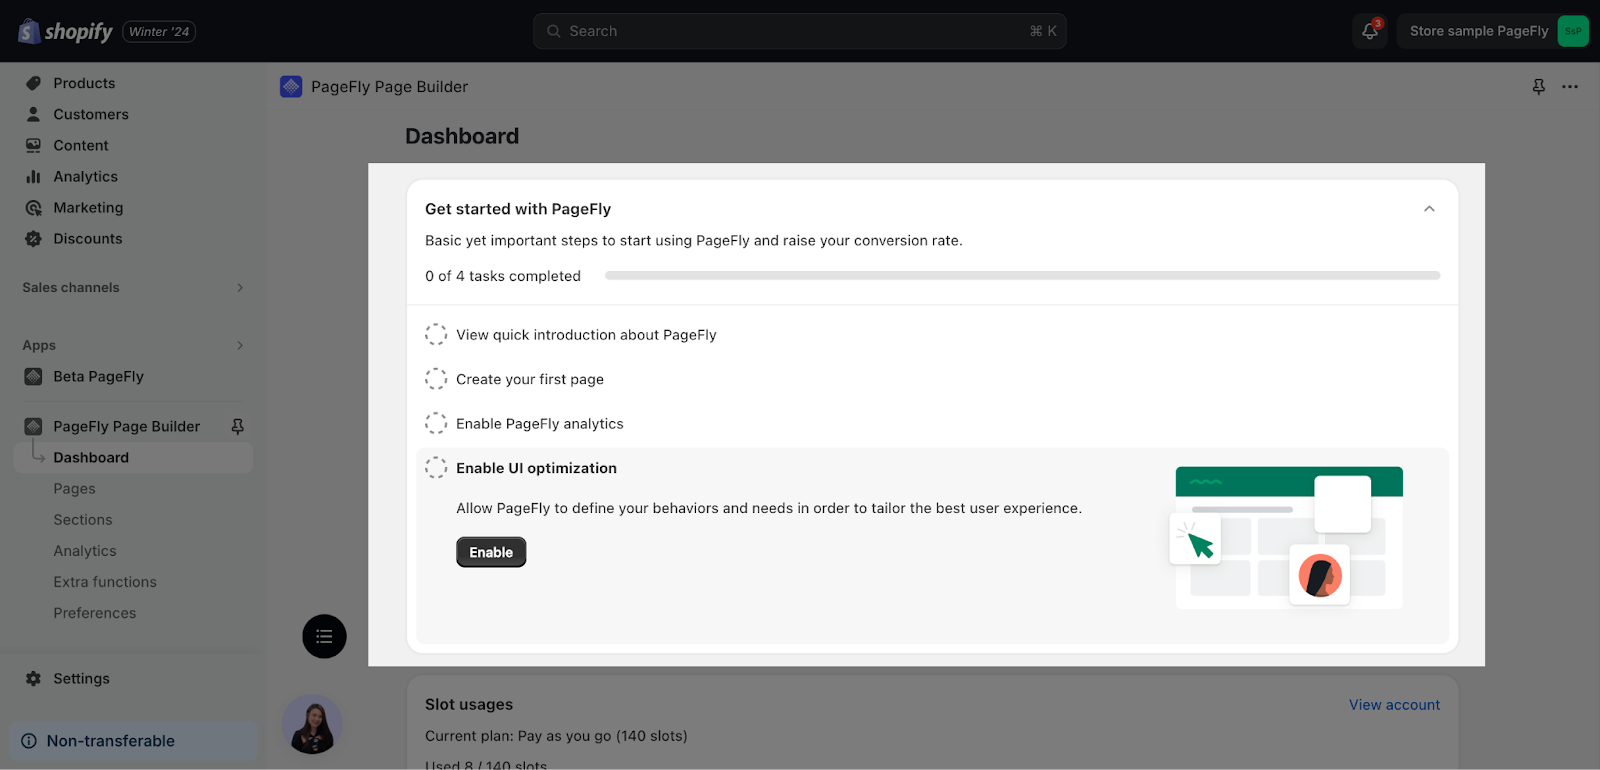
- Dashboard: Access guides, Slot Usages, Recent Pages, Support Channels, Integrations, and What’s New
- Pages: Create and manage your pages
- Sections: Create global sections for your page or theme.
- Analytics: View page performance.
- Extra Functions: Additional functions like Integrations, Global Styles, Option Swatches, Uploaded fonts, Trash and Media Files.
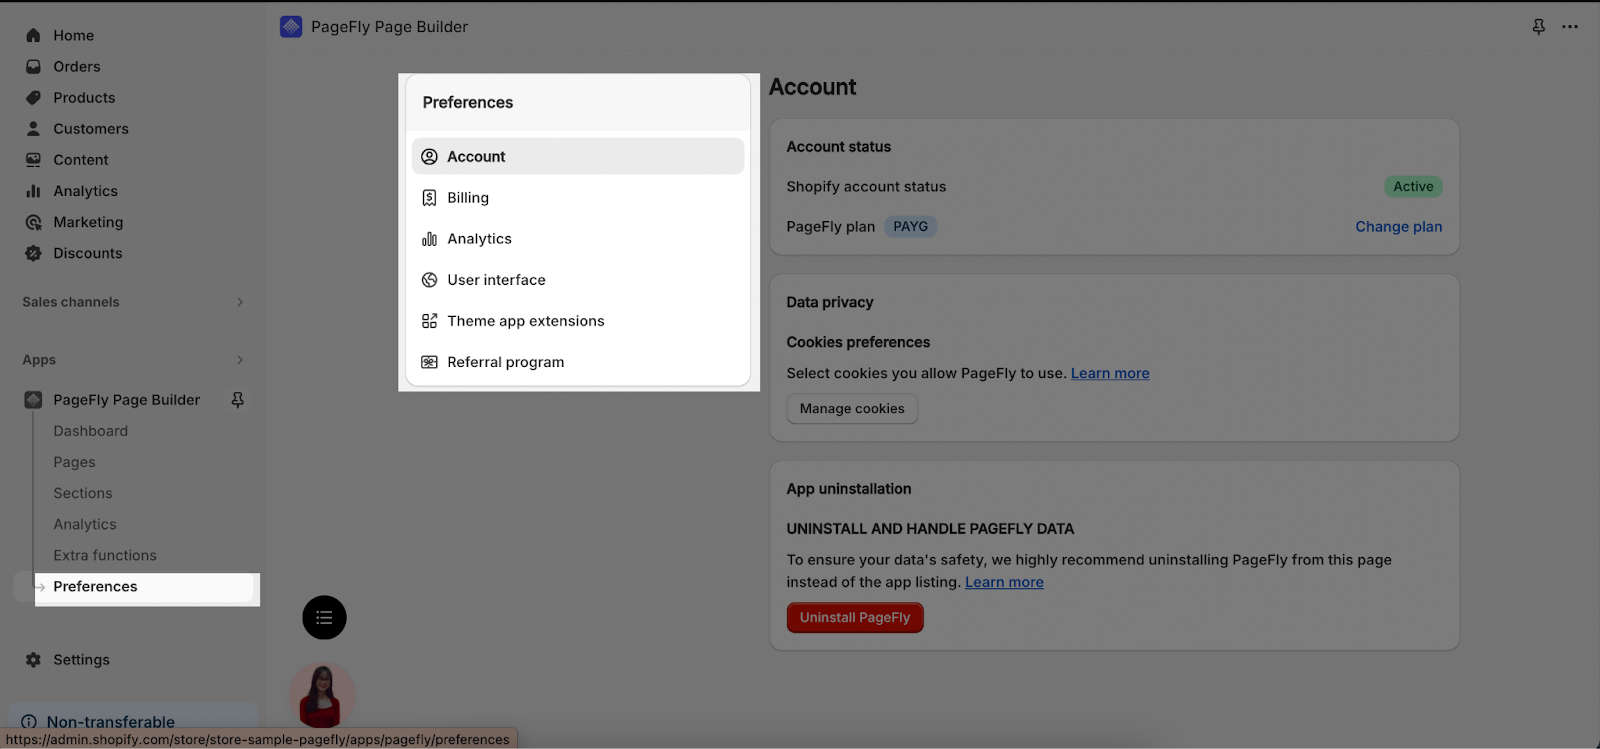
- Preferences: Manage account, Billing, Analytics, User Interface, Theme app extensions and Referral program
Step To Get Started With PageFly
Step 1: Complete 4 Guilding Tasks
On PageFly dashboard, let’s finish four tasks to get started with PageFly, including:
- View a quick introduction about PageFly
- Create your first page
- Enable PageFly analytics
- Enable UI optimization
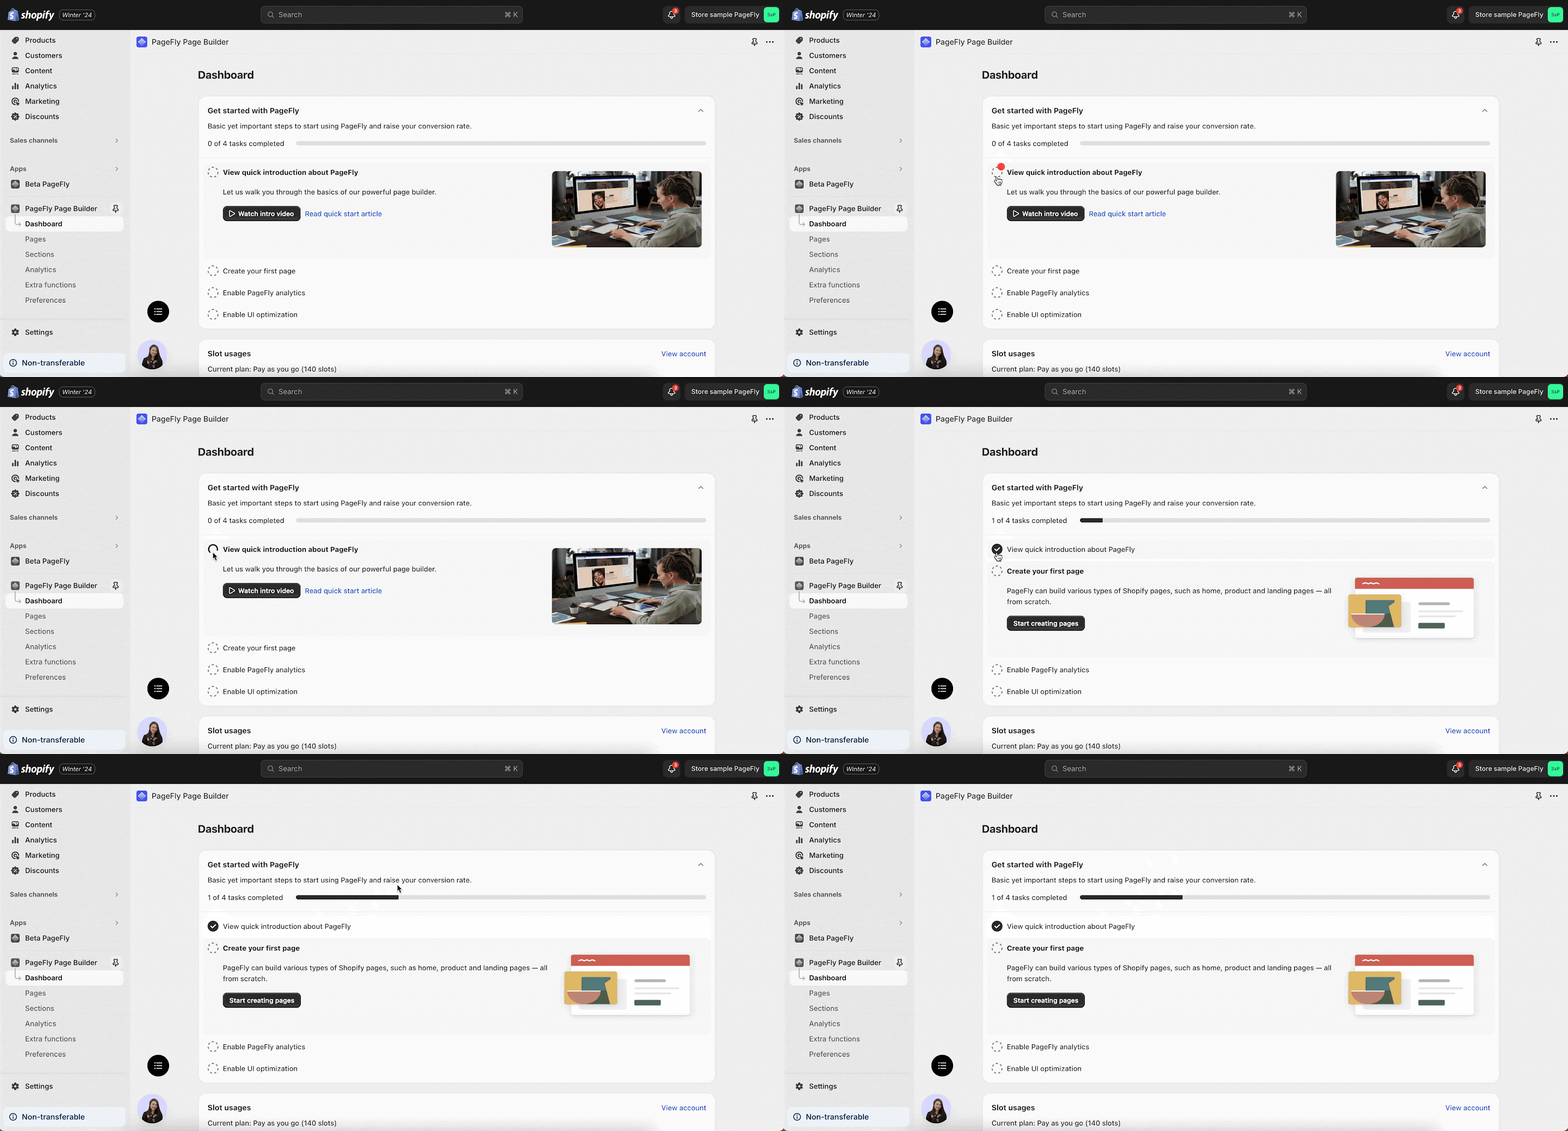
Click on a task to begin your journey with PageFly.
After completing each task, click on the circle and the status bar will show your progress.
Once you have finished all four steps, you are ready to customize your store and increase your conversion rate with PageFly.
Step 2: Create A New Page
In the PageFly Dashboard, head to Pages. You can find all page types here.
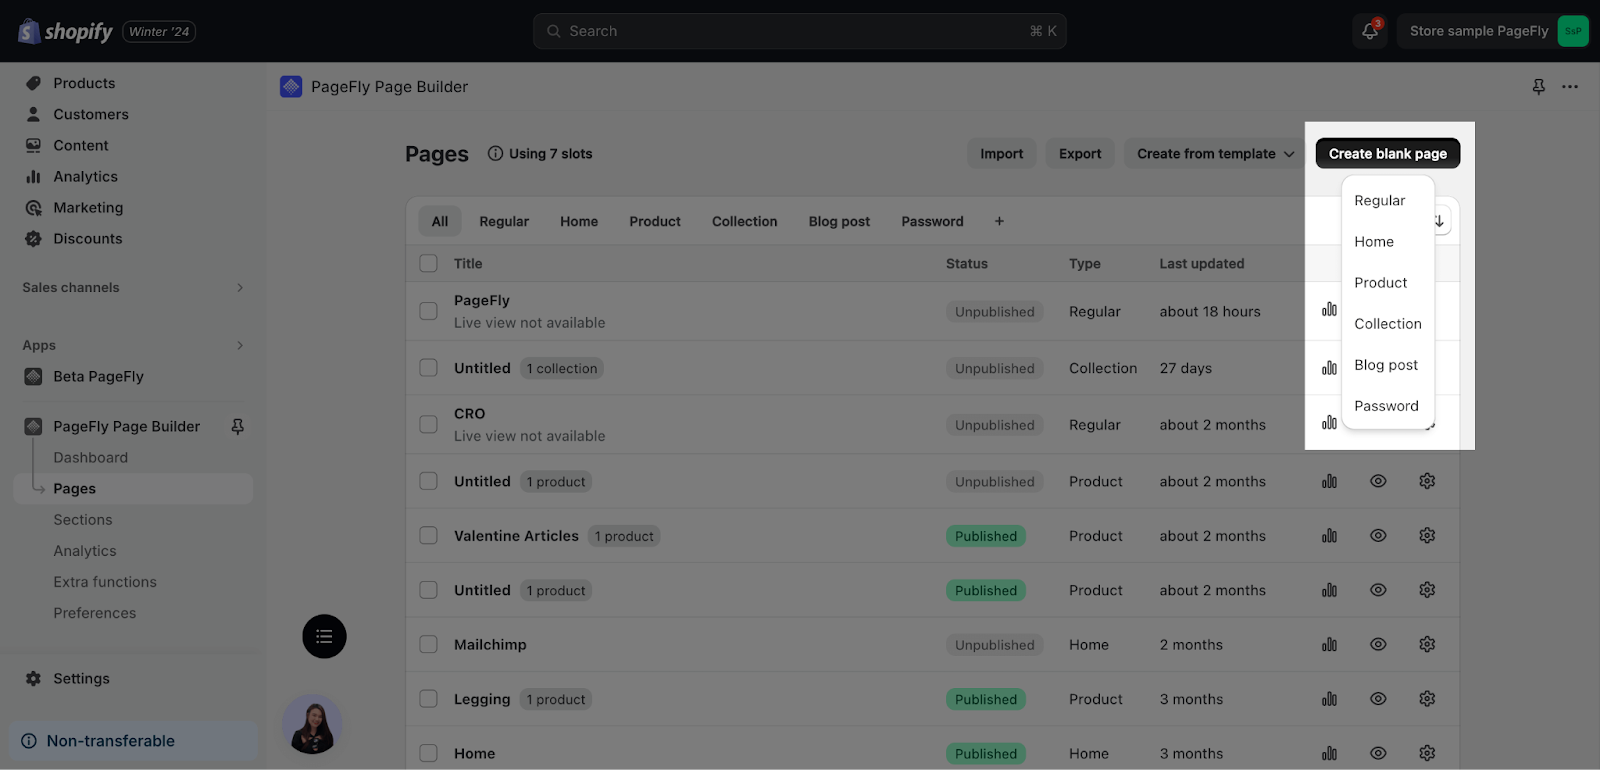
To start creating a new page, click on the “Create blank page” button and select the type of page you want to create. This will open a blank page where you can freely add elements to create your desired design.
Alternatively, you can choose to “Create from a template” > Select a template that suits your needs, and you’ll be directed to a page with a pre-designed layout and settings. You can then customize the elements to match your preferences.
If you are wondering about how to create a landing page with PageFly, you can watch the video below:
Or you can use our template to build an awesome page:
Step 3: Getting To Know The Key Features
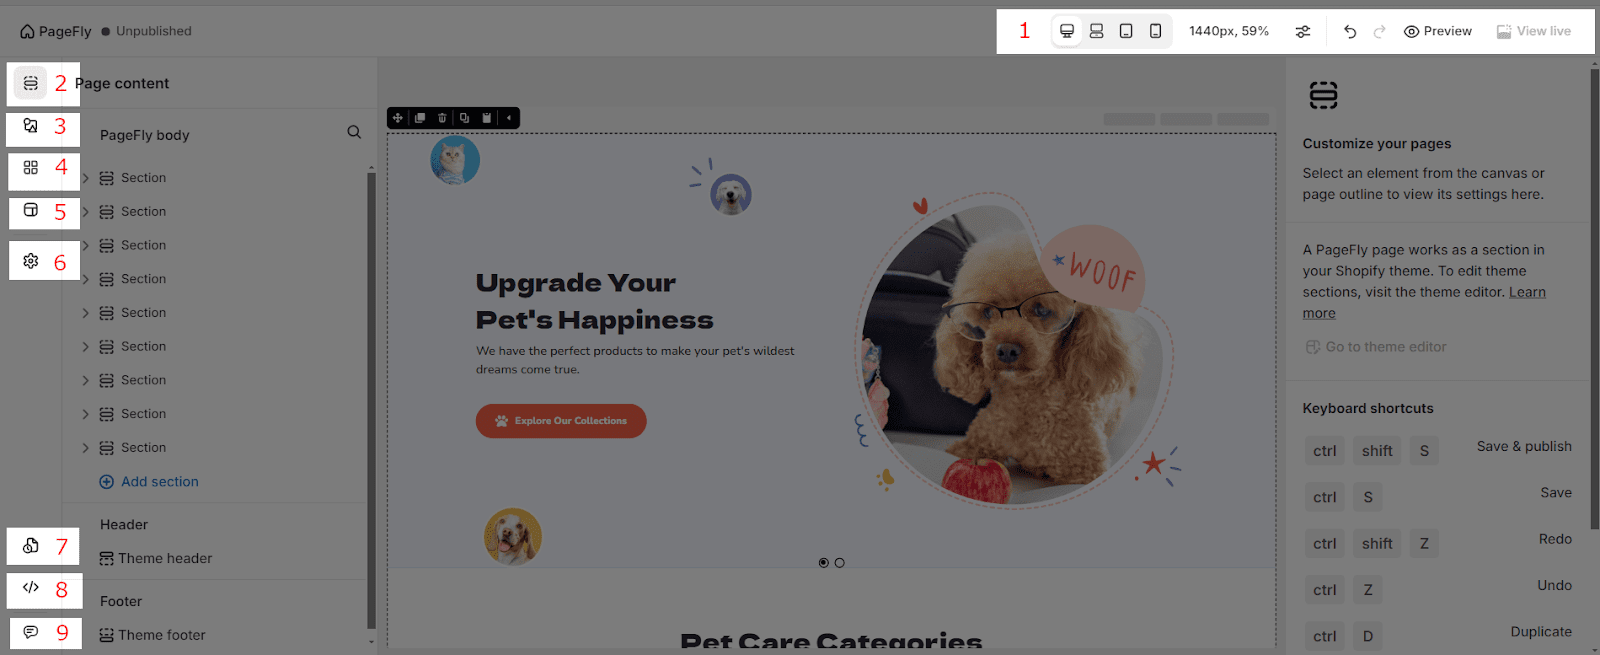
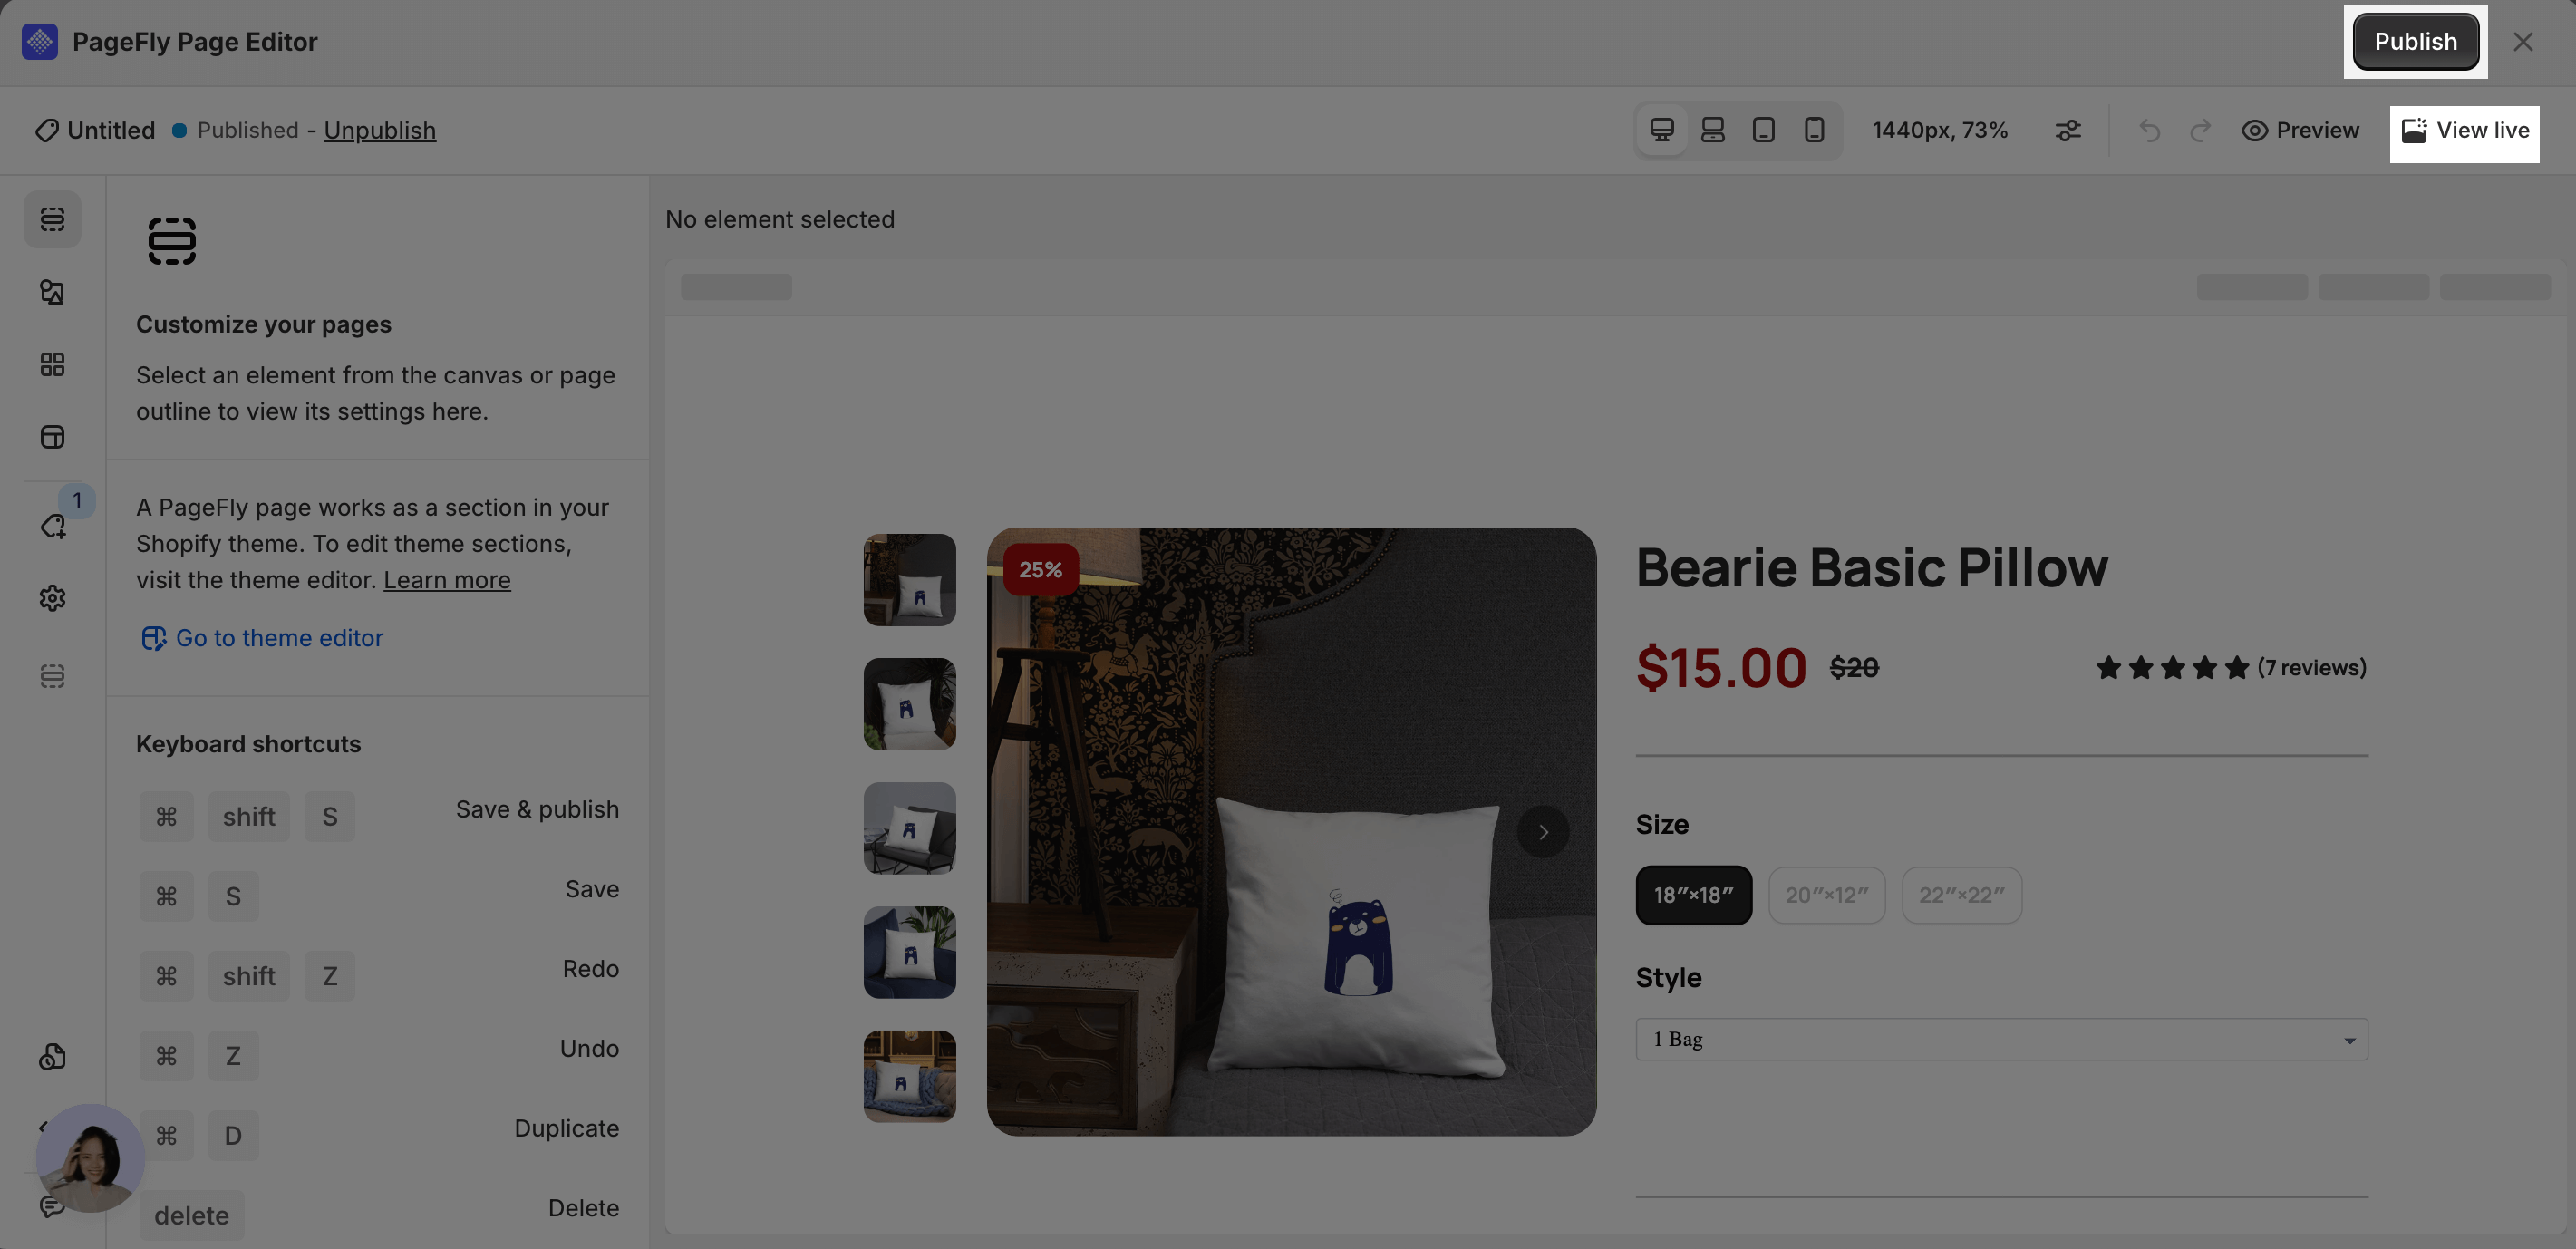
Here are some features in the Page Editor to help you understand how PageFly works:
| 1. Top navigation bar | See and set up general information on your page, including:
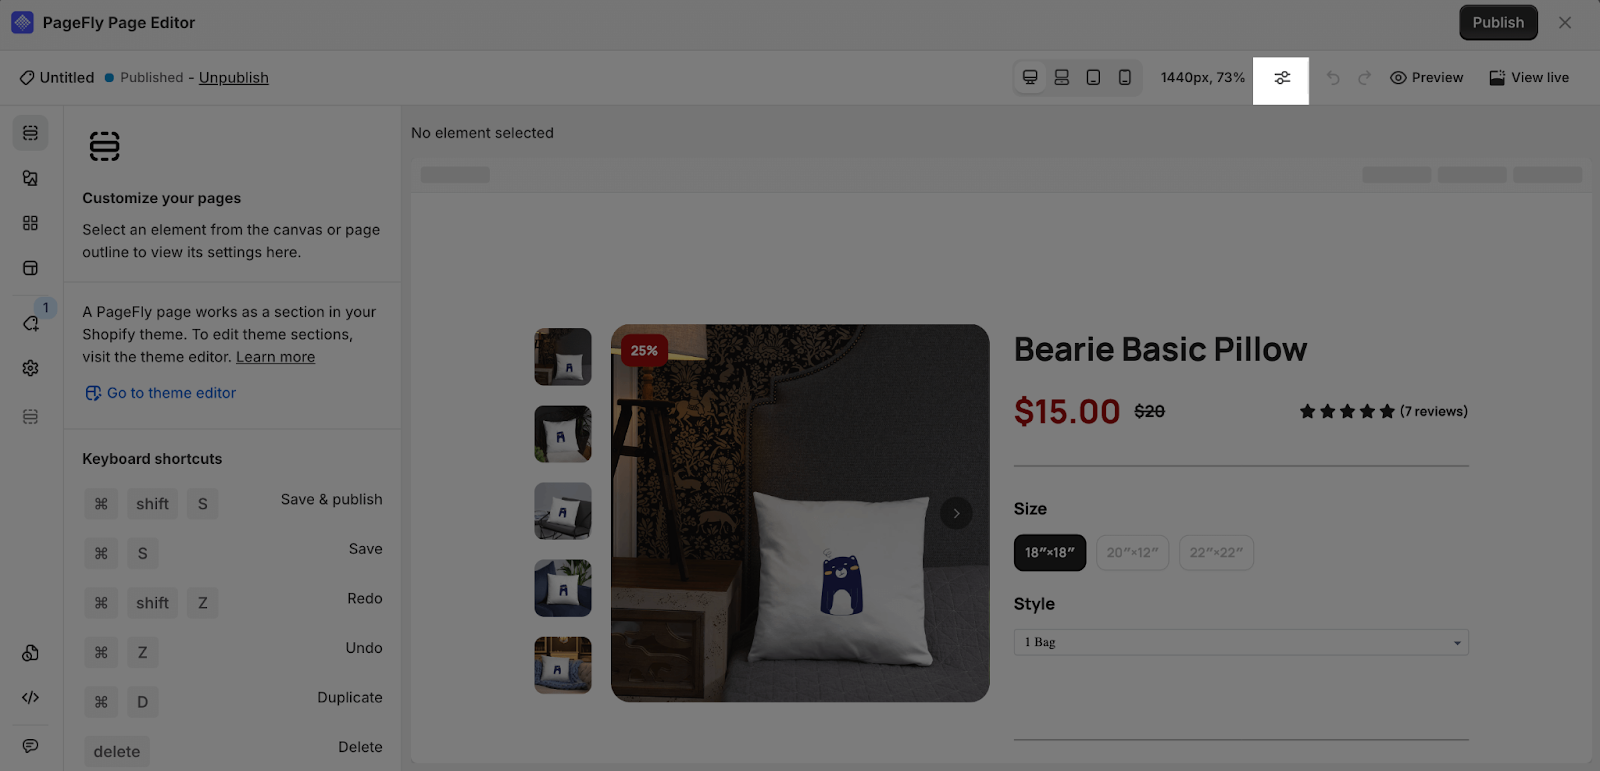
– Device layout monitor – Adjust canva width – Enable theme styling, view page structure, show canvas size: only showed when click on the icon below – Redo & Undo action – Preview and view live page. |
| 2. Page content | Displays the page content inside the editor. |
| 3. PageFly & Shopify elements | – Offers PageFly basic elements divided into different categories.
– Offers Shopify elements. Elements related to Product, Collection, Blog Posts. |
| 4. Third party elements | Offers third party app elements in multiple categories. This feature is updated continuously. |
| 5. Page templates | Offers pre-made templates for all page types |
| 6. Page settings | Change the page title, page type, show theme’s header & footer and enable image lazy loading |
| 7. Version history | Shows auto-saved and published versions. This feature will only be activated once you publish the page. |
| 8. Custom code editor | Section to add your CSS and JavaScript code to the page. |
| 9. Open live chat | Open the window to chat 24/7 with our human supporters. |
Step 4: Use Elements On Your Page
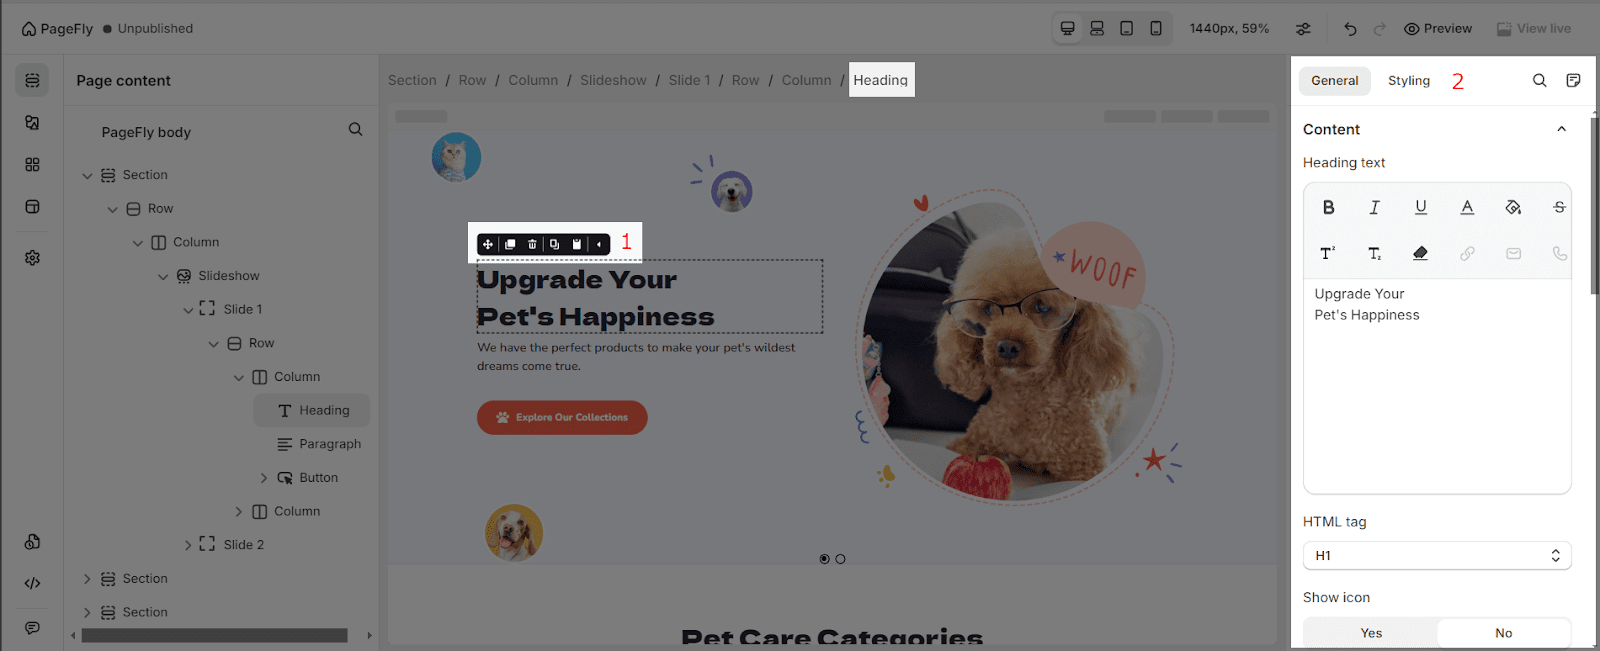
First, click Element > Open PageFly or Shopify tab. Select the element and you can edit it with 2 tools:
- Element toolbar: Quickly take action on the element, including move; duplicate; delete; copy style; paste style.
- Element inspector: Edit the settings and stylings of the element with 2 tabs: General and Styling.
You have more ways to add information to your pages besides PageFly elements:
- Shopify elements: These are built-in features from Shopify itself.
- Third-party app elements: These come from other apps that connect to PageFly. There are many to choose from!
PageFly works with over 80 third-party apps, so you can personalize your pages exactly as you want. To find out more about which apps PageFly works with and how to use PageFly integrations, check out this article.
Step 5: Preview Or Publish The Page
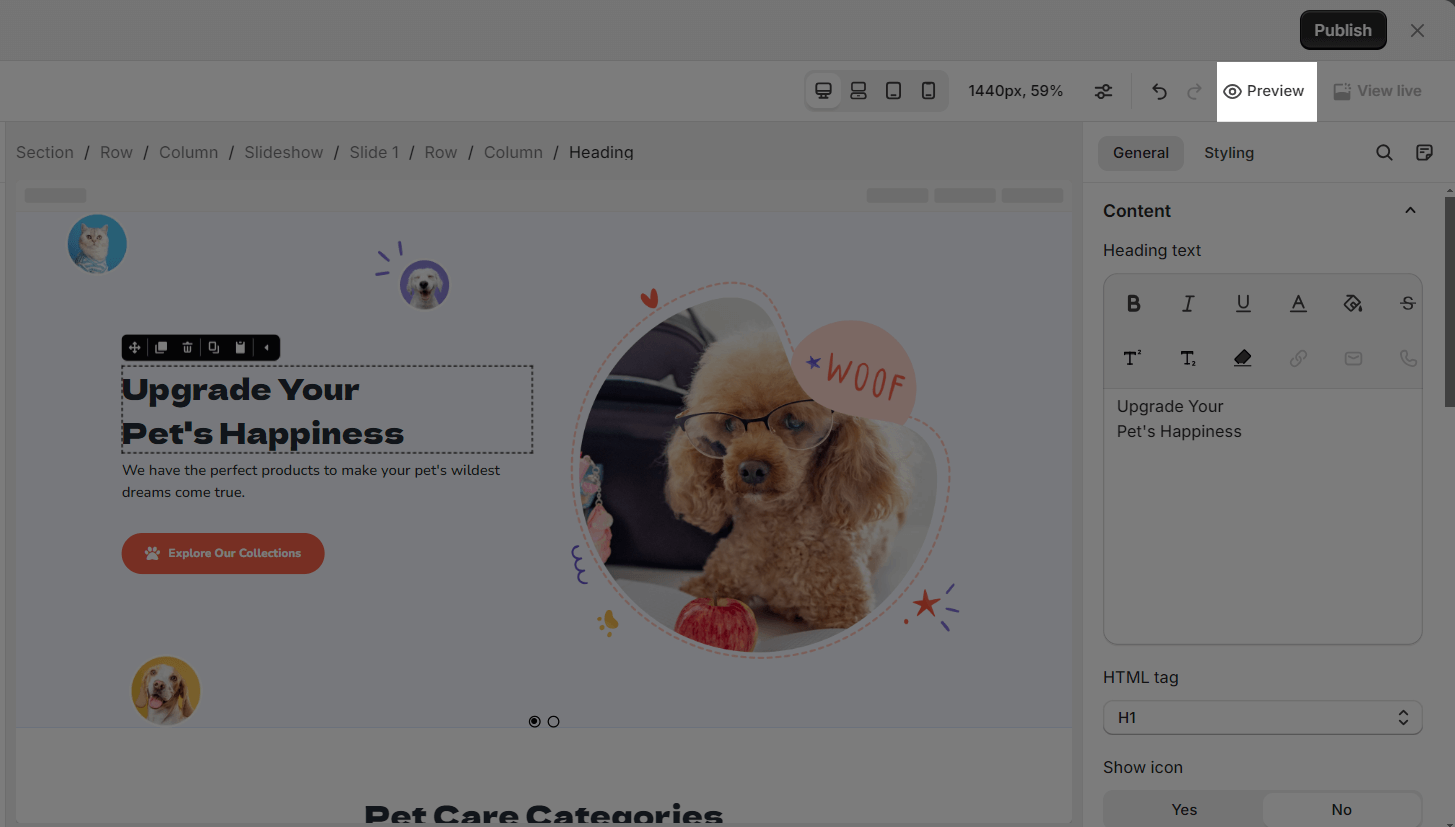
Once you’re done building the page, hit Save. This option saves the page to a database but does not make it public yet. You can see the preview of the page by clicking on the Eye icon here.
When your page is ready to go on live, the Publish button to make it public for you! You can see the live page via Live View. The page will link to your store with the address “your-shop-name.myshopify.com/pages/page-name”.
You can check the PageFly page in the Shopify database by going to Shopify home > Sales Channels > Online Store > Pages.
If you are still wondering about how to have a beautiful and attractive page with PageFly, do not worry, this guide will surely help you and give you the knowledge and practical information for PageFly users about crafting a perfect e-commerce page.
Common Cases
After publishing your PageFly landing page, if you can’t find it in your Shopify store, you need to link it to your Shopify navigation. Follow these steps:
- From the Shopify Admin, go to Online Stores
- Click on Navigation > Menus > Select the menu you want to add a link to for your PageFly page
- On that menu, click on Add menu item
- Find the page with the corresponding type or paste its URL
- Click Add and Save the work, it will appear in the Shopify menu navigation
For more details, please check this video tutorial:
Frequently Asked Questions
1. How many pages can I create in PageFly?
PageFly allows you to create numerous pages, but the number you can publish depends on your chosen plan.
For instance, the Free plan lets you publish 1 page or section (equivalent to 1 slot). Upgrading to the 5-slot plan grants you the ability to publish 5 pages or sections.
2. How many types of pages can I create in PageFly?
In PageFly, you can create 6 page types including: Regular pages, Homepages, Product pages, Collection pages, Blog posts, and Password pages.


