


About PageFly Pages and Sections
Summary: PageFly pages and sections allow you to create custom layouts and designs for your Shopify store effortlessly. With PageFly, you can build entire pages or add sections to existing ones, enhancing their visual appeal and functionality.
There are 6 types of pages: regular, home, product, collection, blog post and password. There’s only one type of section.
This guide will show you how to use PageFly pages and sections effectively. Make sure you have installed PageFly for your Shopify store before proceeding with this guide. Install PageFly for Free here.
How To Access PageFly Pages and Sections?
Follow these steps to access PageFly Pages and Sections from your Shopify admin dashboard:
- From your Shopify admin dashboard, find and click on the PageFly Page Builder app.
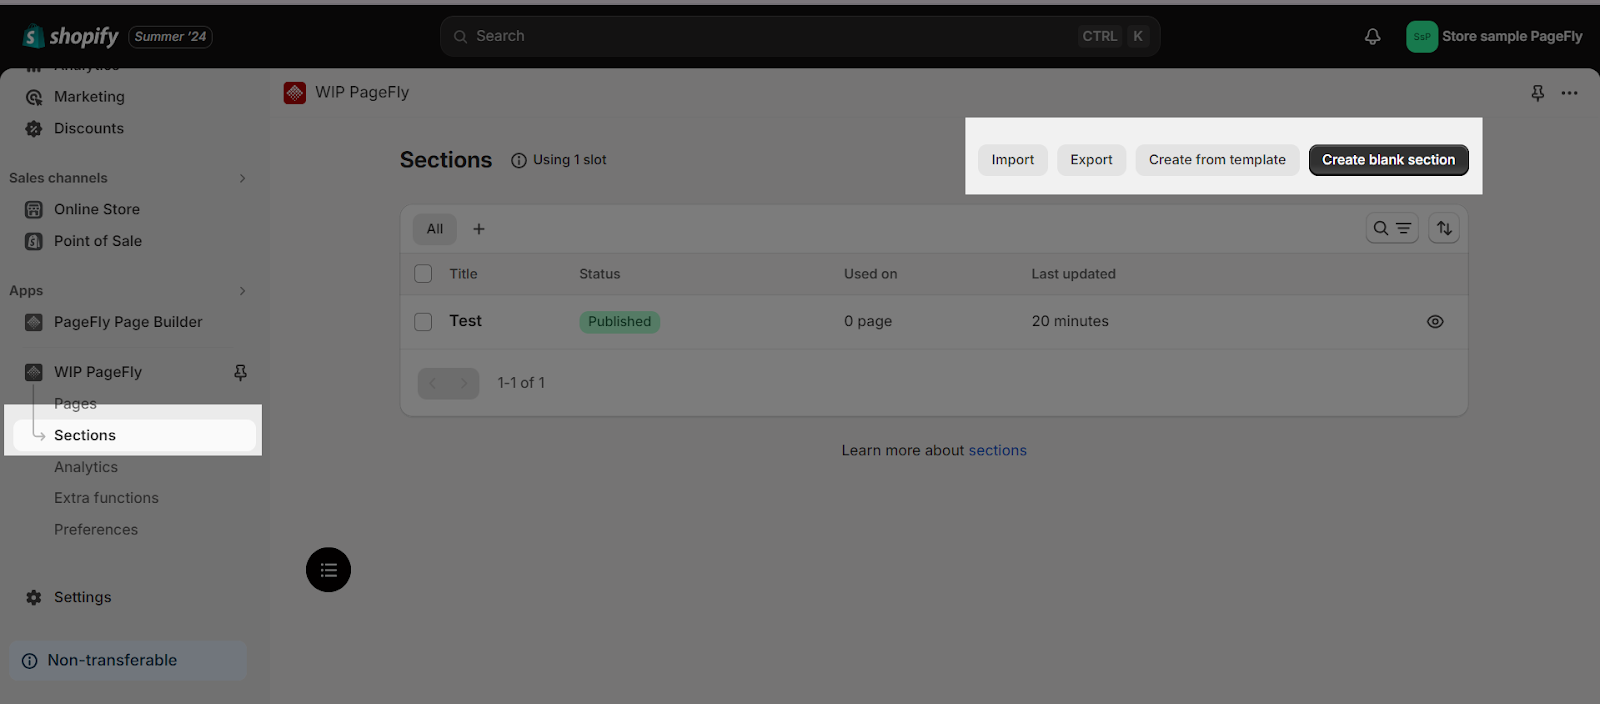
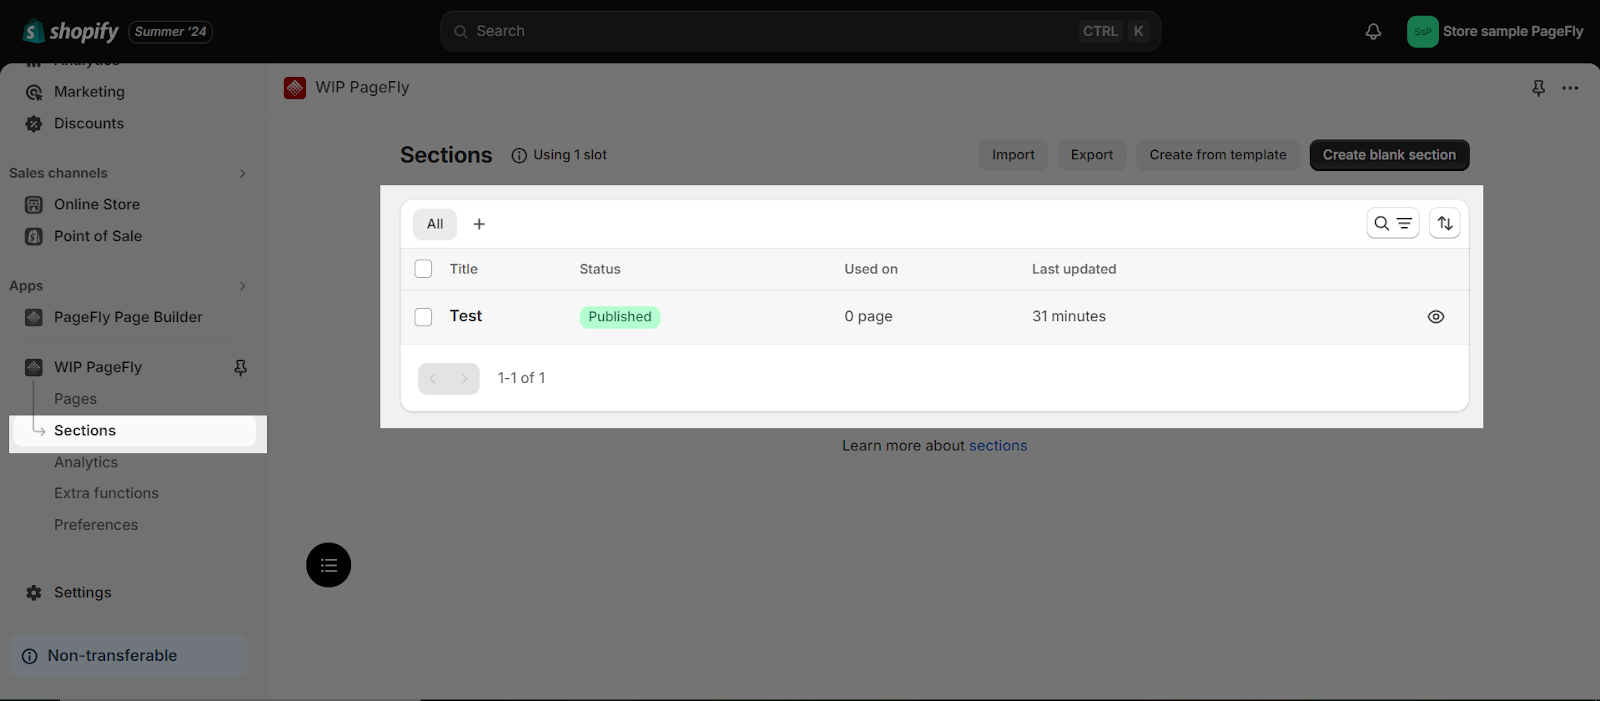
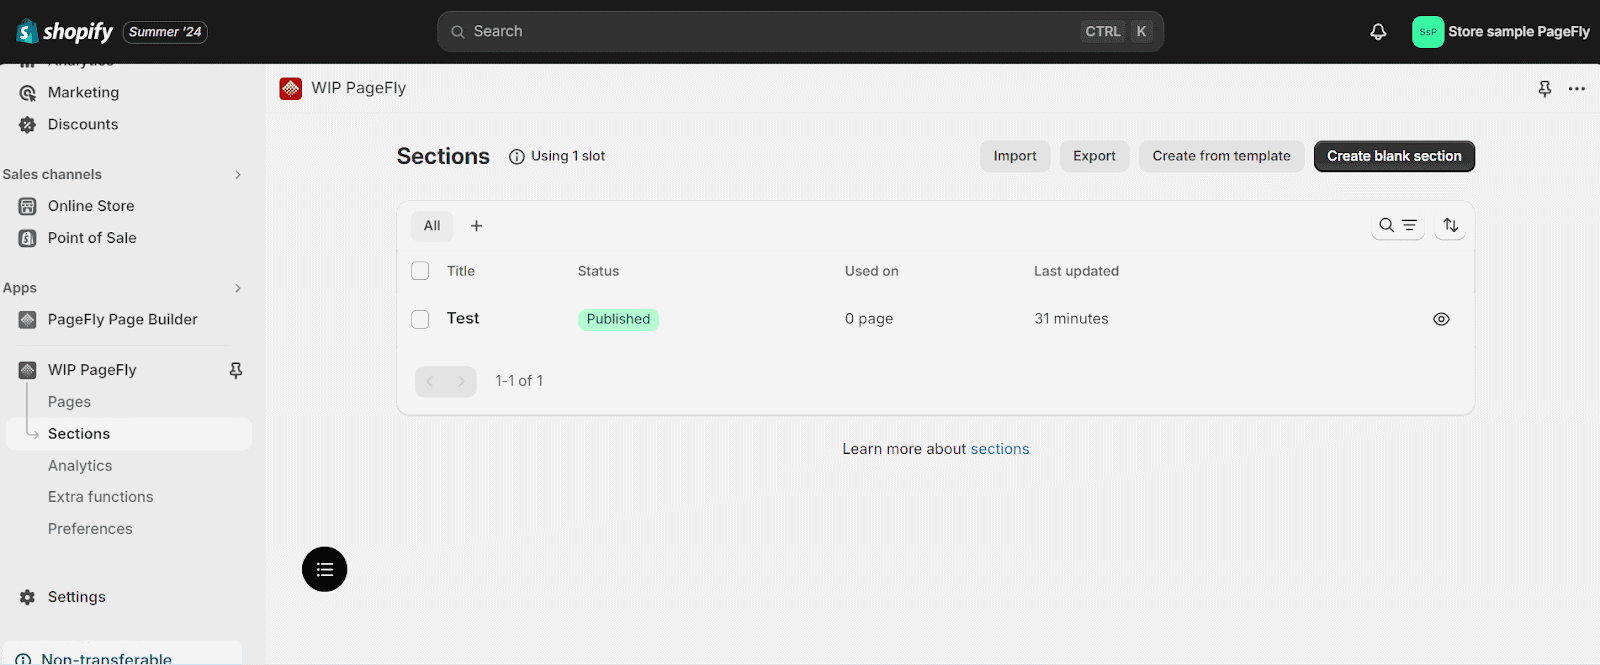
- Look at the left menu, and click on “Pages” or “Sections” to access PageFly pages and sections.
How To Configure For PageFly Pages and Sections?
In this section, we’ll guide you through the steps of configuring PageFly pages and sections:
Step 1: Create A New Page/Section
Click on the Create blank page button at the top right corner of the page list. Select your desired page type: Regular, Home, Product, Collection, Blog, or Password to create your page.
Another option is to Create from a template. Here, you can pick a template from PageFly to edit your own page. Similarly, choose your desired page type. You will be navigated to the templates library. Hit on the “Select” button under the template you want to use.

If you change your mind after selecting a template, don’t worry. You can change the page’s template in PageFly’s page editor. For more details, refer to this guide.
If you already have a page or section and want to edit it in PageFly, choose Import.
Or, if you want to export a PageFly page, choose Export.
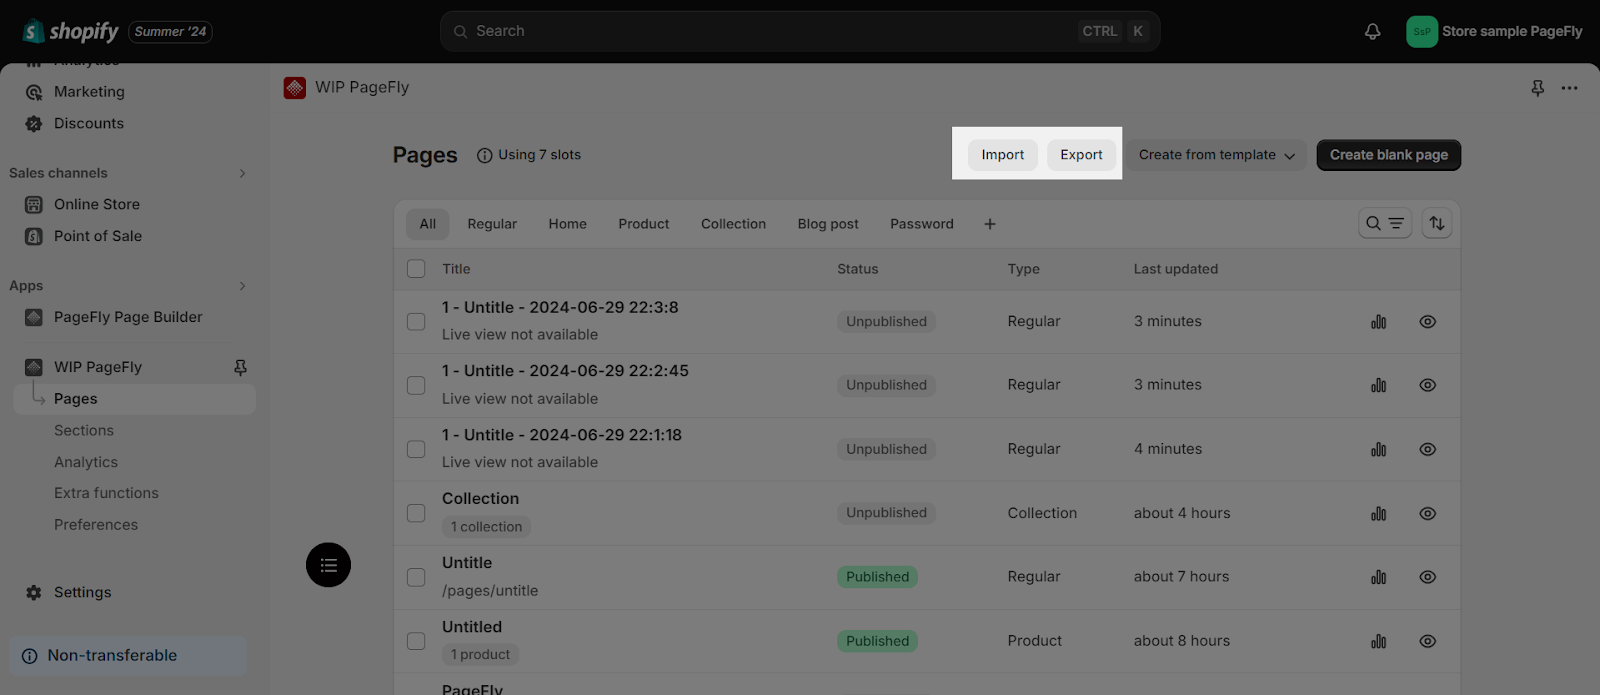
For more details about this feature, please check this video tutorial.
The process of creating a new section is similar to creating a page. However, since there is only one type of section, you don’t need to select a section type. Simply click on “Create a new section” and start customizing it.
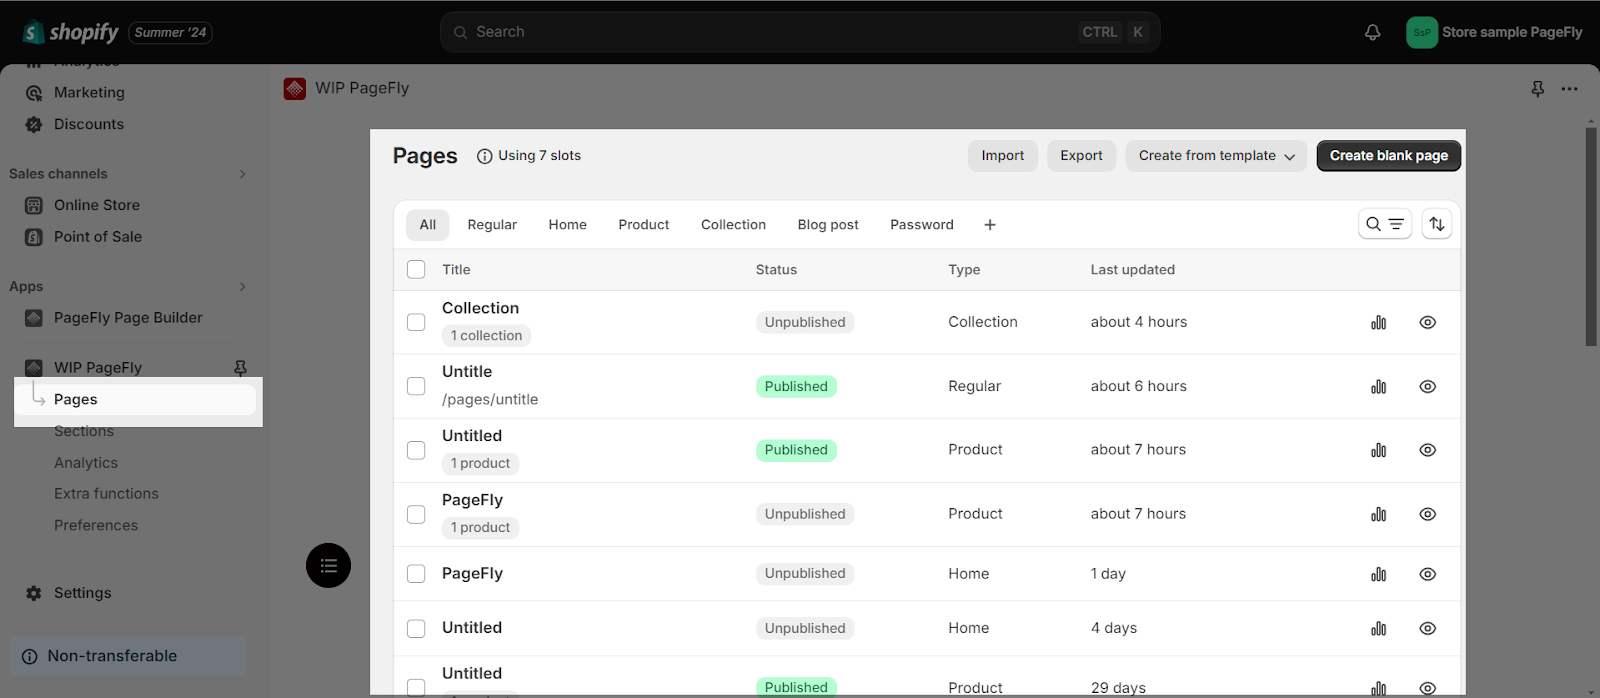
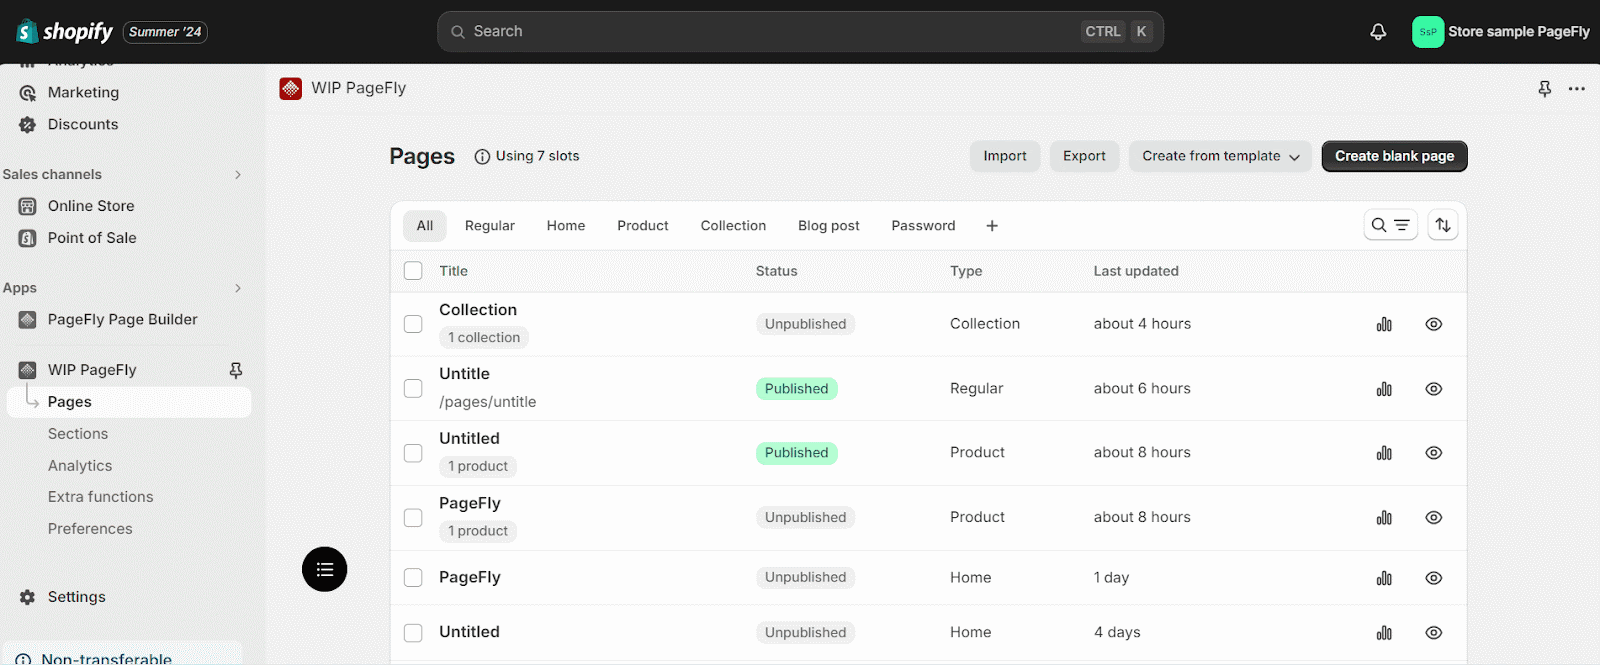
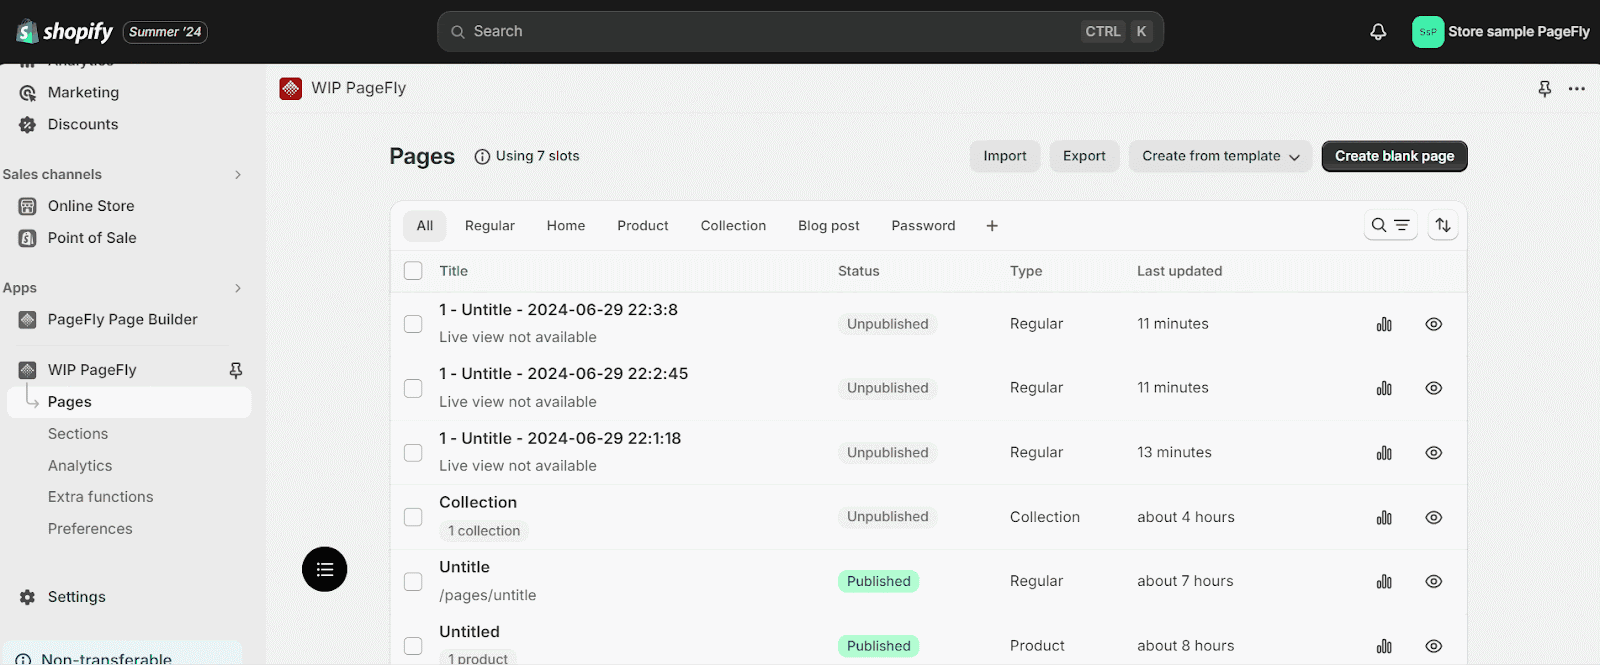
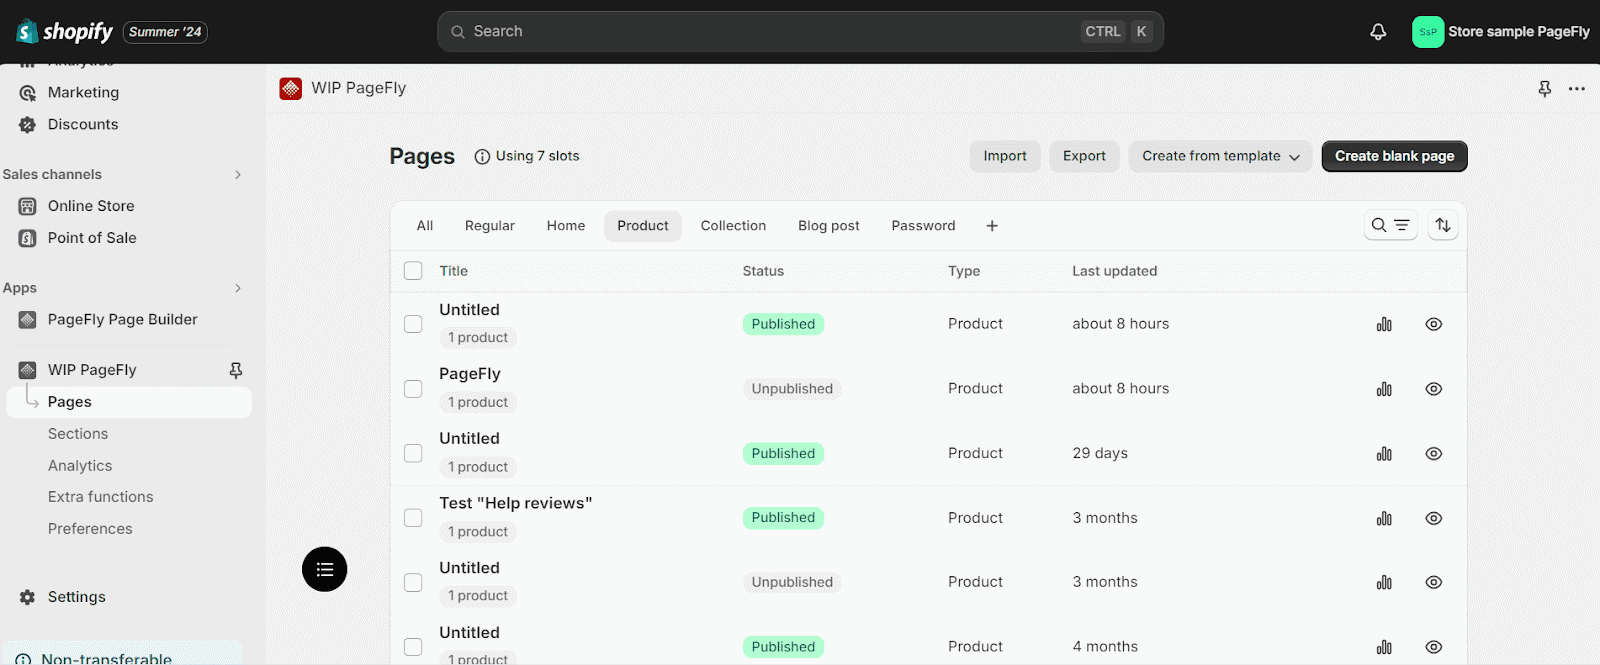
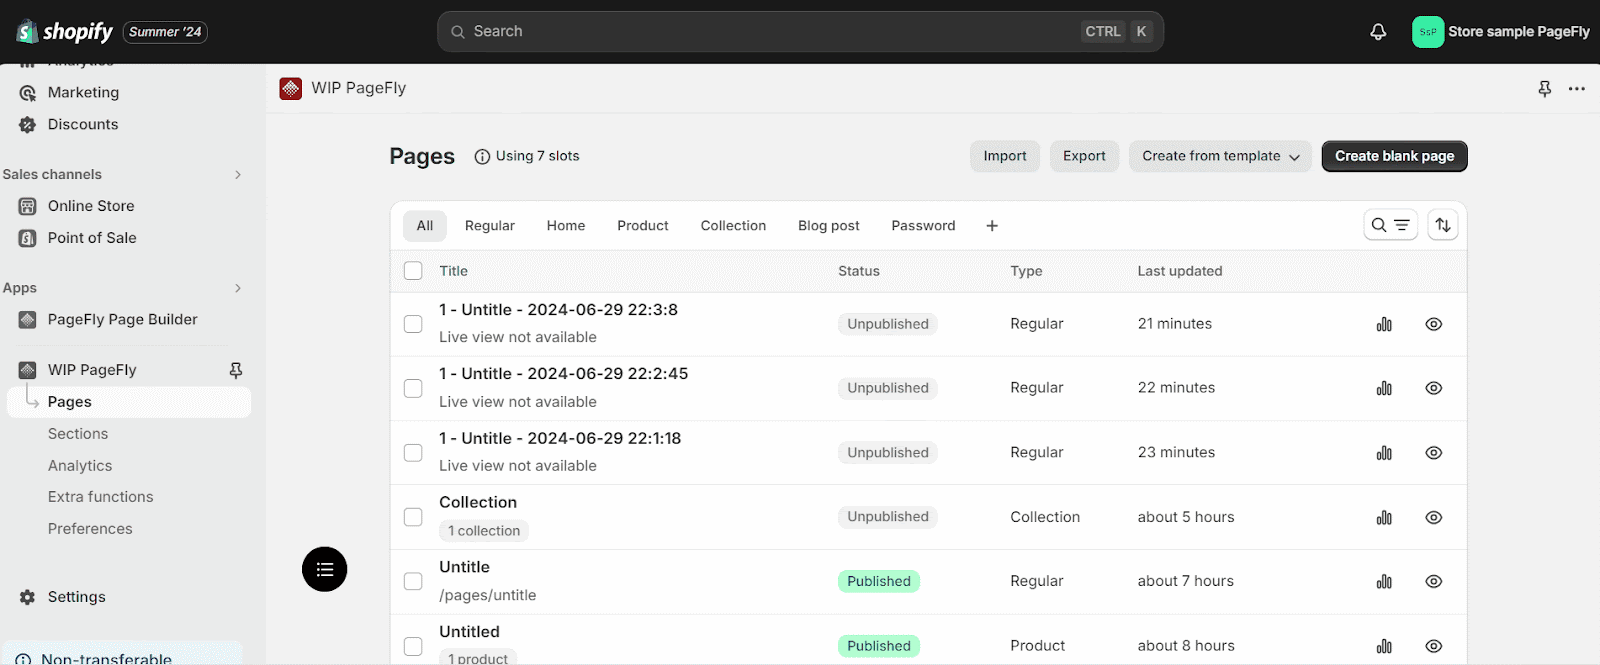
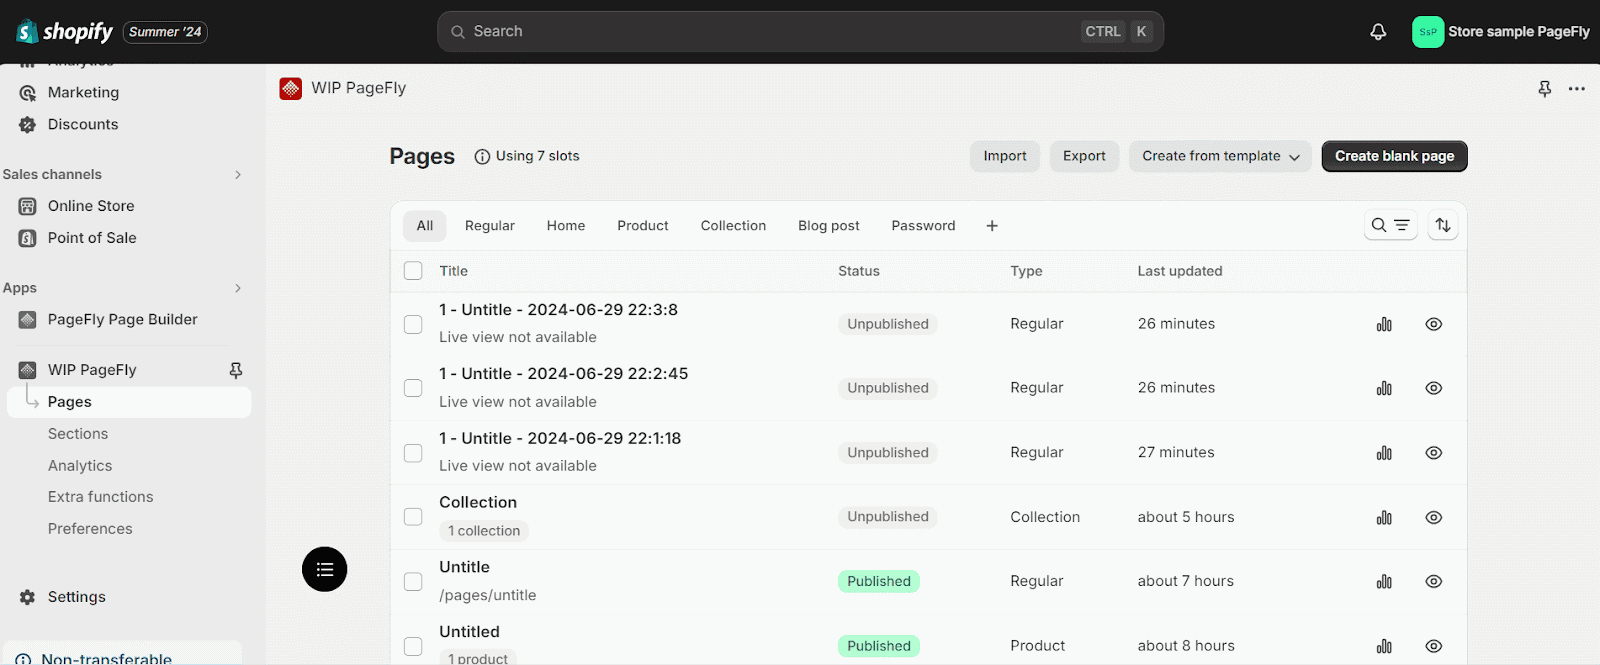
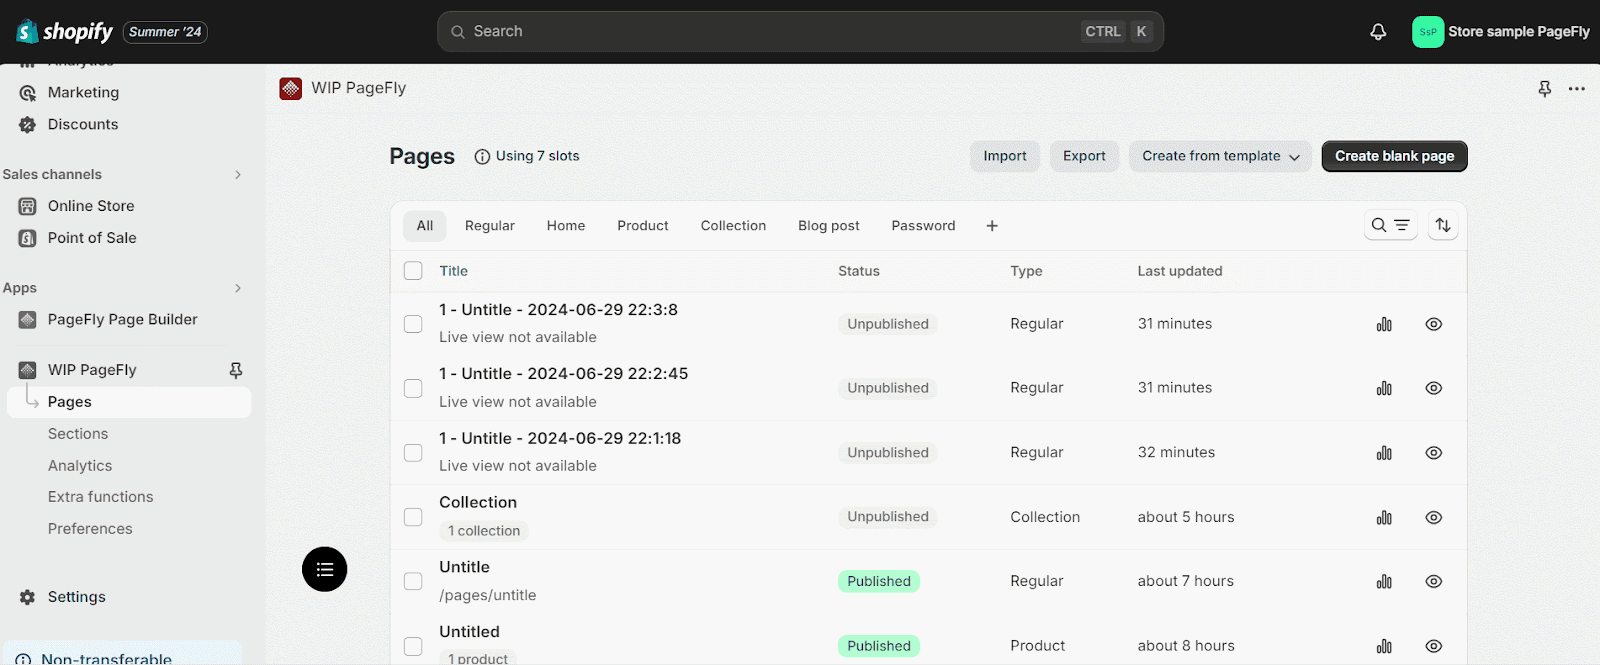
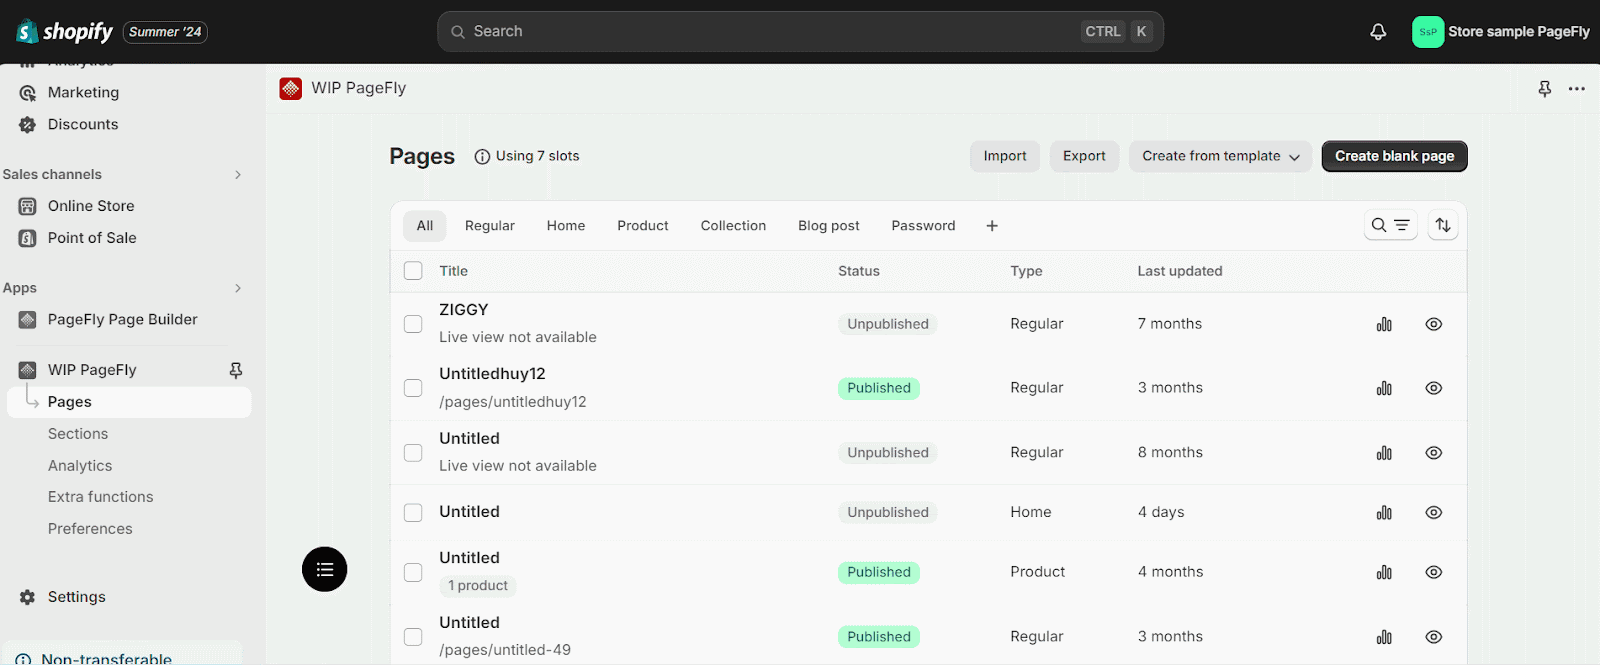
Step 2: Understand The Page List
Pages Configurations
In this operating area, you will see the list of all pages created for all or each specific type; for example, Regular pages.
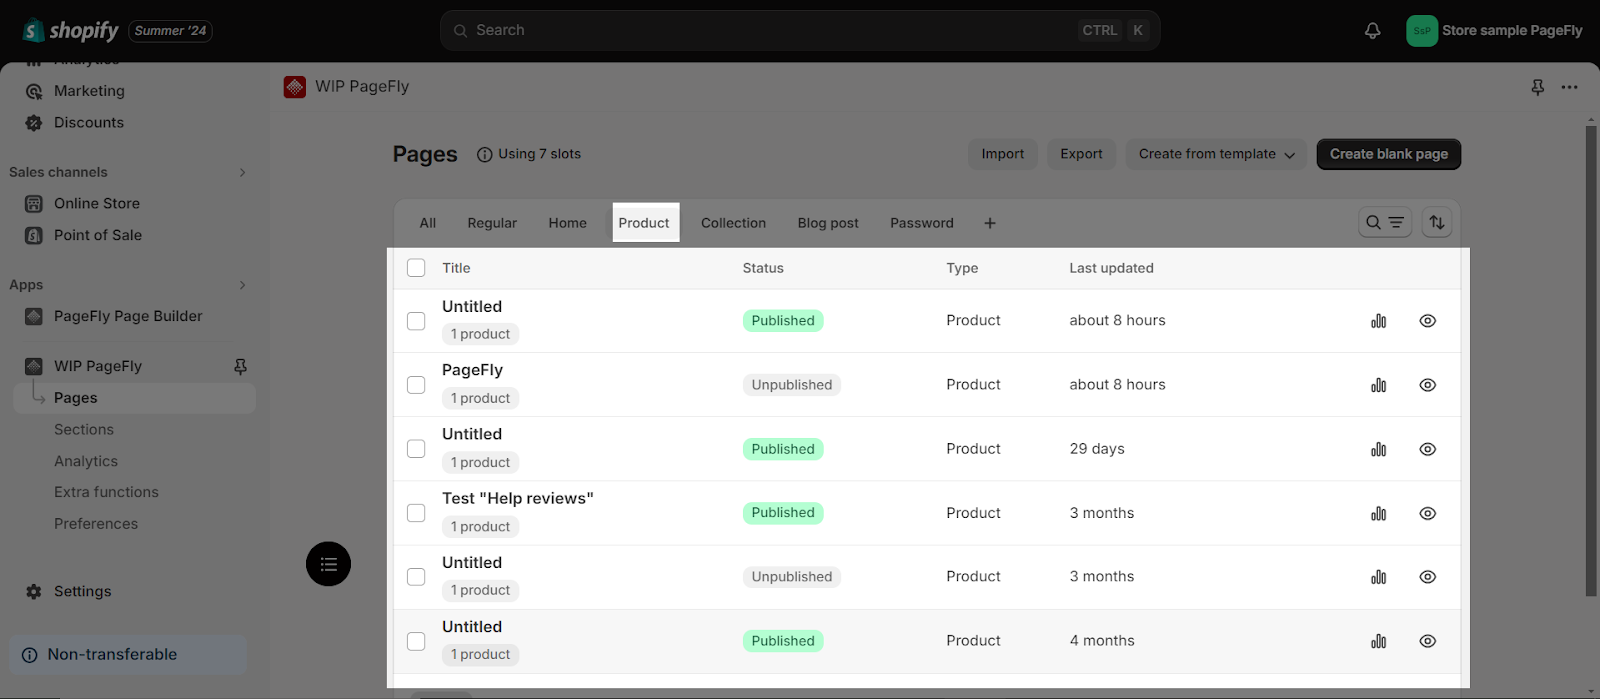
- View Page List: Here, you can see the page title, the latest update, and the state of the page (published or unpublished).
- Select a Page: Tick on the box before a page title to highlight it.
- Access Page Functions: Click on the three dots, located on the right side of the page list, to reveal the available functions:
-
- View Analytics: Check the performance metrics of the page.
- Preview: See how the page looks.
- Duplicate: Make a copy of the page.
- Export: Save the page for use elsewhere.
- Delete: Remove the page.
- Page Settings: To access the page settings page, click on a page to open it in the page editor. Then, in the left menu, look for the Page Settings button and click on it. For further information on page settings, please refer to the accompanying article.
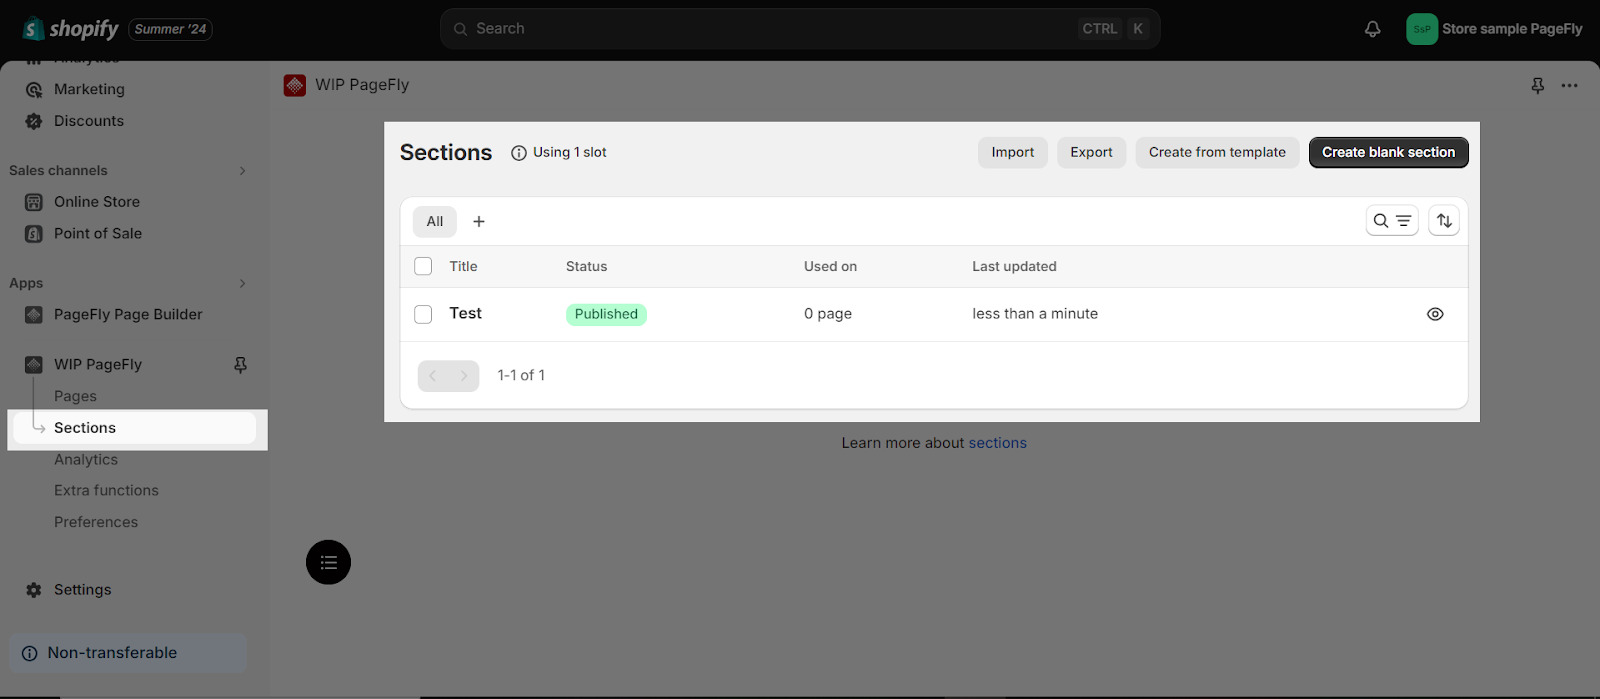
Sections Configurations
Unlike Pages, Sections only have 1 type.
Select a section to view its publication status. Next, click on the three dots to reveal the available functions, which may include the following:
- Duplicate
- Export
- Delete
Step 3: Understand Search, Filter, And Sort
Search
The search function in PageFly allows you to quickly locate specific pages or sections within the pages/section list.
In the top right corner of the pages or sections list, you will find the search button. Click on it and type the title or keyword related to the page or section you are looking for. The list will automatically filter to show the pages or sections that match your search terms.
Page Filter
You can filter pages by selecting page type and status:
- In the Pages or Sections list, locate the filter options above the list of items.
- Select “Add filter”
- Click on the type of filter you want to apply. You can filter by one or both of these types:
-
- Page Type: Regular, Home, Product, Collection, Blog post, Password.
- Status: Published or Unpublished.
Select your desired filter criteria. The page list will automatically update to show only the items that match your selected filter.
Section Filter
As the section only has 1 type, we can only filter it by Status.

Sort
Another useful feature available to you is the ability to sort your pages and sections based on either alphabetical order or updated time. This can help you better manage your pages.
Save Filter
To save your filters for later use, select the desired page type and status, then enter a relevant tab name and click on the “Save” button.
Use Cases
- Change Shopify store: Import and Export page features will aid the process efficiently.
- Manage pages: Adjust the settings of the pages to your preference.
- Make new pages with existing sections: Use Saved Section to add an existing section to the page instead of building a new section. This can help you save time and boost the process.
- Best uses for each page type:
- Regular Page: General content like Sale/Promotion page, About Us, Contact Us, and FAQ.
- Home Page: Main landing page of your store with featured products and promotions.
- Product Page: Individual product listings with detailed descriptions and images.
- Collection Page: Groups of related products, like seasonal sales.
- Blog Post Page: Articles, news, and updates to engage your audience.
- Password Page: Protect your store before launch or during maintenance.
Frequently Asked Questions
Can I use PageFly to redesign my existing Shopify store pages, or is it only for creating new pages?
Yes, you can use PageFly to redesign existing pages and create new ones. With PageFly’s drag-and-drop editor, you can easily customize your homepage, product pages, landing pages, and more without coding. Use the template library to choose and customize pre-designed layouts to fit your brand, whether updating existing pages or creating new ones.
What is a Saved Section in PageFly, and how can I use it?
A Saved Section in PageFly is a reusable block of content you can add to multiple pages. Here’s how to use it:
- Create a Section: Design a section on a page using the drag-and-drop editor.
- Save the Section: Click the save icon or choose “Save as Section.”
- Reuse the Section: Go to another page, open your list of saved sections, and insert the one you saved.
This feature helps you maintain consistency and save time by reusing content across your store.
Can I change the page type of my current page?
Yes, you can. Navigate to PageFly’s Page editor, go to Page Settings, and find the Page type dropdown menu. Choose the page type you want and hit “Save” to apply your change.