Overview

In this article, you will discover how to enhance your PageFly pages with custom fonts using the Uploaded Fonts Manager. This feature enables the upload and management of unique fonts not available in Google Fonts, allowing for more personalized and distinctive page designs.
Requirements
- It’s essential to note that PageFly already includes all Google Fonts, which do not require uploading through the Uploaded Fonts Manager.
- Upon uploading, custom fonts are automatically converted to WOFF2 format, optimizing performance in the live view.
- Before usage, custom fonts must be integrated into Global Styling.
- The manager supports four font formats: TTF, OTF, WOFF, and WOFF2.
How To Use Custom Fonts In PageFly
For a more visual guide on how to apply a custom font style within Global Styles, please refer to the accompanying video tutorial below:
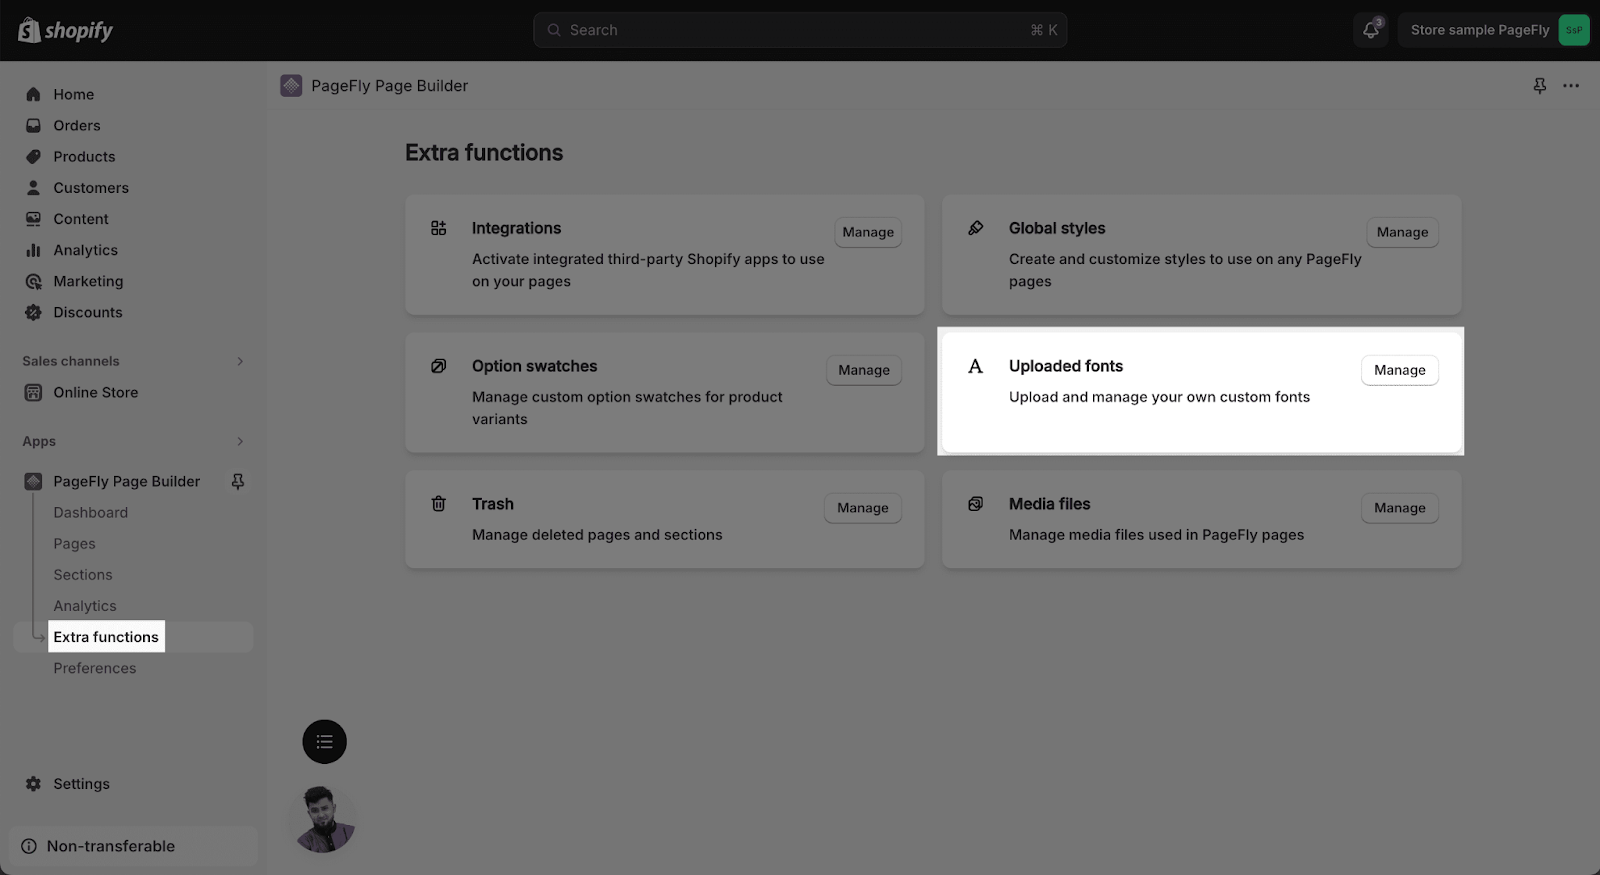
Step 1: Access Uploaded Fonts Manager
Navigate to the PageFly dashboard > select Extra Functions > choose “Manage” in the “Uploaded Fonts” section to access this feature.
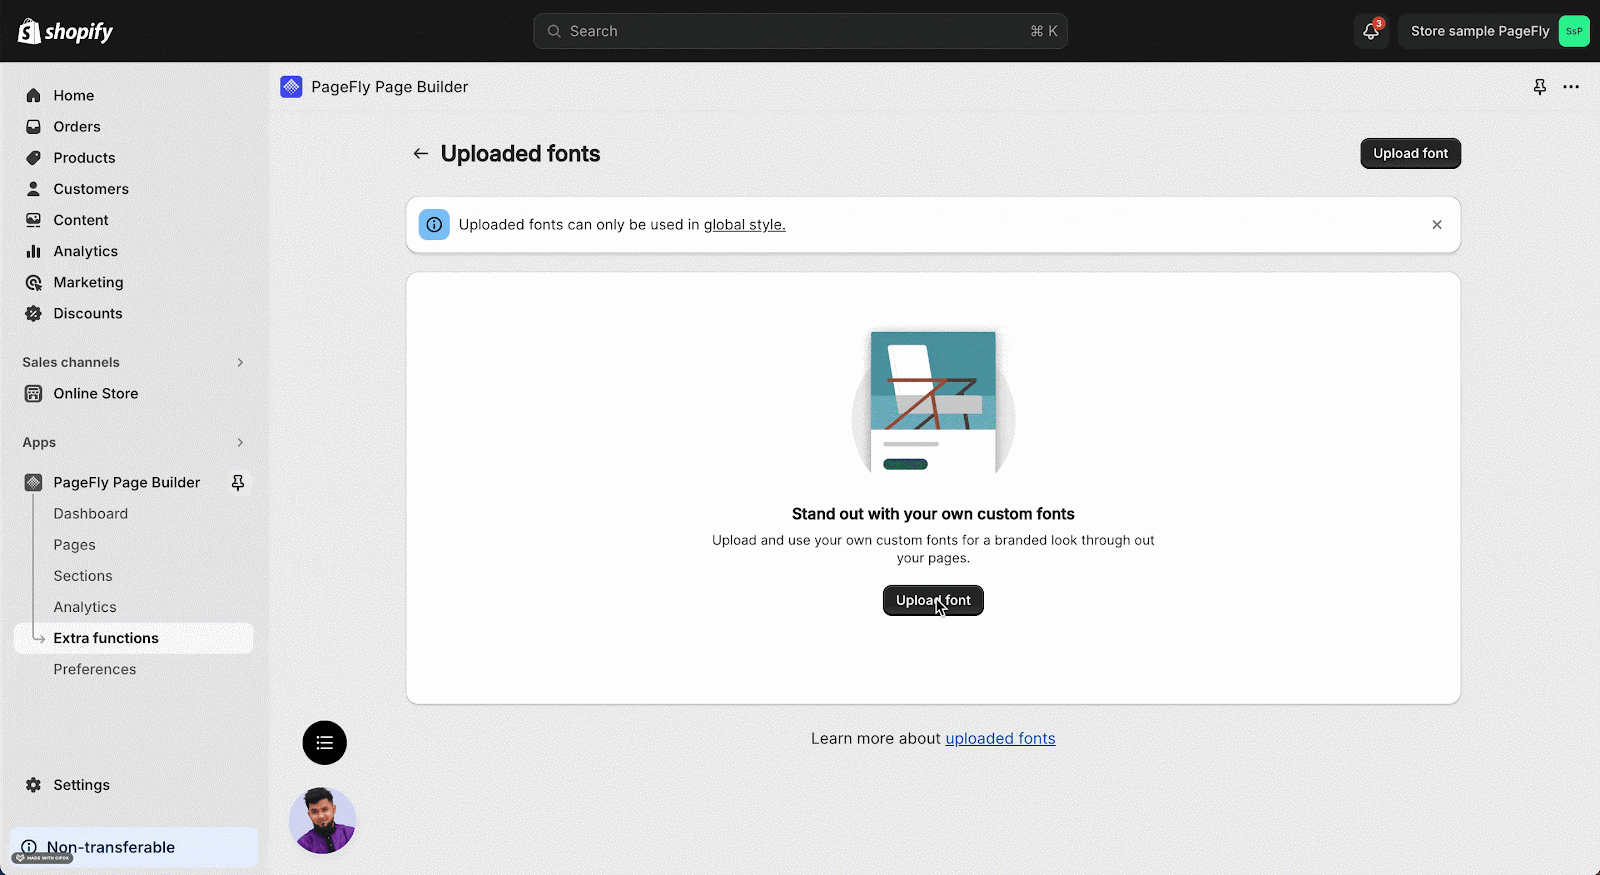
Step 2: Upload Custom Fonts
After accessing the Uploaded Fonts Manager, click the Upload font button to start adding your fonts.
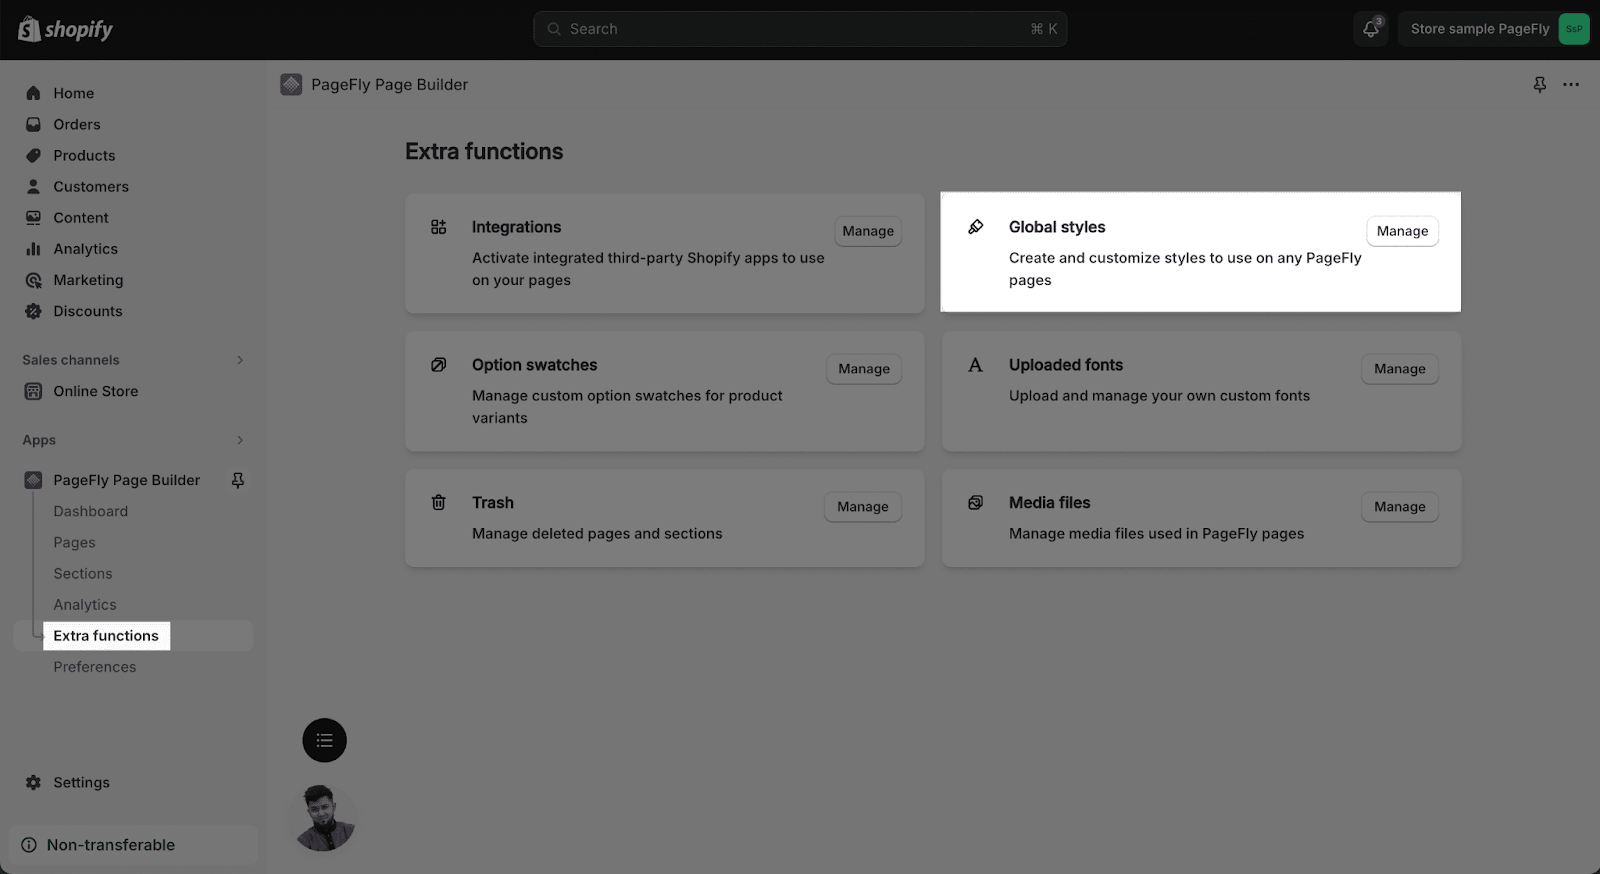
Step 3: Apply Custom Fonts In Global Style
After adding custom fonts in the Uploaded Fonts Manager, please go to Global Styles.
Here you can select your common use fonts for the Font Family parameter:
- Go to the “Extra functions” page, then click the “Manage” button next to Global Style.
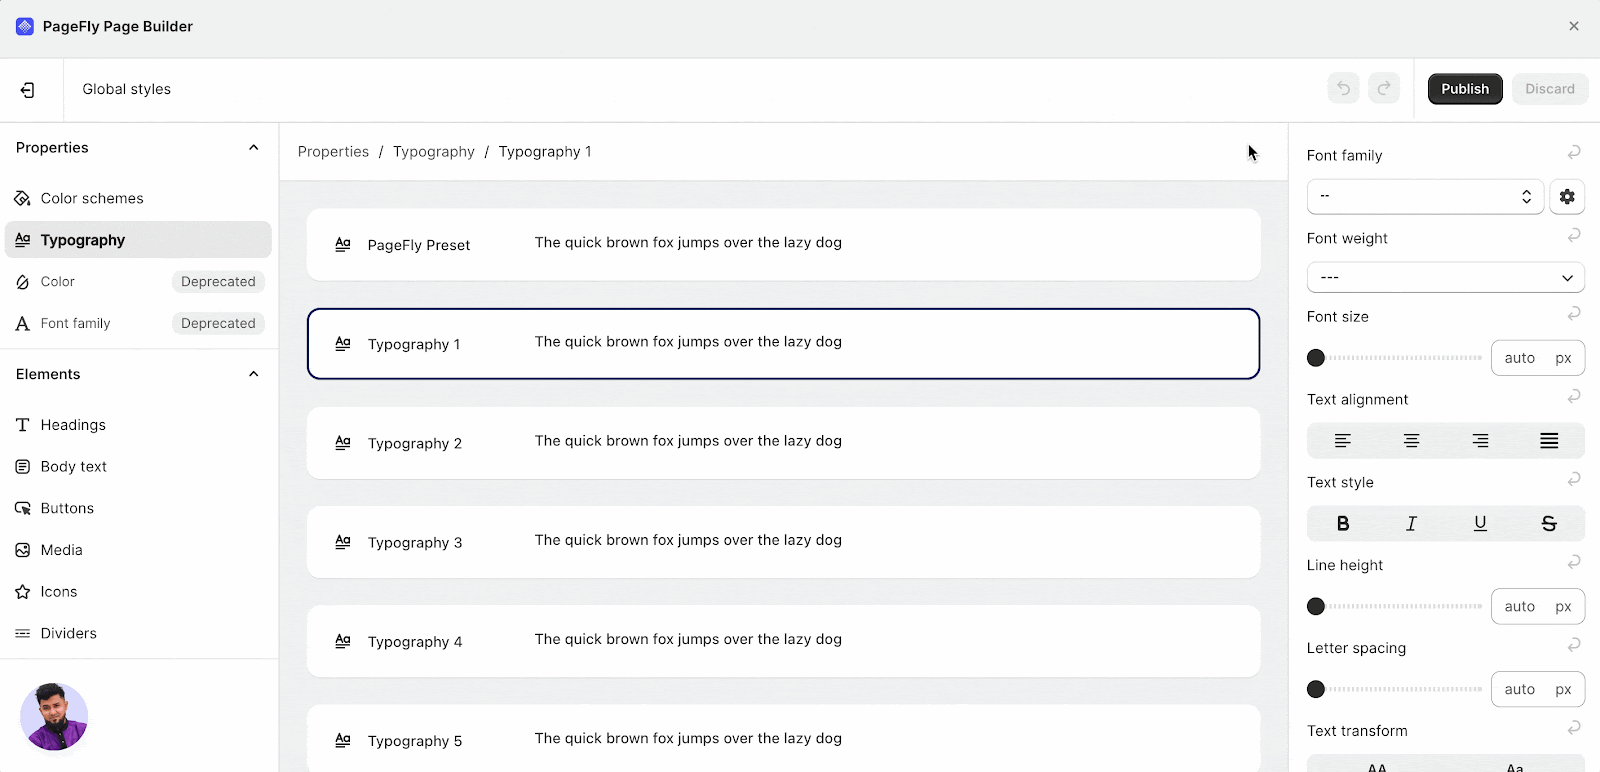
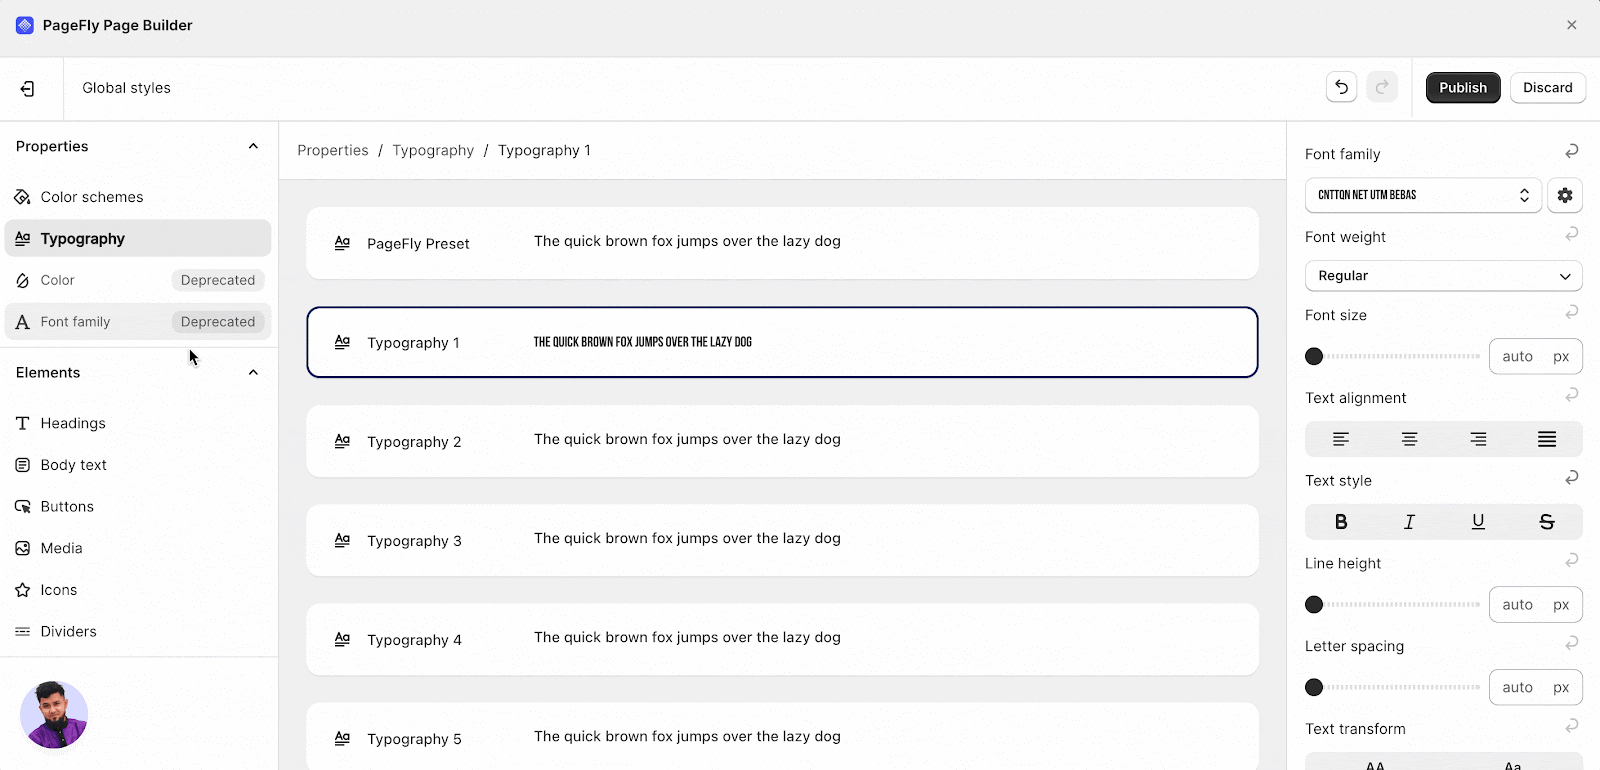
- Select the Typography parameter by clicking on it, then proceed to the Styling tab.
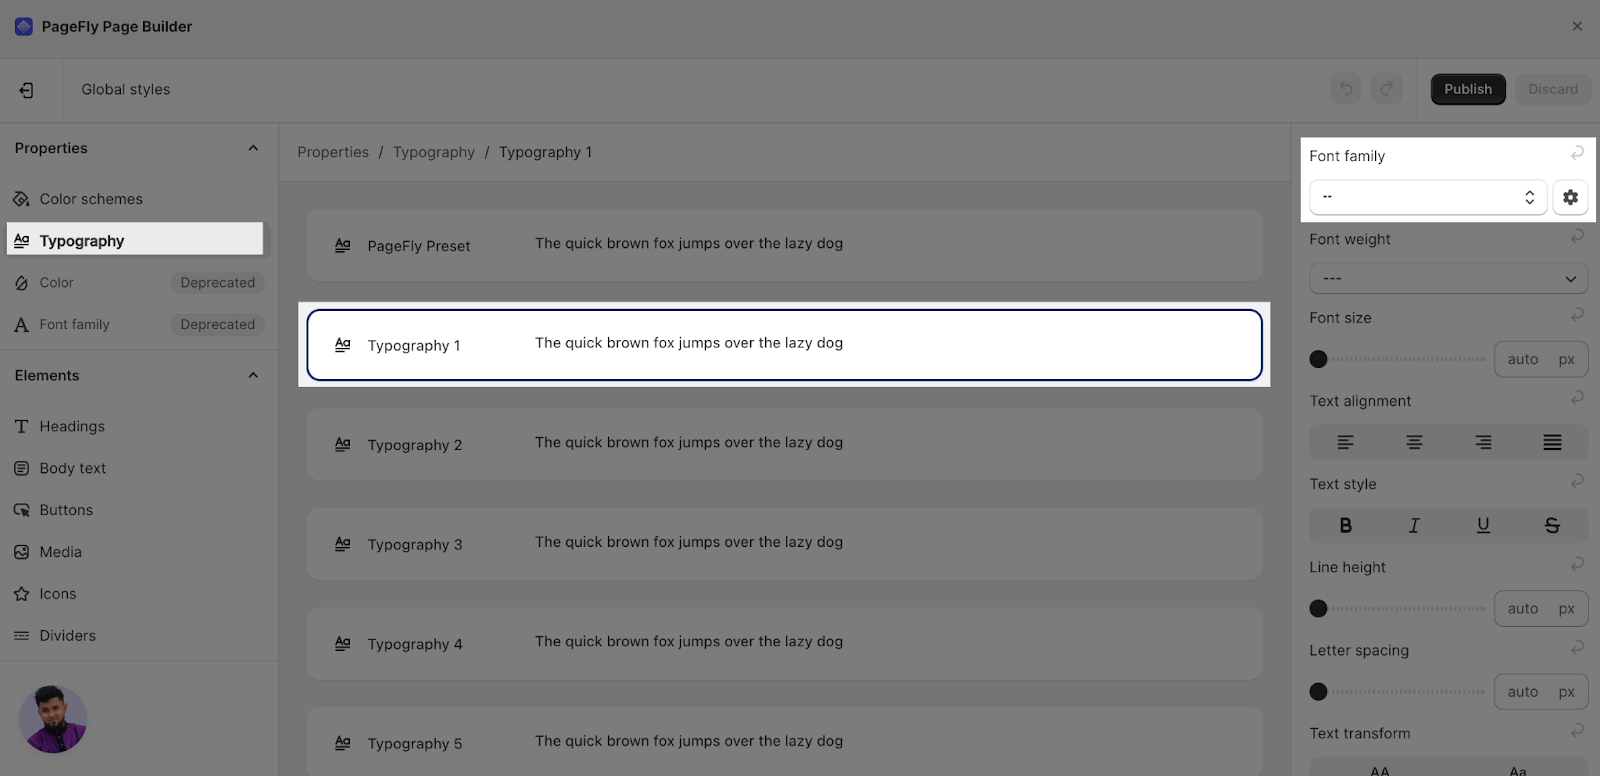
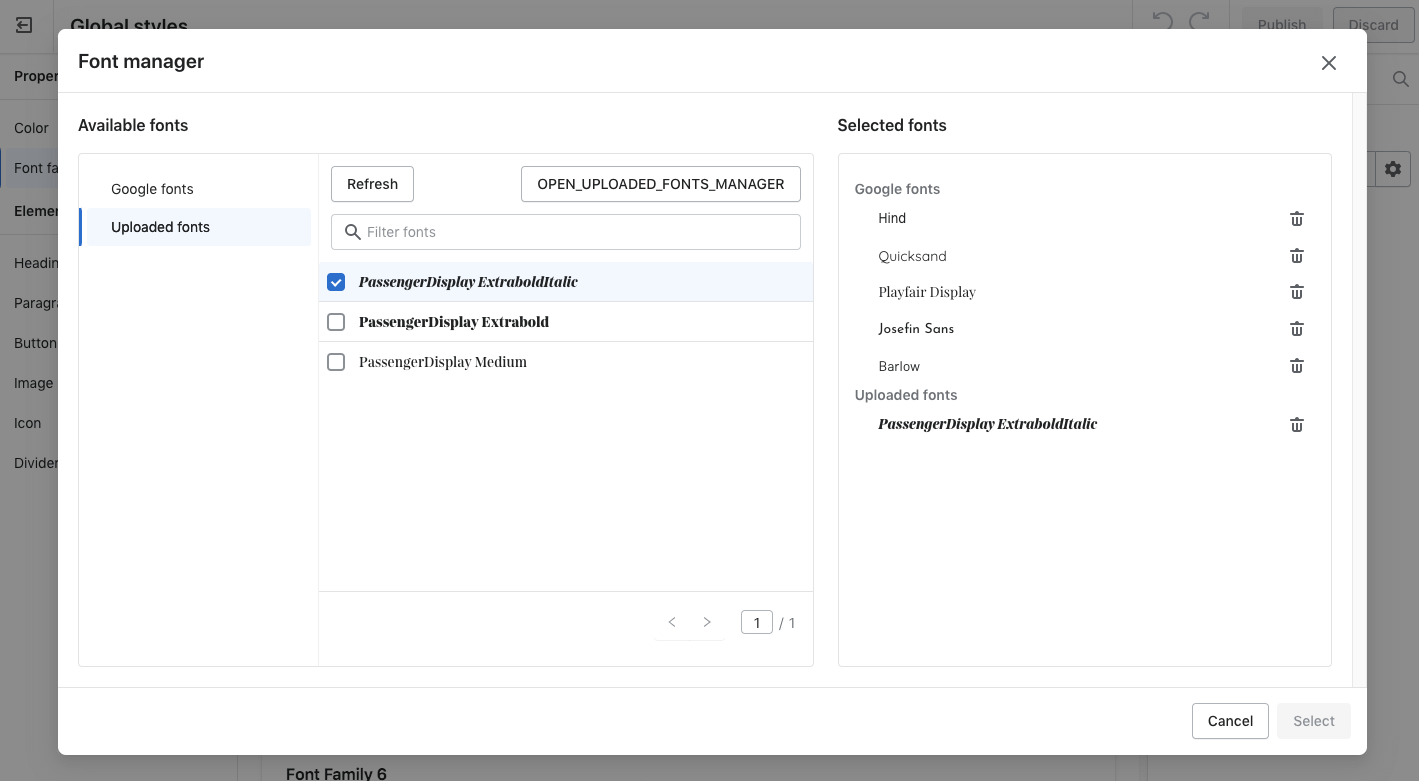
- Click the Settings icon, choose Uploaded Fonts, select your fonts, and confirm with the Select button.
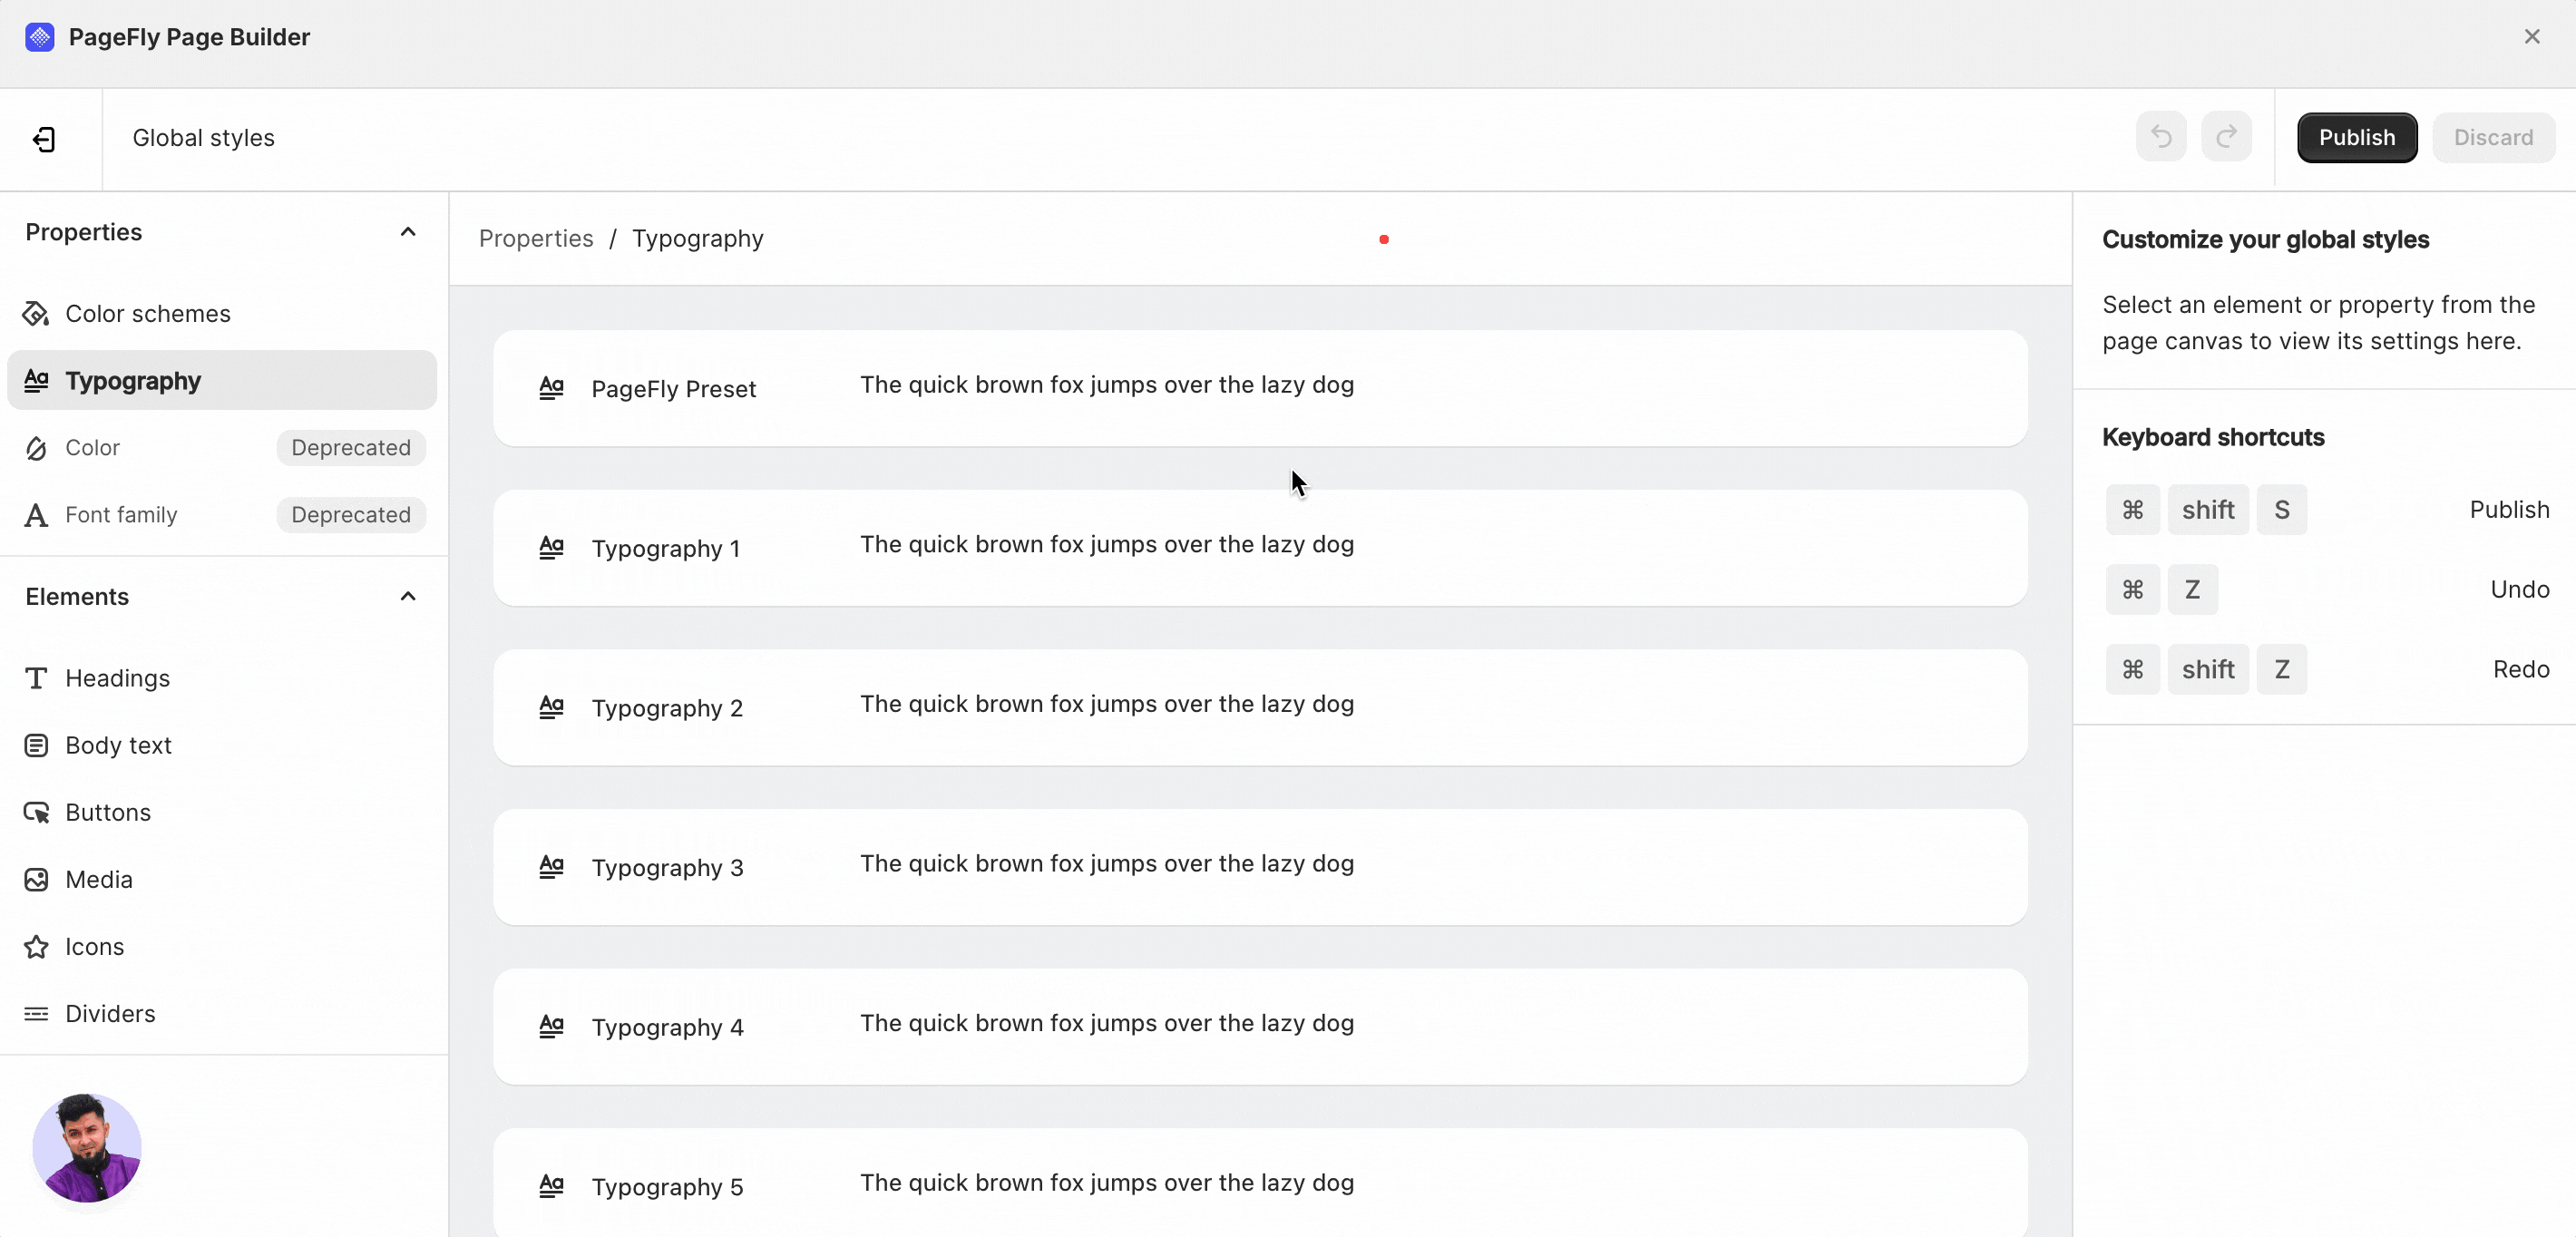
- Use the dropdown menus to assign fonts to the Typography type.
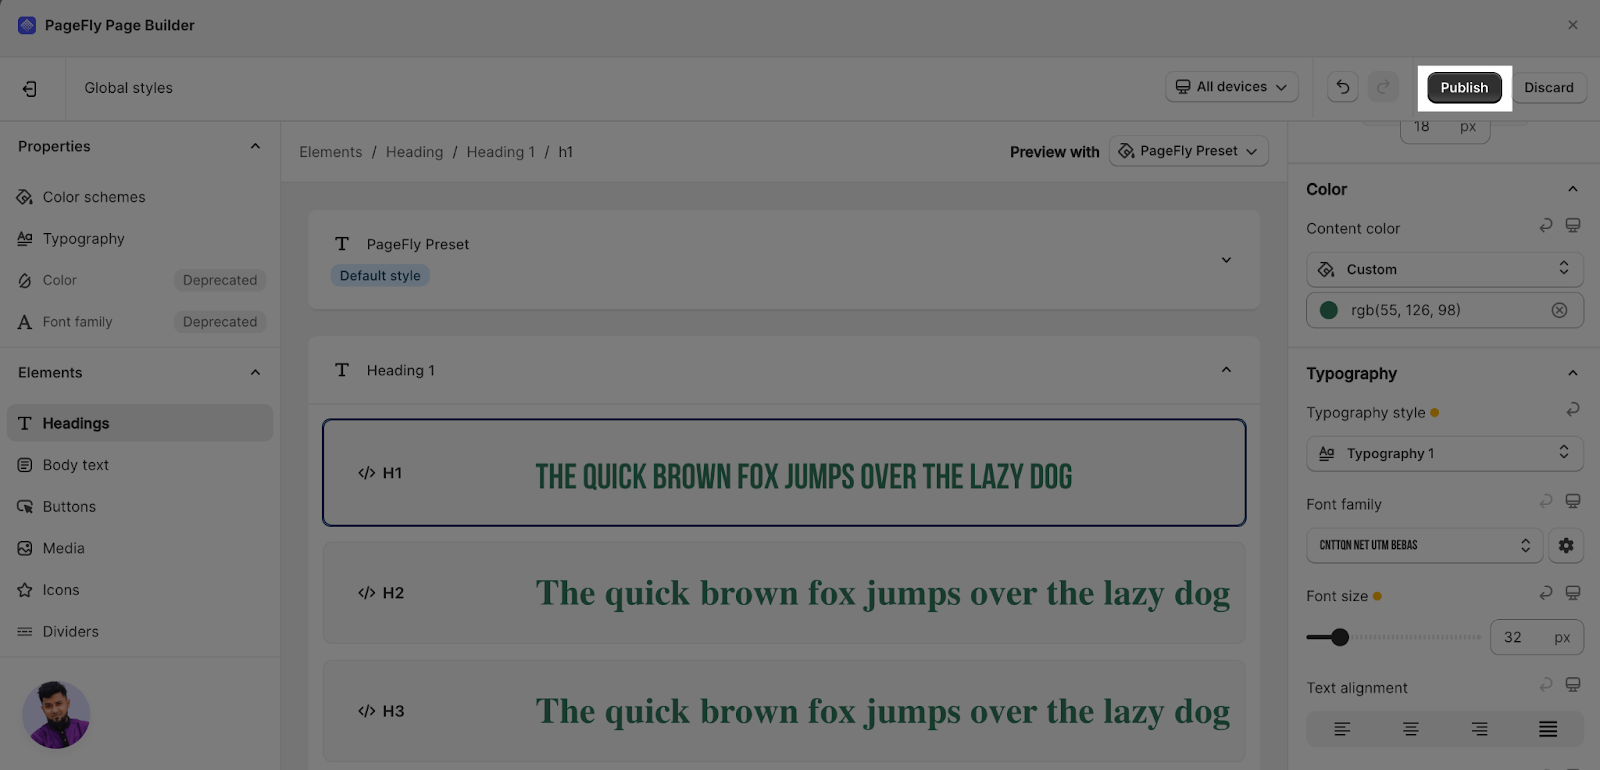
- Use Typography style for Elements in Global Styles
To apply a custom font style within Global Styles, simply select the element you want to customize (such as a Heading, Body text, or Button) from the ‘Elements’ section. Then, navigate to the ‘Typography’ section under the ‘Styling’ tab and choose the predefined custom font style you wish to use.
- Remember to publish your changes by clicking the Publish button.
Step 4: Use Custom Fonts In PageFly Pages
Return to the Editor, select Global Styles in Styling tab, and apply your newly added fonts

Frequently Asked Questions
1. After uploading, can I use the custom font directly in the editor page and not use the Global Styles?
Answer: No, you must add the custom font in Global Styles feature then apply in the editor page.
2. Can I Use Custom Code To Add New Fonts?
Answer: Yes, but we are not suggesting that you do it.
3. I Have Used Custom Code To Add A Font Before, Should I Delete The Code First Then Upload The Font In The Uploaded Fonts Manager?
Answer: Yes, you should delete the code then upload the font in the Uploaded Fonts Manager and continue to use it as normal.
4. If I Delete A Custom Font That Is Used In A Page, Will It Affect The Live Page?
Answer: No, if you delete the custom font, elements have been applied the font will show with the font of its container. You can learn more about it here.