About PageFly Contact Us Page

With PageFly, you can simplify the process of creating a visually appealing Contact Us page without any coding skills.
In this article, we will go through how to create the Contact Us page with PageFly.
How To Create A Contact Us Page With PageFly
Create A Regular Page
- Step 1: On the PageFly dashboard, click on Pages.
- Step 2: Click on the Create blank page button > Select Regular in the dropdown menu to start building your page from scratch
Or you can click on the Create from template button to use PageFly templates for your Contact Us page.
Upload An Image Banner
Add A Section On The Page Canvas
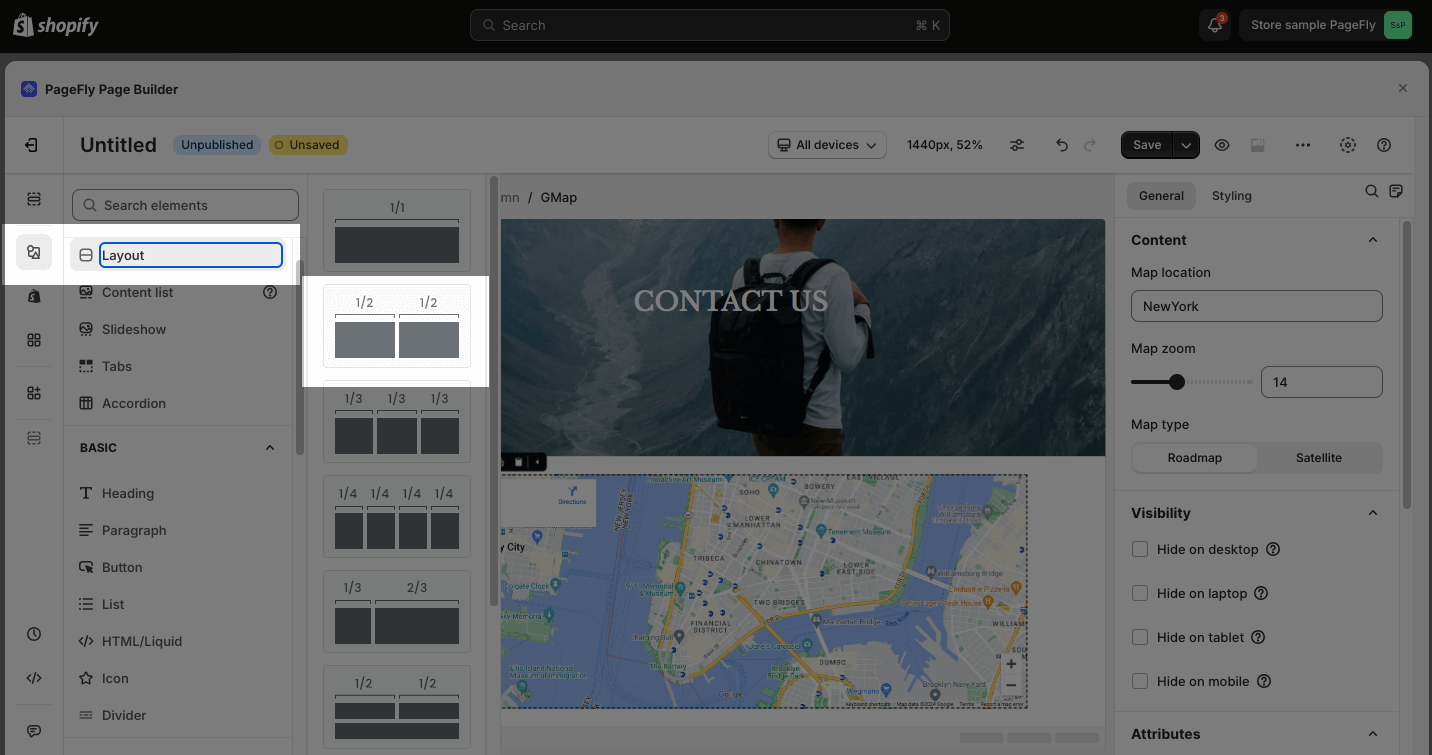
- Step 1: On the element catalog, click on the Add element icon on the left toolbar > Choose the Layout element > Drag and drop the Full Section option into the page editor.
- Step 2: Click on Section in the breadcrumb > Go to the General tab > Turn off the Set fixed width option.

Add Background Image For The Banner
- Step 1: In the Styling tab, scroll down to the Background parameter > Choose an image from the Background Image option.
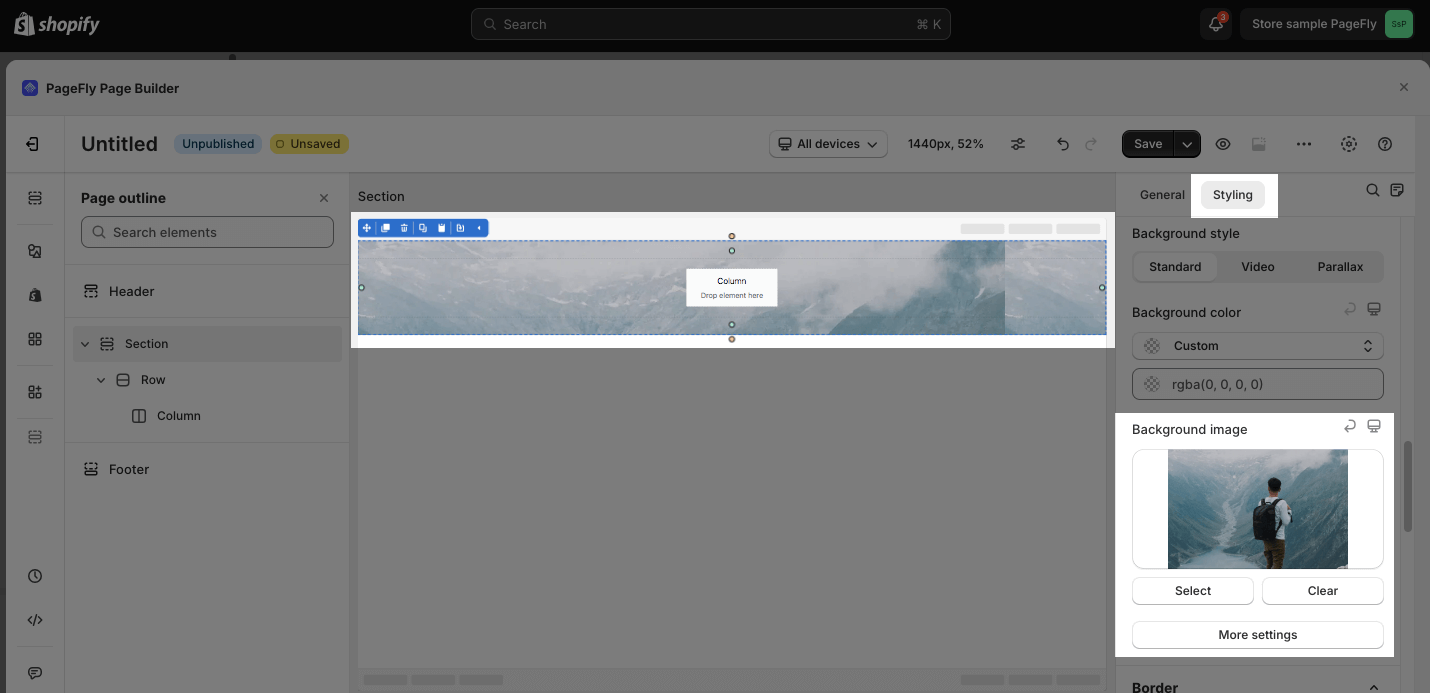
You can upload the image which is available in the Image Manager or upload it from the Internet. Read more here to know more details.
- Step 2: In the Styling tab, find the Spacing section > Edit the top-padding and bottom-padding values to change the height of the section to fit your image’s height. The little box in the middle will set the same value for all four sides of the Padding and Margin. In this case, we set 200px for both the padding top and bottom.

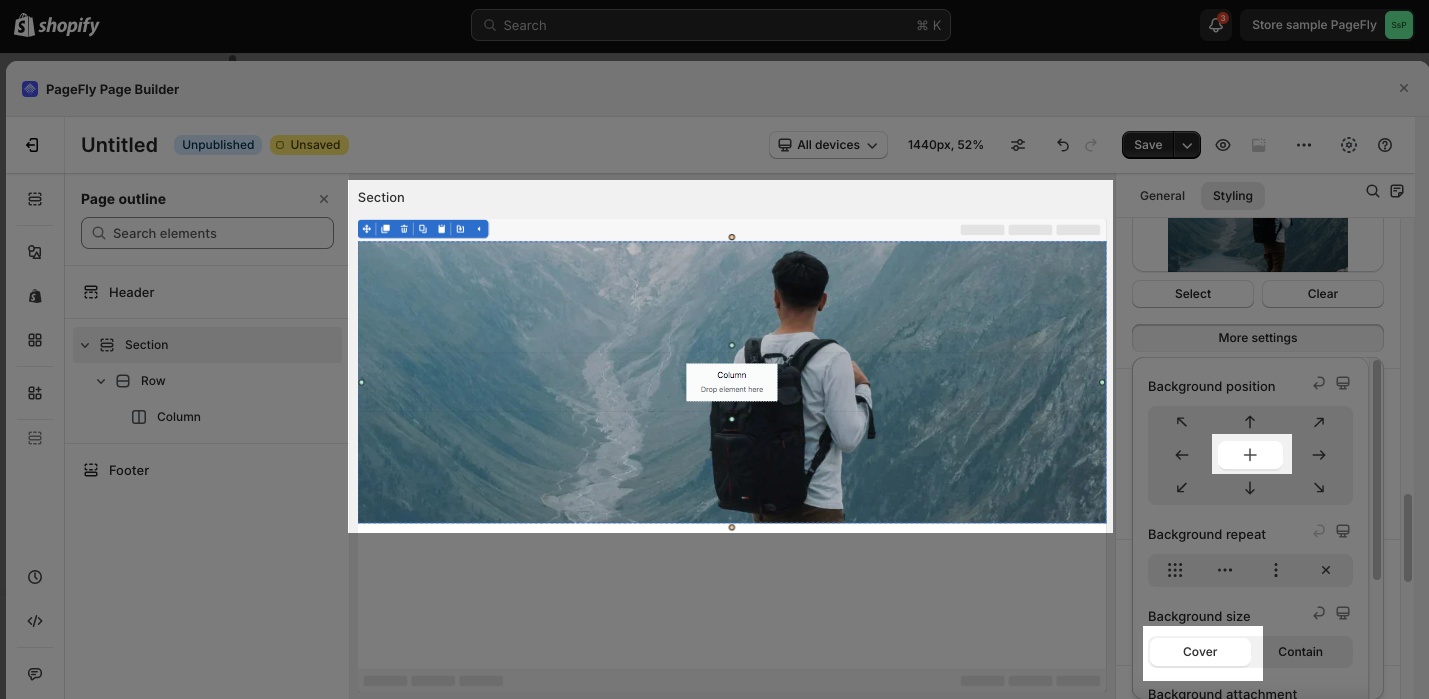
- Step 3: Scroll down to the Background parameter, and click on the More Settings button > Choose the Center option for the Background Position, Cover for Background Size.
Add A “Contact Us” Heading
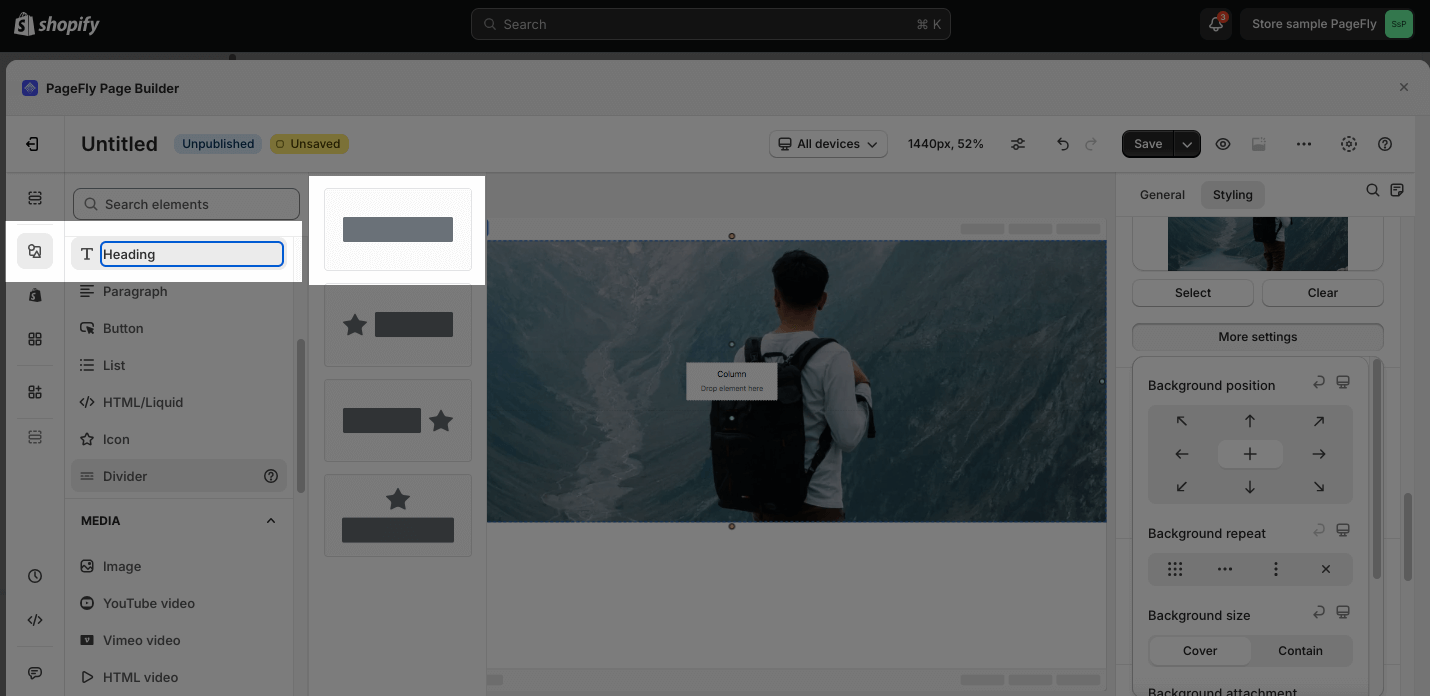
- Step 1: On the element catalog, click on the Add element icon > Choose the Heading element > Drag and drop the first variant into the page editor.
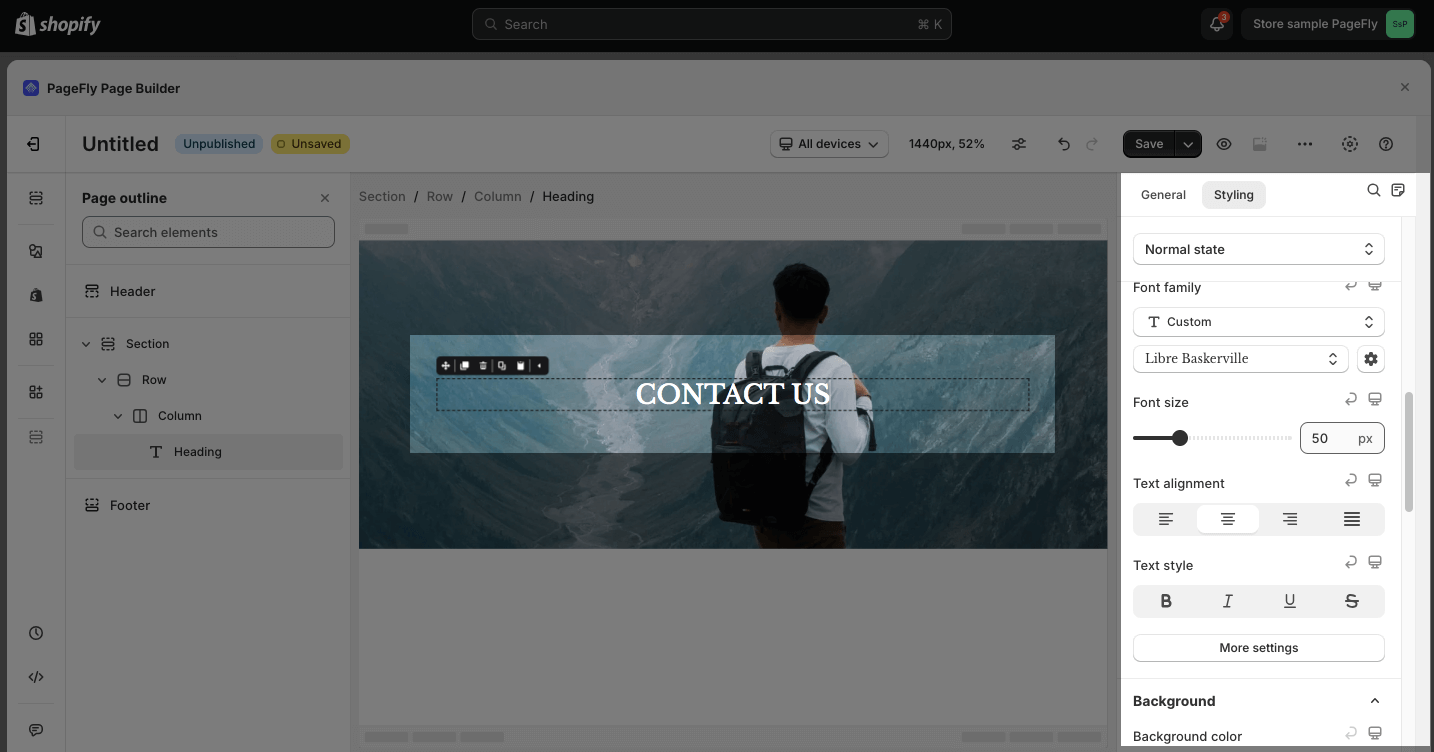
- Step 2: In the General tab, change the sample text to “CONTACT US”.
- Step 3: Click on the Styling tab > Content color > Choose white color.
- Step 4: In Spacing, adjust the margin top and bottom to 0px.
- Step 5: Scroll down to the Typography parameter > Choose Libre Baskerville for the font family and set up 50px for the font size.
Add A Google Map Element
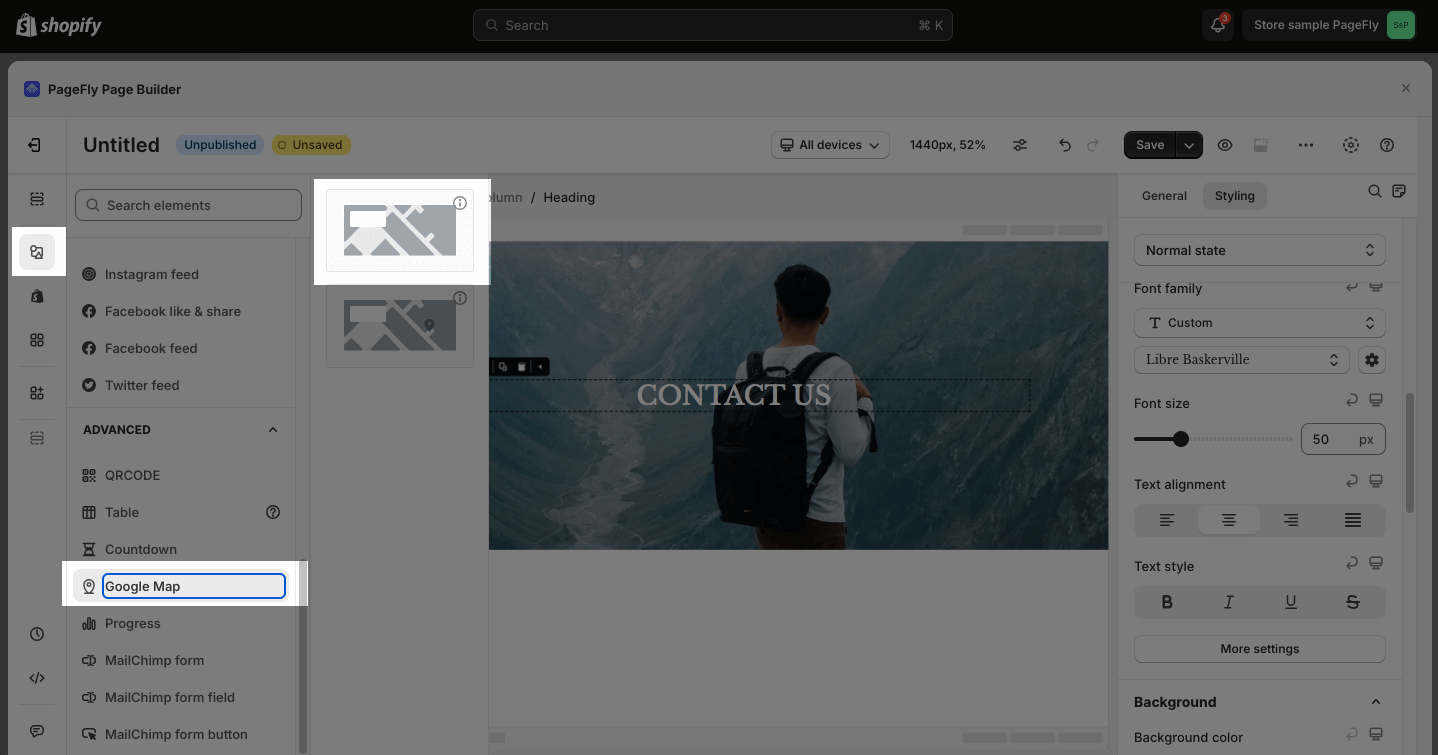
- Step 1: On the element catalog, click on the Add element icon (the first icon) > Choose the Google Map element > drag and drop the first variant into the page editor.
- Step 2: Change the location of the map in the Content parameter in the General tab.

Read more here about the Google Map element.
Create A Contact Information Field And Contact Form
- Step 1: In the same section with the Google Map, add the ½ – ½ layout.
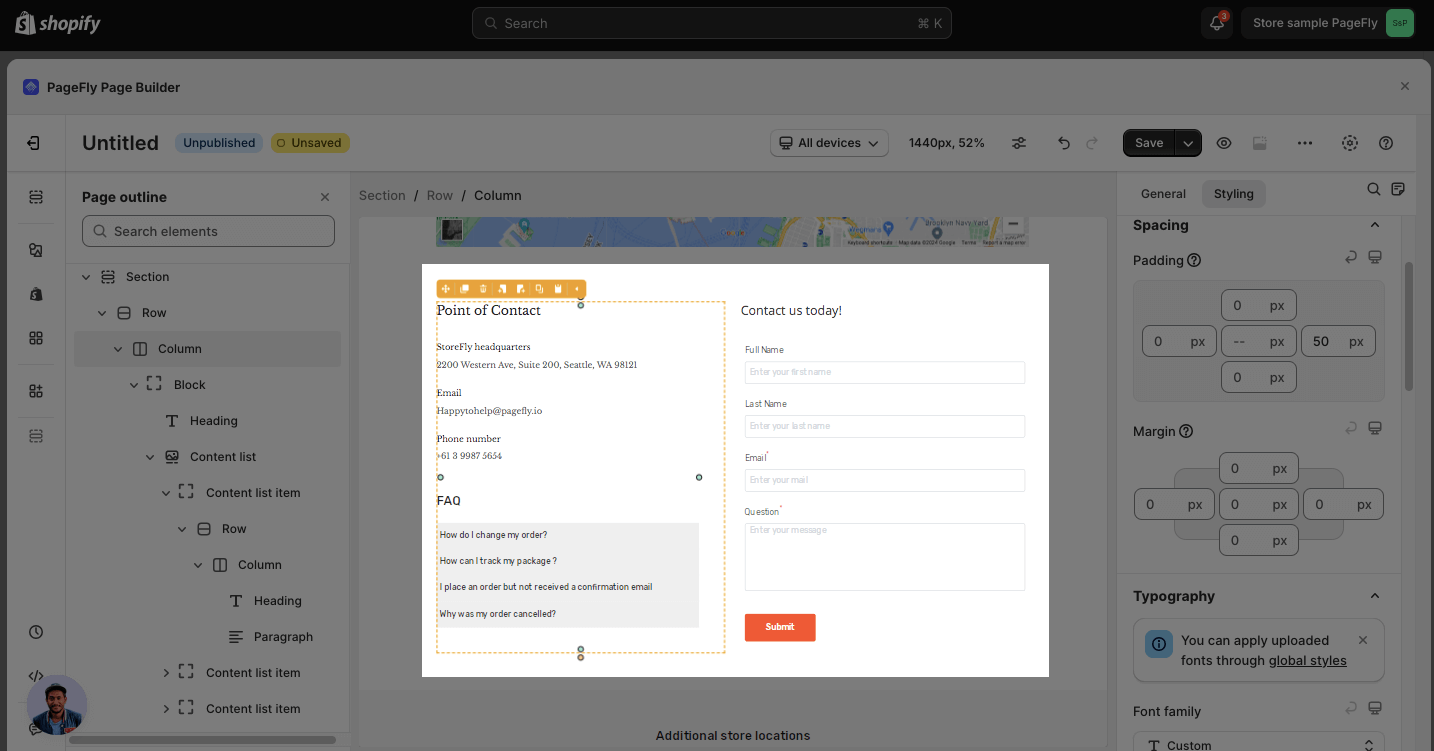
- Step 2: In the left column, we will add the image of your store. In the right column, a contact form will be placed so customers can submit their information to your store.
Add Contact Information Field
Setting Up In The General Tab
We will add 4 heading elements to the right column. These headings correspond to the following content:
- Contact information
- Address
- Phone number
You just need to add one heading element and then click on the heading to duplicate it to 4 headings. 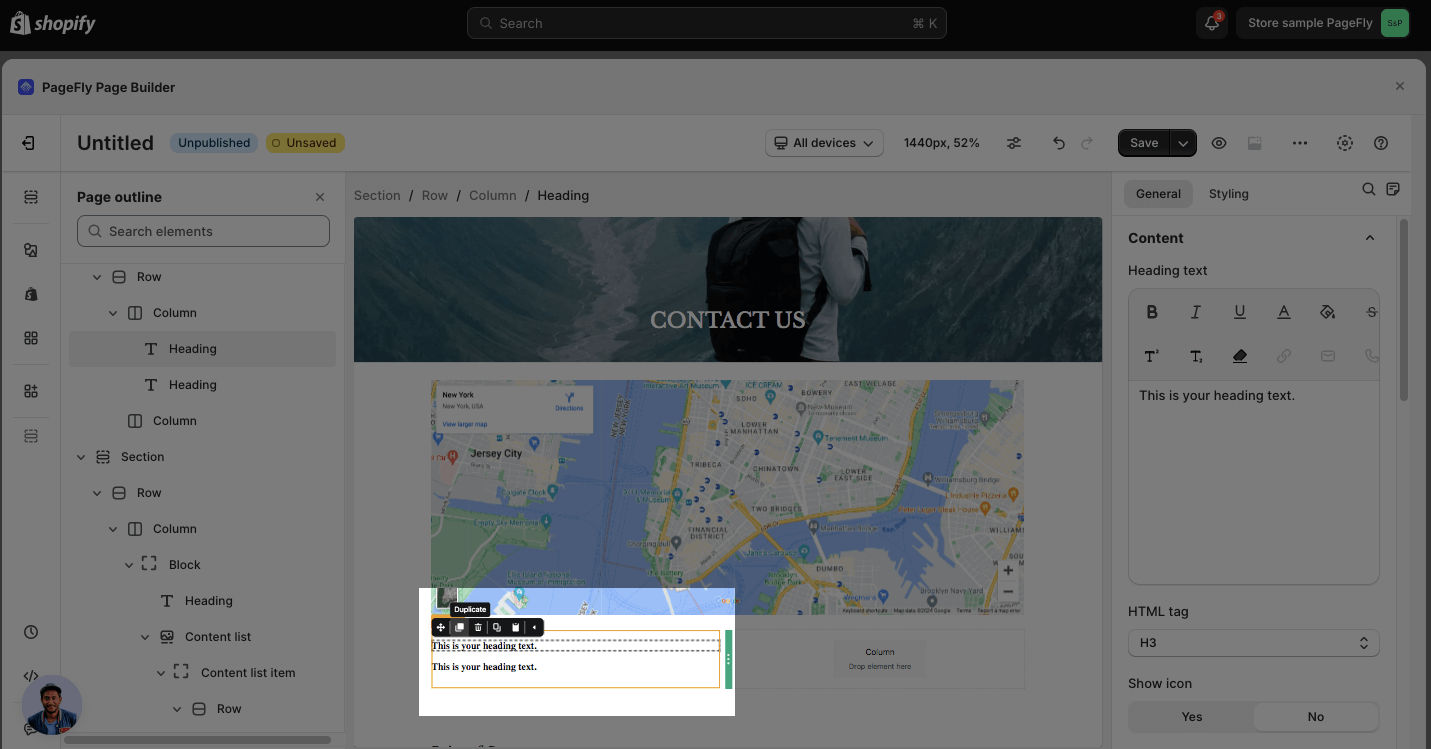
Now, you will add content for each heading. Click on each heading and input content in the Content parameter of the General tab.
With each information line such as an address, email, and phone number, we will add an icon.
- Click on the heading and look in the General tab.
- Enable the Show icon option. A star icon will be displayed. If you want to change to another one, click on the icon to change it. In this case, I will replace it with the “location-dot” icon.
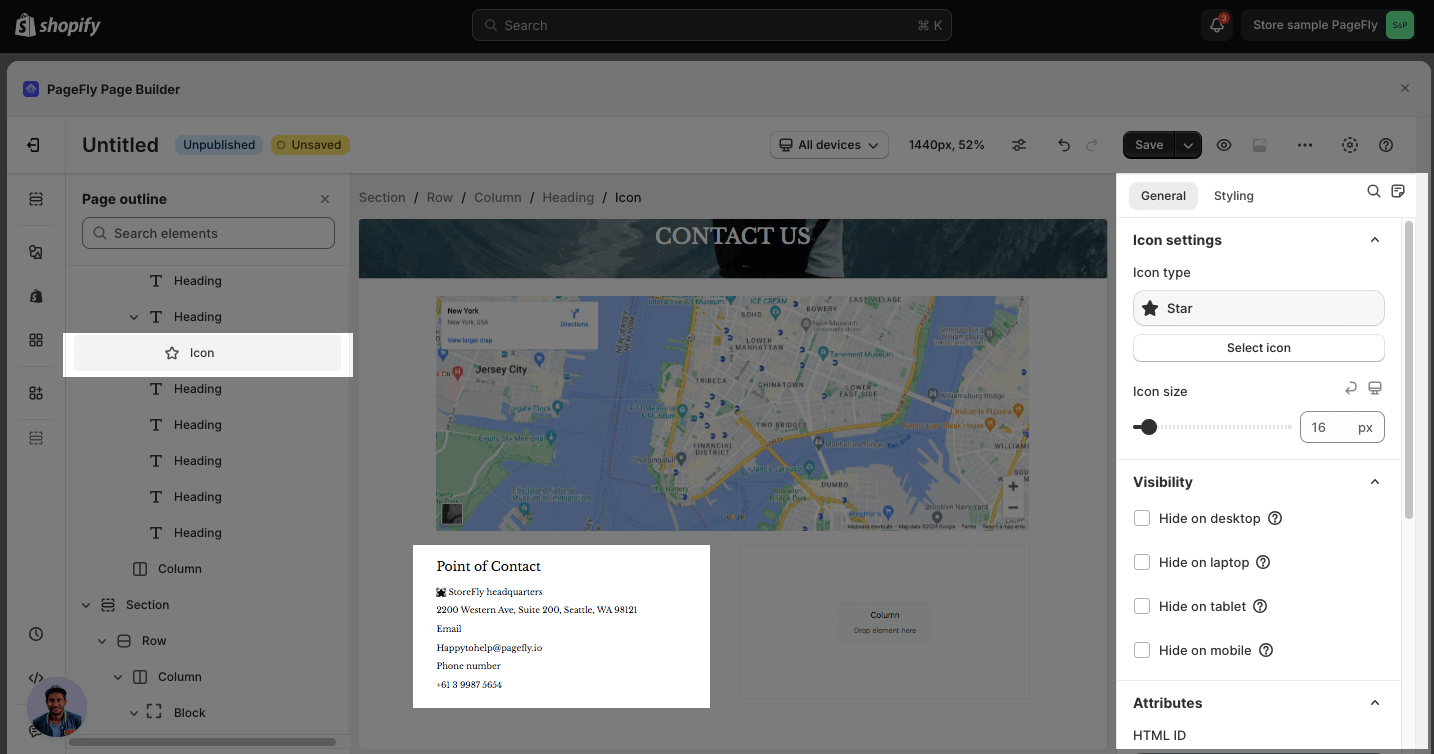
You will do the same with the remaining headings.
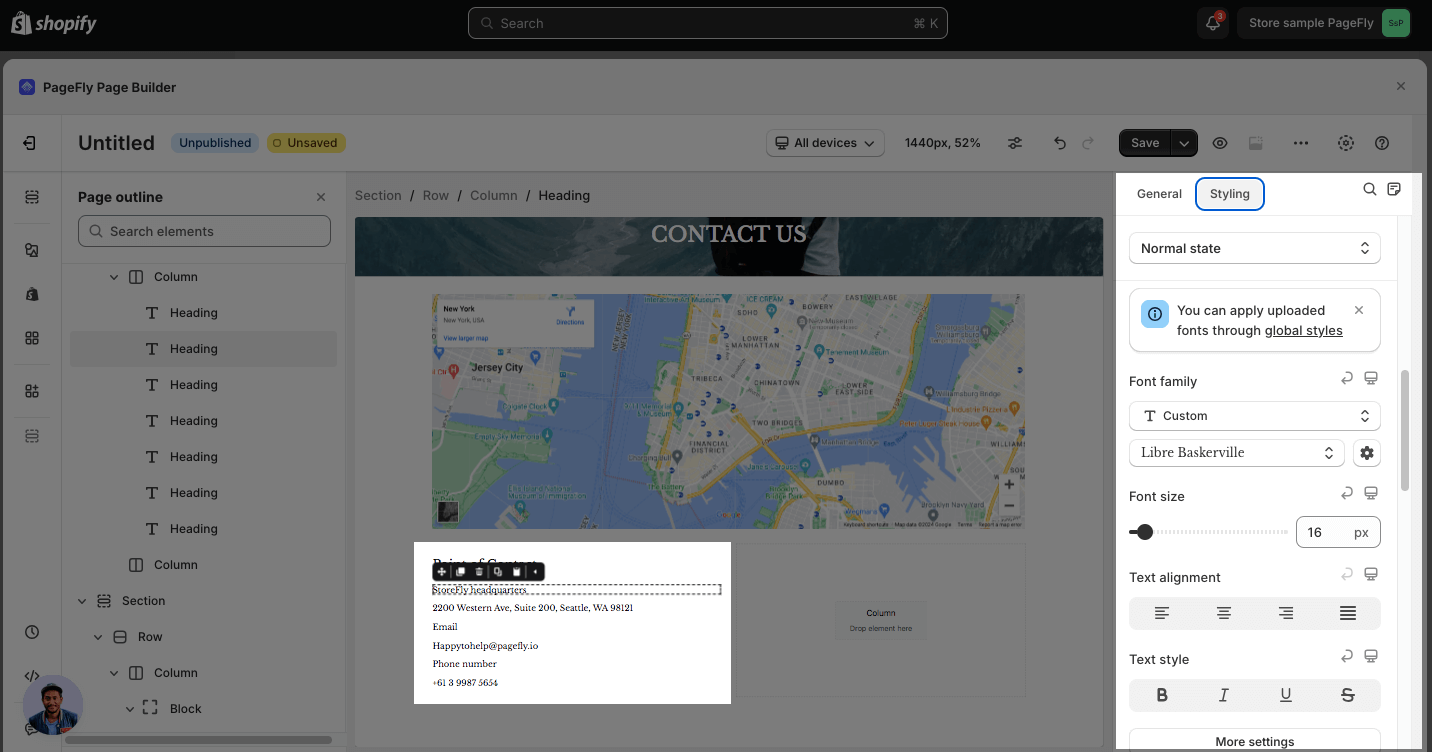
Customize Style In The Styling Tab
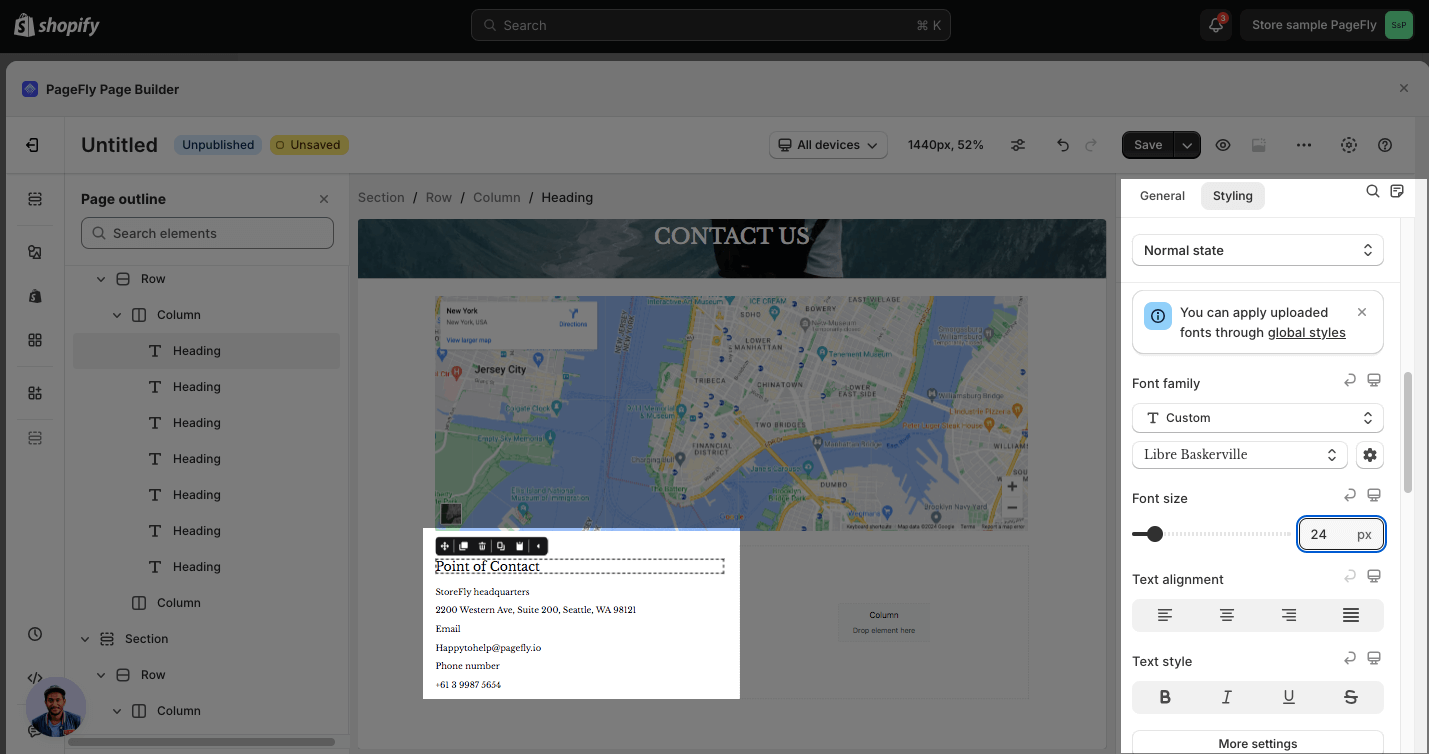
Go to the Styling tab to set up font styles.
- We also use Montserrat for the font family for all of them and Regular for the font-weight.
- With the first heading, we set 24px for the font size.
- For other headings, we set 16px. You can style for the address heading and use the Copy Styles function to apply for the email, phone number headings, and paragraph.
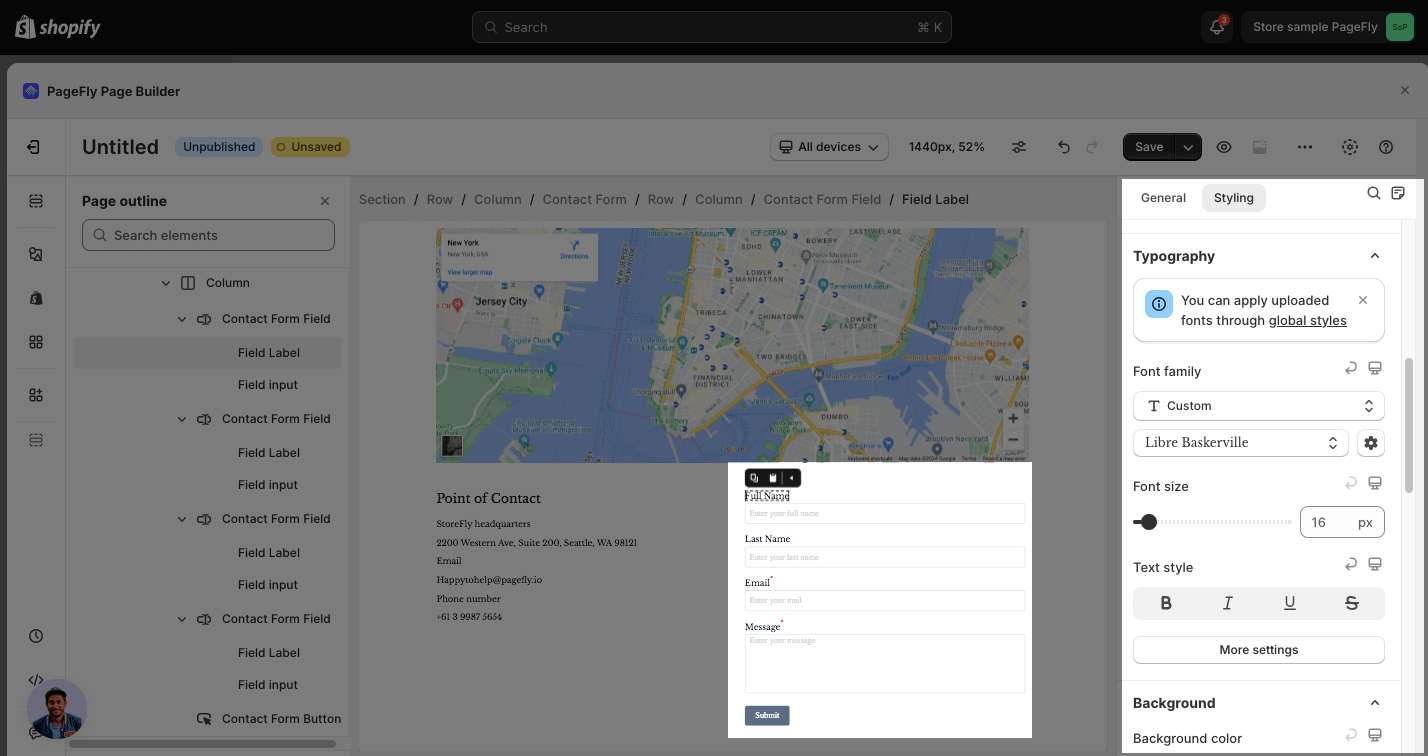
Add A Contact Form
In the Element catalog, click on the Add Shopify element icon > Drag and drop the Contact Form element into the right column.
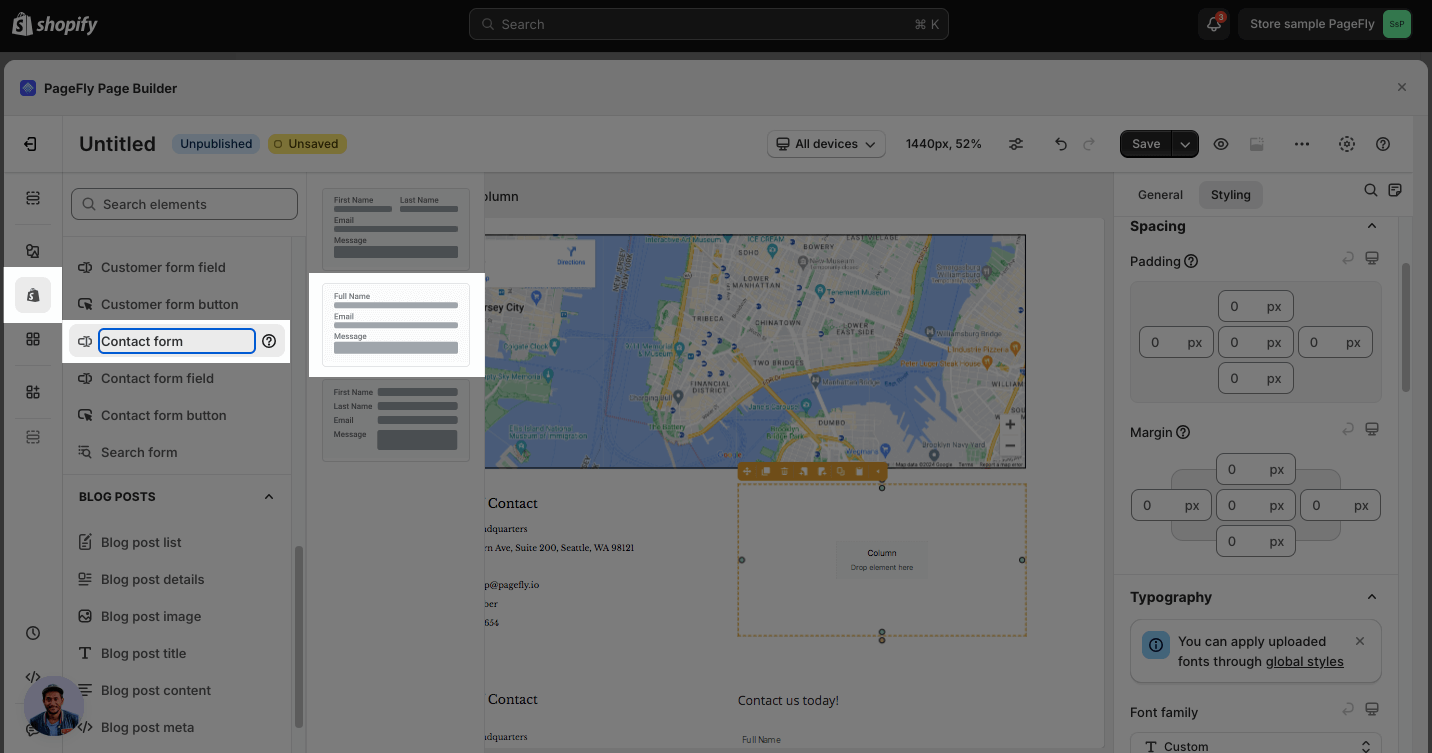
And you can style the same way with the stylings for the headings in the left column.
Learn how to easily create Shopify forms to collect important customer data with this helpful video guide by PageFly!
Add An Instagram Feed Element
The Instagram element lets customers get a glimpse into your brand personality, enhances brand trust, customer engagement, and ultimately, drives sales.
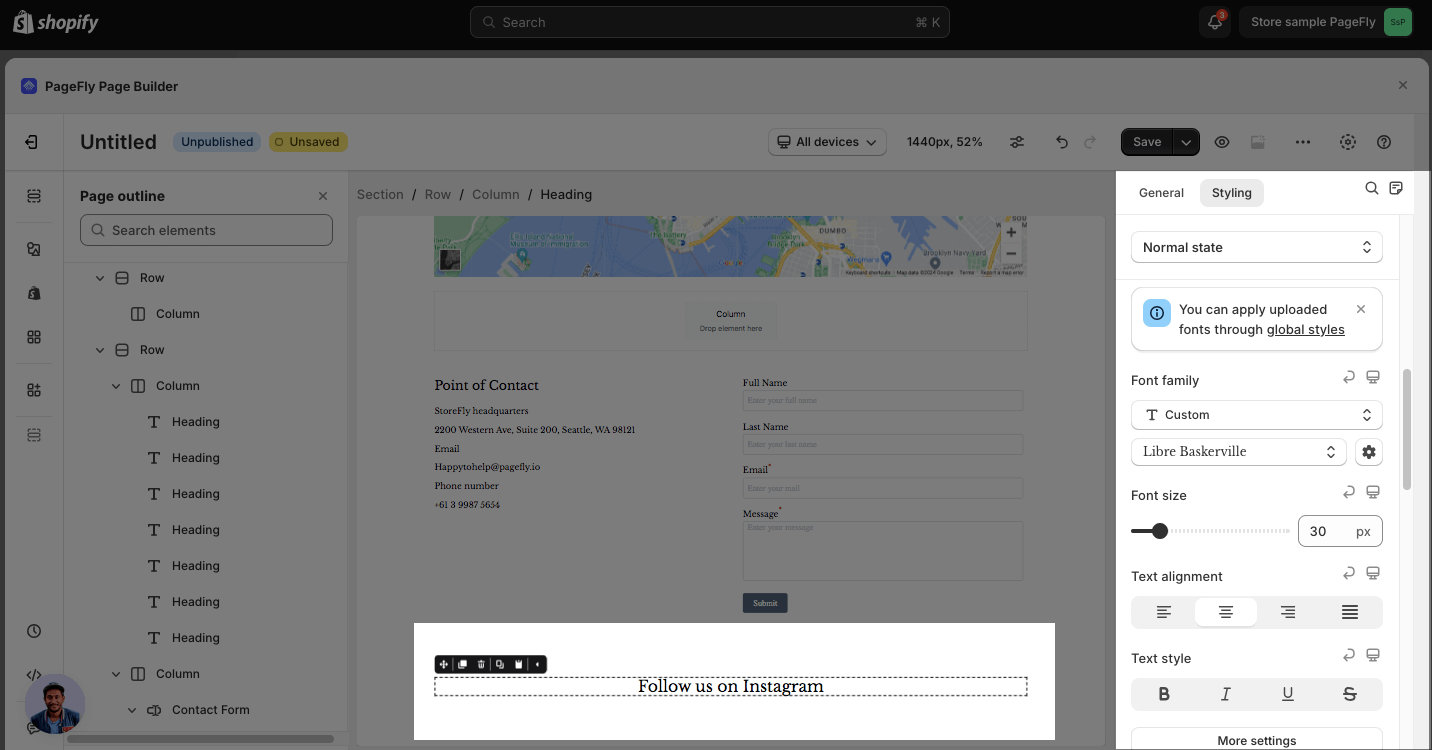
Add A Call To Action Headline
Add a Call to action headline “Follow us on Instagram” using the Heading element. Click on the Add element icon in the Element Catalog > Drag and drop the Heading element. Switch to the Styling tab to customize the text.
Add An Instagram Feed Element
In the Element Catalog, click on Add element icon > Drag and drop the Instagram feed element in the same section with the heading above.
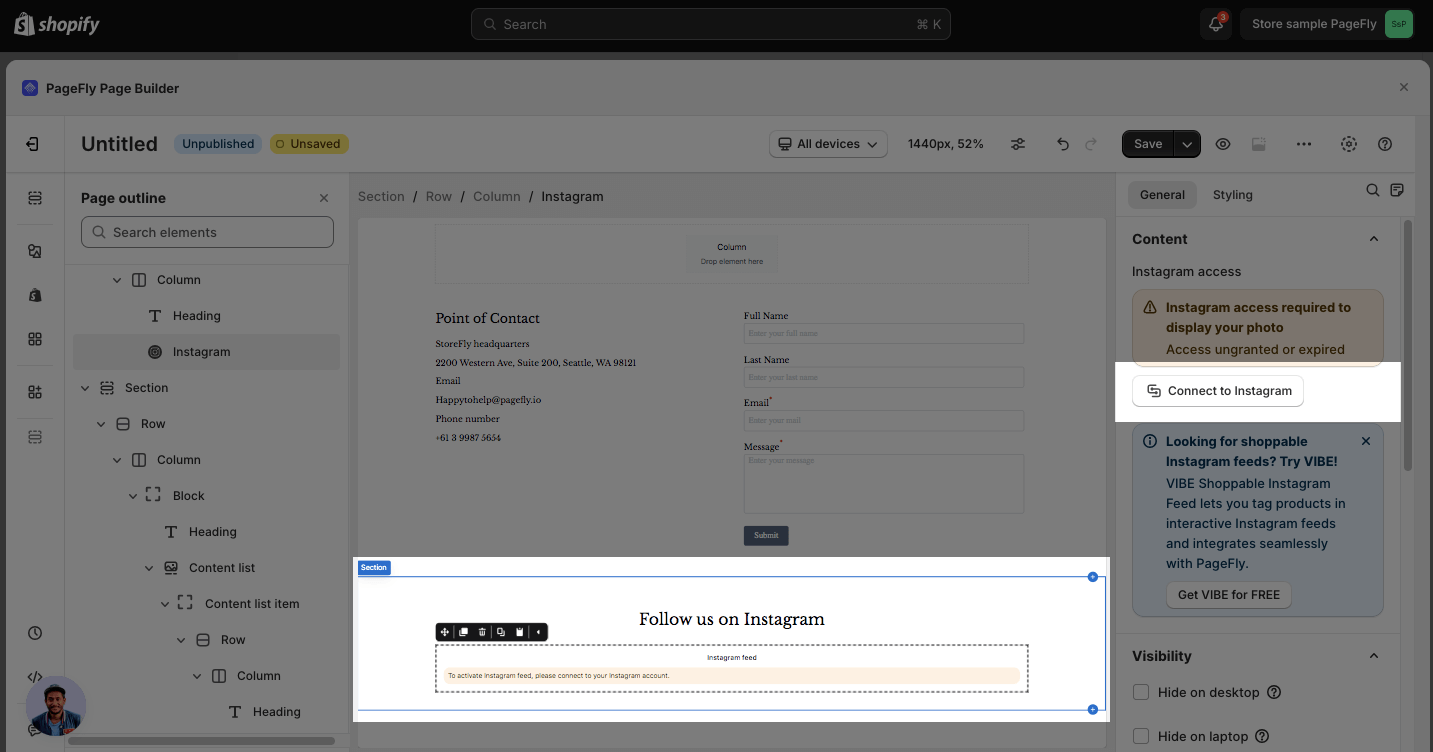
Note that you have to connect to your Instagram. Check this article about the Instagram element for more information.
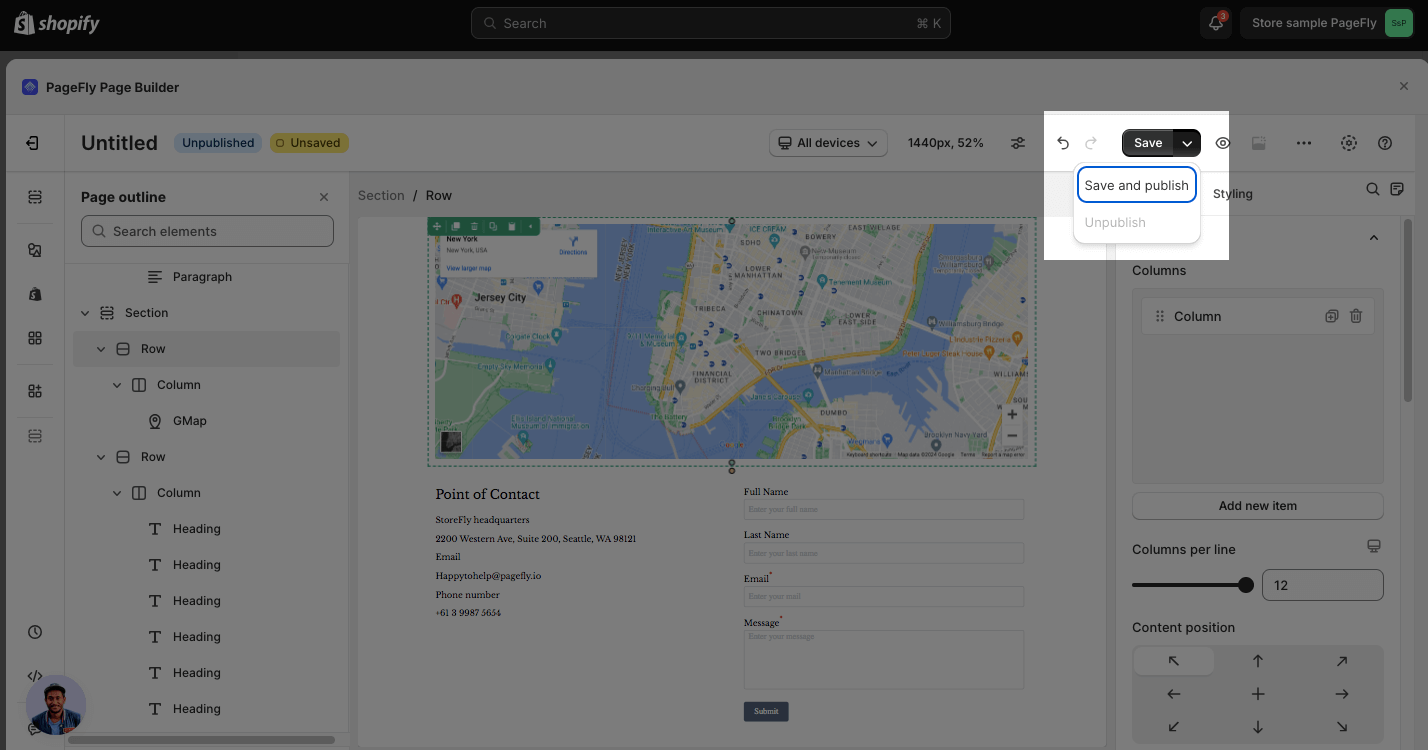
Save And Publish The Page
Click on the Publish button and Live view to see the page in the live. If you don’t want to publish yet, click on the Save button and see it in the Preview mode.
You can check these blogs to learn more about how to build a contact us page and how to make full use of it with PageFly.
Frequently Asked Questions
Why Contact Us Page Is Important?
Contact Us Page is important as it allows visitors to contact brands easily without leaving their browser, by phone call, message or fill-out forms.
What elements can I include on my contact us page with PageFly?
- Contact form
- Text content
- Visuals
- Map integration (optional)
- Social media buttons (optional)