1. About Shopify Blog Posts List Element

1.1. What is Shopify Blog Post List?
Shopify Blog Post List Element lets you insert a single, or a list of blogs, from your Shopify store to a page. You can also display it as a slideshow. Above all, it promotes your brand story or announces an upcoming collection. As a result, it can increase the conversion rate.
Even so, you can use this element to promote your blogs on other pages (ex. landing page).
Before jumping to the detailed steps, you can watch this video below:
1.2. Access Shopify Blog Post List Element
Step 1: Click on the Add Shopify element icon in the Element Catalog
Step 2: Click on the Blog Post List element in the dropdown menu
Step 3: Drag and drop the element into the page editor and then start using it.
1.3. Variant of Blog Post List Element
Blog Post List element comes with five common variations but we will continue to add more variations to help you save time.
2. Blog Post List Element Configuration
Blog Post List element offers many variables with the editable layout, so you can achieve a better conversion rate of the page.
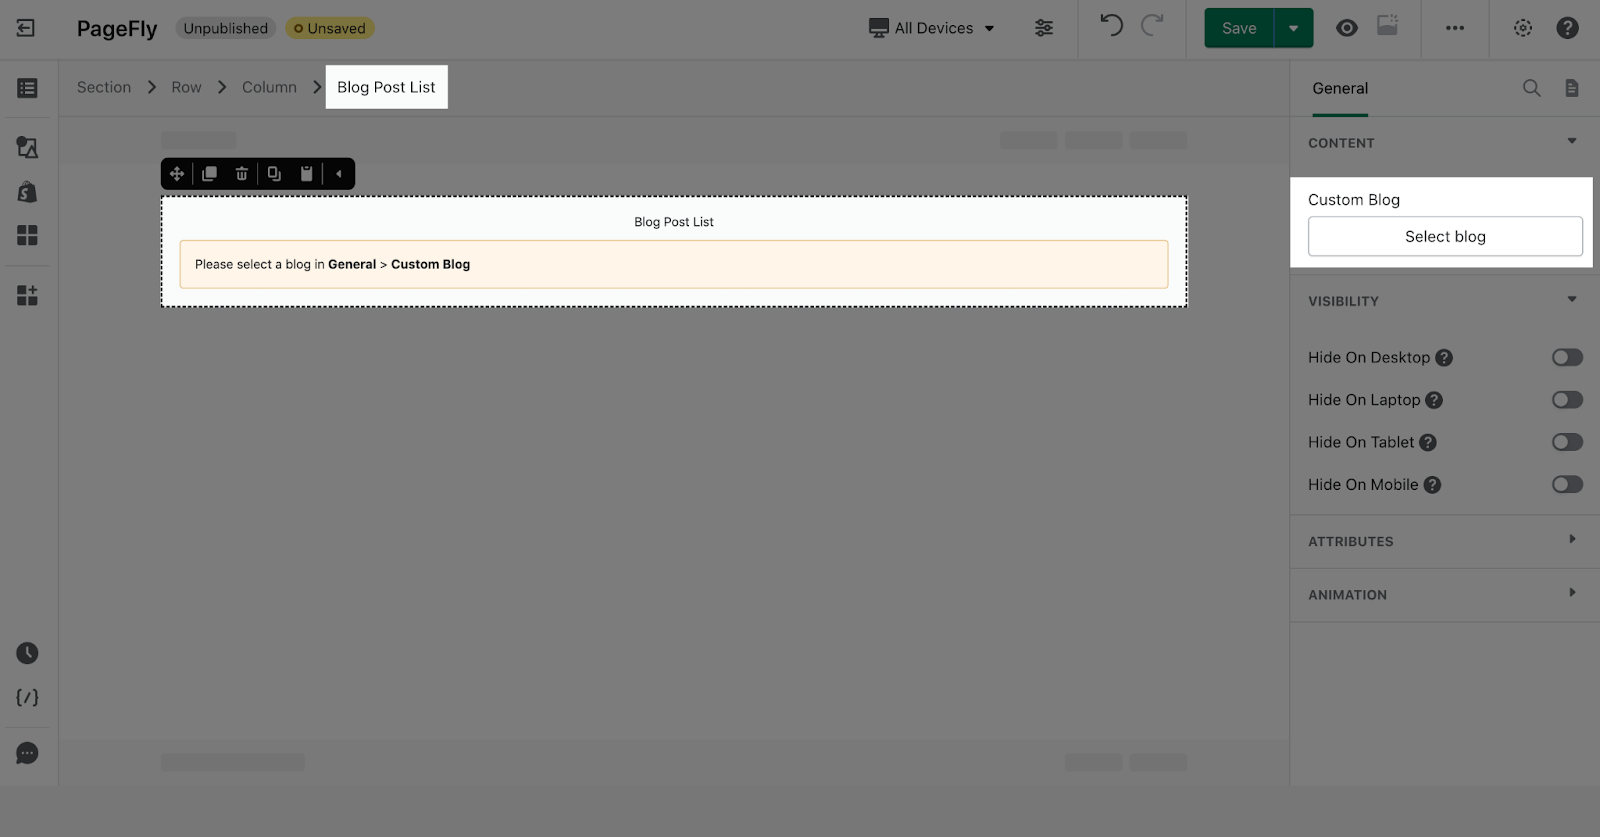
When you drag and drop the Blog Post List element into the editor page, you can choose Custom Blog on the General tab.
In this article, we will show the parameters of the General and Styling tabs for the Blog Posts element.
2.1. General configuration
2.1.1. Items per Loading
You can adjust the number of blog posts displayed by dragging the bar or insert the number in the box.
2.1.2. Layout Type
There will be two layout types: Grid and Slideshow
If you choose Slideshow, there will be some different element that you can choose:
Items per show
You can adjust the number of items you want to display.

Display partial item
You can choose to enable display partial item or not
Navigation type
Six navigation types can be chosen for the blog post list slideshow.

Pagination type
You can customize the pagination type among the 4 predefined types.

Set max height
If enabled, the slideshow’s height will match that of the highest slide, including those that are hidden.
If not enabled, you can choose three types of vertical alignment.
2.1.3. Items per Row
The item per row lets you adjust the number of items in a row.
2.1.4. Items Spacing
In Item spacing, you can adjust space between items of the Blog post list slideshow.
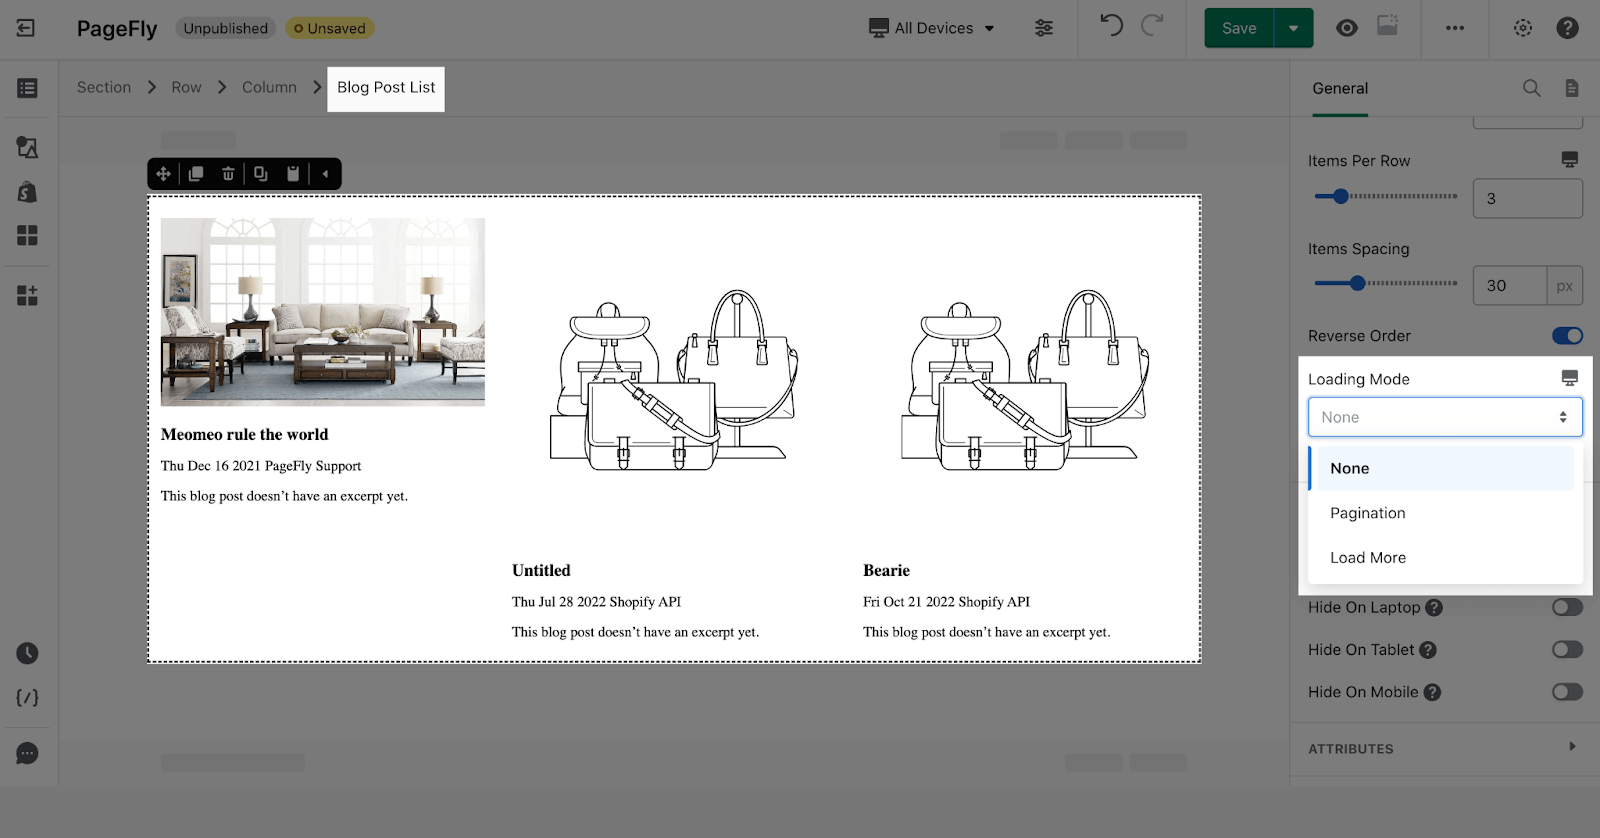
2.1.5. Reverse Order
You can reverse the order of items by enabling the Reverse order option.
By default, the blog post list is ordered from newest to oldest. When you enable the Reverse order option, the blog post list will be ordered from oldest to newest.
2.1.6. Loading mode
- None: this option is chosen by default.
- Pagination: this option will be displayed as the page’s numbers. This feature only works on the live page.
- Load more: this option will be displayed as a “Load more” button. This feature only works on the live page.
You can get further information about ATTRIBUTES, VISIBILITY, ANIMATION parameters here
2.2. Styling configuration
You can check more information about OVERALL, SPACING, TYPOGRAPHY, BACKGROUND, BORDER, DISPLAY, CUSTOM CSS in the PageFly Element Styling.
You can check the video below about creating a blog post page